How to Create a Labubu 3D Model: Expert Workflow & Tips
Creating a 3D model of Labubu—a character beloved for its whimsical, hand-crafted look—requires a blend of artistic attention, technical know-how, and the right tools. In my experience, combining traditional modeling skills with AI-powered solutions has dramatically streamlined my workflow, especially for stylized characters like Labubu. This guide walks through my end-to-end process, from gathering references and blocking forms to texturing, rigging, and exporting. Whether you’re a game artist, designer, or hobbyist, you’ll find actionable steps and pitfalls to avoid.
Key takeaways
- Start with clear references and break down Labubu’s signature features before modeling.
- Block out primary shapes first, then refine details iteratively.
- Use AI tools like Tripo for rapid prototyping and base mesh generation, then fine-tune manually.
- Pay attention to UVs, texture style, and topology for animation-readiness.
- Export settings matter; tailor them for your target platform.
- Present your final model with clean renders and turntables for best impact.
Understanding the Labubu Character for 3D Modeling
Key features and design elements
When modeling Labubu, nailing the character’s unique appeal is crucial. I always start by identifying signature traits:
- Proportions: Labubu has a large head, small body, and oversized eyes.
- Facial expression: The mischievous grin and wide eyes are key.
- Surface detail: Fur texture, sculpted lines, and soft forms give it a handcrafted look.
I recommend sketching or annotating these features before touching any 3D software. This helps keep the model on-character throughout the process.
Reference gathering and inspiration
Good references are non-negotiable. I usually:
- Collect front, side, and 3/4 images (official art, toys, fanart).
- Assemble a mood board for texture and color palette inspiration.
- Study physical collectibles if possible to understand forms in 3D.
Pitfall: Don’t rely on a single image—Labubu’s look varies between artists and merchandise. Multiple angles prevent proportion errors later.
My Step-by-Step Workflow for Labubu 3D Model Creation
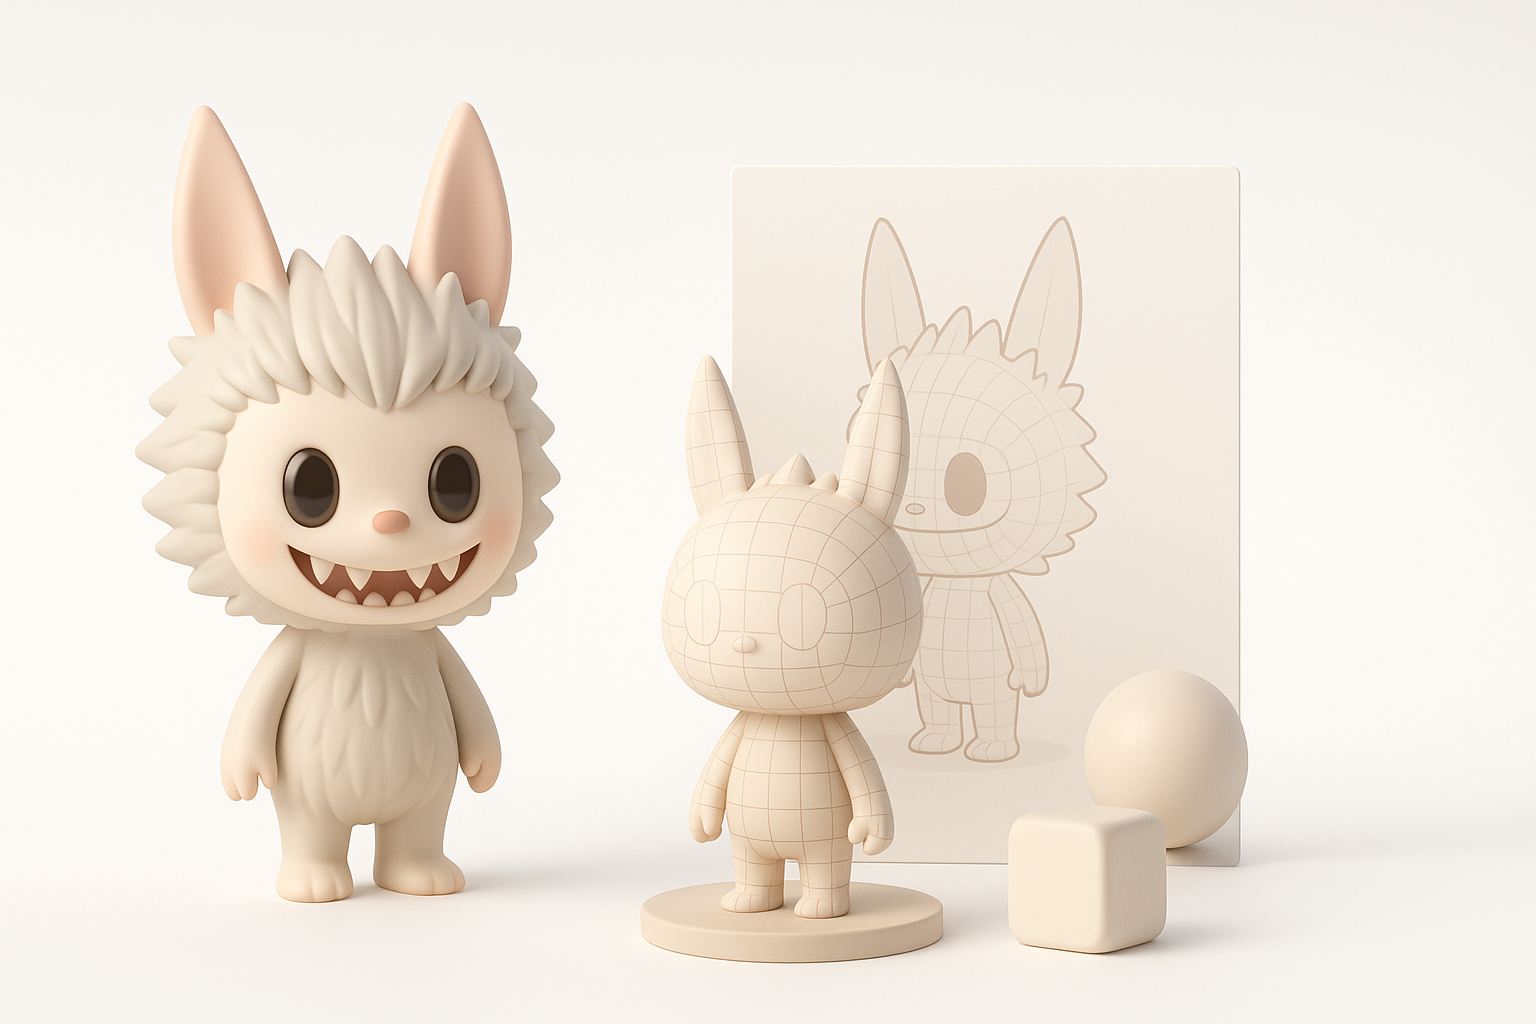
Conceptualizing and blocking out forms
I start every project with a rough blockout:
- Simple shapes: Sphere for the head, cylinders for limbs.
- Silhouette: Focus on the big picture before details.
- Proportions: Adjust until the model “reads” as Labubu from a distance.
I often use Tripo to generate a base mesh from a sketch or text prompt—this saves time, but I always check and correct proportions manually.
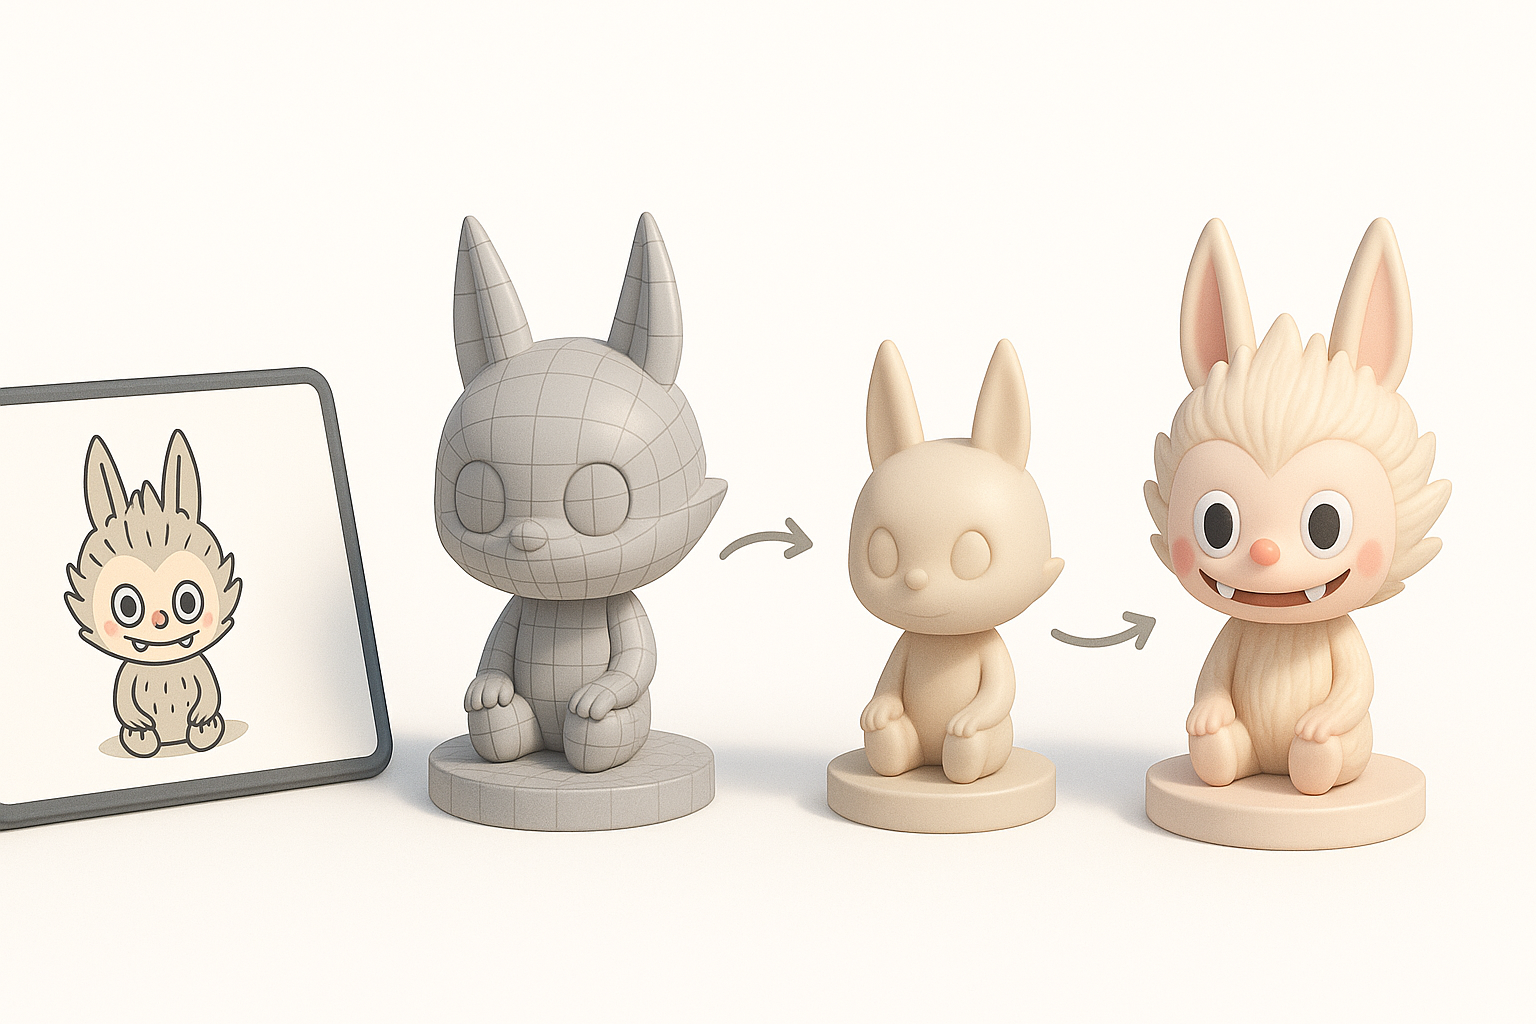
Refining shapes and adding details
Once the blockout feels right:
- I gradually add subdivisions and sculpt secondary forms (cheeks, muzzle, ears).
- For stylized fur, I use brush strokes or displacement maps, depending on the target platform.
- I keep symmetry on for most of the process, then break it for subtle asymmetry at the end.
Checklist:
- Are eyes and mouth expressive enough?
- Does the silhouette match references?
- Is the mesh clean and manageable?
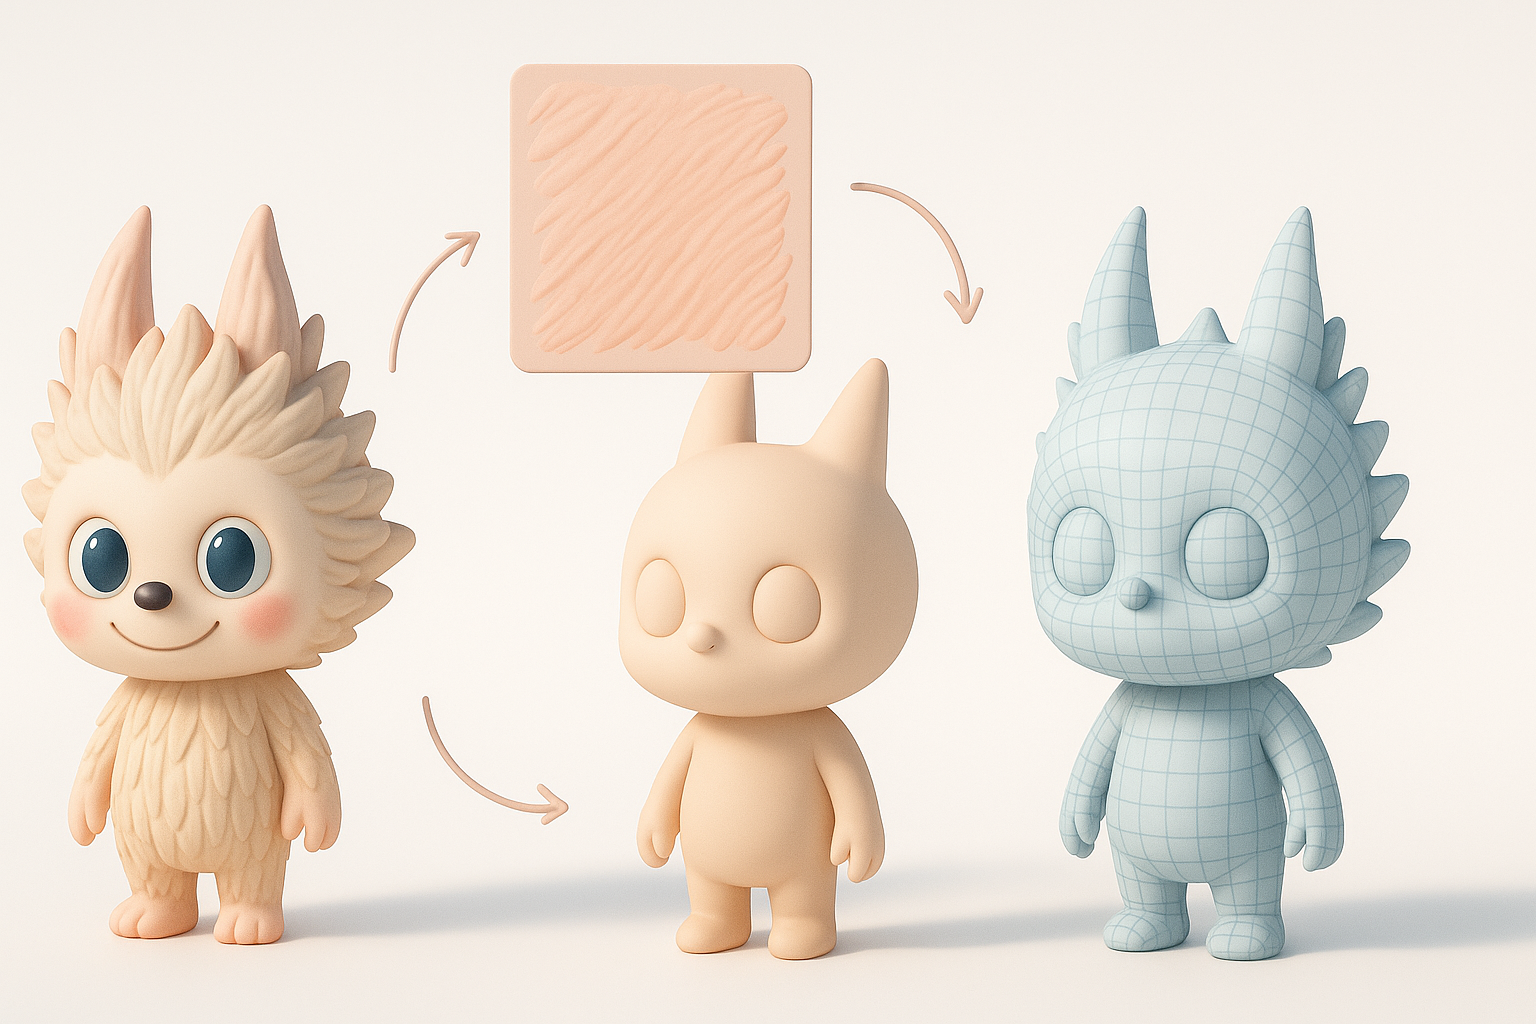
Texturing, Retopology, and Preparing for Animation
Best practices for UV mapping and texturing
Texturing Labubu is about capturing its playful, tactile feel. In my workflow:
- I unwrap UVs with as few seams as possible, placing them along natural fur lines.
- I hand-paint textures for the face and body, using soft brushes for a plush look.
- For production, I bake normal maps from high-res details onto a clean, low-poly mesh.
Pitfall: Avoid stretching UVs around the eyes and mouth—distortion here ruins expressions.
Rigging and animation considerations
If Labubu needs to animate:
- I retopologize the mesh for even edge flow, especially around joints and the mouth.
- I add basic bones for body and face; simple rigs suit stylized characters.
- Weight painting is critical—test deformations early to catch issues.
Tip: For rapid rigging, I sometimes use Tripo’s built-in tools to auto-rig, then tweak weights manually for better control.
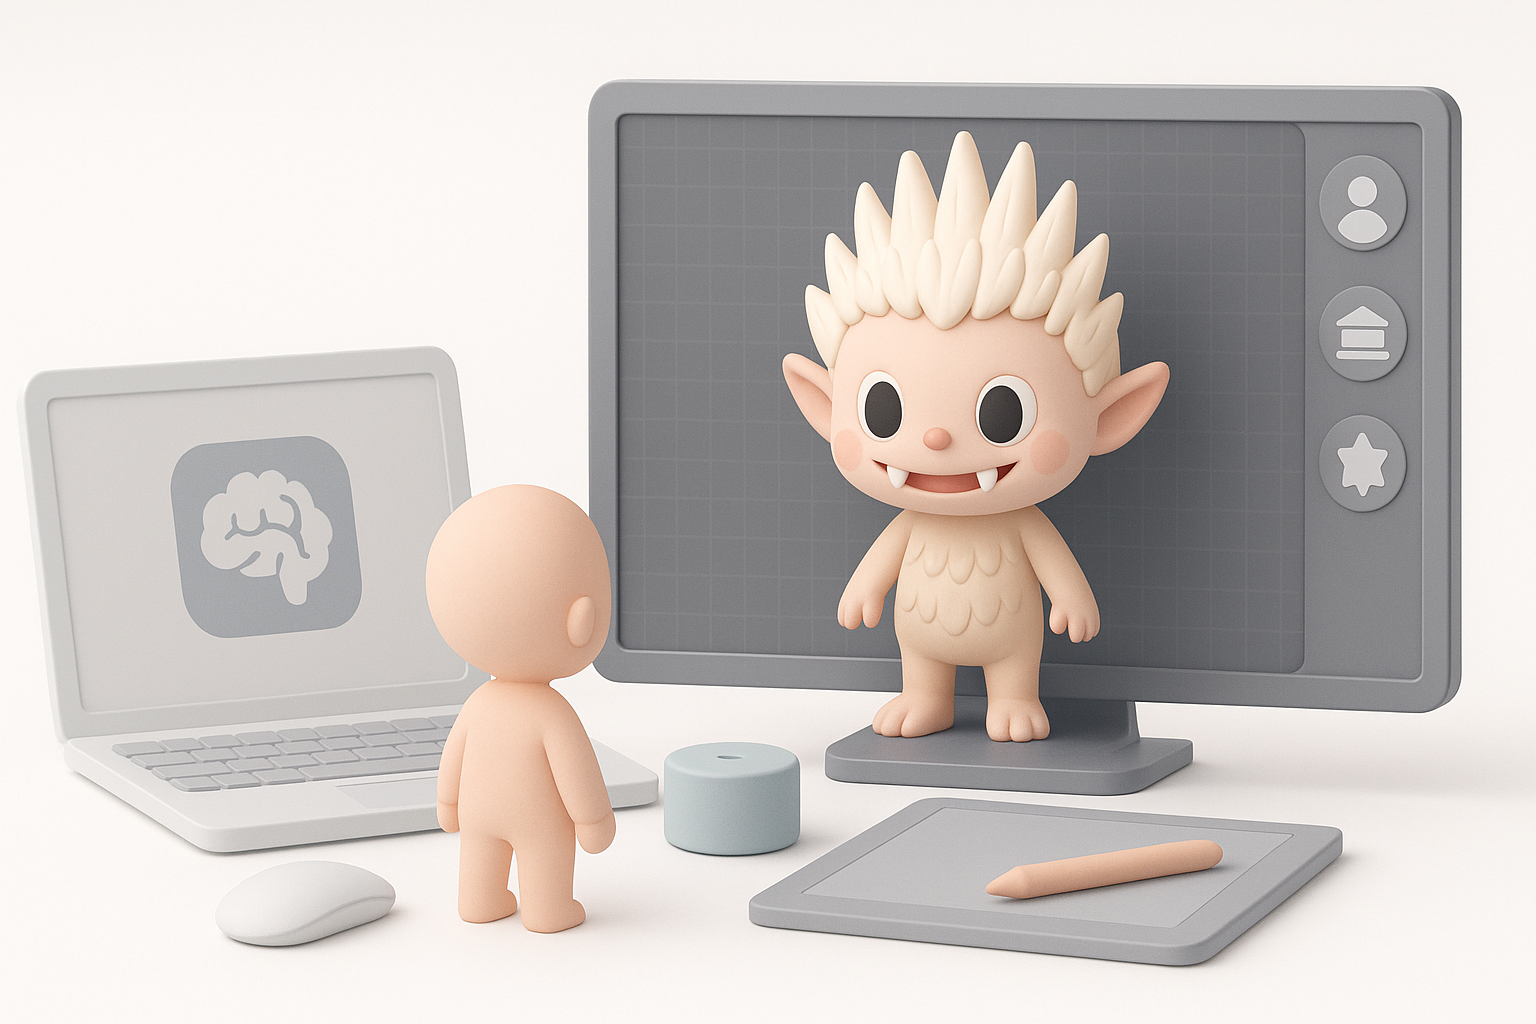
Using AI-Powered Tools to Accelerate the Process
How I leverage Tripo for rapid prototyping
AI tools have changed my workflow:
- I input a sketch or text description into Tripo to generate a base mesh.
- The platform’s segmentation and auto-retopology features give me a clean starting point.
- I iterate quickly—if the first output isn’t right, I adjust the prompt and try again.
This approach lets me focus more on creative decisions and less on repetitive setup.
Integrating AI outputs with manual workflows
AI results are a foundation, not a finished product. My process:
- Import the AI-generated mesh into my main DCC (e.g., Blender, Maya).
- Refine shapes, fix topology, and add custom details by hand.
- Use AI-generated textures as a base, then paint over for style consistency.
Pitfall: Don’t skip manual cleanup—AI meshes sometimes need topology fixes for animation or baking.
Exporting, Optimizing, and Sharing Your Labubu 3D Model

Export settings for different platforms
Exporting correctly is vital for downstream use:
- For games: I export FBX or GLB with triangulated meshes, baked maps, and embedded textures.
- For AR/VR: Optimize polycount and use PBR textures for real-time rendering.
- For renders: OBJ or Alembic with high-res geometry and displacement maps.
Checklist:
- All textures packed or linked?
- Correct scale and orientation?
- Clean naming conventions?
Tips for presenting and sharing your work
Presentation can make or break a portfolio piece:
- I render turntables and close-ups in a neutral environment.
- Annotate images to highlight key features and workflow steps.
- For online sharing, I use Sketchfab or Marmoset Viewer for interactive 3D previews.
Tip: Include both raw and final images—clients and recruiters appreciate seeing your process.
Comparing Manual and AI-Assisted 3D Modeling Approaches
Pros and cons from my experience
Manual modeling:
- Pros: Full control, best for custom topology and unique styles.
- Cons: Time-consuming, repetitive tasks, steeper learning curve.
AI-assisted modeling:
- Pros: Rapid prototyping, automates segmentation and retopo, lowers entry barrier.
- Cons: May require cleanup, less control over fine details.
In practice, I blend both—AI for speed, manual for polish.
When to choose each method
- AI tools: When I need quick iterations or base meshes for stylized characters.
- Manual: For hero assets, intricate animation, or when style must be tightly controlled.
My advice: Start with AI for speed, but always plan time for manual refinement—especially for production work.
By combining clear character analysis, a disciplined workflow, and AI-powered acceleration, I consistently produce Labubu 3D models that are both expressive and production-ready. The key is knowing when to automate and when to fine-tune by hand.