How to Create a High-Quality iPhone 3D Model: Expert Workflow
Creating a production-ready iPhone 3D model is faster and more accessible than ever, thanks to AI-powered tools and streamlined workflows. Over years of modeling for games, XR, and visualization, I’ve learned that blending rapid prototyping with manual refinement yields the best results. This article breaks down my proven workflow—from reference gathering to export—highlighting practical tips, common pitfalls, and how I leverage platforms like Tripo AI to accelerate the process. Whether you’re a designer, developer, or artist, this guide will help you build accurate, realistic iPhone models efficiently.
Key Takeaways
- AI-powered tools drastically speed up modeling and prototyping.
- Reference quality and planning are crucial for realism.
- Intelligent segmentation and UV mapping simplify texturing.
- Retopology and mesh cleanup ensure production-readiness.
- Choose workflows based on project needs: speed vs. custom detail.
- Common pitfalls include poor reference, rushed topology, and mismatched materials.
Executive Summary: Key Takeaways for iPhone 3D Modeling
What I’ve learned from years of 3D modeling
From my experience, success hinges on solid references, precise planning, and knowing when to leverage automation. AI tools have transformed tedious tasks—like segmentation and retopology—so I can focus on creative decisions. Still, manual tweaks are essential for high-fidelity results, especially with iconic devices like the iPhone.
Essential tools and workflows at a glance
I rely on a mix of AI platforms (like Tripo AI), traditional modeling suites, and image editing tools. My typical workflow starts with rapid AI prototyping, followed by manual refinement in a DCC (Digital Content Creation) tool. For texturing and UVs, intelligent segmentation saves hours, while retopology tools ensure the mesh is ready for any production pipeline.
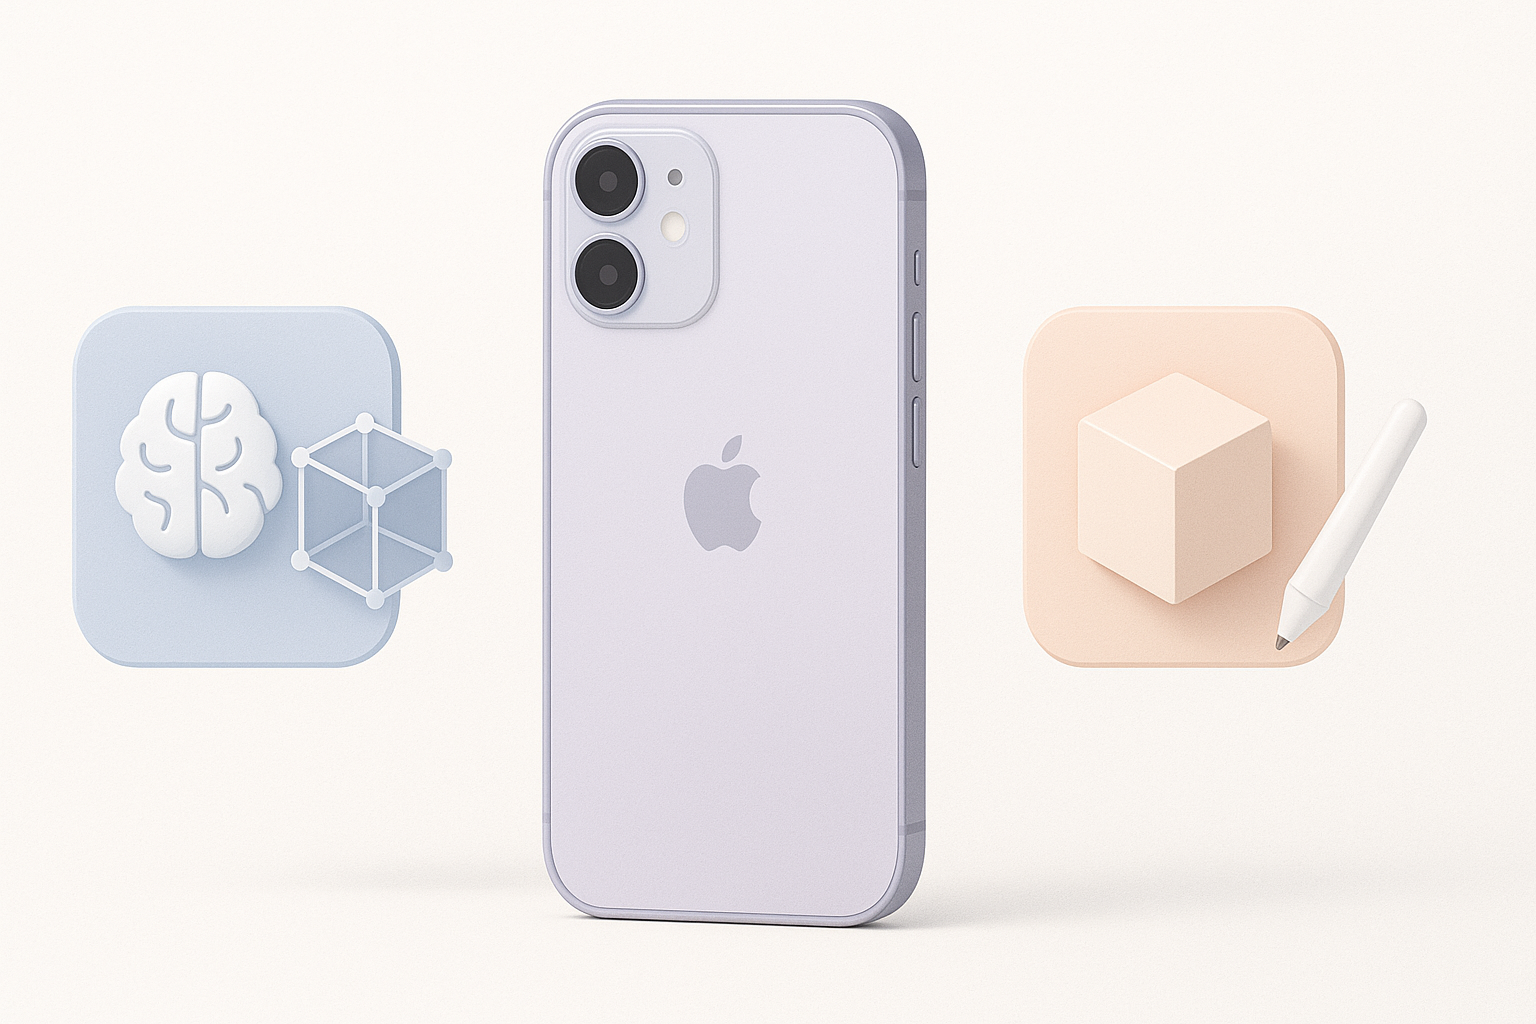
Choosing the Right Approach for iPhone 3D Modeling
Text-to-3D, image-based, and manual modeling: Pros and cons
- Text-to-3D: Fastest for rough shapes; ideal for quick iterations and concepting. Downsides are limited control and occasional geometry artifacts.
- Image-based: Great for capturing proportions and details from photos. Requires high-quality images and some cleanup.
- Manual modeling: Offers full control and precision; best for custom details but is time-intensive.
What I’ve found: AI-driven methods excel at speed, but manual tweaks are needed for polish and accuracy.
When to use AI-powered platforms versus traditional methods
- Use AI tools for rapid prototyping, segmentation, and retopology.
- Switch to manual modeling for fine details, custom geometry, or when the AI output needs correction.
- Hybrid approach: Start with AI, refine manually—this is my go-to for most projects.
Checklist:
- Start with AI for base mesh
- Review geometry for accuracy
- Refine manually as needed
Step-by-Step Workflow: My Process for Creating an iPhone 3D Model
Gathering references and planning the model
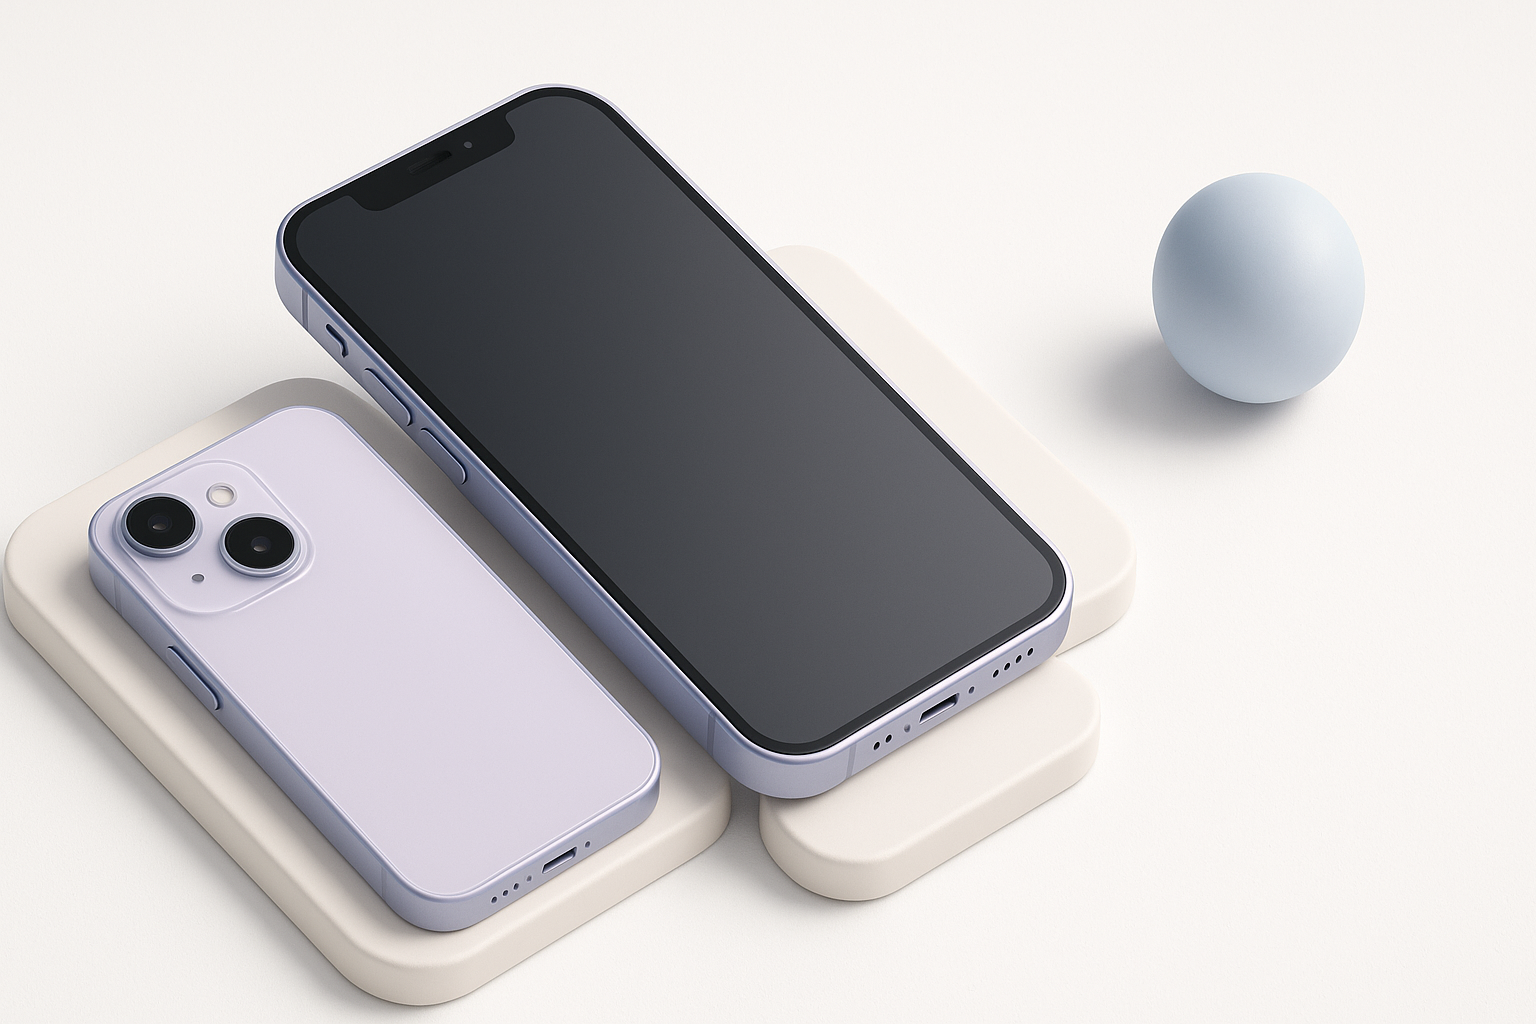
I always begin with high-resolution images—front, back, and side views. Technical drawings or product blueprints are ideal. I note key features: camera placement, button locations, proportions.
Reference checklist:
- Download official product images
- Find technical drawings or blueprints
- Identify unique model features
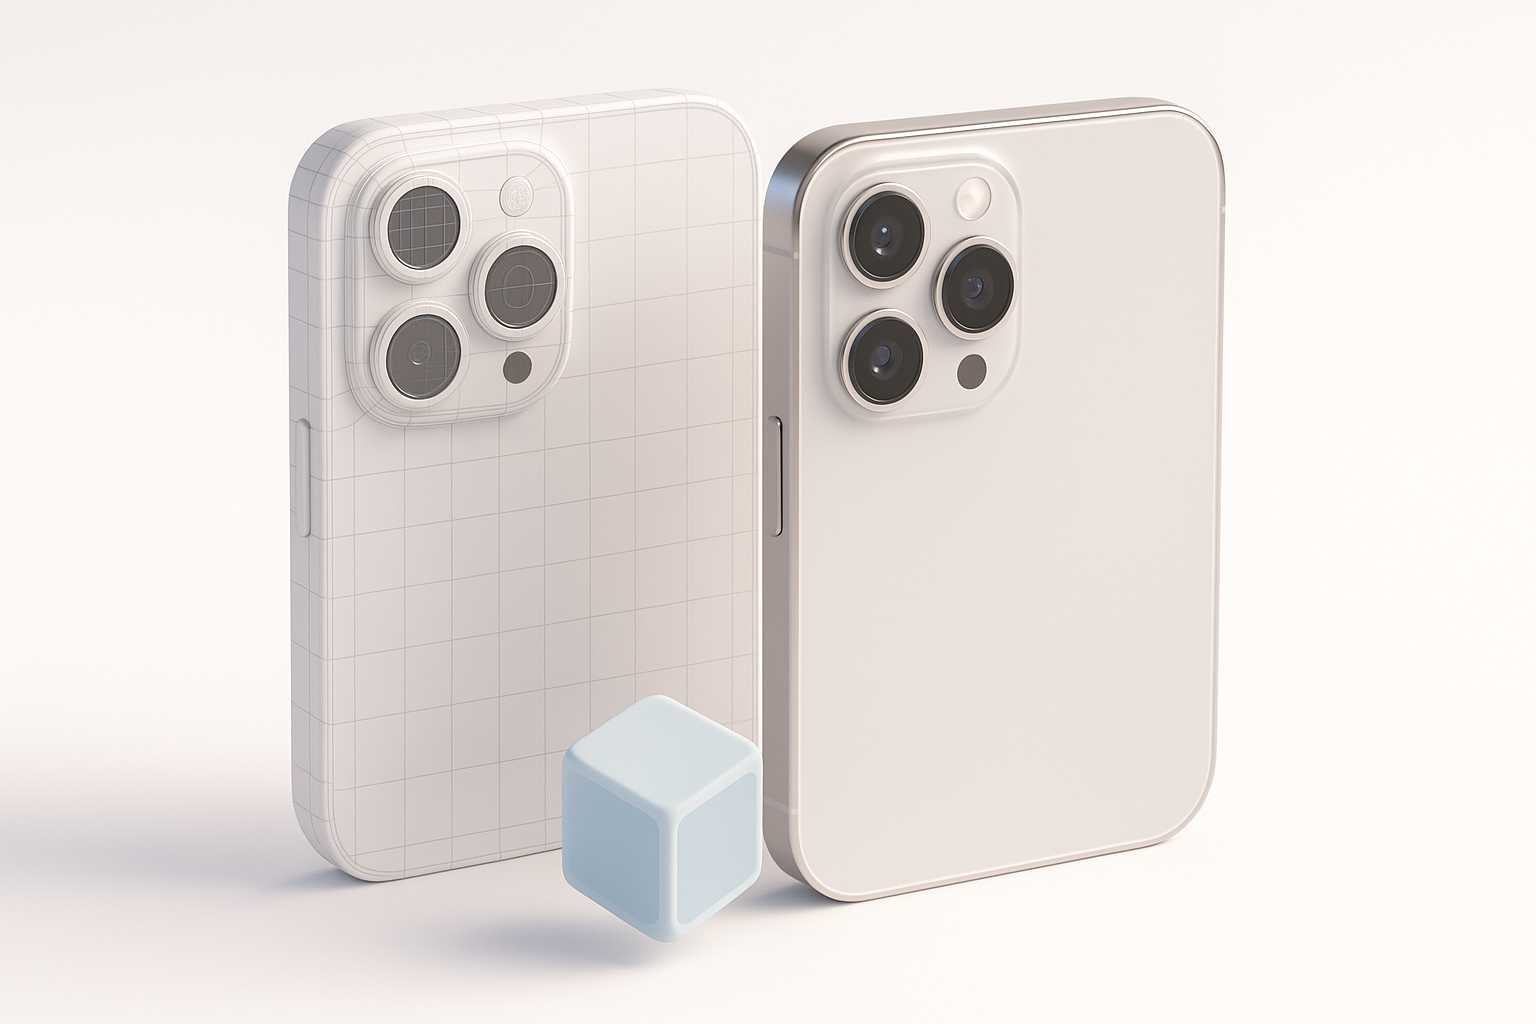
Using AI tools for rapid prototyping and refinement
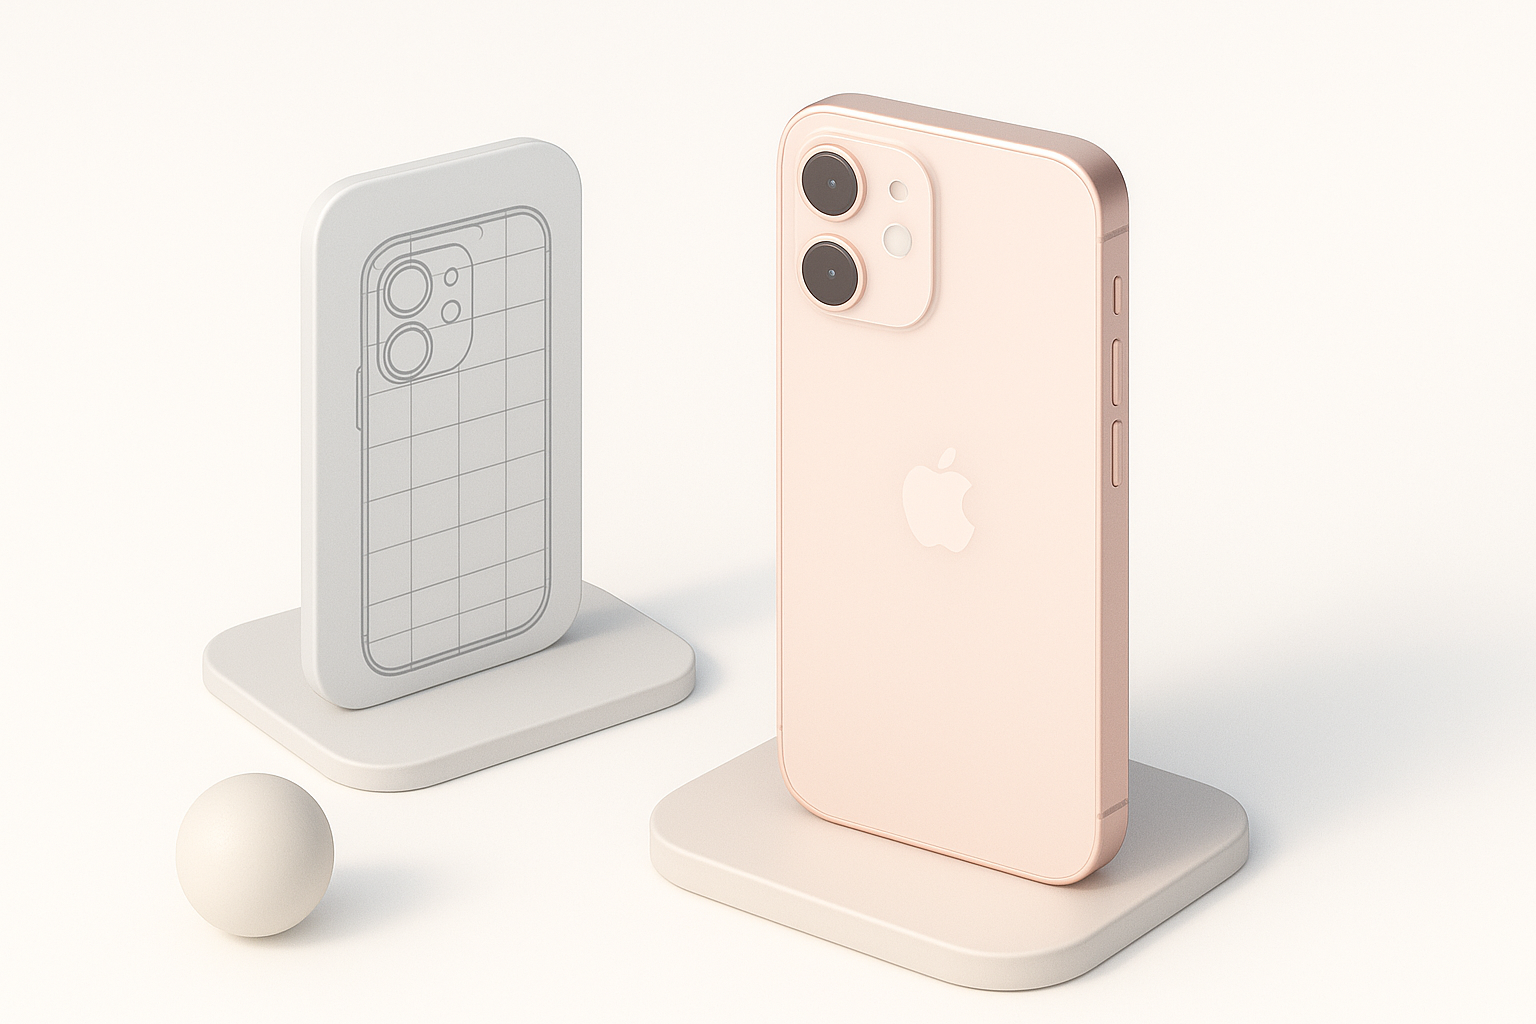
With platforms like Tripo AI, I input text prompts or reference images to generate a base mesh. I review the geometry, checking for symmetry and correct proportions. If needed, I adjust the mesh in a traditional modeling tool, focusing on edges, bevels, and small details.
Workflow steps:
- Generate base mesh via AI (text/image/sketch input)
- Inspect and tweak geometry for accuracy
- Add fine details manually (buttons, ports, camera rings)
Best Practices for Realistic Texturing and Materials
UV mapping and intelligent segmentation tips
AI-powered segmentation tools often auto-generate UVs, but I always check for stretching or overlaps. For complex surfaces (e.g., glass, metal), I manually adjust UV islands to optimize texture placement.
UV mapping tips:
- Use intelligent segmentation for initial UVs
- Manually tweak UVs for critical areas (logo, camera)
- Test with checker maps for distortion
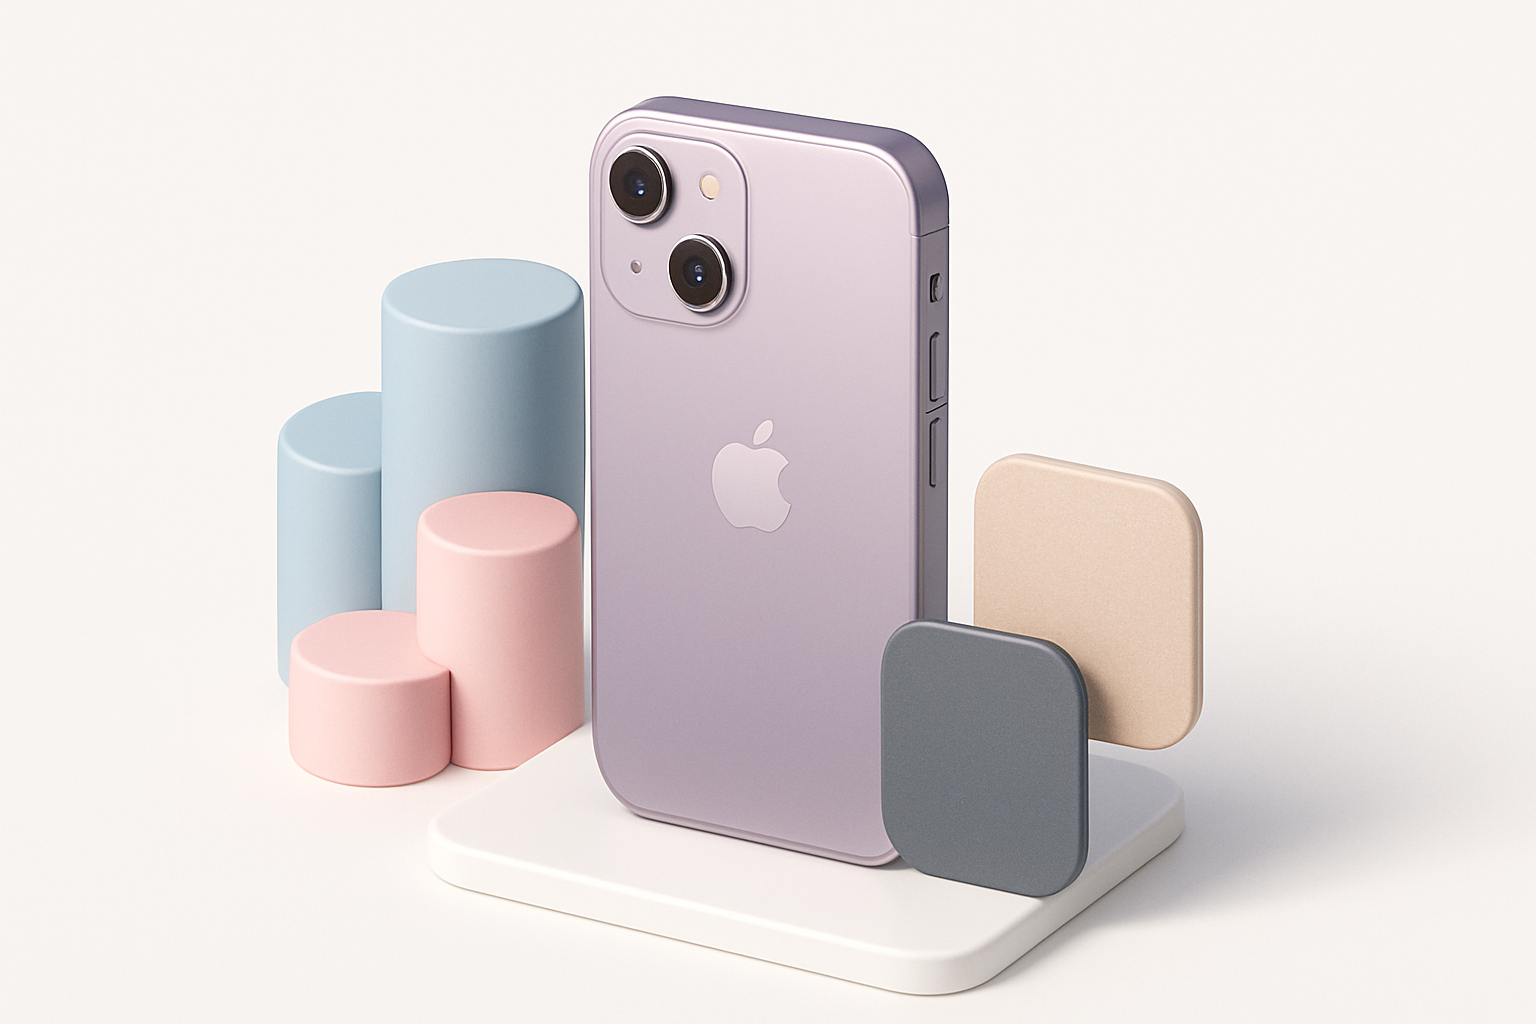
Applying photorealistic materials and finishes
I use PBR (Physically Based Rendering) materials for realism. Reference actual iPhone finishes: brushed aluminum, glass, and matte coatings. For textures, I either source high-res images or create custom maps in Photoshop.
Material checklist:
- Assign PBR materials (metal, glass, plastic)
- Match color and roughness to real-world reference
- Add subtle wear or fingerprints for authenticity
Optimizing iPhone 3D Models for Production Use
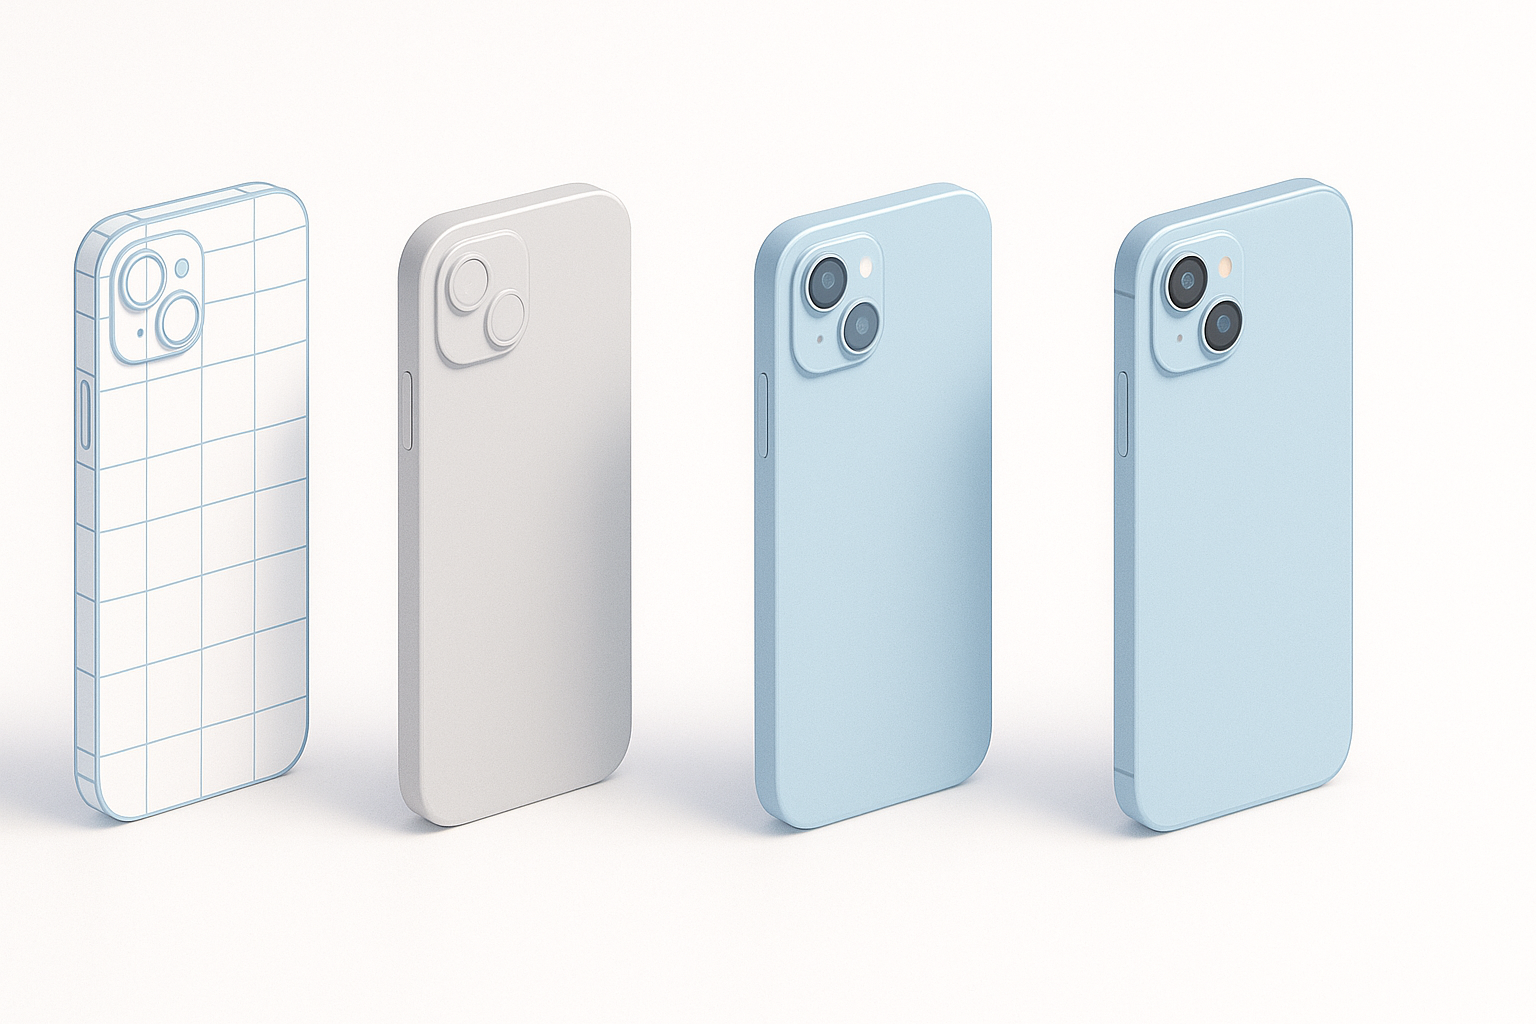
Retopology and mesh cleanup strategies
AI tools can automate retopology, but I always inspect the mesh for non-manifold edges, unnecessary polygons, and smoothing errors. Clean topology is crucial for animation, XR, and game integration.
Retopology steps:
- Run auto-retopology via AI tool
- Manually clean up mesh (delete stray verts, fix edge loops)
- Check for quads and avoid n-gons
Exporting and integrating into games, XR, or visualization
I export in the required format (FBX, GLTF, OBJ), ensuring textures and materials are properly linked. For game engines, I optimize mesh density and bake normal maps. For XR, I test performance and visual fidelity.
Export checklist:
- Choose correct file format
- Verify texture and material links
- Test in target engine or viewer
Comparing AI-Driven and Manual 3D Modeling Workflows
Speed, quality, and flexibility: What I’ve observed
AI-driven workflows deliver speed—base meshes in seconds—but manual approaches provide unmatched control. For client projects or high-detail assets, I blend both: AI for the foundation, manual for polish.
- AI workflow: Fast, good for iterative design, less flexible for custom detail.
- Manual workflow: Slower, but ideal for precision and bespoke features.
Choosing the right workflow for your project
- Use AI tools for rapid prototyping or when deadlines are tight.
- Opt for manual modeling when accuracy or custom features matter.
- Hybrid approach is best for most professional projects.
Decision guide:
- Tight deadline? Start with AI.
- High detail needed? Refine manually.
- Large volume of assets? Automate base, batch refine.
Tips, Troubleshooting, and Lessons Learned

Common pitfalls and how I avoid them
- Poor references: Leads to inaccurate models. I always double-check source images.
- Rushed topology: Causes issues in animation and export. I inspect edge flow and fix errors early.
- Mismatched materials: Breaks realism. I match textures to real-world references.
My favorite shortcuts and efficiency boosters
- Use AI segmentation for fast UVs and material assignment.
- Batch process similar models (e.g., iPhone variants) for consistency.
- Script repetitive tasks (renaming, exporting) in your DCC tool.
Efficiency checklist:
- Automate where possible
- Keep reference library organized
- Regularly review mesh and materials
Conclusion:
By combining AI-powered tools with manual refinement, I consistently deliver high-quality, production-ready iPhone 3D models. The key is balancing speed and accuracy—automate the routine, focus on the creative, and always validate against real-world references.