Creating Horizon Forbidden West 3D Models: Expert Workflow & Tips
скачать 3d модели для chicken gun
Creating 3D models inspired by Horizon Forbidden West demands a balance of technical skill, creative vision, and workflow efficiency. In my experience, blending traditional modeling techniques with modern AI-powered tools accelerates production and improves asset quality—especially for game and XR applications. This article breaks down my end-to-end approach, shares practical tips, and highlights common pitfalls to avoid. Whether you’re a game artist, XR developer, or 3D enthusiast, you’ll find actionable advice to streamline your workflow and produce production-ready models.
Key takeaways
- Reference gathering and planning are critical for high-quality results.
- Efficient workflows combine both manual and AI-driven techniques.
- Retopology and UV mapping are essential for game-ready assets.
- Optimize polygon count for performance without sacrificing detail.
- Ensure model compatibility with your target game engine early on.
- Avoid common pitfalls like over-detailing and poor texture management.
Overview of Horizon Forbidden West 3D Models
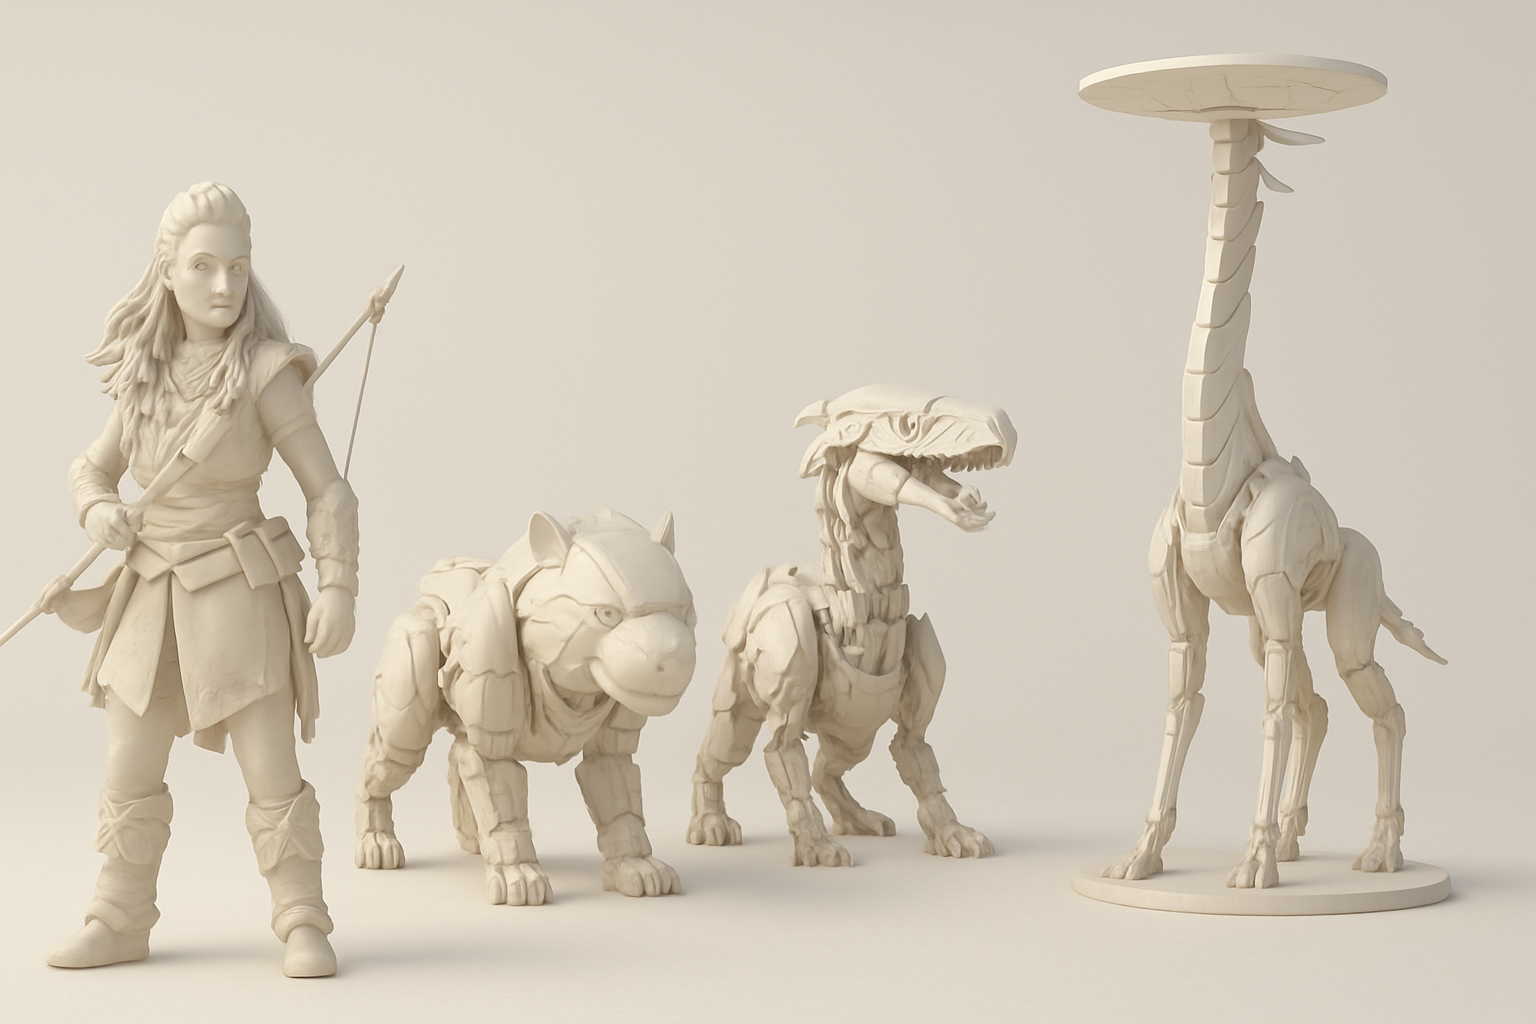
Key features and design elements
Horizon Forbidden West models are known for their intricate mechanical designs, organic-meets-robotic shapes, and layered texturing. I pay special attention to:
- Silhouette and proportions: Unique shapes and readable forms are key.
- Detail layering: Combining hard-surface elements with natural wear and tear.
- Material definition: Clear separation of metals, plastics, and organics with distinct textures and shaders.
Common use cases in games and XR
These models aren’t just for cutscenes—they’re built for real-time environments. I often deploy them in:
- In-game characters and enemies: Optimized for animation and interaction.
- Environmental props: Machinery, ruins, or set dressing.
- XR experiences: Where performance and visual fidelity must be balanced for immersive VR/AR.
My Workflow for Building Game-Ready 3D Models
Gathering references and planning
Before opening any 3D software, I invest time in research:
- Collect visual references: Screenshots, concept art, and fan renders.
- Break down components: Identify mechanical parts, armor plates, and organic features.
- Sketch blockouts: Quick 2D or 3D sketches help plan proportions and major forms.
This planning phase prevents rework and keeps the project focused.
Choosing the right tools and platforms
I always match my toolset to the project’s needs:
- Modeling and sculpting: I use industry-standard DCCs for high-detail work, but AI-powered tools like Tripo AI are invaluable for rapid prototyping or base mesh generation.
- Texturing: Dedicated painting tools or procedural solutions.
- Retopology and UVs: Automated solutions save time, but I often do manual tweaks for tricky areas.
- Game engine integration: Early export tests to engines like Unreal or Unity catch compatibility issues.
Step-by-Step: From Concept to Production-Ready Model
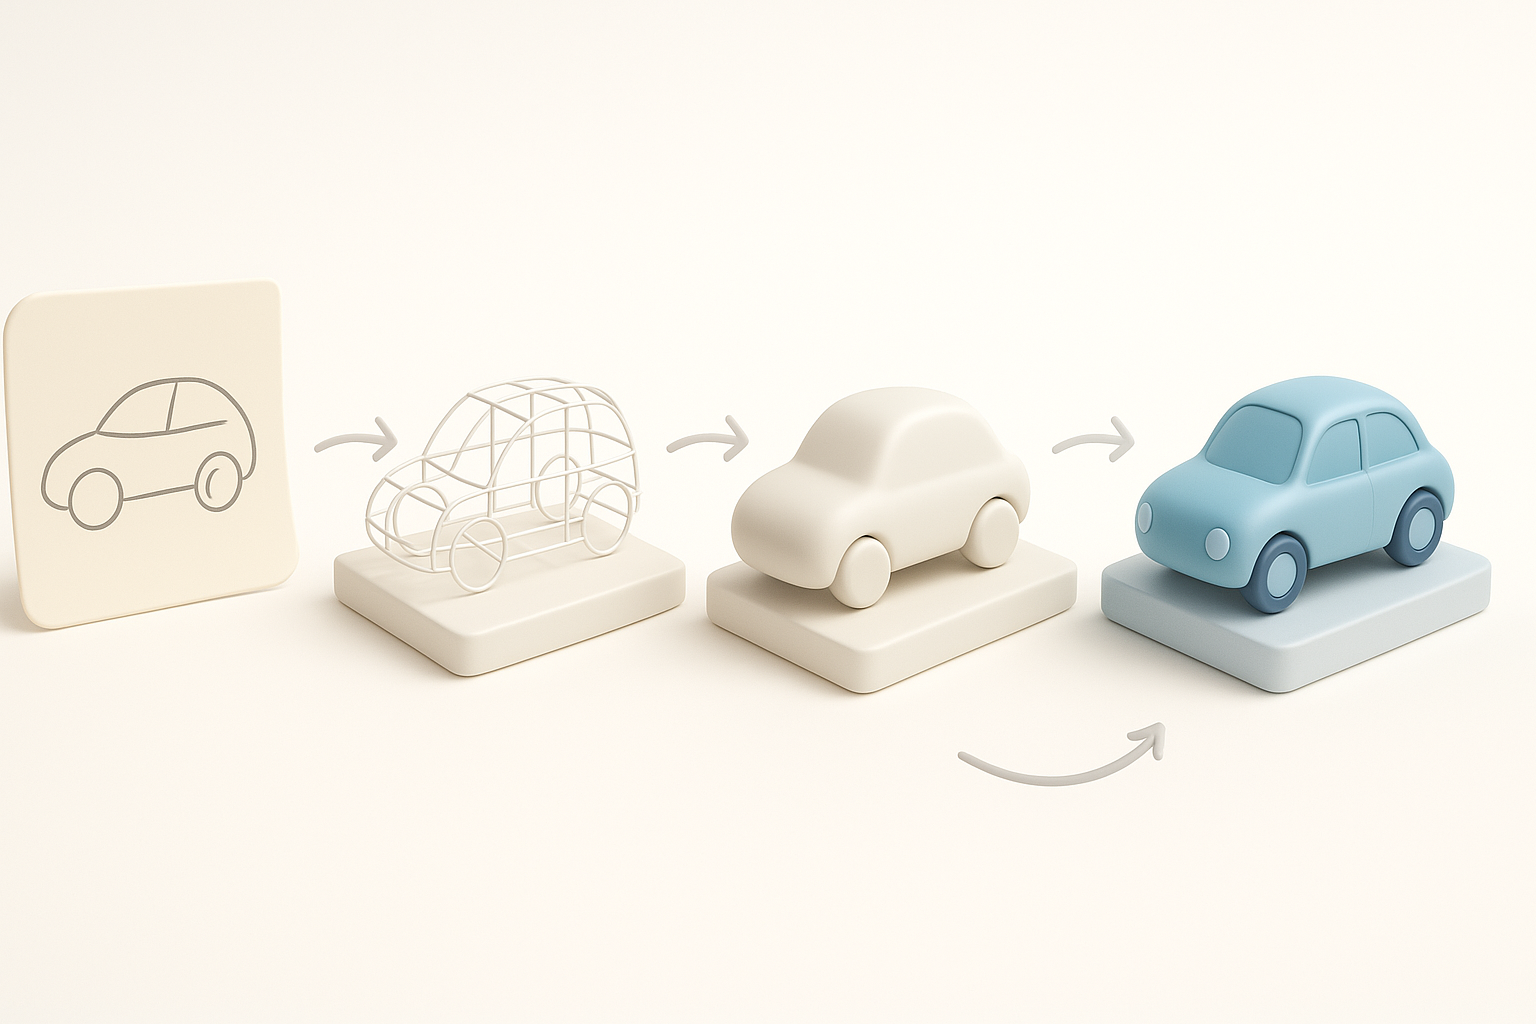
Modeling and sculpting techniques
I start with a blockout:
- Base mesh creation: Either from scratch or generated via Tripo AI using text/image prompts.
- Primary forms: Focus on silhouette and big shapes.
- Detail pass: Add panel lines, bolts, and surface wear using sculpting brushes or alphas.
Practical tips:
- Keep early geometry simple—details come later.
- Use symmetry and instancing for repeating elements.
Retopology, UV mapping, and texturing
Once the high-poly is done:
- Retopology: Generate clean, animation-friendly topology. I leverage Tripo AI’s auto-retopo, then manually adjust edge loops for deformation zones.
- UV mapping: Lay out efficient UVs with minimal seams.
- Texturing: Bake maps from high to low poly, then paint or apply procedural materials.
Checklist:
- Check for overlapping UVs.
- Test baked normals and AO for artifacts.
- Preview textures in your target engine before finalizing.
Best Practices for Optimizing 3D Models

Polygon count and performance tips
Optimizing for real-time is non-negotiable:
- Set a poly budget: Know your engine’s limits.
- Decimate non-essential areas: Hide detail in normal maps, not geometry.
- LOD creation: Generate lower-detail versions for distant rendering.
Pitfall: Over-modeling small details that could be handled with textures.
Ensuring compatibility with game engines
I always:
- Test imports early: Catch scale, orientation, or shading issues.
- Use standard file formats: FBX and glTF are widely supported.
- Check texture resolutions: Stay within engine memory budgets.
Mini-checklist:
- Does the model animate correctly in-engine?
- Are materials and shaders rendering as expected?
- Any lighting or shadow artifacts?
Comparing AI-Powered and Traditional 3D Workflows
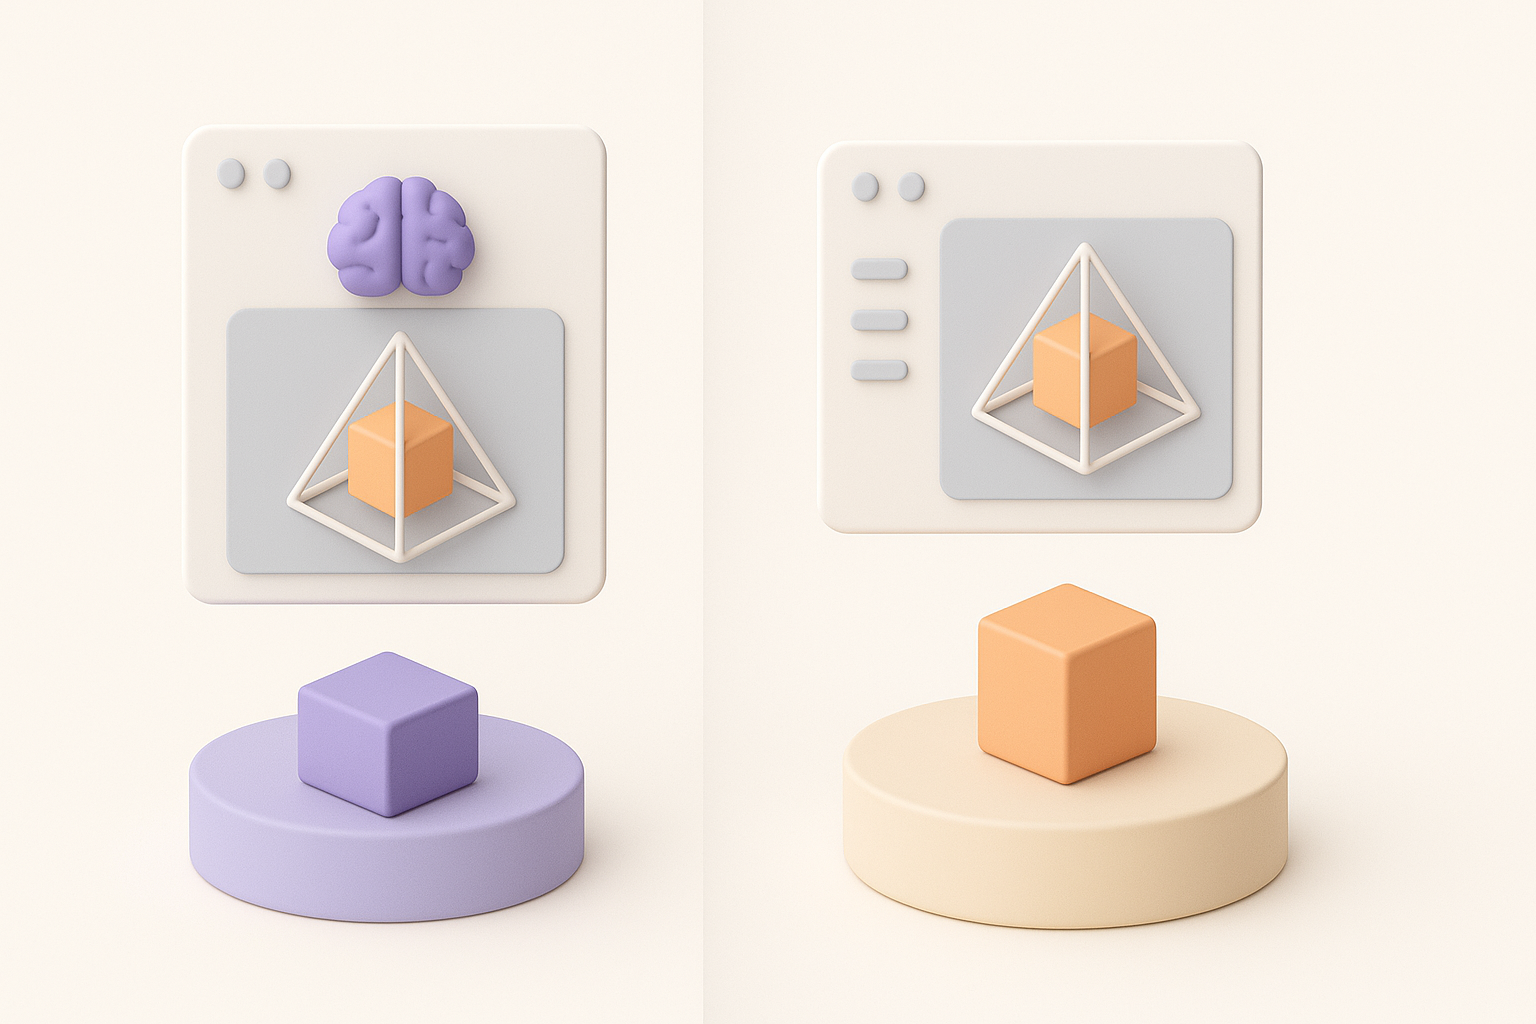
When to use AI-driven tools
AI tools like Tripo AI shine when:
- Rapid prototyping is needed—generating base meshes from text or sketches.
- Batch processing of similar assets (e.g., props or variants).
- Automating repetitive tasks like retopology or segmentation.
I still rely on manual work for:
- Final detailing
- Artistic direction
- Complex rigging
Integrating AI with manual processes
The best results come from blending both approaches:
- AI for speed, manual for polish.
- Use AI-generated assets as a starting point, then refine geometry and textures by hand.
- Maintain a feedback loop—test AI outputs in context and iterate as needed.
What I’ve Learned: Lessons and Recommendations

Common pitfalls and how to avoid them
From experience, avoid:
- Skipping planning: Leads to wasted time and inconsistent results.
- Ignoring engine requirements: Causes rework at export.
- Over-relying on automation: AI is a tool, not a replacement for artistic judgment.
My favorite tips for efficiency and quality
- Batch reference gathering: Build a personal library for recurring themes.
- Frequent in-engine testing: Catch issues early.
- Leverage AI for grunt work: Free up time for creative problem-solving.
- Document your process: Saves time on future projects and helps with collaboration.
By combining careful planning, the right mix of tools, and a sharp eye for optimization, you can create Horizon Forbidden West-style 3D models that are both visually stunning and technically robust.