How to Create a Hello Neighbor 3D Model: Expert Workflow & Tips
Creating a 3D model of the Hello Neighbor character requires a mix of artistic vision and technical skill. In my experience, the fastest and most reliable results come from combining AI-powered 3D creation platforms with traditional modeling know-how. This guide is for artists, game devs, and hobbyists who want to make a high-quality, game-ready Hello Neighbor model—without getting bogged down in technical bottlenecks. Below, I’ll walk through my hands-on workflow, highlight key decisions, and share hard-won tips for efficiency and polish.
Key takeaways:
- Gather strong references and define your model’s scope before starting
- AI-powered platforms like Tripo can speed up blocking, segmentation, and retopology
- Focus on clean topology and stylized texturing for game-ready assets
- Rigging and animation prep are easier with automated tools, but manual tweaks are often needed
- Optimize for real-time performance before importing into your target engine
Executive Summary: Key Steps for a Hello Neighbor 3D Model

What to Expect from This Guide
This guide outlines my step-by-step process for creating a Hello Neighbor 3D model, from reference gathering to engine integration. I’ll cover both AI-assisted and manual techniques, highlight common pitfalls, and share workflow shortcuts that save me hours on every project.
Essential Takeaways for 3D Artists
- Start with solid reference material and a clear plan for detail level
- Use AI tools for rapid prototyping, but always check results manually
- Clean topology and UVs are non-negotiable for animation and texturing
- Stylized materials and textures are key for the Hello Neighbor look
- Always test your model in-engine before calling it done
Planning and Reference Gathering

Collecting Visual References and Concept Art
Before touching any 3D software, I spend time collecting as many reference images as possible. For Hello Neighbor, this includes official art, in-game screenshots, and fan interpretations. I use a moodboard or reference sheet to keep everything organized.
Checklist:
- Official character sheets and turnarounds
- High-res in-game screenshots (front, side, back)
- Close-ups of unique features (face, clothing, props)
- Style notes (color palette, proportions)
Defining Model Scope and Level of Detail
I always ask: is this model for cinematics, gameplay, or mobile? For game-ready assets, I aim for a balance between detail and performance. I define polygon count, texture resolution, and whether I need facial rigging or just basic movement.
Tips:
- Write down your target polycount and texture sizes
- Decide on animation requirements early (full rig, facial, or static)
- Note any must-have features (e.g., removable hat, swappable textures)
Choosing the Right Tools and Platforms

Why I Use AI-Powered 3D Creation Platforms
AI-powered platforms like Tripo have transformed my workflow. They let me generate a solid base mesh from a sketch, photo, or text prompt in seconds. This is especially useful for stylized characters like Hello Neighbor, where proportions are exaggerated but must remain consistent.
Benefits:
- Rapid prototyping and iteration
- Built-in segmentation and retopology save hours
- Easy to refine outputs in traditional DCC tools if needed
Alternative Methods and Traditional Software
While AI tools are great for speed, I often use traditional modeling software for fine-tuning. Sculpting details, manual retopology, and UV unwrapping are sometimes better handled by hand, especially for stylized features.
Common tools I use:
- Sculpting/modeling: Blender, Maya, or similar
- Texture painting: Substance Painter, Photoshop
- Animation: Mixamo, manual rigging tools
Step-by-Step: Modeling the Hello Neighbor Character

Blocking Out the Base Mesh
I usually start by generating a rough base mesh with an AI platform. If the prompt is clear and the references are strong, the output often needs only minor tweaks. For manual workflows, I block out simple shapes (head, torso, limbs) and adjust proportions to match the Hello Neighbor style.
Steps:
- Generate or sculpt a base mesh
- Match major proportions (head size, torso length)
- Block in hands, feet, and facial features
Refining Shapes and Adding Details
Once the base mesh is set, I move on to refining the silhouette and adding secondary forms—like the distinctive mustache, gloves, and shoes. I keep the mesh clean and avoid unnecessary edge loops.
Tips:
- Use reference images for silhouette checks
- Add clothing and accessories as separate objects for easier texturing
- Keep geometry simple where possible for game performance
Texturing and Materials Best Practices
UV Unwrapping and Texture Painting
Clean UVs are essential for stylized characters. I rely on automated UV tools in AI platforms for quick unwraps, but often tweak seams manually for optimal texture placement. I paint base colors and details in Substance Painter or similar.
Checklist:
- Unwrap UVs with minimal stretching
- Align seams to less-visible areas (under arms, inside legs)
- Export UV maps for texture painting
Applying Stylized Materials for Game-Ready Assets
For Hello Neighbor, stylized, hand-painted textures work best. I focus on bold colors, simple gradients, and exaggerated shadows to match the game’s aesthetic.
Tips:
- Use baked ambient occlusion for extra depth
- Layer brushstrokes for a hand-painted feel
- Test materials under different lighting setups
Retopology, Rigging, and Animation Preparation
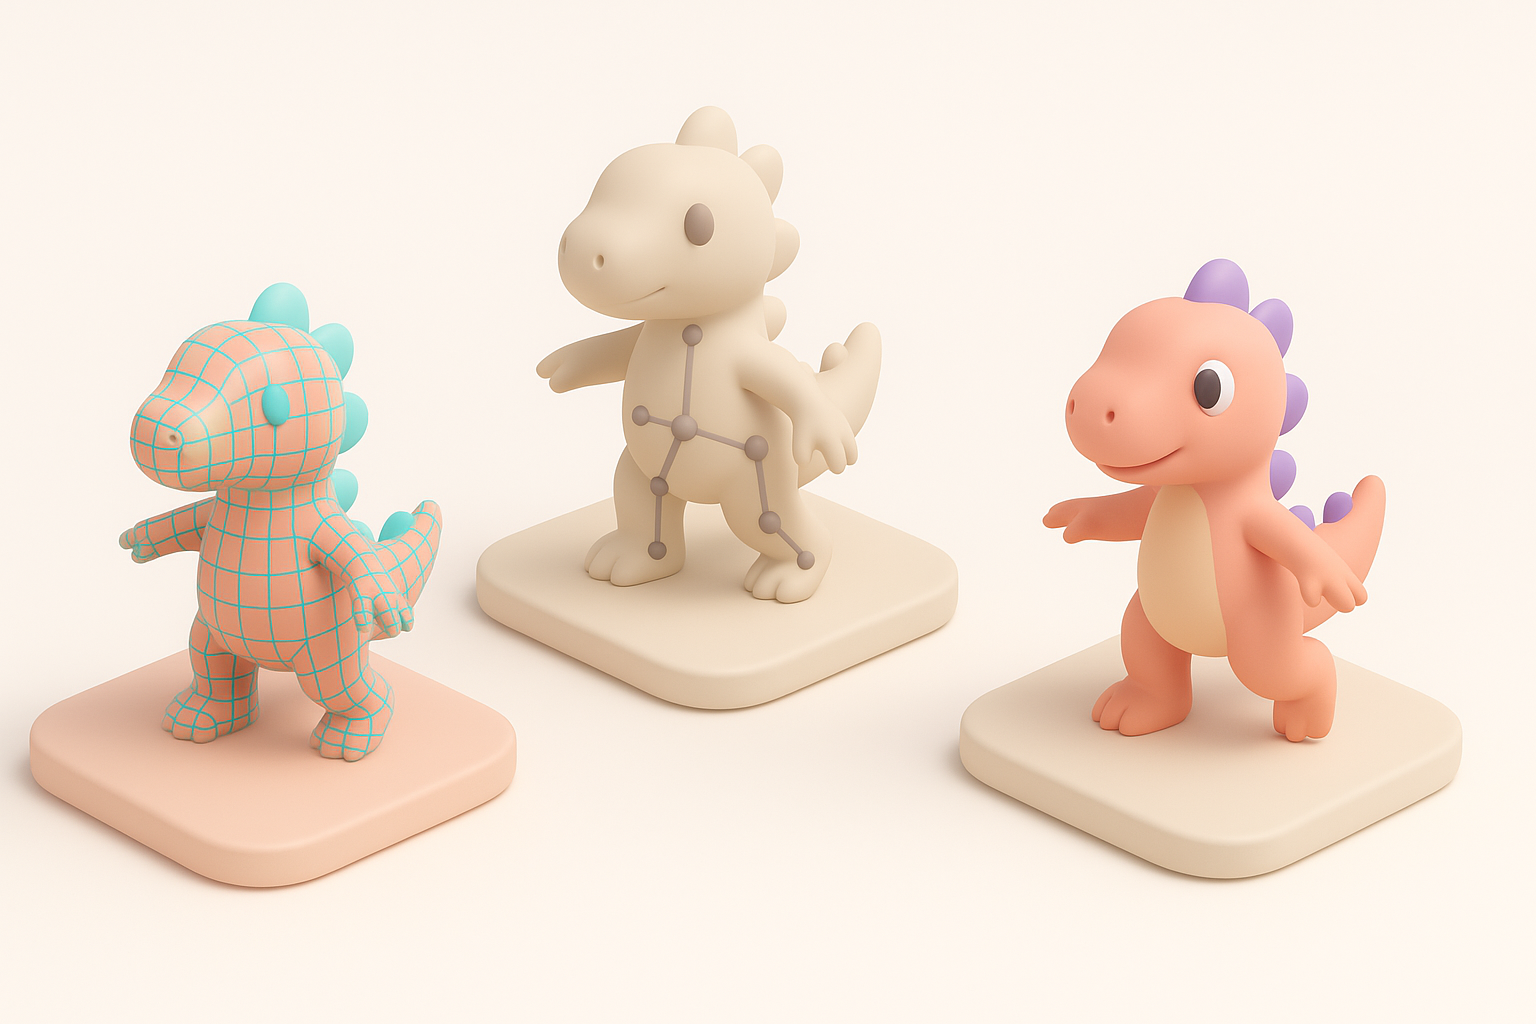
Automated Retopology for Clean Meshes
Automated retopology tools in platforms like Tripo help me quickly generate animation-friendly meshes. I always inspect the edge flow around joints and facial areas, fixing any issues manually.
Steps:
- Run automated retopology
- Check edge loops around elbows, knees, mouth, and eyes
- Clean up stray vertices and non-manifold edges
Setting Up Rigs for Animation
For rigging, I use auto-rigging tools for basic skeletons, then manually adjust weights and joint placements as needed. For Hello Neighbor, exaggerated proportions may require custom bone placement.
Tips:
- Test deformations with simple poses before animating
- Add control shapes for easy posing
- Save rig presets for future use
Exporting and Integrating the Model into Game Engines
Optimizing for Real-Time Performance
Before export, I reduce polycount where possible and ensure all textures are compressed to engine-friendly formats. I check for unnecessary mesh complexity and clean up the outliner.
Checklist:
- Apply all transforms and freeze scale
- Remove hidden or unused geometry
- Bake normal and AO maps for extra detail
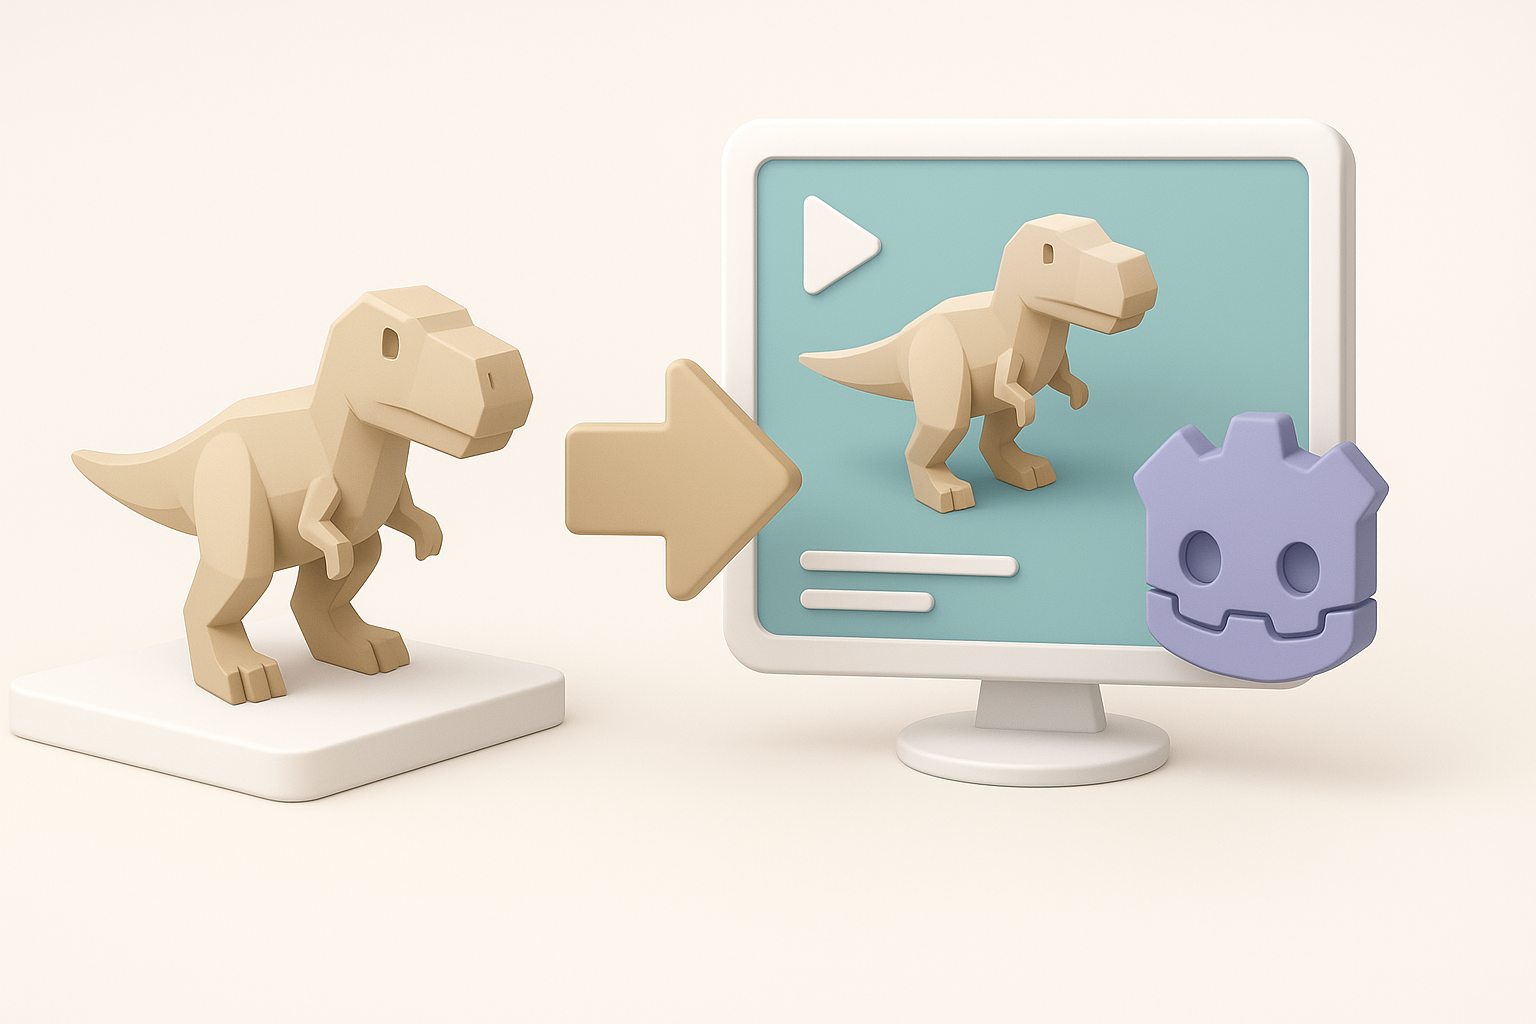
Importing into Popular Game Engines
I export the final model in FBX or glTF format, which most engines support. I always test materials and animations in-engine, adjusting as needed for lighting and shader compatibility.
Steps:
- Export model and textures
- Import into engine (e.g., Unreal, Unity)
- Assign materials and test animations
- Adjust LODs and collision as needed
Lessons Learned and Expert Tips

Common Pitfalls and How I Avoid Them
- Overcomplicating geometry: I keep meshes simple and let textures do the heavy lifting.
- Ignoring reference images: Frequent checks against reference prevent style drift.
- Relying solely on automation: AI tools are great, but manual cleanup is always required for pro results.
My Favorite Workflow Shortcuts
- Use AI platforms for fast base meshes and retopology, then refine manually
- Save reusable rigs and material presets for similar stylized characters
- Batch export textures and models to speed up engine integration
By following this workflow, I consistently create stylized, game-ready Hello Neighbor 3D models with minimal friction—leveraging the strengths of both AI tools and traditional techniques.