Creating and Using Helldivers 3D Models: Expert Workflow & Tips
As a 3D artist working with game and media assets, I’ve found that creating Helldivers-inspired 3D models requires a blend of creativity, technical skill, and the right tools. In this guide, I’ll break down my end-to-end workflow—from concepting and input selection to production-ready export. I’ll cover the nuances of using AI-powered platforms like Tripo, share practical tips for optimizing models, and highlight common pitfalls. Whether you’re a game developer, designer, or XR creator, this article will help you streamline asset creation and avoid costly mistakes.
Key takeaways:
- Reference gathering is crucial for authentic Helldivers models.
- AI-powered platforms like Tripo can dramatically speed up asset creation.
- Clean topology and UVs are non-negotiable for production use.
- Know when to use manual vs. AI-assisted workflows.
- Export settings and integration steps are critical for game/XR pipelines.
- Learn from common mistakes to save time and rework.
Overview of Helldivers 3D Models
What defines a Helldivers 3D model
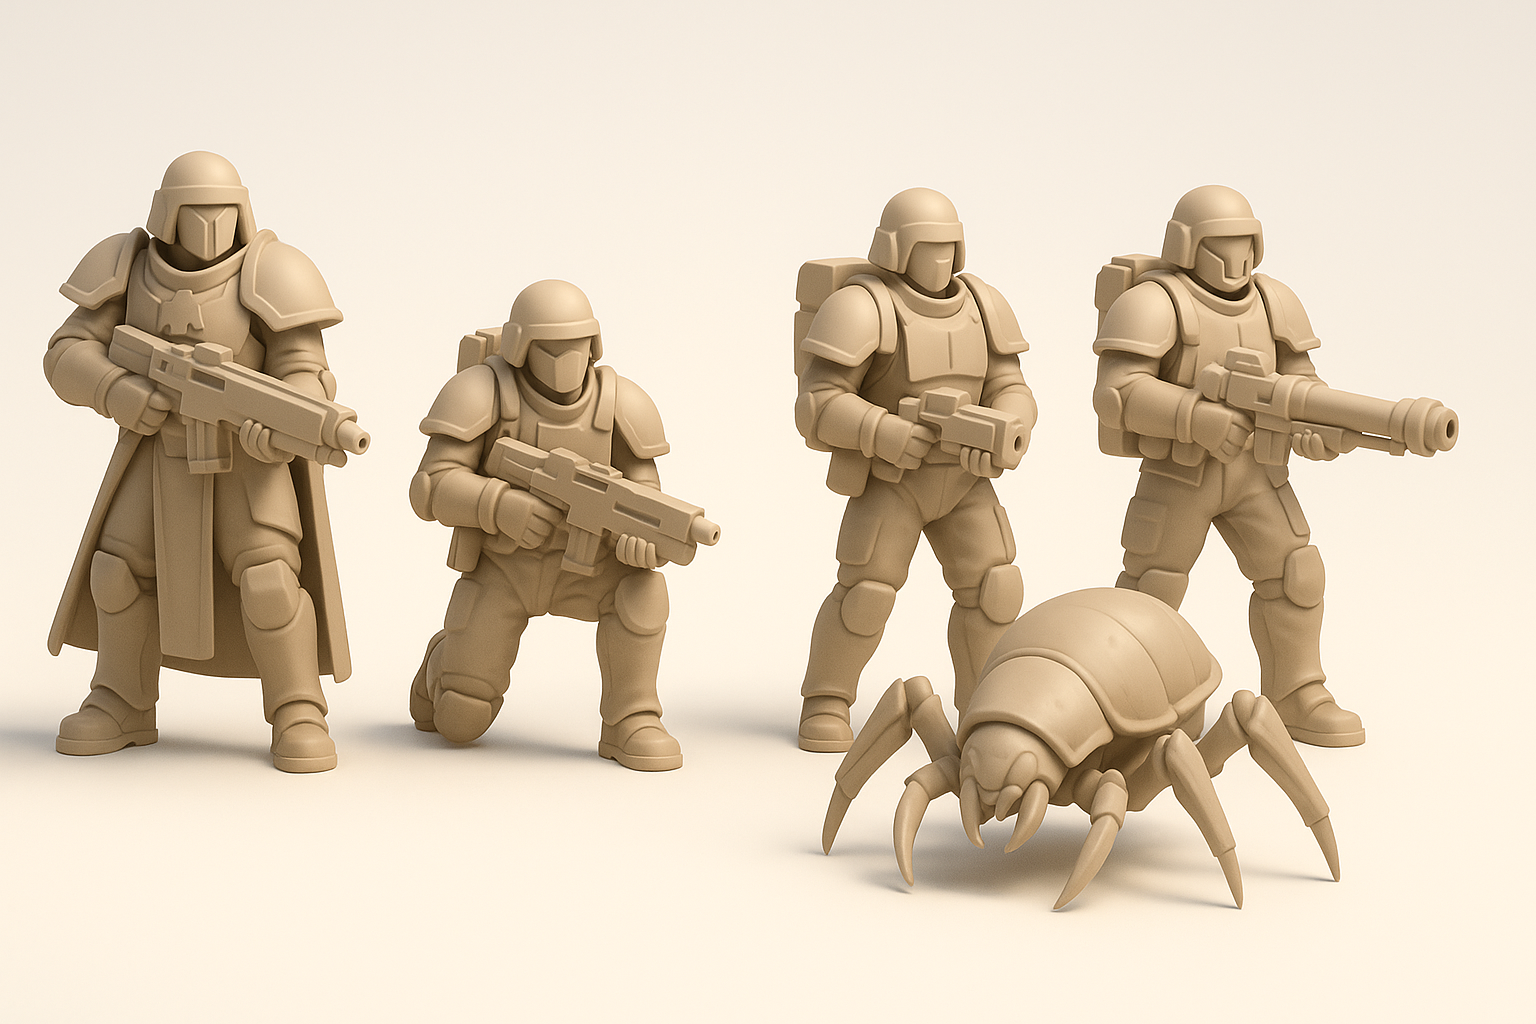
Helldivers 3D models are characterized by their sci-fi military aesthetic, modular armor, and stylized proportions. In my experience, nailing the signature look—bulky armor, distinct helmets, and exaggerated gear—makes models instantly recognizable. Attention to detail in surface texture and silhouette is essential for authenticity.
Common use cases in games and media
These models are widely used in:
- Real-time game assets (especially for top-down shooters)
- Cinematics and cutscenes
- XR and VR demos
- Fan art and collectibles
I often see Helldivers models repurposed for mods, machinima, and rapid prototyping in indie projects.
My Workflow for Creating Helldivers 3D Models
Concepting and gathering references
I start every project by collecting visual references: official game art, screenshots, and fan concepts. Creating a mood board helps clarify design goals and ensure consistency. I always keep a folder of helmet, armor, and weapon close-ups for detail work.
Checklist:
- Gather 10–20 strong reference images
- Identify key design elements (helmet, armor, insignia)
- Sketch rough silhouettes if needed
Choosing the right tools and platforms
For fast iteration, I lean on AI-powered 3D creation tools like Tripo. They handle initial mesh generation, segmentation, and even basic texturing. For refinement, I use traditional DCC software (e.g., Blender, Maya) to tweak topology, UVs, and materials.
What I’ve found:
- AI tools are great for quick blockouts and variations
- Manual tools are still essential for polish and custom detail
Step-by-Step: Generating a Helldivers 3D Model

Text/image/sketch input: What works best
In my workflow, text prompts are ideal for broad concepts, while image or sketch inputs work best for capturing specific armor or weapon details. Tripo’s sketch input is especially useful for communicating unique silhouettes or gear layouts.
Tips:
- Use clear, descriptive prompts (e.g., “bulky armored trooper with heavy helmet”)
- Annotate sketches to highlight unique features
- Provide reference images for color and material cues
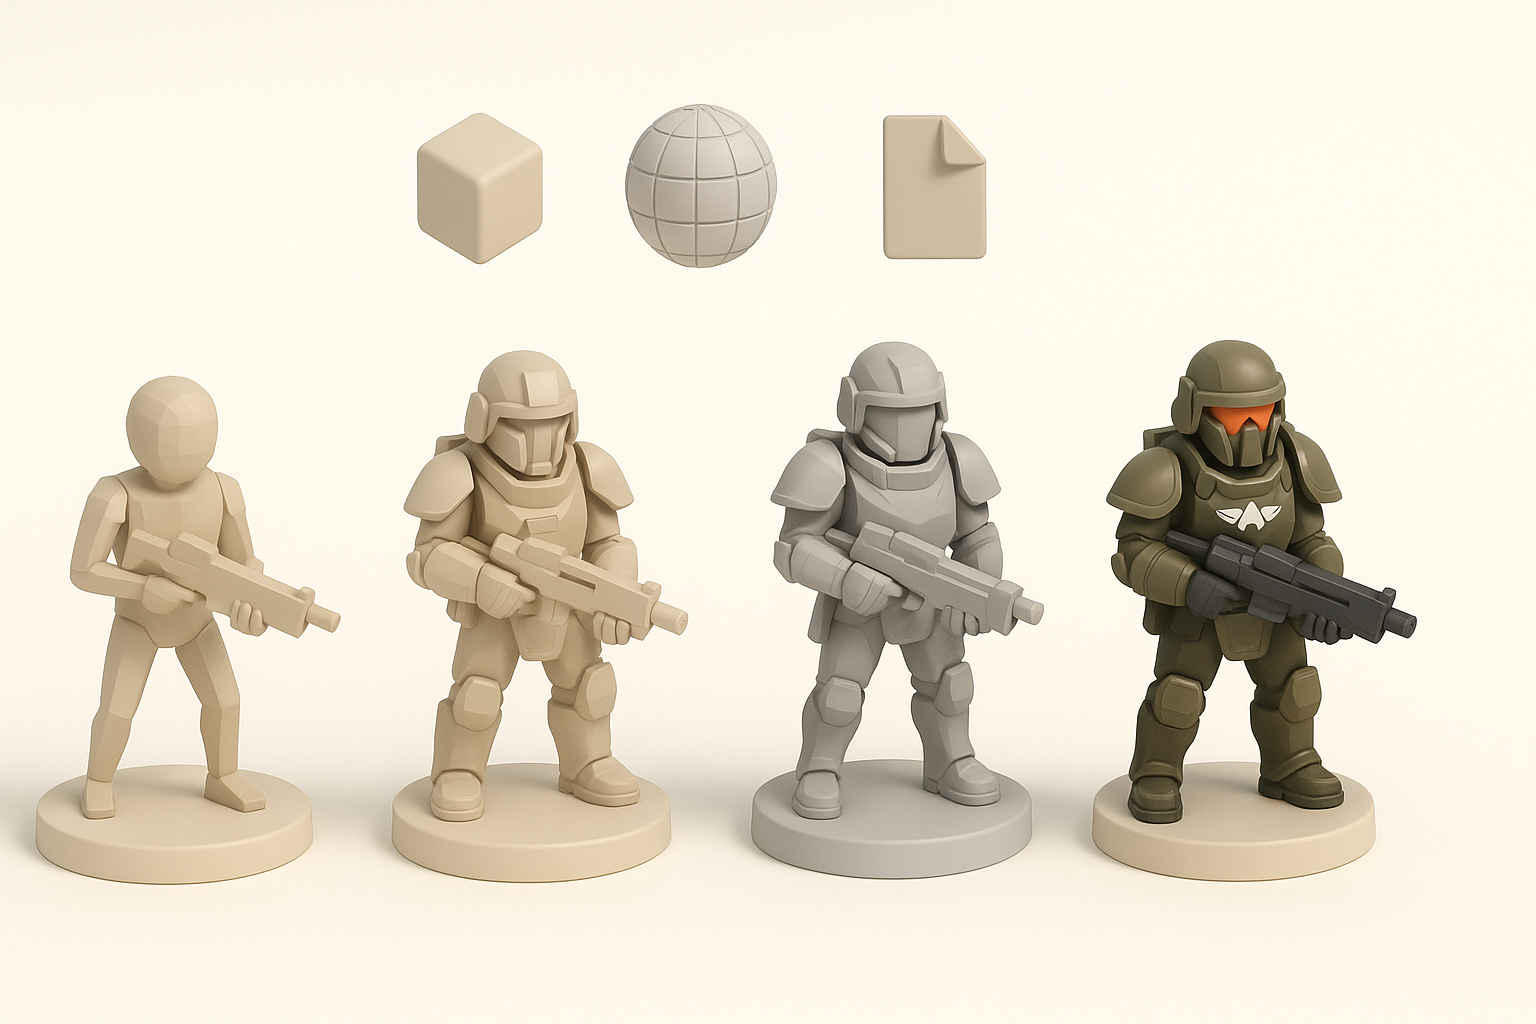
Segmentation, retopology, and texturing tips
After generating a base mesh, I review the segmentation for logical part separation (helmet, torso, limbs, gear). I rely on Tripo’s auto-retopology but always check for edge flow and polycount. For texturing, I use baked maps and tweak materials for that signature rugged, sci-fi look.
Pitfalls to avoid:
- Overlapping UVs or messy topology (hard to fix later)
- Ignoring material separation (makes shading harder)
- Not checking scale consistency (especially for game engines)
Optimizing Models for Production

Ensuring clean topology and UVs
Production-ready models need efficient, clean topology—no n-gons, minimal poles, and good edge loops for deformation. I always inspect UVs for stretching and logical packing. Automated tools get me 80% there, but manual cleanup is a must.
Mini-checklist:
- Quads only for deformation areas
- Logical UV islands (helmet, armor plates, etc.)
- Texel density consistency
Rigging and animation best practices
Helldivers models often require basic rigging for animation. I use simple skeletons for rapid prototyping and add controllers for complex actions. Weight painting should be clean, especially around armor joints and straps.
What I’ve learned:
- Test deformations early (don’t wait until export)
- Keep rigs simple unless advanced animation is needed
- Export with compatible formats (FBX, glTF) for your engine
Comparing AI-Powered and Traditional 3D Workflows
Speed, quality, and flexibility differences
AI-powered workflows (like Tripo) are unmatched for speed—generating a base model in seconds. However, manual workflows still win for custom detail and precision. I often use AI for blockouts and manual tools for final polish.
Comparison:
- AI: Fast, good for ideation, less control over specifics
- Manual: Slower, but essential for high-end or stylized projects
When to use AI tools vs. manual modeling
I recommend AI tools for:
- Rapid prototyping
- Generating variations
- Filling out background assets
Manual modeling is best for:
- Hero characters
- Highly detailed or stylized assets
- Complex rigging/animation requirements
Exporting and Integrating Helldivers Models
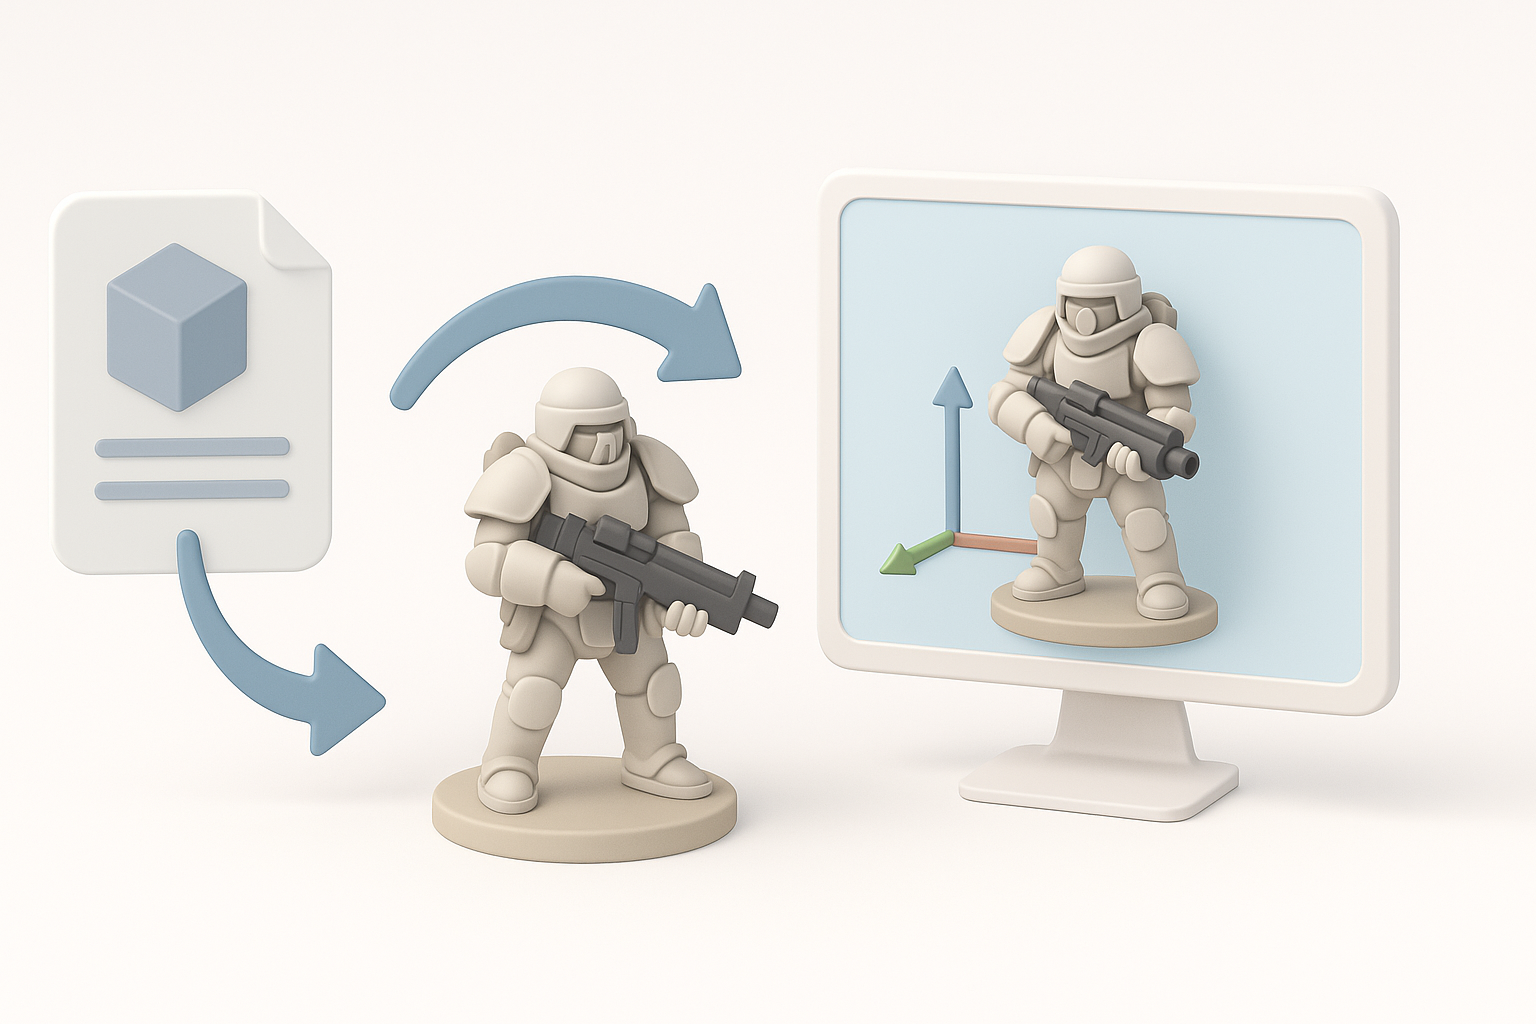
Export settings for game engines and XR
Exporting correctly is critical. I usually export as FBX or glTF, ensuring scale matches my engine’s requirements (e.g., Unity, Unreal). I bake textures (diffuse, normal, roughness) and double-check material assignments.
Export checklist:
- Apply transforms and freeze scale
- Triangulate meshes if needed
- Pack textures in engine-friendly formats (PNG, TGA)
Troubleshooting common integration issues
Common issues I’ve faced include flipped normals, missing textures, and rig incompatibility. I always preview models in the target engine before finalizing.
Troubleshooting tips:
- Inspect normals and UVs before export
- Check material assignments in the engine
- Test animations on import
Lessons Learned and Expert Tips
What I wish I knew starting out
- Reference quality directly impacts final model believability.
- AI tools are not a shortcut for fundamentals—understand topology and UVs.
- Always keep an iterative backup (especially before retopology or rigging).
- Integration issues can eat up more time than modeling—test early.
Recommended resources and next steps
- Study official Helldivers art and 3D breakdowns.
- Practice with both AI and manual workflows to understand their strengths.
- Join 3D communities for feedback and troubleshooting.
- Explore Tripo’s documentation for advanced features.
By following a structured workflow and leveraging the right mix of AI and manual techniques, I’ve been able to create high-quality Helldivers 3D assets efficiently. Whether you’re new to 3D or looking to optimize your pipeline, these steps and lessons should help you get production-ready results faster and with fewer headaches.