Creating a Gorilla Tag 3D Model: Workflow & Best Practices
Creating a 3D model for Gorilla Tag demands a careful balance between creative expression and strict technical requirements. In my experience, a streamlined workflow—backed by the right tools—makes the process faster and less error-prone. This guide distills my hands-on approach, from initial planning to integration, with practical advice for both beginners and experienced artists aiming to produce game-ready assets efficiently. Whether you're modeling from scratch or leveraging AI-powered platforms like Tripo, these best practices will help you deliver optimized models for Gorilla Tag and similar games.
Key takeaways
- Understand game-specific constraints before modeling.
- Reference gathering and planning are essential for accuracy.
- Block out, then refine; avoid over-detailing early.
- Efficient UVs and textures save time and memory.
- Rig for the unique movement style of Gorilla Tag.
- Test integration early to catch compatibility issues.
- AI tools like Tripo can accelerate prototyping but require human oversight.
Understanding Gorilla Tag 3D Model Requirements
Game-Specific Constraints and Polycount
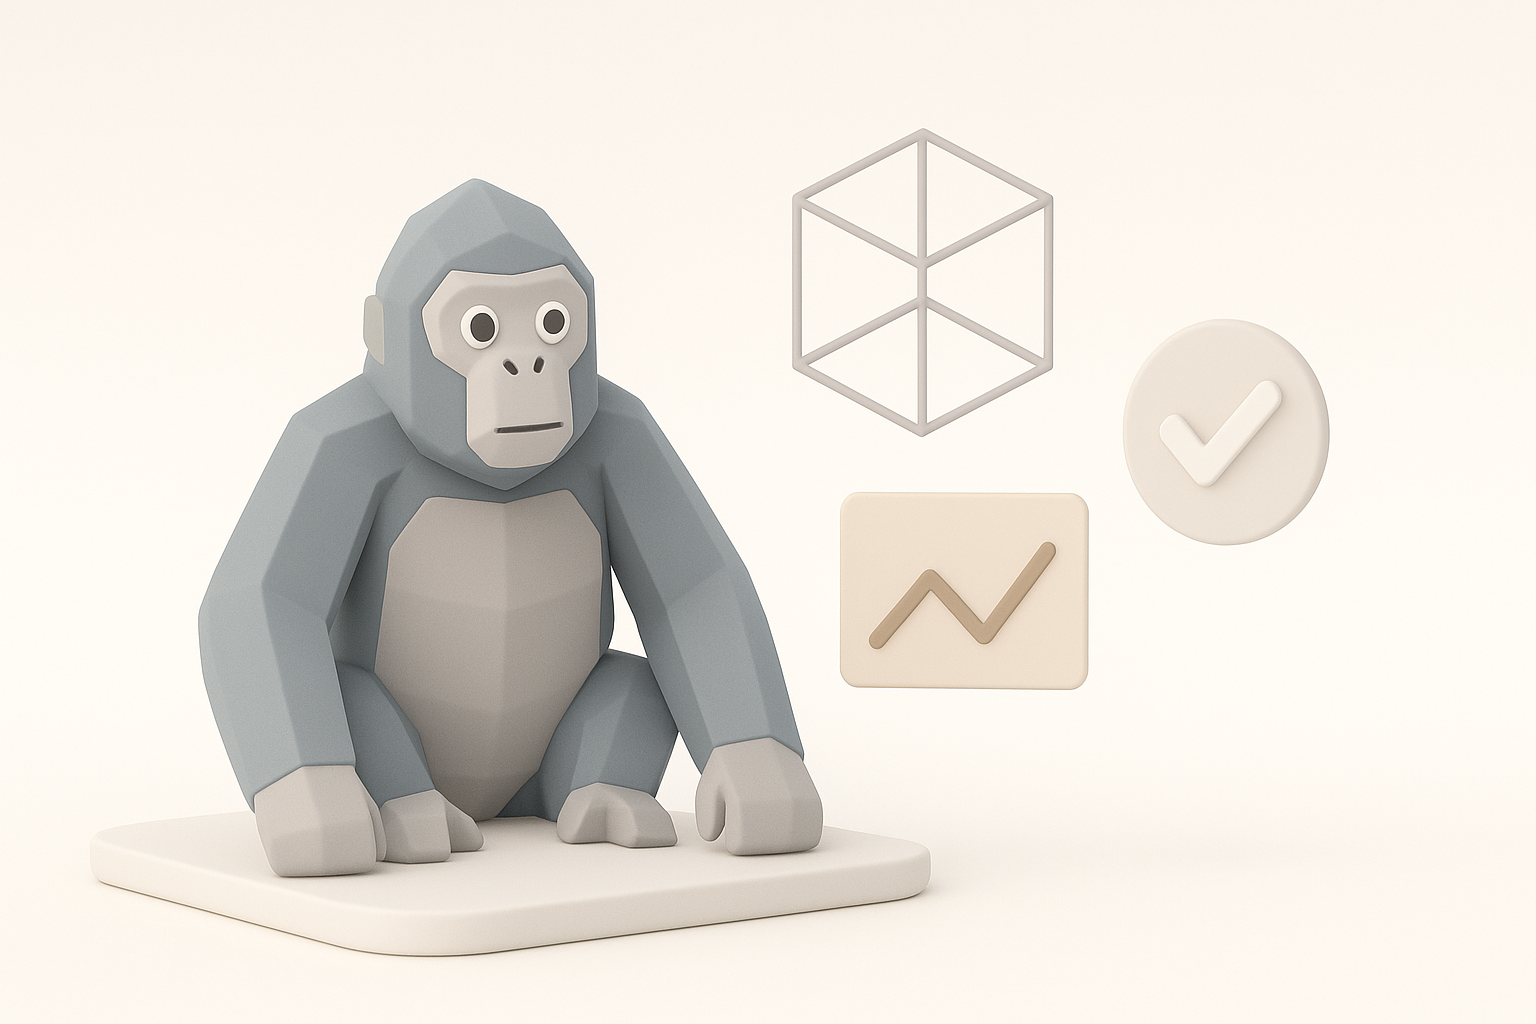
In Gorilla Tag, performance is king. Models must be low-poly to ensure smooth multiplayer gameplay, especially on VR hardware. I always check the game’s documentation or community guidelines for maximum polycount and texture size. Generally, I aim for:
- Polycount: Under 5,000 triangles for characters.
- Texture size: 512x512 or 1024x1024, depending on detail needs.
- Rigging: Simple skeletons for efficient runtime animation.
Tip: Overly complex models can cause lag or be rejected by the game engine. Always optimize as you go.
Reference Gathering and Planning
Before opening any 3D software, I gather references—screenshots, fan art, and official model sheets. Planning saves hours later. My checklist:
- Collect at least 5–10 reference images.
- Sketch rough concepts or silhouettes.
- Note key proportions and style (cartoony, stylized, etc.).
Pitfall: Skipping this step leads to inconsistent or off-brand results.
Step-by-Step Gorilla Tag 3D Modeling Workflow
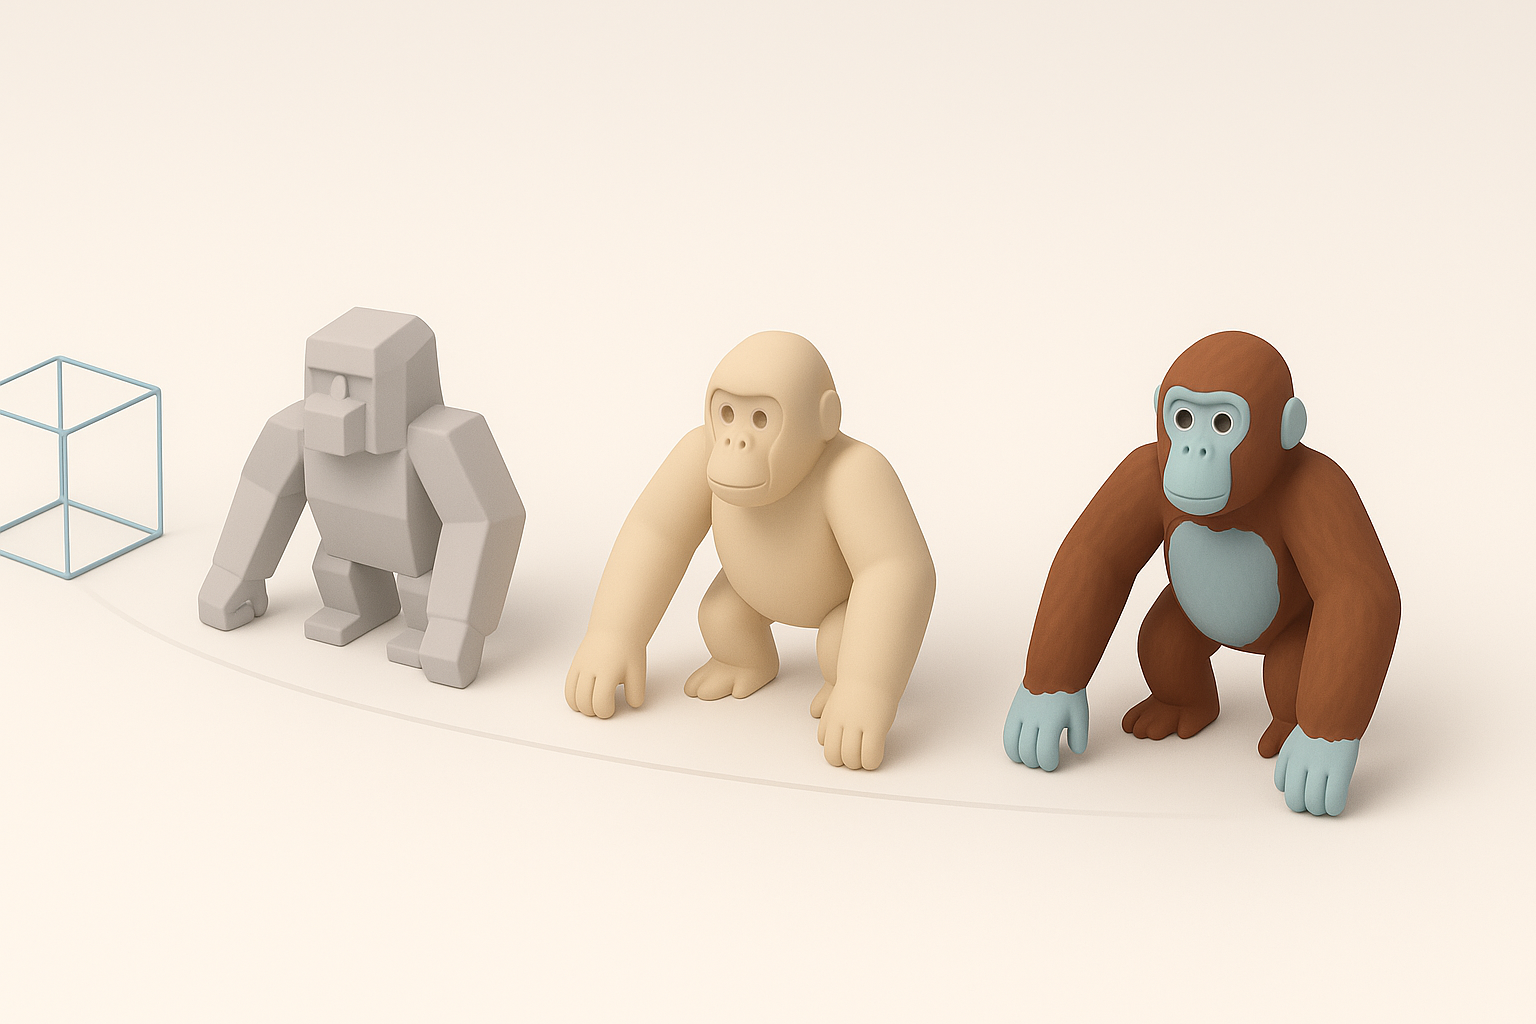
Blocking Out the Base Mesh
I start with simple shapes—boxes and spheres—to block out the gorilla’s main forms. This keeps proportions correct and makes it easy to adjust before adding detail.
Steps:
- Block head, torso, limbs with primitives.
- Adjust silhouette to match references.
- Keep geometry simple; avoid early subdivision.
Tip: In Tripo, I can quickly generate a base mesh from a sketch or text prompt, then refine it in my preferred 3D package.
Sculpting and Refining Details
Once the base mesh is approved, I add secondary forms—muscle definition, facial features, and hands. For Gorilla Tag, I keep details subtle to maintain low polycount.
- Use sculpting tools for organic shapes, but retopologize early.
- Avoid tiny details that won’t show in-game.
- Check proportions frequently against references.
Pitfall: Over-detailing at this stage leads to wasted effort and potential performance issues.
Texturing, Rigging, and Animation Essentials

Efficient UV Unwrapping and Texturing
UV unwrapping can be tedious, but clean UVs are crucial for good textures. I keep seams hidden and islands logically grouped.
Checklist:
- Minimize visible seams.
- Pack UVs efficiently to maximize texture space.
- Use Tripo’s auto-unwrap and AI texturing for quick iterations.
When texturing, I stick to stylized, bold colors—matching Gorilla Tag’s aesthetic and keeping file sizes small.
Rigging for Gorilla Tag Movement
Gorilla Tag’s movement is unique: players swing their arms for locomotion. The rig must reflect this.
- Use a simple skeleton: spine, head, upper/lower arms, hands.
- Ensure joint placement matches natural movement.
- Test basic arm swings in your 3D package before export.
Tip: Limit bone count to what’s strictly needed. Overcomplicated rigs can break in-game.
Exporting and Integrating the Model into Gorilla Tag

Optimizing for Game Engine Compatibility
Before exporting, I always:
- Freeze transforms and apply scale.
- Check for non-manifold geometry and stray vertices.
- Export in the required format (usually FBX or OBJ).
Tripo can export directly to common formats, with options for game engine-ready settings.
Testing and Troubleshooting
Import the model into the game engine as early as possible. I look for:
- Mesh errors (flipped normals, missing faces).
- Animation glitches (incorrect bone weights).
- Texture alignment issues.
Pitfall: Waiting until the end to test can mean redoing hours of work.
Best Practices, Tips, and Lessons Learned
What I Do to Streamline My Workflow
- Use modular naming conventions for all assets.
- Save incremental versions—easy to revert if needed.
- Automate repetitive tasks (e.g., using Tripo for base mesh or auto-texturing).
Mini-checklist:
- Reference check
- Blockout
- Sculpt/refine
- UV unwrap
- Texture
- Rig
- Export/test
Common Pitfalls and How to Avoid Them
- Ignoring polycount: Leads to performance issues.
- Unoptimized UVs: Wastes texture space and memory.
- Complex rigs: Breaks in-game animations.
- Late testing: Makes fixes harder.
Solution: Frequent testing, keep it simple, and optimize at each step.
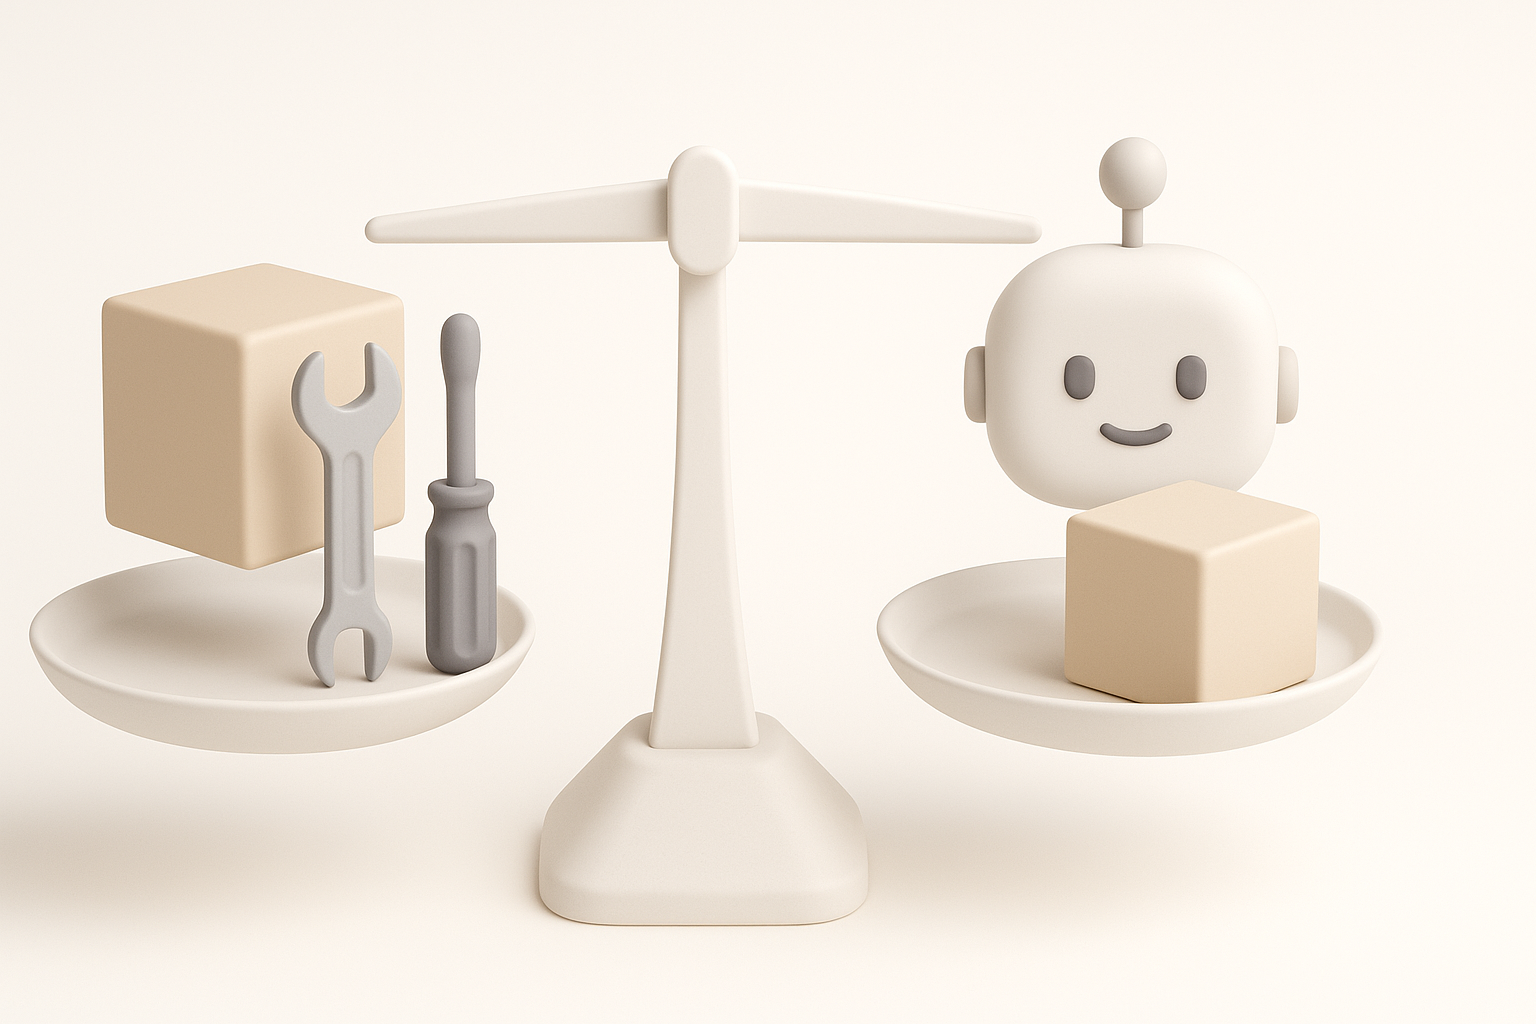
Comparing Tools and AI Solutions for 3D Model Creation
Using Tripo AI for Fast Prototyping
I often use Tripo to generate quick 3D prototypes from sketches or text prompts. It’s especially useful for:
- Rapid ideation and iteration.
- Generating base meshes for further refinement.
- Accelerating UV mapping and initial texturing.
Workflow Tip: Always review and clean up AI-generated models before final export.
Alternative Methods and Manual Approaches
Traditional modeling—using standard 3D software—offers more control but takes longer. I use manual methods when:
- Unique topology or custom details are needed.
- The project requires full control over every vertex and edge.
Best practice: Combine AI tools for speed with manual refinement for quality.
By following this workflow and leveraging both manual and AI-assisted methods, I consistently deliver optimized, game-ready Gorilla Tag models that balance creativity with technical demands.