Creating a God of War Ragnarok 3D Model: Expert Workflow & Tips
Creating a high-quality God of War Ragnarok 3D model demands a blend of artistic vision, technical know-how, and efficient workflows. In this guide, I’ll walk you through my process—from reference gathering to final export—sharing practical tips, common pitfalls, and how I leverage AI tools like Tripo to accelerate production. Whether you’re a game artist, indie dev, or 3D enthusiast, you’ll find actionable steps to achieve production-ready results without getting bogged down by complexity.
Key takeaways:
- Reference quality and planning are critical to success.
- Efficient base mesh blocking saves time downstream.
- Retopology and texturing should balance realism with performance.
- AI tools like Tripo can dramatically speed up modeling and texturing.
- Always optimize exports for your target game engine.
- Avoid common pitfalls with proactive checks and time-saving habits.
Executive Summary: Key Takeaways for God of War Ragnarok 3D Modeling
What to Expect from This Guide
In this article, I detail my full workflow for creating a God of War Ragnarok-inspired 3D model, focusing on practical steps and lessons learned. You’ll get a clear roadmap from initial planning to final rigging, with emphasis on efficiency and production-readiness.
Summary of Best Practices
- Always start with strong references and clear goals.
- Block out shapes before obsessing over details.
- Use AI tools like Tripo for rapid prototyping, but refine manually where needed.
- Keep topology clean for animation and texturing.
- Optimize exports for your specific engine or render pipeline.
Planning and Reference Gathering for God of War Ragnarok Models
Choosing the Right Character or Asset
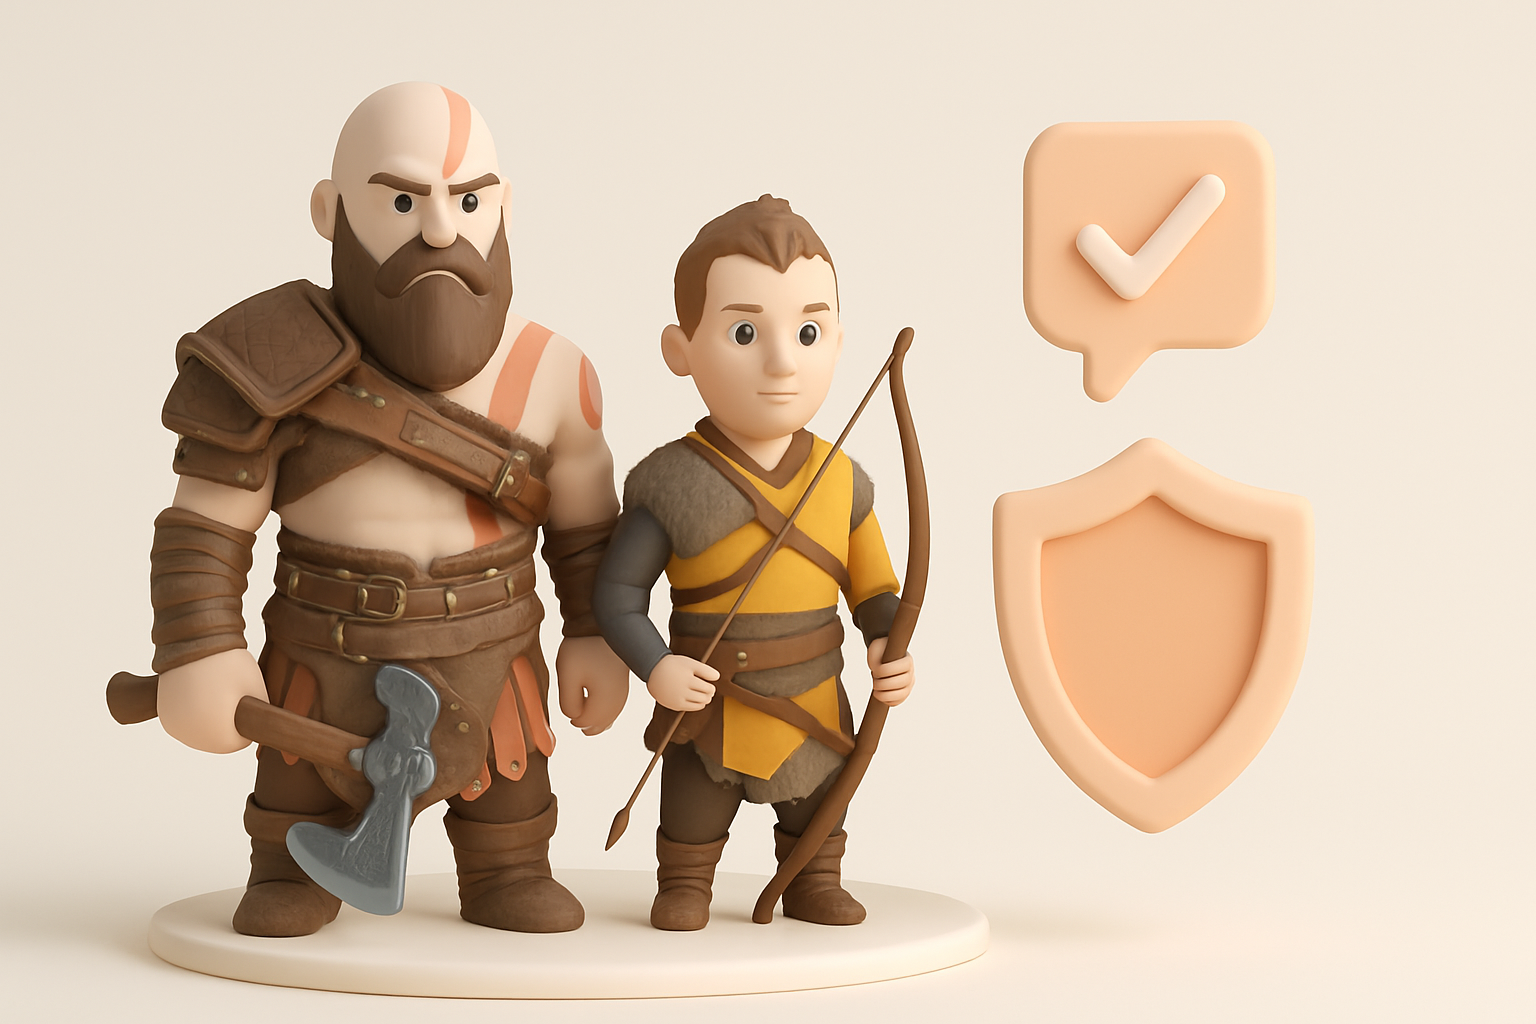
I start by deciding which character or prop best fits my project’s needs. For God of War Ragnarok, this often means Kratos, Atreus, or iconic weapons. I consider the model’s complexity, animation requirements, and how it fits into the overall scene or game.
Checklist:
- Define the model’s purpose (hero asset, background, animation-ready, etc.).
- Assess time and resource constraints.
- Choose assets with available reference material.
Collecting High-Quality References
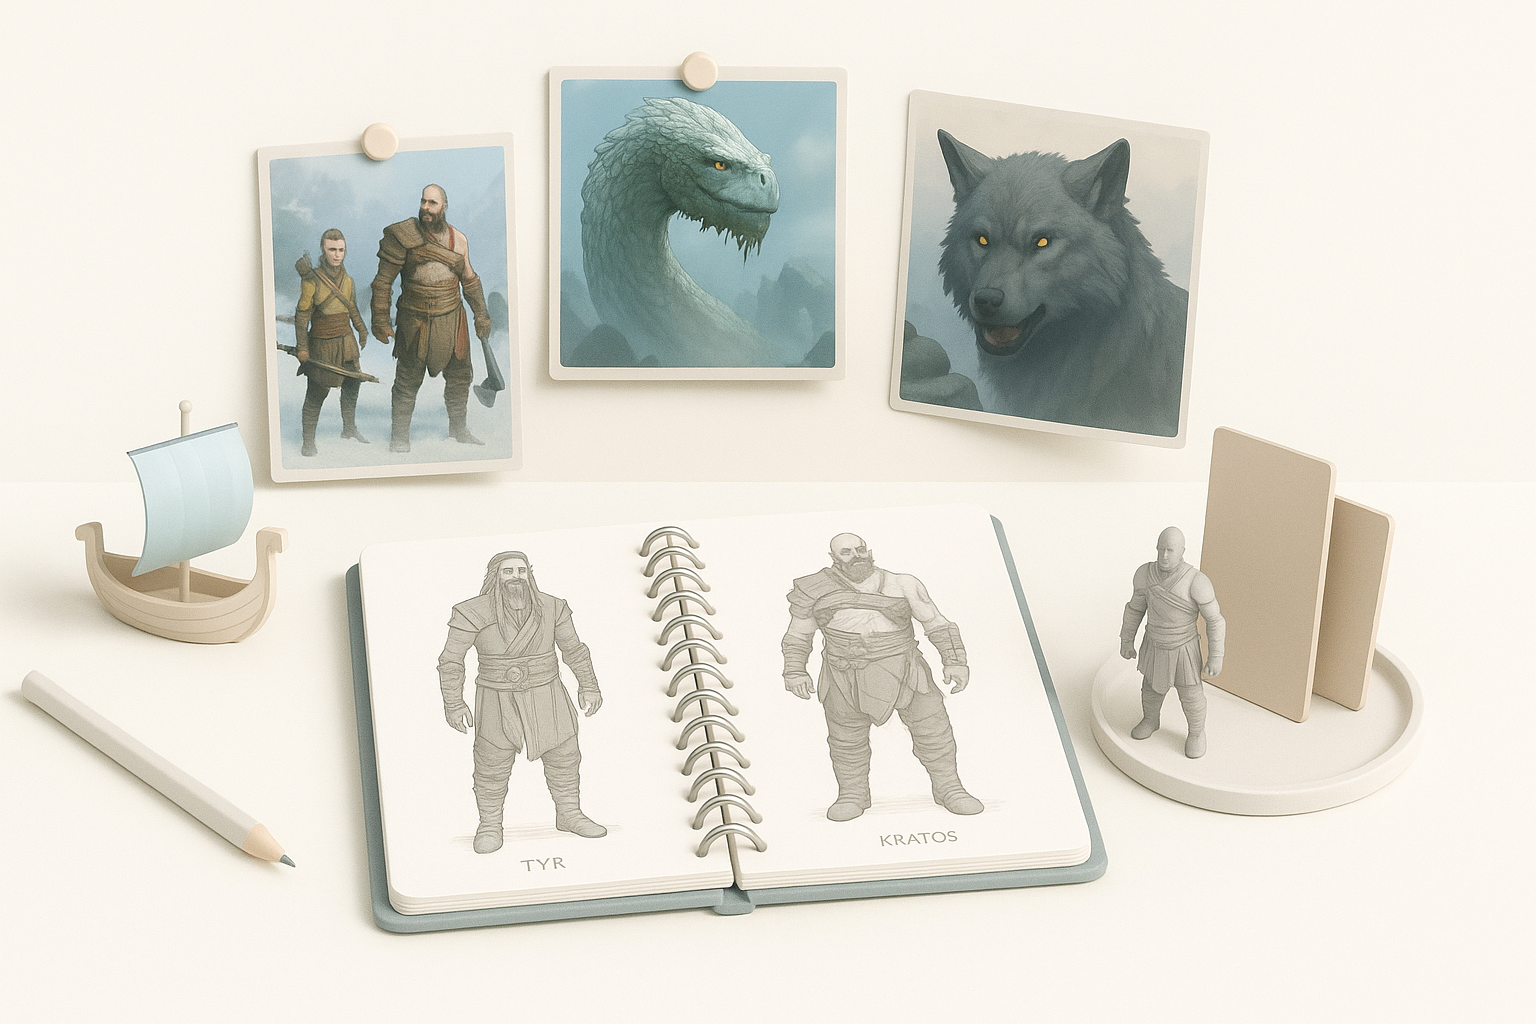
Gathering references is foundational. I search for official concept art, in-game screenshots, and fan-made turnarounds. The more angles and details, the better. I organize references in mood boards or image viewers for quick access during modeling.
Tips:
- Use high-resolution images for texture and material references.
- Supplement official art with anatomy or fabric studies as needed.
- Avoid starting without at least front and side views.
My Step-by-Step Workflow for 3D Model Creation
Blocking Out the Base Mesh
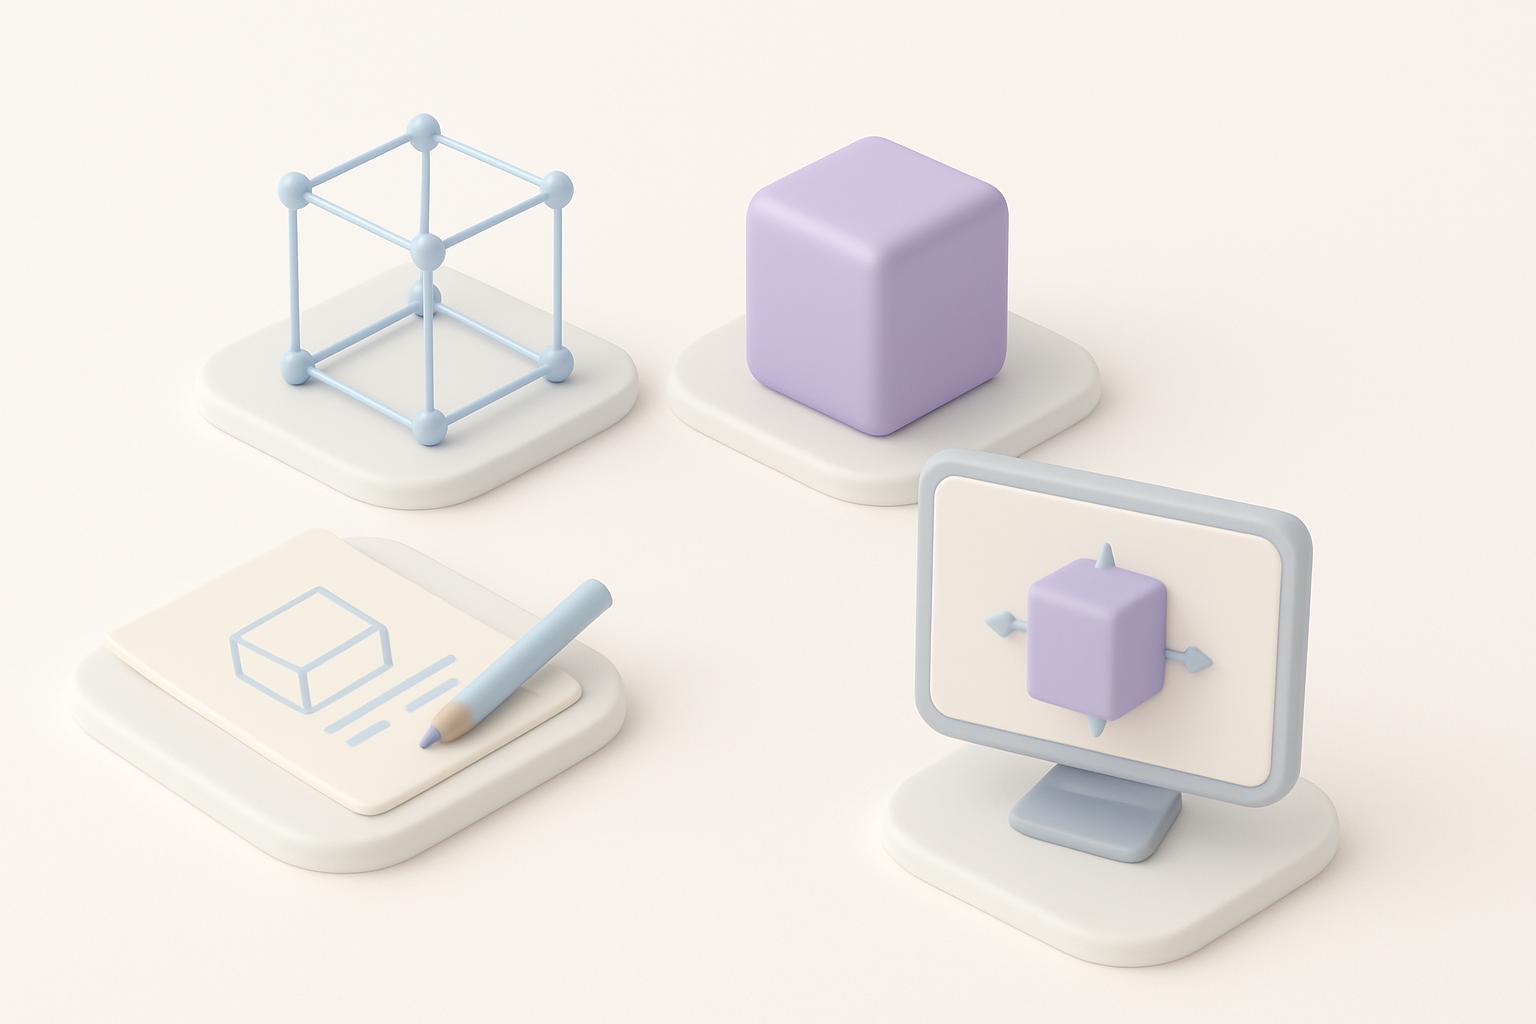
I always begin with a rough blockout, using primitives to establish proportions and silhouette. This step is about speed and accuracy, not detail. I often use Tripo to generate a fast base mesh from a sketch or description, then refine it in my DCC tool.
Blockout Steps:
- Start with basic shapes (cubes, spheres).
- Check proportions against references.
- Iterate quickly—don’t get stuck on details.
Refining Details and Proportions
Once the blockout feels right, I sculpt or model secondary forms: muscles, armor plates, facial features. I constantly flip between reference and model, adjusting for accuracy. Edge flow and topology get more attention at this stage.
Pitfalls to avoid:
- Over-detailing too early.
- Ignoring symmetry or anatomical accuracy.
- Neglecting edge flow for future rigging.
Texturing, Retopology, and Optimization Techniques
Efficient Retopology Strategies
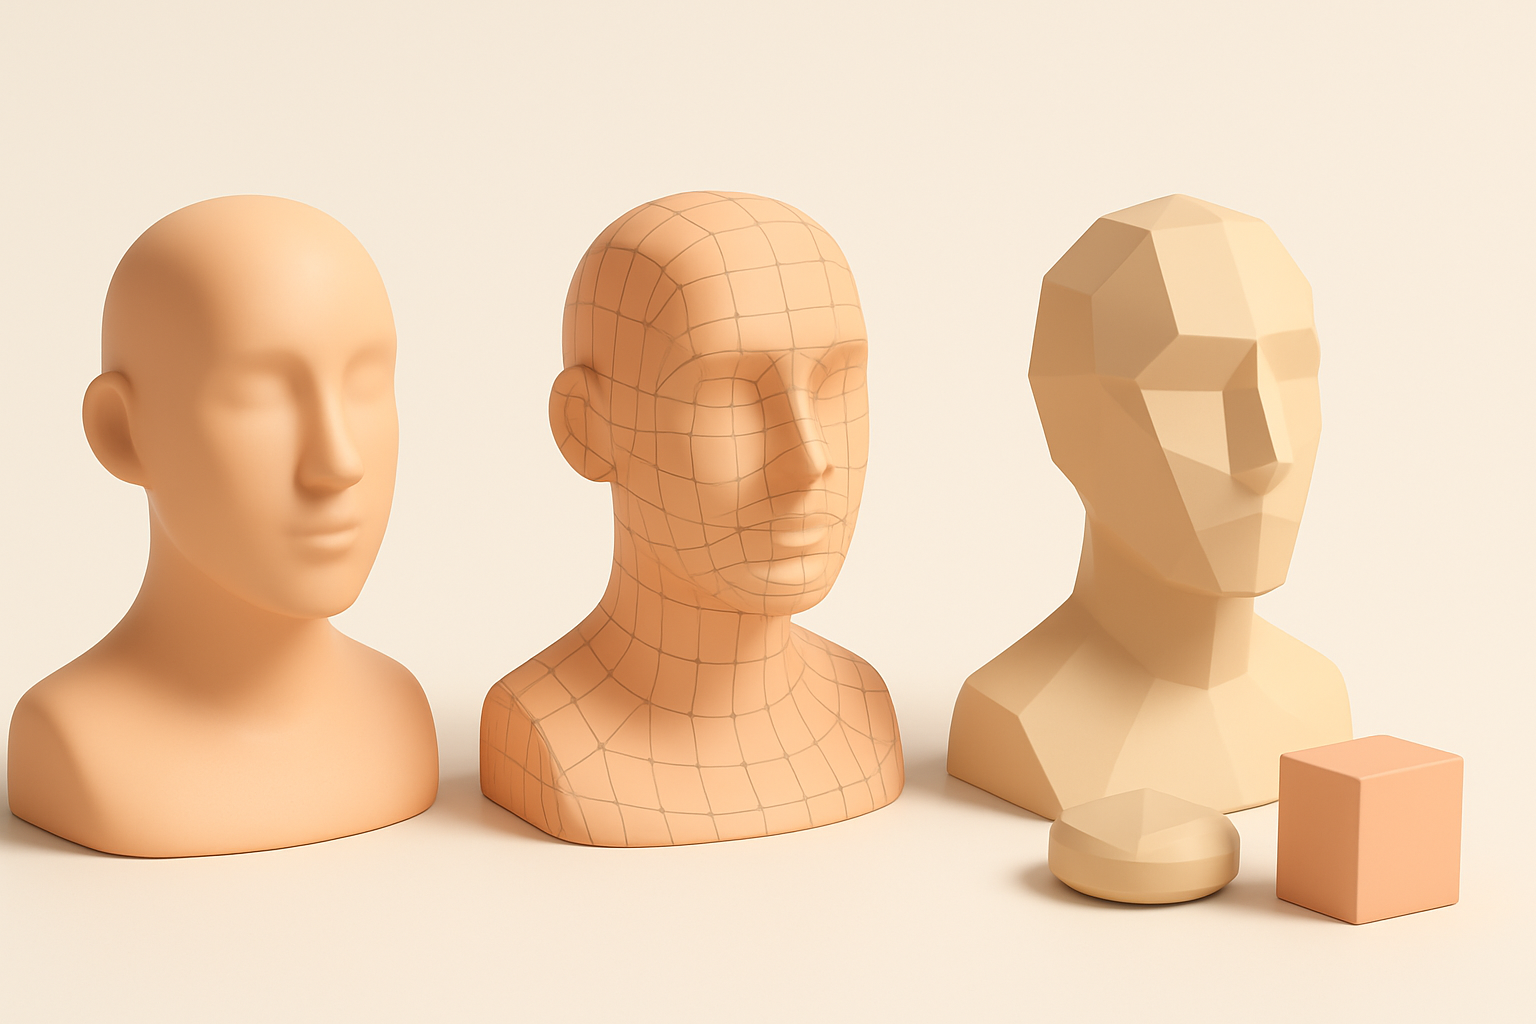
Clean topology is crucial for animation and texturing. I use automated retopology tools (including Tripo’s built-in options) for a fast base, then manually tweak edge loops around joints and facial features.
My approach:
- Retopologize after high-poly sculpting.
- Focus on deformation zones (shoulders, elbows, face).
- Keep polycount within engine limits.
Texturing for Realism and Performance
For texturing, I bake maps from high-poly to low-poly meshes. I use PBR workflows, prioritizing albedo, normal, and roughness maps. Tripo’s texturing tools help generate base textures, which I refine in my preferred painting app.
Tips:
- Use tiling materials for large surfaces.
- Keep texture sizes reasonable (2K–4K for hero assets).
- Preview in engine to catch artifacts early.
Leveraging AI Tools for Faster 3D Model Production
How I Use Tripo AI in My Workflow
Tripo speeds up blockout, segmentation, and texturing. I input sketches or text prompts to generate base meshes, then use its segmentation for quick material assignment. It’s especially useful for rapid prototyping and iterating on ideas.
Use cases:
- Generating quick base meshes from concepts.
- Automatic UV unwrapping and texture suggestions.
- Accelerating repetitive tasks (retopology, material setup).
Alternative Methods and Manual Approaches
While AI tools are fast, I sometimes revert to manual methods for precision. Traditional modeling and sculpting are still best for custom topology or unique details. I combine both approaches based on project needs.
Checklist:
- Use AI for speed, manual tools for control.
- Always review and clean up AI-generated outputs.
- Don’t skip manual optimization for critical assets.
Exporting, Rigging, and Preparing for Animation
Export Settings for Game Engines
Exporting correctly is key to avoiding headaches later. I set up my models with clean hierarchies, proper naming, and units matched to the engine (usually meters for Unreal or Unity). I export in FBX format with embedded textures and correct axis orientation.
Best practices:
- Freeze transforms and apply scale.
- Check normals and tangents.
- Test imports in the engine before final delivery.
Rigging and Animation Readiness
For rigging, I ensure the mesh has proper edge flow and joint placement. I use auto-rigging tools for humanoids, but always check skin weights and deformation manually. If using Tripo, its rigging features provide a good base, but I refine weights for complex motion.
Tips:
- Keep joint count manageable.
- Test with simple animation cycles.
- Name bones clearly for animator handoff.
Lessons Learned and Expert Tips for God of War Ragnarok Models
Common Pitfalls and How to Avoid Them
Over the years, I’ve run into issues like inconsistent scale, texture seams, and messy topology. The best way to avoid these is regular checks at every stage and not skipping over “boring” prep work.
Pitfalls:
- Rushing reference gathering.
- Ignoring scale and proportion checks.
- Leaving topology cleanup until too late.
My Favorite Time-Saving Techniques
- Use AI tools for rapid prototyping and segmentation.
- Set up reusable base meshes and material libraries.
- Automate repetitive tasks (baking, naming, UVs) with scripts or tool features.
- Preview models in-engine early and often.
By combining careful planning, efficient workflows, and selective use of AI tools like Tripo, I consistently create production-ready God of War Ragnarok 3D models faster and with fewer headaches. The key is to balance automation with hands-on refinement, always keeping the end use and quality bar in mind.