Creating a Glock Switch 3D Model: Workflow, Tips, and Best Practices
скачать 3d модели для chicken gun
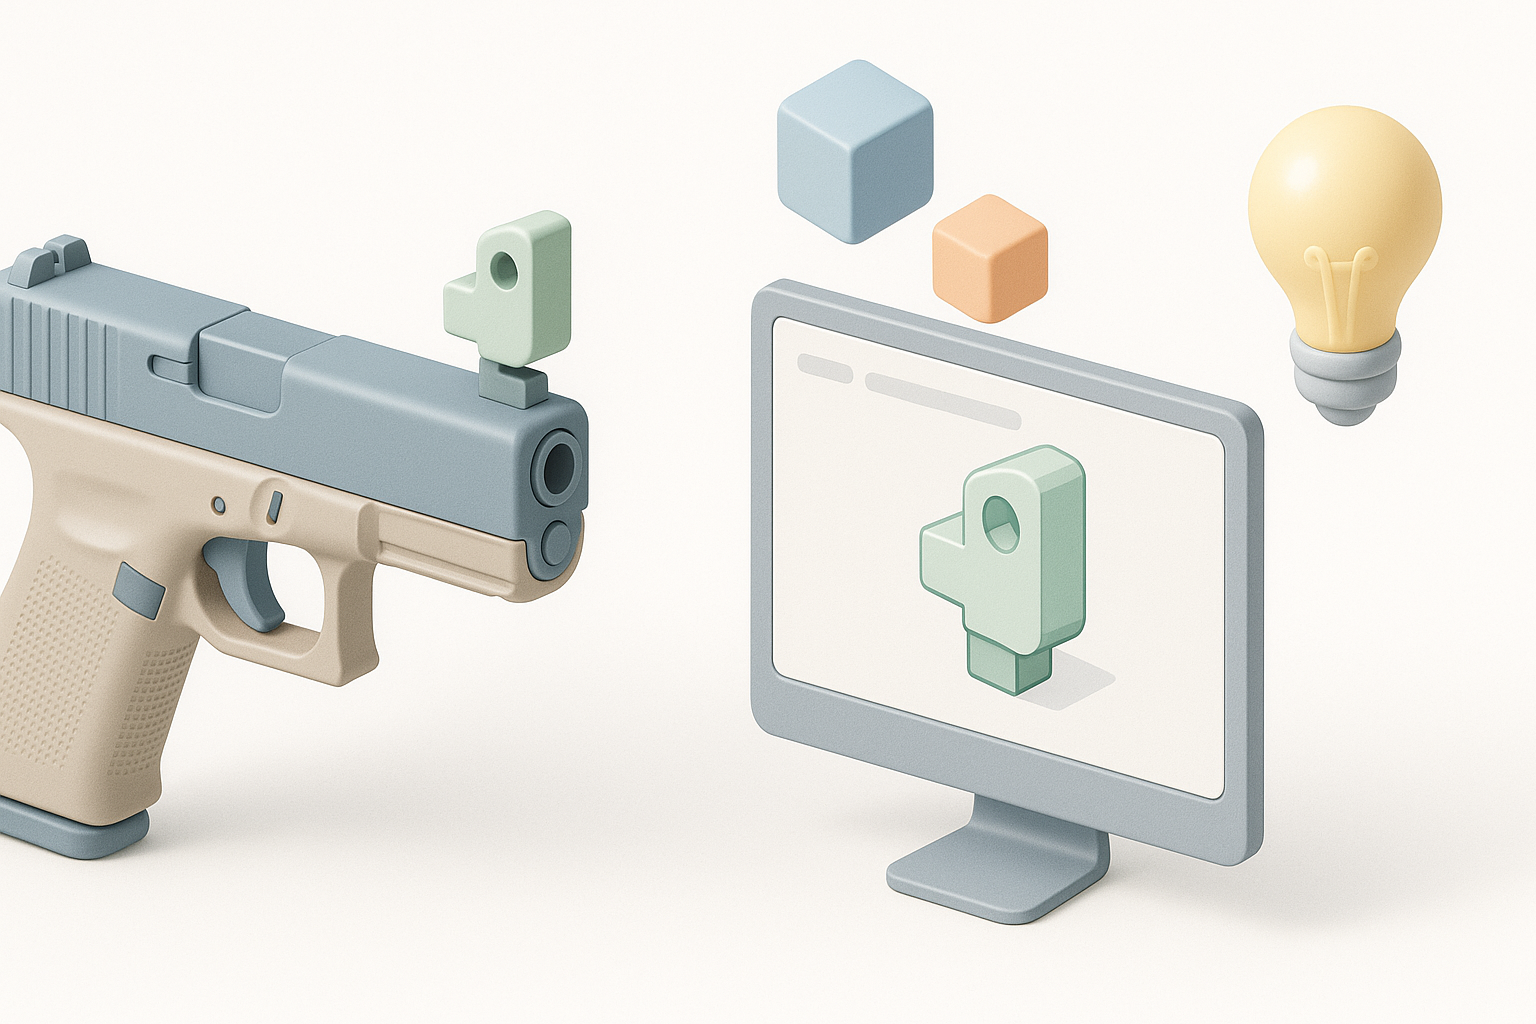
Creating a Glock switch 3D model requires careful planning, attention to detail, and a clear understanding of both the technical and ethical aspects. Over years of working in 3D, I've streamlined my process to ensure models are production-ready, realistic, and easy to integrate into projects. This article walks through my end-to-end workflow—from reference gathering to exporting—with practical tips, best practices, and lessons learned. Whether you're a game developer, designer, or hobbyist, this guide will help you avoid common pitfalls and achieve professional results.
Key takeaways:
- Reference quality and legality are critical before modeling firearm parts.
- Blocking and iterative refinement save time and ensure accuracy.
- Efficient retopology and realistic texturing are essential for production models.
- Export settings matter for compatibility and downstream use.
- AI-powered platforms like Tripo can accelerate workflows and reduce complexity.
Executive Summary and Key Takeaways
What to Expect When Modeling a Glock Switch
Modeling a Glock switch is a focused exercise in precision and realism. I always start with thorough reference collection and legal checks, then block out the basic form before refining details. AI tools, especially Tripo, streamline segmentation, retopology, and texturing, so I can concentrate on creative decisions rather than technical hurdles.
Summary of Essential Tools and Methods
My workflow combines traditional modeling software with AI-powered platforms for speed and consistency. Key steps include blocking, detail refinement, retopology, texturing, and export. I use Tripo for rapid prototyping and production-ready outputs, especially when tight deadlines are involved.
Understanding Glock Switches: Design and Reference Gathering
Legal and Ethical Considerations
Before starting, I always research the legal status of Glock switches in my region. These parts can be sensitive or restricted, so I never model or share them for real-world use. My work is strictly for digital projects (games, simulations), and I advise others to follow local laws and ethical guidelines.
Collecting Accurate Reference Materials
Quality references are non-negotiable. I use high-resolution images, technical diagrams, and, when available, CAD blueprints. My checklist:
- Gather multiple angles (front, side, top)
- Look for scale indicators or measurements
- Avoid low-res or unclear photos
- Confirm design variants and details
My Workflow for Modeling a Glock Switch in 3D
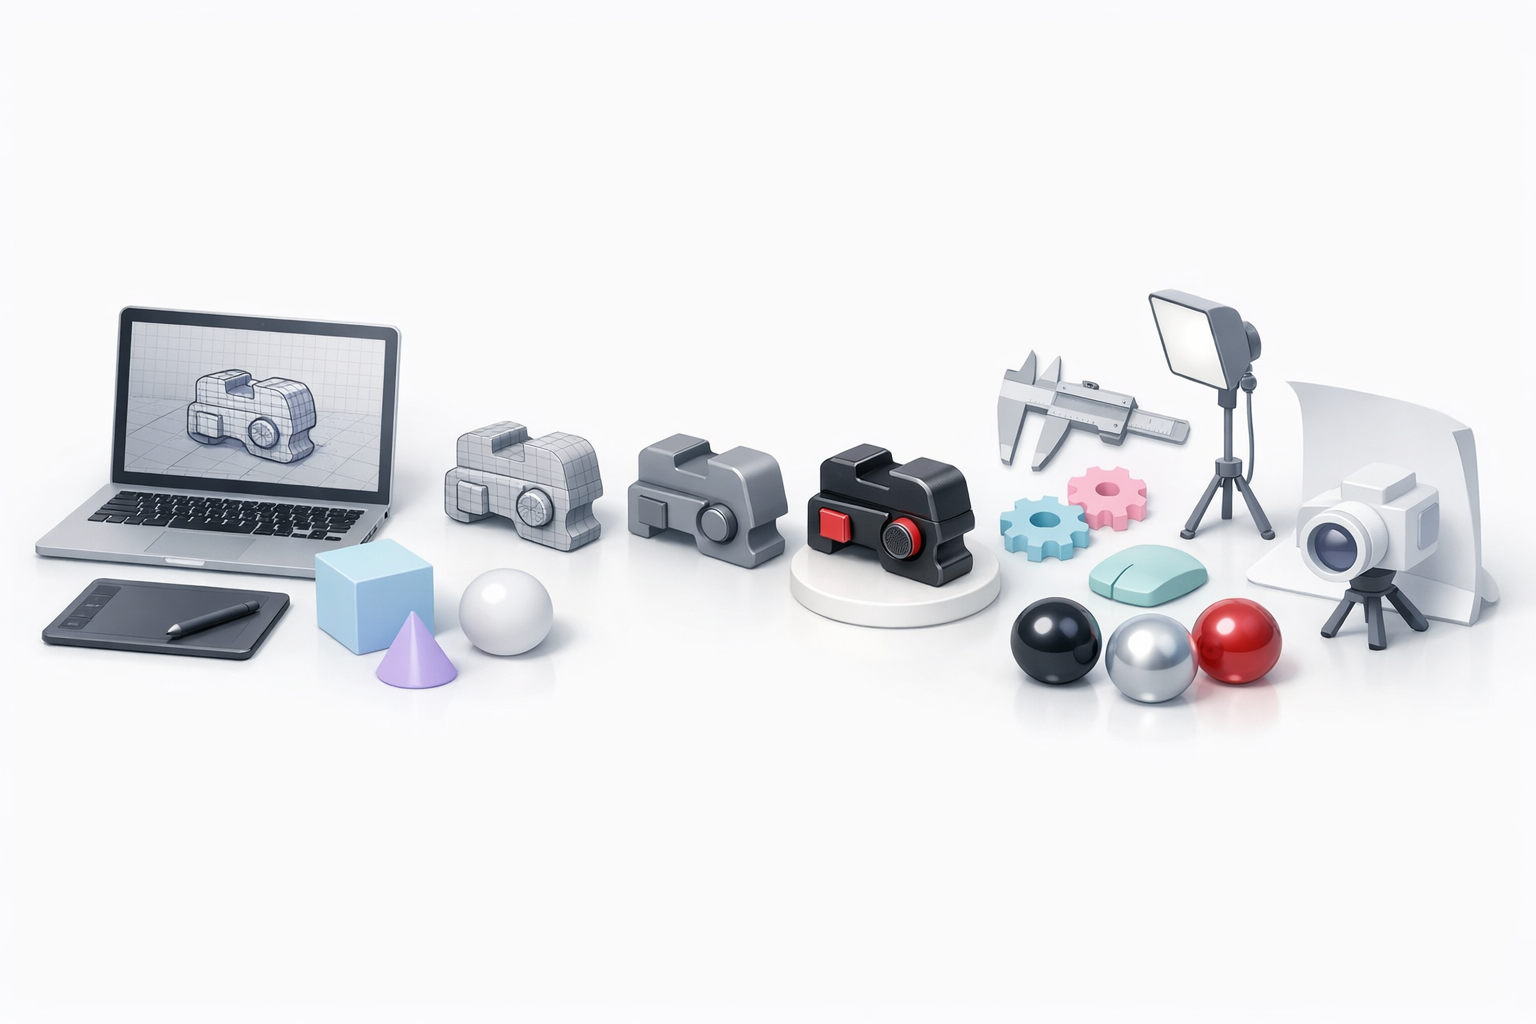
Blocking Out the Basic Shape
I start with a simple block-out using primitive shapes. This lets me establish proportions quickly and spot design issues early. Steps I follow:
- Import reference images into my viewport
- Use cubes and cylinders to rough out the main body
- Adjust scale to match real-world dimensions
Refining Details and Proportions
Once the block-out is solid, I add secondary forms and details—grooves, pins, and cutouts. I iterate, checking against references and adjusting as needed. Tips:
- Zoom in to check alignment
- Use symmetry tools for mirrored parts
- Save incremental versions to avoid losing progress
Texturing, Retopology, and Preparing for Production

Efficient Retopology Techniques
For production models, clean topology is essential. I use Tripo's automated retopology tools to convert high-poly sculpts into optimized meshes. My process:
- Run auto-retopology for base mesh
- Manually tweak edge flow near moving parts
- Check for non-manifold geometry or stray vertices
Texturing Approaches for Realism
Realistic texturing brings the model to life. I rely on baked maps from high-poly versions and apply PBR materials. Steps:
- Bake normal, AO, and curvature maps
- Use photo-sourced or procedural textures for metal and polymer
- Test under different lighting conditions for realism
Exporting, Sharing, and Using the Model
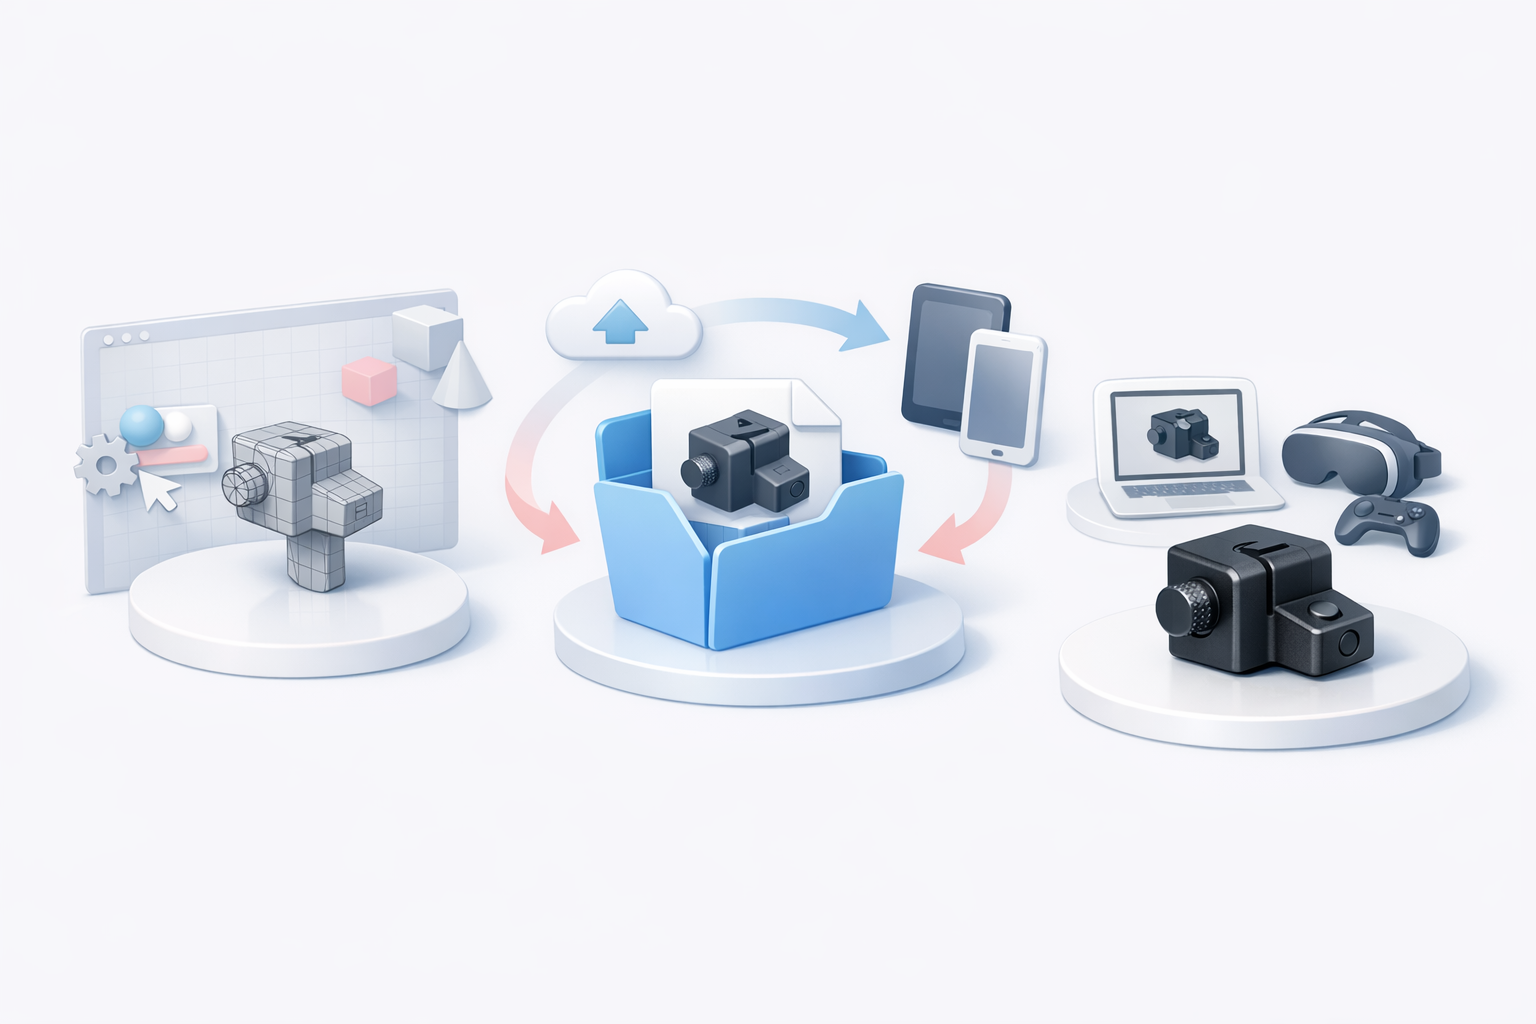
Export Settings and File Formats
Exporting correctly is crucial for downstream use. I typically export in FBX or OBJ, with textures packed or referenced. Checklist:
- Apply final transforms and freeze scale
- Check UVs for stretching or overlaps
- Export with compatible settings for target engine (e.g., Unity, Unreal)
Integrating the Model into Projects
Integration is smoother when the model is well-prepped. I test imports in my target environment, ensuring materials and animations work as expected. Tips:
- Use naming conventions for assets
- Document scale and orientation for collaborators
- Preview in-engine before final delivery
Best Practices, Lessons Learned, and Troubleshooting
Common Pitfalls and How I Avoid Them
Mistakes happen, but most are preventable. Issues I’ve encountered:
- Overcomplicating geometry—keep it simple for game use
- Missing or stretched UVs—always check before export
- Inconsistent scale—use reference objects for calibration
Tips for Achieving Professional Results
- Start with clear references and legal awareness
- Iterate, don’t rush detail work
- Use AI tools for repetitive tasks; focus manual effort on creative choices
- Test your model in context, not just in the viewport
Comparing AI-Powered and Traditional 3D Modeling Tools
When to Use AI Platforms Like Tripo
AI platforms excel at speeding up segmentation, retopology, and texturing. I use Tripo when I need quick, production-ready assets or want to automate tedious steps. This frees me to spend more time on creative decisions and polish.
Alternative Methods and Their Pros/Cons
Traditional tools offer granular control and are ideal for highly custom or complex models. However, they require more manual work and technical know-how. For most projects, I combine both approaches—AI for speed, traditional for precision.
In summary: Creating a Glock switch 3D model is a multi-step process requiring careful reference gathering, ethical awareness, and a mix of manual and AI-assisted techniques. By following a structured workflow and leveraging the right tools, I consistently deliver production-ready assets for digital projects.