How to Create an Empty Potion Bottle 3D Model: Expert Workflow
Creating a production-ready 3D model of an empty potion bottle is a practical exercise in both creativity and technical skill. In my experience, the right workflow can make the process efficient and enjoyable, especially when leveraging AI-powered tools like Tripo to handle repetitive or complex steps. This guide is for artists, game developers, and XR creators who want reliable results without getting bogged down in tedious modeling or texturing. Below, I’ll share my hands-on process, highlighting key decisions, pitfalls, and best practices for achieving a polished, realistic glass bottle asset.
Key takeaways
- Reference gathering and planning are crucial for believable potion bottles.
- AI-assisted modeling (e.g., Tripo) accelerates basic shape creation and retopology.
- Fine details, glass materials, and optimization require manual attention.
- Export settings should match the target platform (games, XR, animation).
- Troubleshooting and iteration are essential for production-ready results.
Overview and Key Considerations for Potion Bottle Modeling
What Makes a Good Potion Bottle Model
A strong potion bottle model balances style, clarity, and technical cleanliness. From my experience, a good bottle should:
- Have clean, watertight geometry for easy texturing and animation.
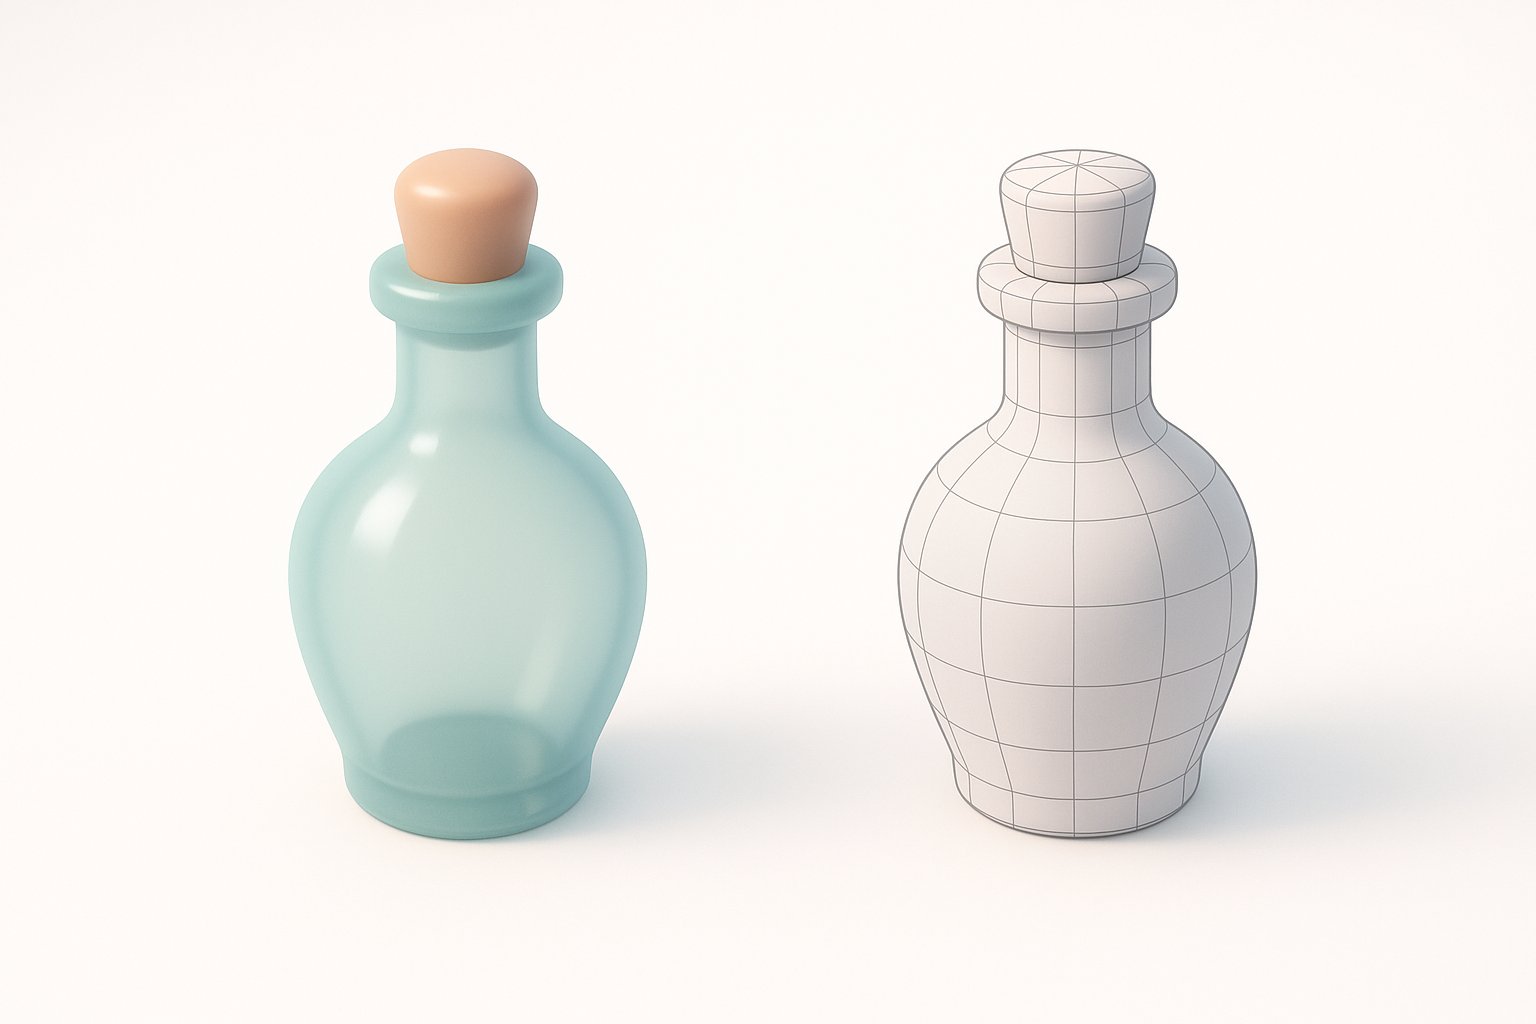
- Feature recognizable silhouettes and proportions (narrow neck, bulbous base, etc.).
- Be easily customizable for different themes (fantasy, sci-fi, etc.).
- Avoid excessive detail that could hinder performance, especially for games or XR.
Common Use Cases and Requirements
Potion bottles are common in games, AR/VR experiences, and animations. The requirements often include:
- Low to mid-poly mesh for real-time applications.
- UV-unwrapped and ready for PBR texturing.
- Interchangeable materials (e.g., empty, filled, glowing).
- Optional: Rigged corks or lids for animation.
Step-by-Step Workflow: From Concept to 3D Model

Gathering References and Planning the Design
I always start by collecting visual references—photos, concept art, or even real glass bottles. This helps define the silhouette, decorative elements, and functional parts (like corks or labels).
Checklist:
- Gather 5–10 strong references.
- Sketch or annotate key features.
- Decide on style (realistic, stylized, etc.).
Choosing Tools and Setting Up the Project
For rapid iteration, I prefer using Tripo for initial model generation, especially when I have a clear text prompt or reference image. For manual tweaks, I set up my project in my preferred DCC (digital content creation) suite.
Steps:
- Set up project scale and units (important for consistency).
- Import references into the scene.
- Prepare layers for blocking, detailing, and materials.
Modeling Techniques: My Hands-On Approach
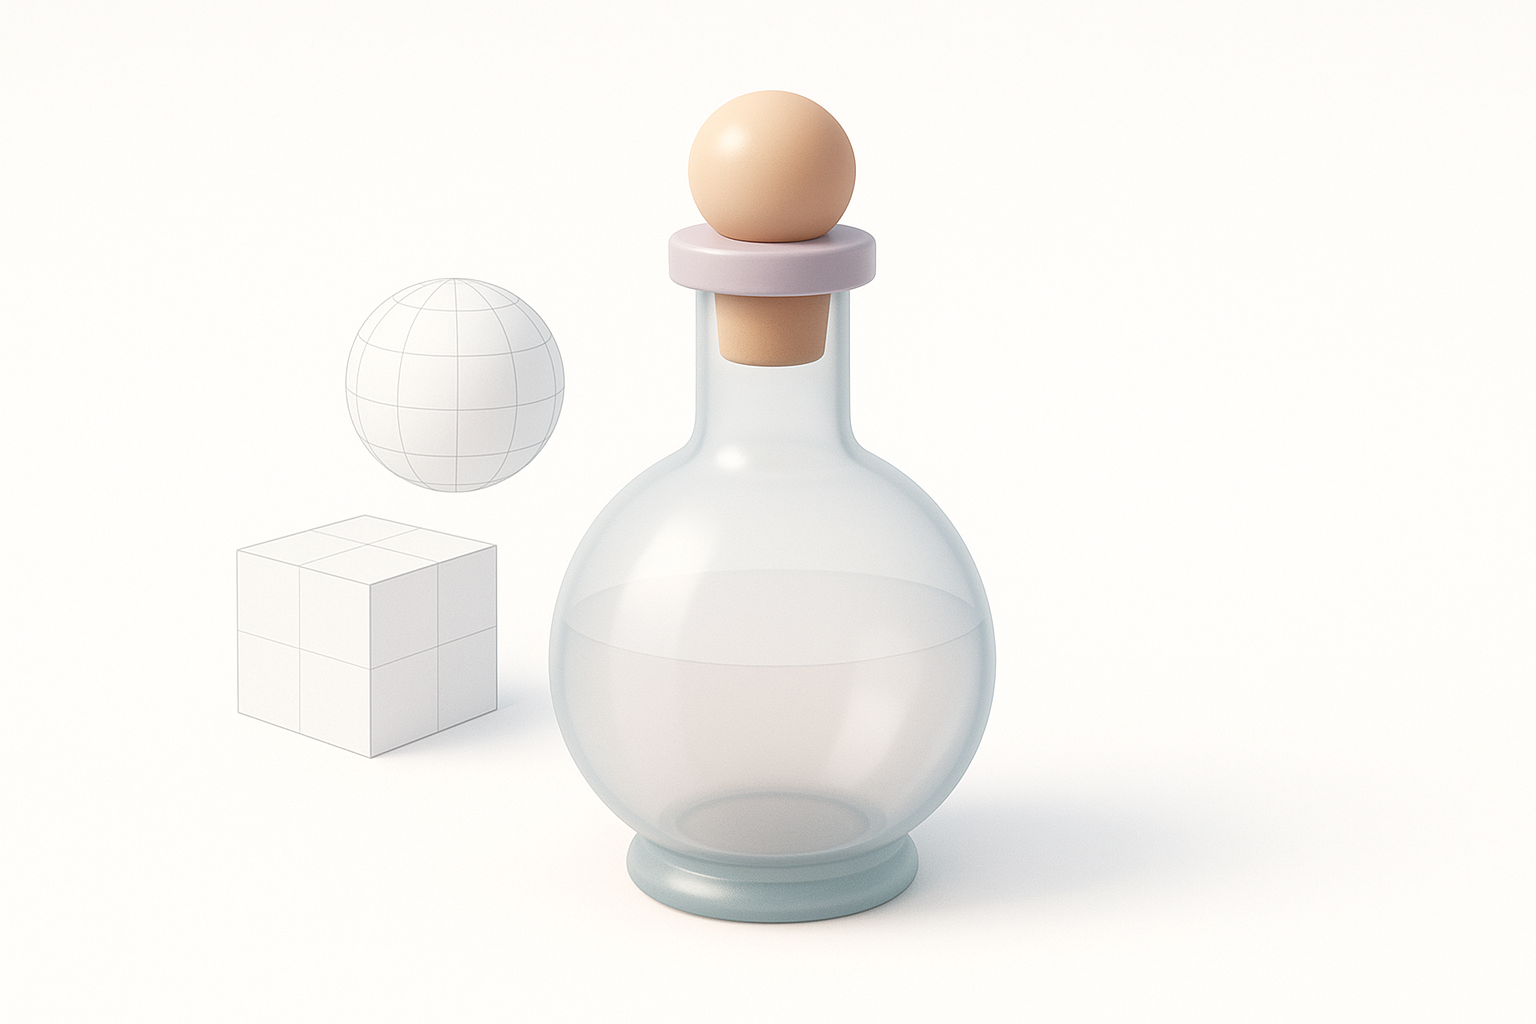
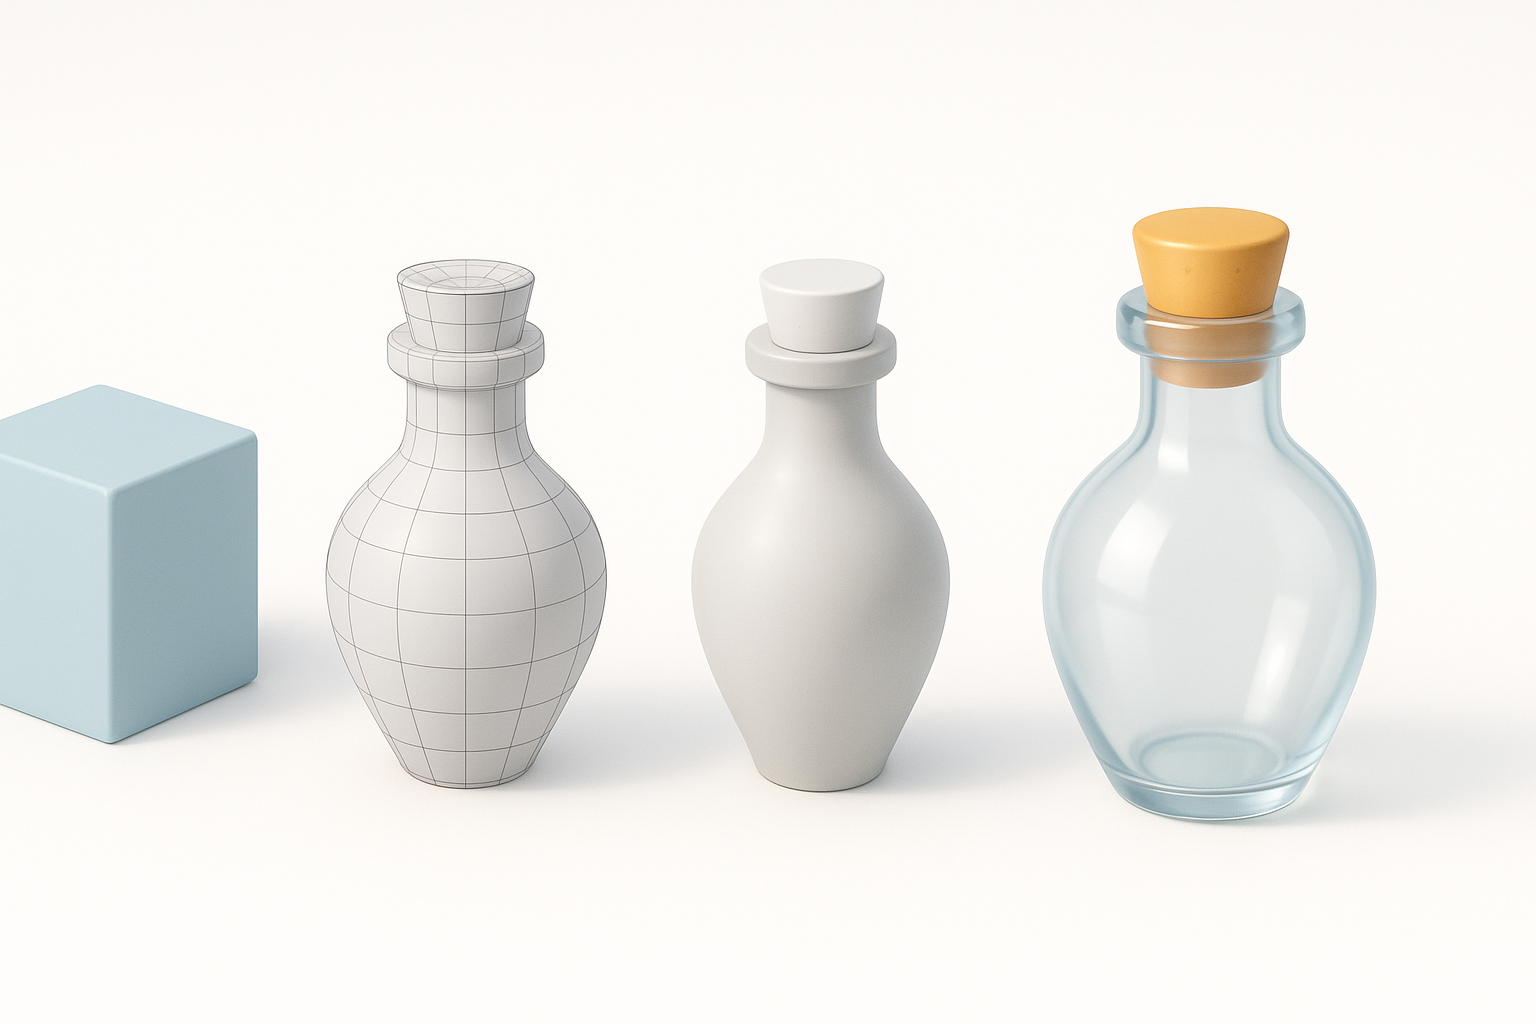
Blocking Out the Basic Shape
I block out the main forms using simple geometry—cylinders for the neck, spheres or capsules for the base. If using Tripo, I input a text or sketch prompt like “empty glass potion bottle with cork” to get a strong starting mesh.
Tips:
- Focus on proportions before details.
- Use symmetry tools to speed up the process.
- Check silhouette from multiple angles.
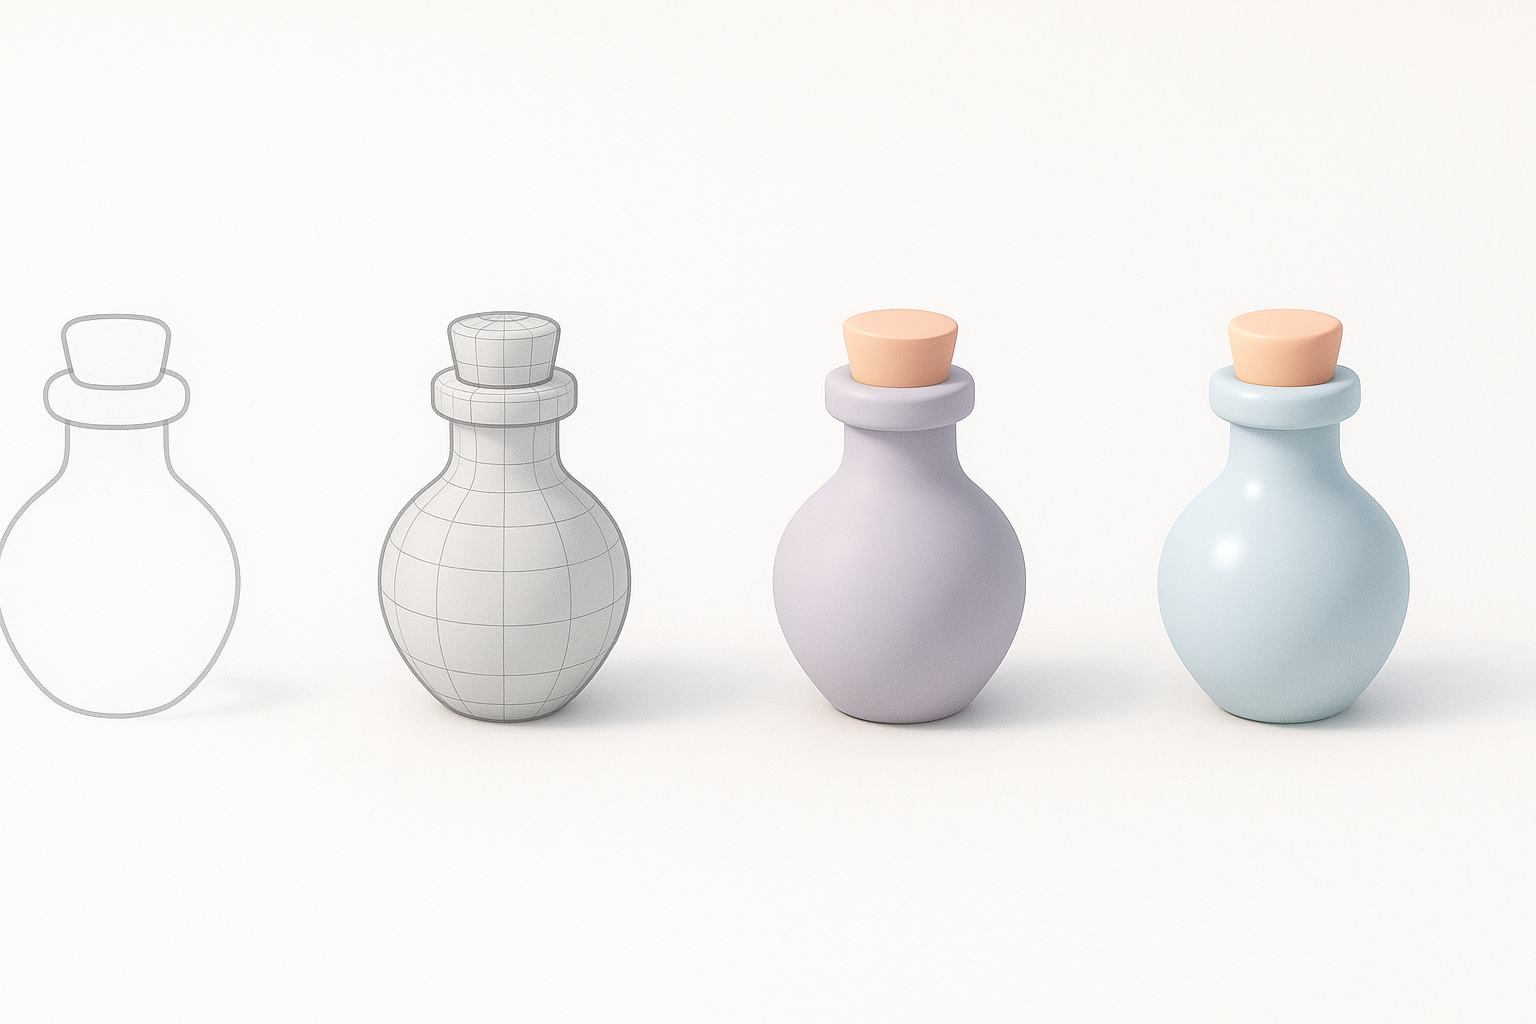
Adding Details and Refining Geometry
Once the base is solid, I add secondary features: indents, lips, or decorative embossing. I often switch to manual modeling here for precise control.
What works:
- Subdivide only where needed (keep polycount efficient).
- Use edge loops for sharp transitions.
- Model corks and labels as separate objects for easier texturing.
Texturing and Materials for Realistic Glass Effects
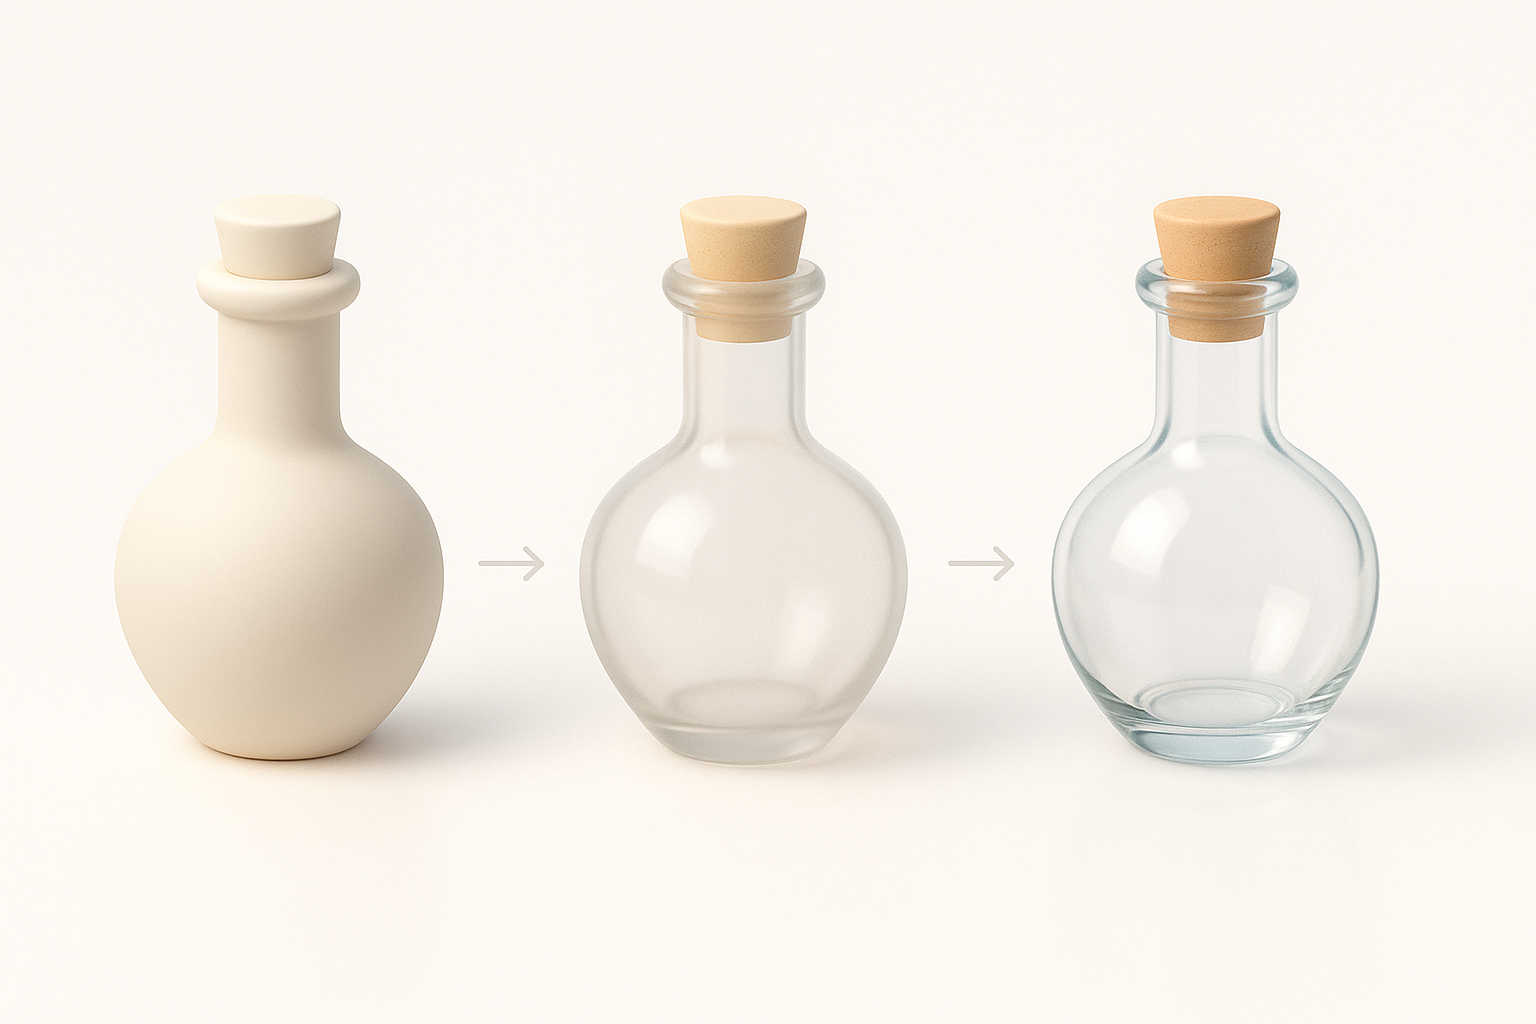
Creating Transparent Glass Materials
Glass is all about reflections, refraction, and subtle color. In my workflow, I set up a PBR glass material with:
- High transmission (for transparency).
- Low roughness (for a polished look).
- Adjusted IOR (index of refraction, typically 1.45 for glass).
Checklist:
- Add a subtle tint for realism.
- Use an environment map for reflections.
- Test in both bright and dim lighting.
Applying Labels, Corks, and Decorative Elements
For added believability, I create separate materials for corks and labels. Labels are usually simple alpha-masked textures, while corks use rougher, organic materials.
Steps:
- UV unwrap all components cleanly.
- Use high-res textures for close-up shots.
- Bake AO (ambient occlusion) for depth.
Optimizing, Exporting, and Integrating the Model
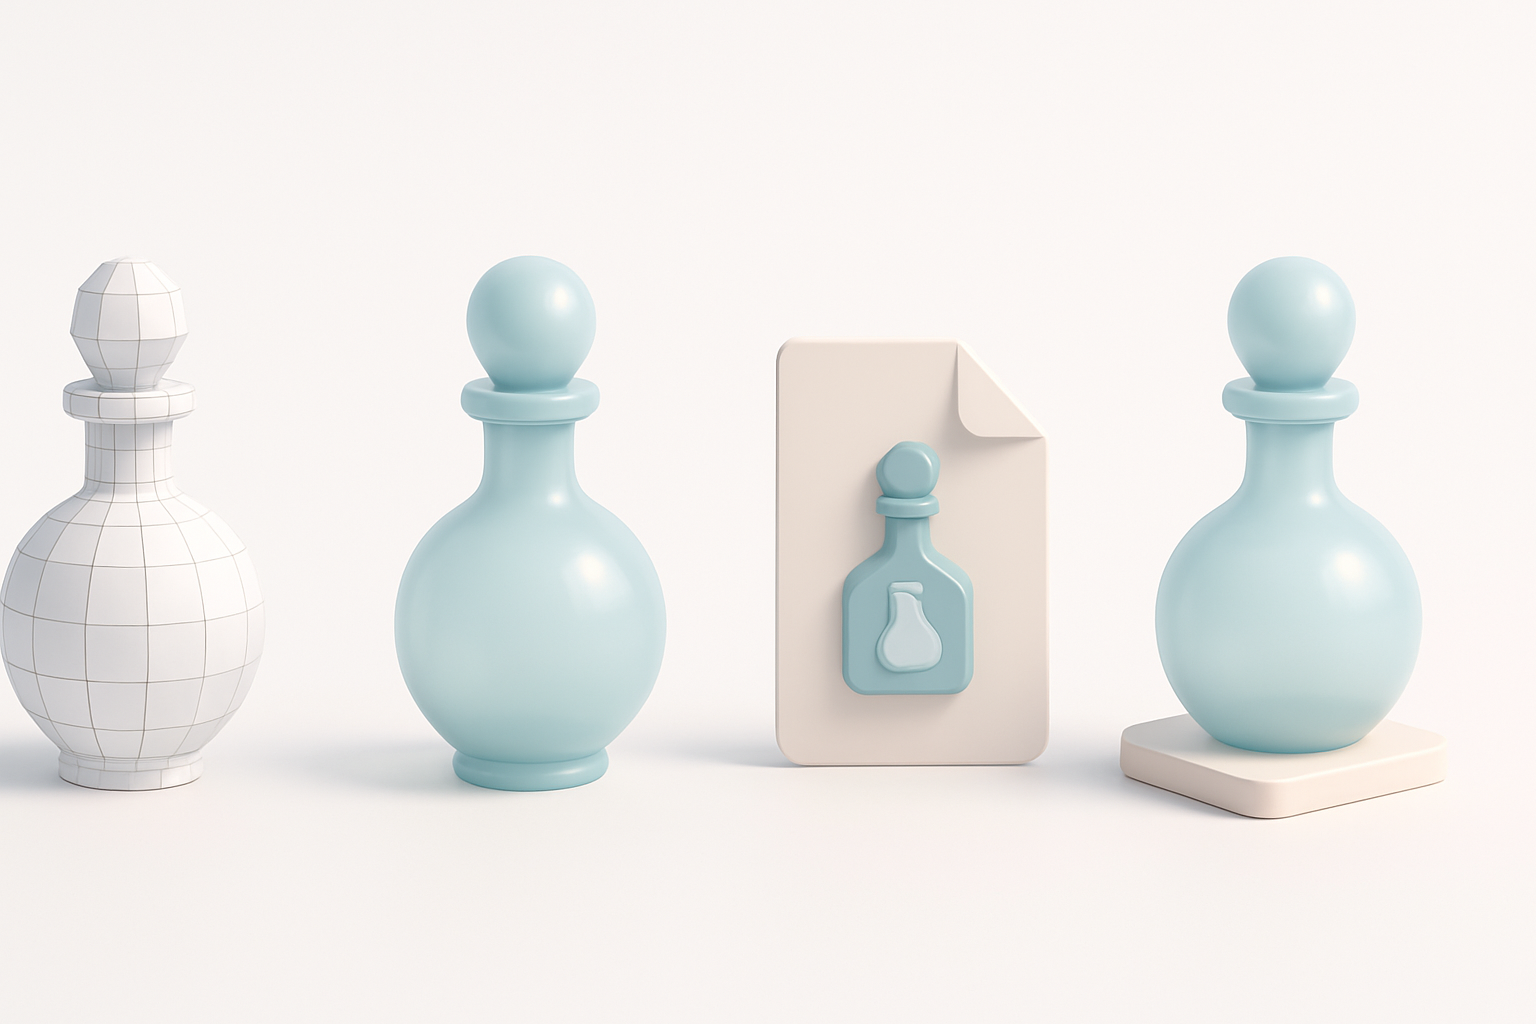
Retopology and Mesh Optimization Tips
For real-time use, I always check for unnecessary edge loops and n-gons. Tripo’s built-in retopology is a huge time-saver, but I still inspect and clean up manually as needed.
Pitfalls to avoid:
- Overly dense meshes.
- Non-manifold geometry.
- Unoptimized UVs.
Export Settings for Games, XR, and Animation
Export settings depend on the target platform. For games or XR, I use FBX or GLTF, ensuring materials and textures are packed properly.
Checklist:
- Apply transforms and freeze scale.
- Check material assignments.
- Test import in the target engine (Unity, Unreal, etc.).
Comparing AI-Powered and Traditional 3D Workflows
Speed and Quality: What I’ve Learned
AI-powered tools like Tripo drastically reduce modeling and retopology time, letting me focus on creative decisions. However, manual refinement is still critical for quality and polish.
What I’ve found:
- AI excels at blocking out and cleanup.
- Manual work needed for unique details and final tweaks.
When to Use AI Tools vs. Manual Methods
I use AI tools for quick iterations, rough drafts, or when I need to generate multiple variations. For hero assets or when art direction is strict, I rely more on manual modeling.
Guidelines:
- Use AI for speed and ideation.
- Switch to manual for final polish and custom features.
Best Practices and Troubleshooting
Common Pitfalls and How I Avoid Them
Some frequent issues I see (and how I address them):
- Stretchy UVs: Always check UVs early and often.
- Broken normals: Recalculate normals after major edits.
- Unoptimized glass: Test transparency in-engine, as some shaders behave differently.
Tips for Achieving Production-Ready Results
- Iterate: Review and tweak in context (engine or renderer).
- Document: Save versions and note changes.
- Test: Always test the model in the final environment.
Creating an empty potion bottle 3D model is a blend of good planning, the right tools, and attention to detail. With AI-powered workflows like Tripo and a solid understanding of manual techniques, I consistently deliver assets that are both visually appealing and technically robust.