How to Create a Dice 3D Model: Expert Workflow & Tips
Creating a production-ready dice 3D model is a straightforward yet revealing exercise in mastering the essentials of 3D modeling, texturing, and export workflows. In my experience, the process is perfect for both beginners learning the ropes and professionals refining their pipeline for games, XR, or design projects. The key is balancing speed, quality, and compatibility—especially when leveraging AI-powered tools like Tripo to streamline repetitive or technical steps. In this article, I’ll break down my complete workflow, share practical best practices, and offer troubleshooting tips I’ve learned along the way.
Key takeaways:
- Dice models are used across games, XR, and visualization—accuracy and clean topology matter.
- Reference and planning up front saves time and prevents errors later.
- Texturing and UVs are common pain points; attention to detail here pays off.
- AI tools like Tripo can speed up modeling, segmentation, and retopology.
- Export settings and optimization are essential for real-time use.
- Rigging for dice rolls is simple, but must be platform-appropriate.
Overview: Dice 3D Model Applications & Key Considerations
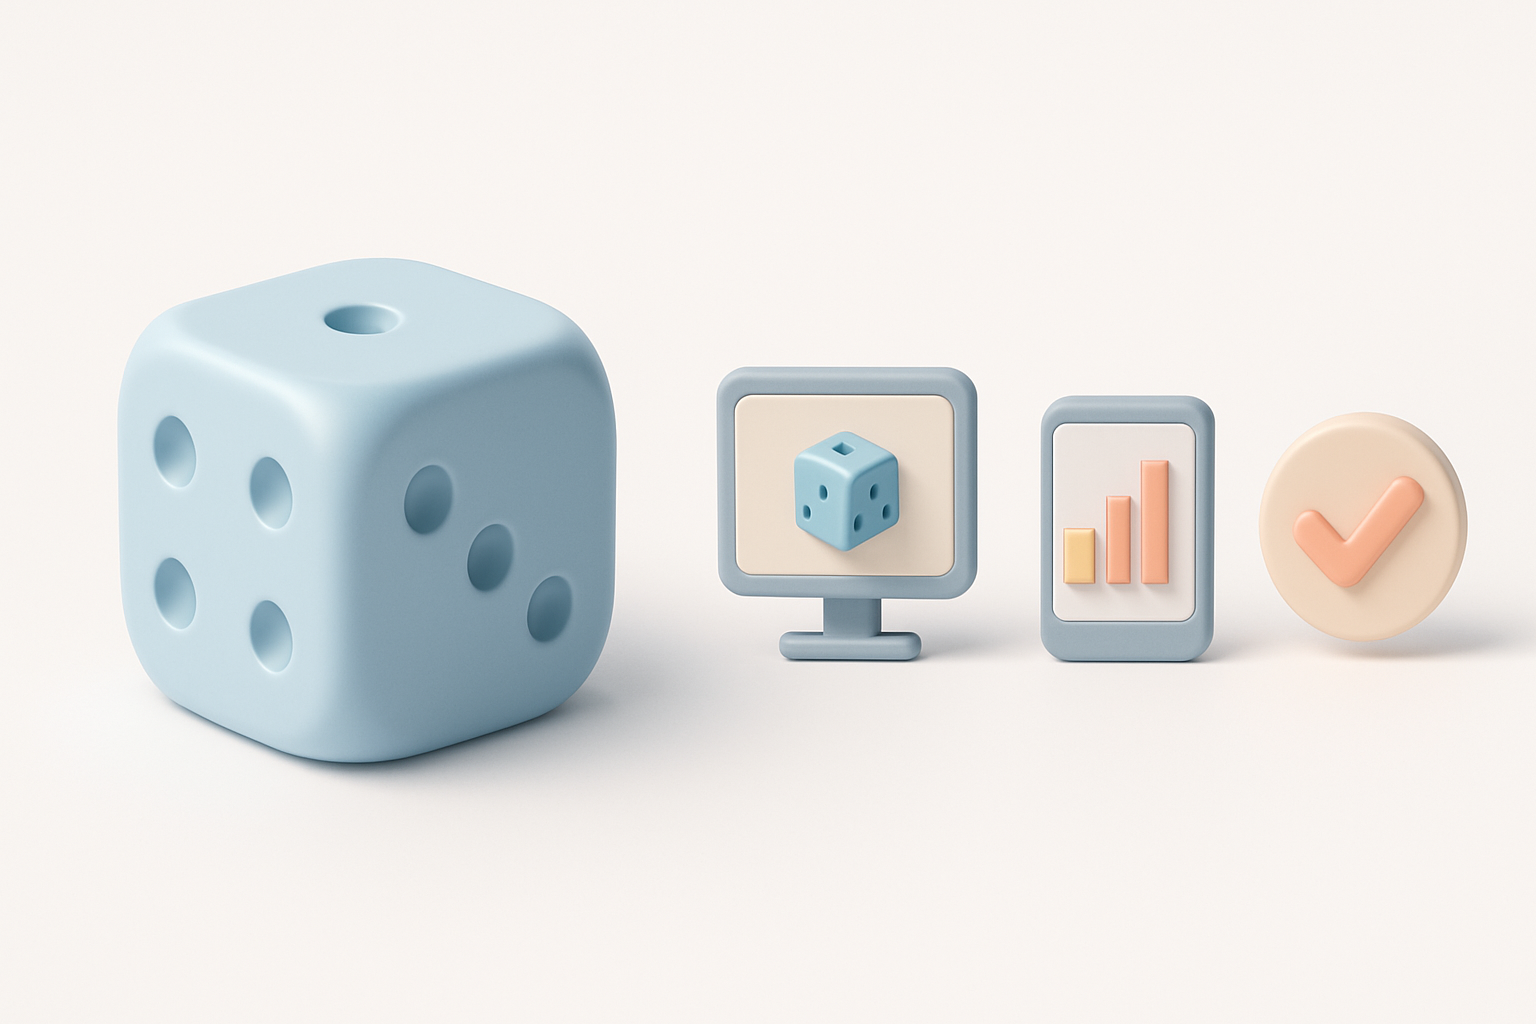
Where dice 3D models are used
Dice models are ubiquitous in tabletop and digital games, educational tools, AR/VR experiences, and product visualization. In my workflow, I most often build dice for:
- Board and digital games (real-time engines)
- XR/AR learning applications
- Product mockups and marketing renders
The intended use informs everything from polycount to texture resolution.
What makes a dice model production-ready
A production-ready dice model isn’t just about looks—it needs to be:
- Accurate: Proportions and numbering must match real dice.
- Optimized: Clean topology for animation or real-time use.
- Well-textured: UVs and materials must be seamless.
- Export-ready: Compatible with target engines or platforms.
I always check for these before handing off a model.
My Step-by-Step Workflow for Dice 3D Modeling
Concepting and reference gathering
Even for something as simple as a die, I don’t skip reference gathering. I look for:
- Real dice photos (angles, materials, numbering)
- Dimensions (standard D6 is 16mm, for example)
- Design variants (rounded edges, pip vs. numeral)
Checklist:
- Gather 3–5 clear reference images
- Decide on edge style (sharp vs. beveled)
- Note color/material requirements
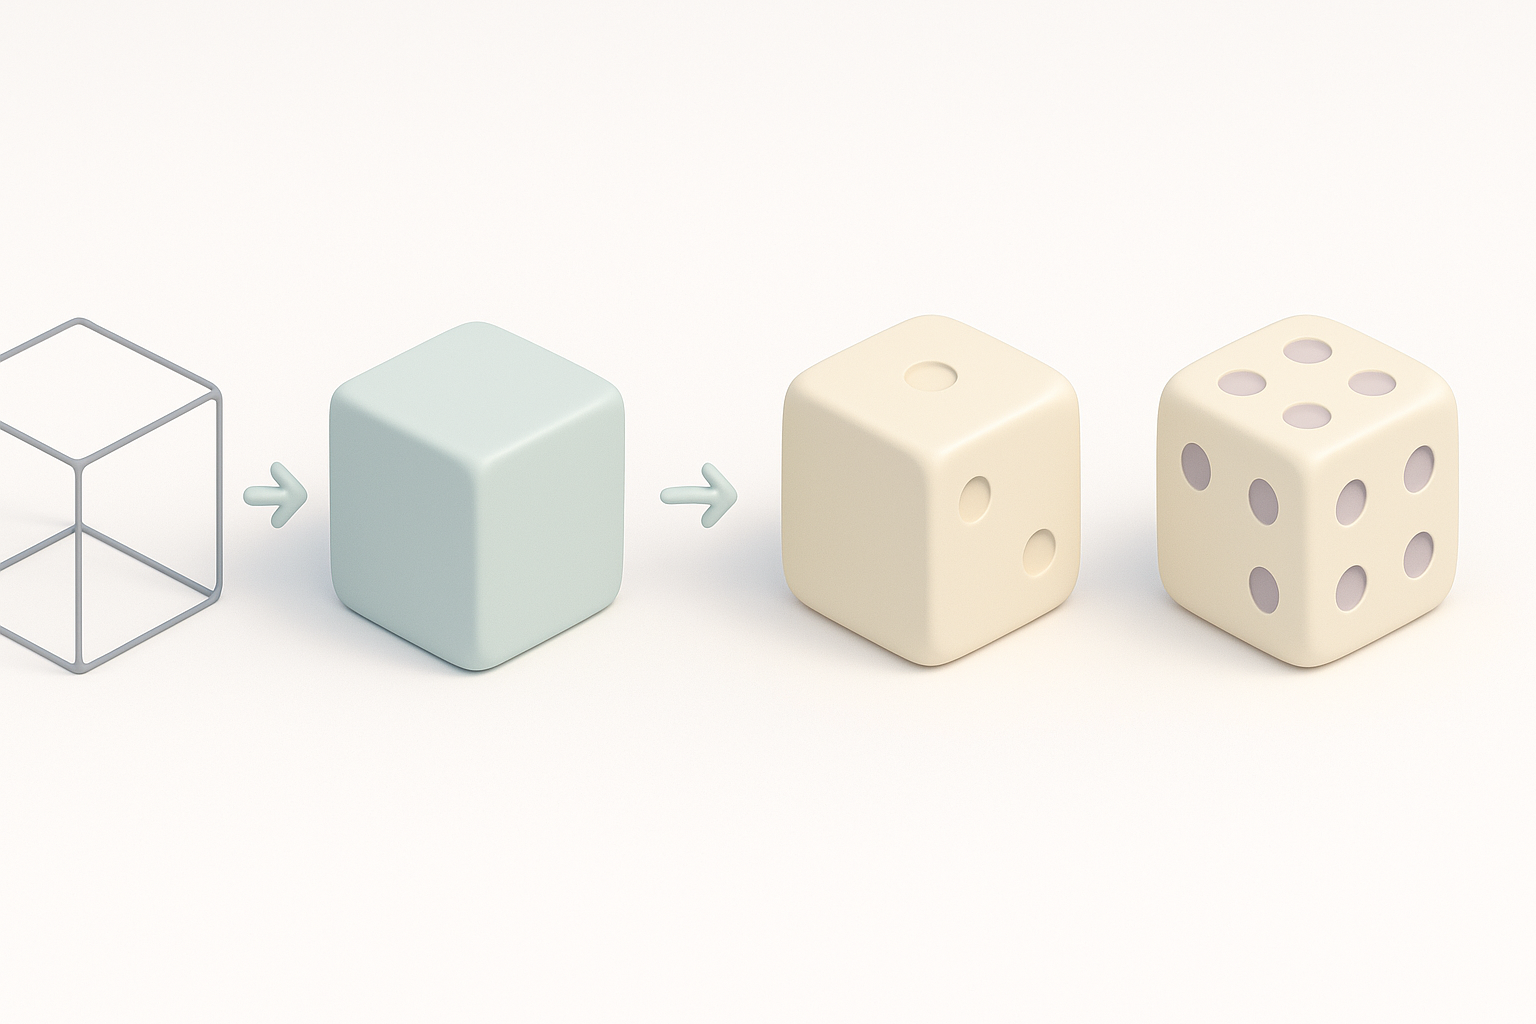
Modeling techniques: geometry and topology
For dice, I usually:
- Start with a cube primitive.
- Bevel edges slightly for realism.
- Add pips or numerals using either geometry (extruded/indented) or normal maps.
My geometry steps:
- Create cube, set correct scale.
- Bevel edges (small radius).
- Mark pip/numeral positions using reference.
- Use boolean or extrusion for pips, or prepare for texture-based numbering.
Pitfalls:
- Over-beveling (looks cartoonish)
- Misaligned pips/numbers
Texturing, Segmentation, and Retopology Best Practices
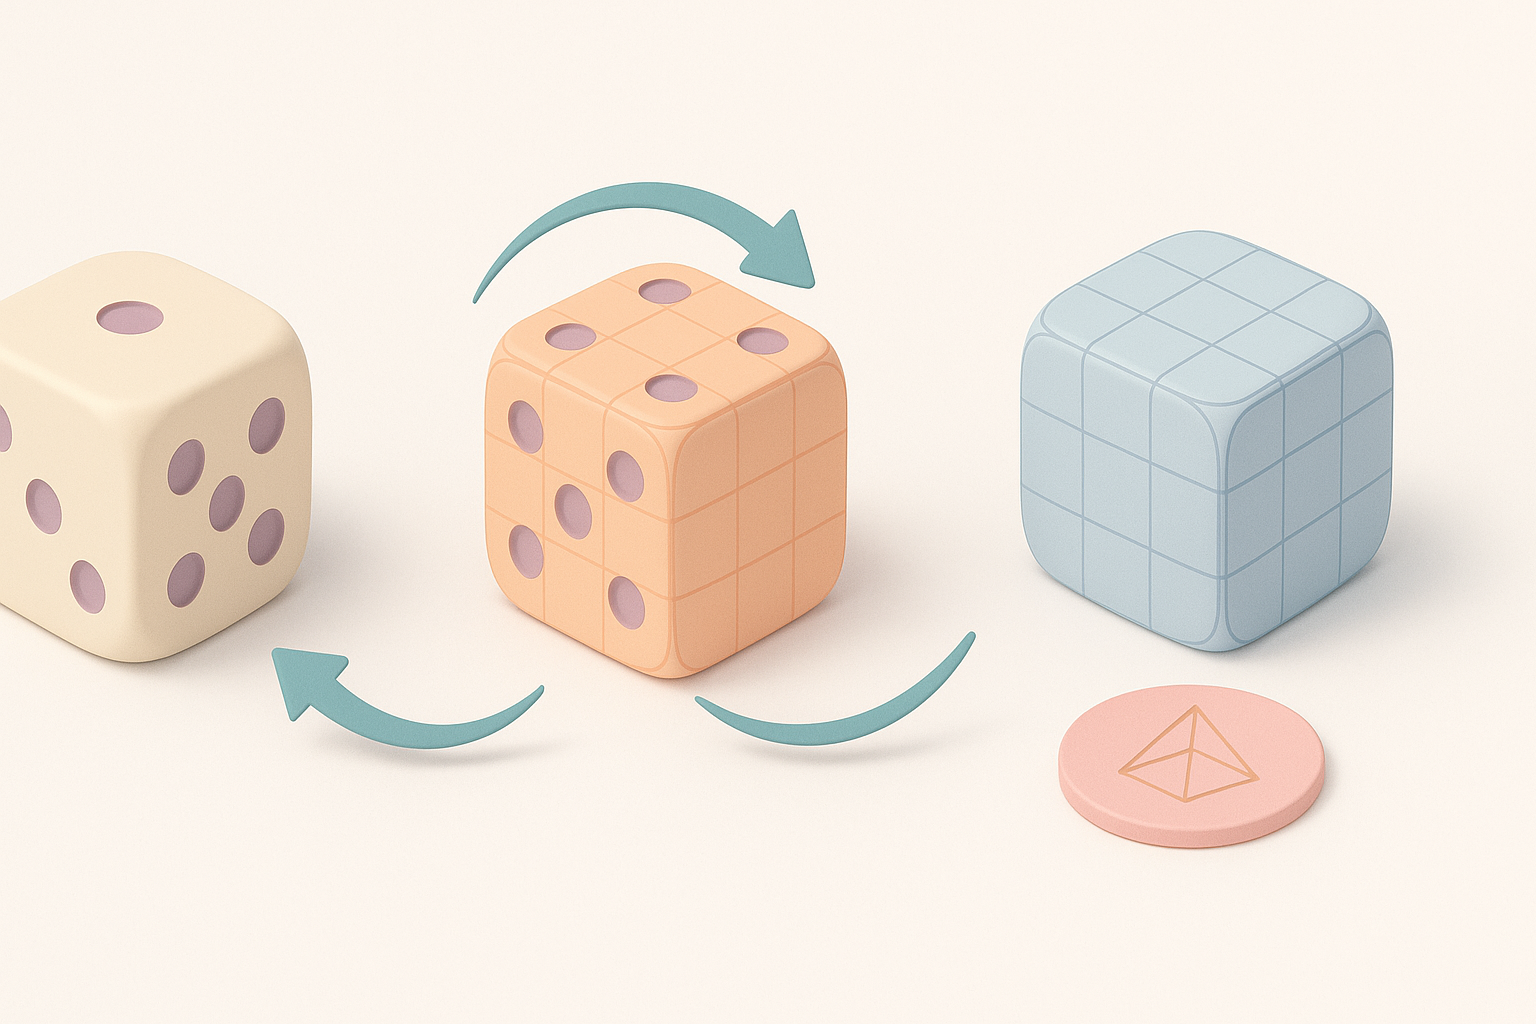
Applying textures and numbers
Texturing is where most dice models fall short. What I’ve found works best:
- UV unwrap the cube before adding pips/numbers.
- For numerals, use a simple texture map.
- For pips, either bake details or use geometry + texture for depth.
Tips:
- Use a 1:1 aspect ratio for UVs.
- Align each face’s UV island for easy numbering.
- Consider Tripo’s auto-texture or segmentation features to speed up this step.
Ensuring clean topology and segmentation
Clean topology ensures smooth shading and easy animation. My approach:
- Keep quads wherever possible.
- Avoid unnecessary edge loops.
- Use segmentation tools (like those in Tripo) to auto-detect and separate dice faces if needed for advanced effects.
Checklist:
- Check for non-manifold edges.
- Run a quick retopology pass if geometry got messy.
- Inspect in wireframe—look for even spacing.
Rigging, Animation, and Exporting for Game & XR Use
Simple rigging for dice rolls
Dice rarely need complex rigs. For basic rolling:
- Set the pivot at the cube’s center.
- Parent to a physics controller (if used in-engine).
- For AR/XR, sometimes I’ll add a simple spin animation as a fallback.
Steps:
- Center pivot.
- Confirm scale and orientation (Z-up vs. Y-up).
- Export with animation baked if needed.
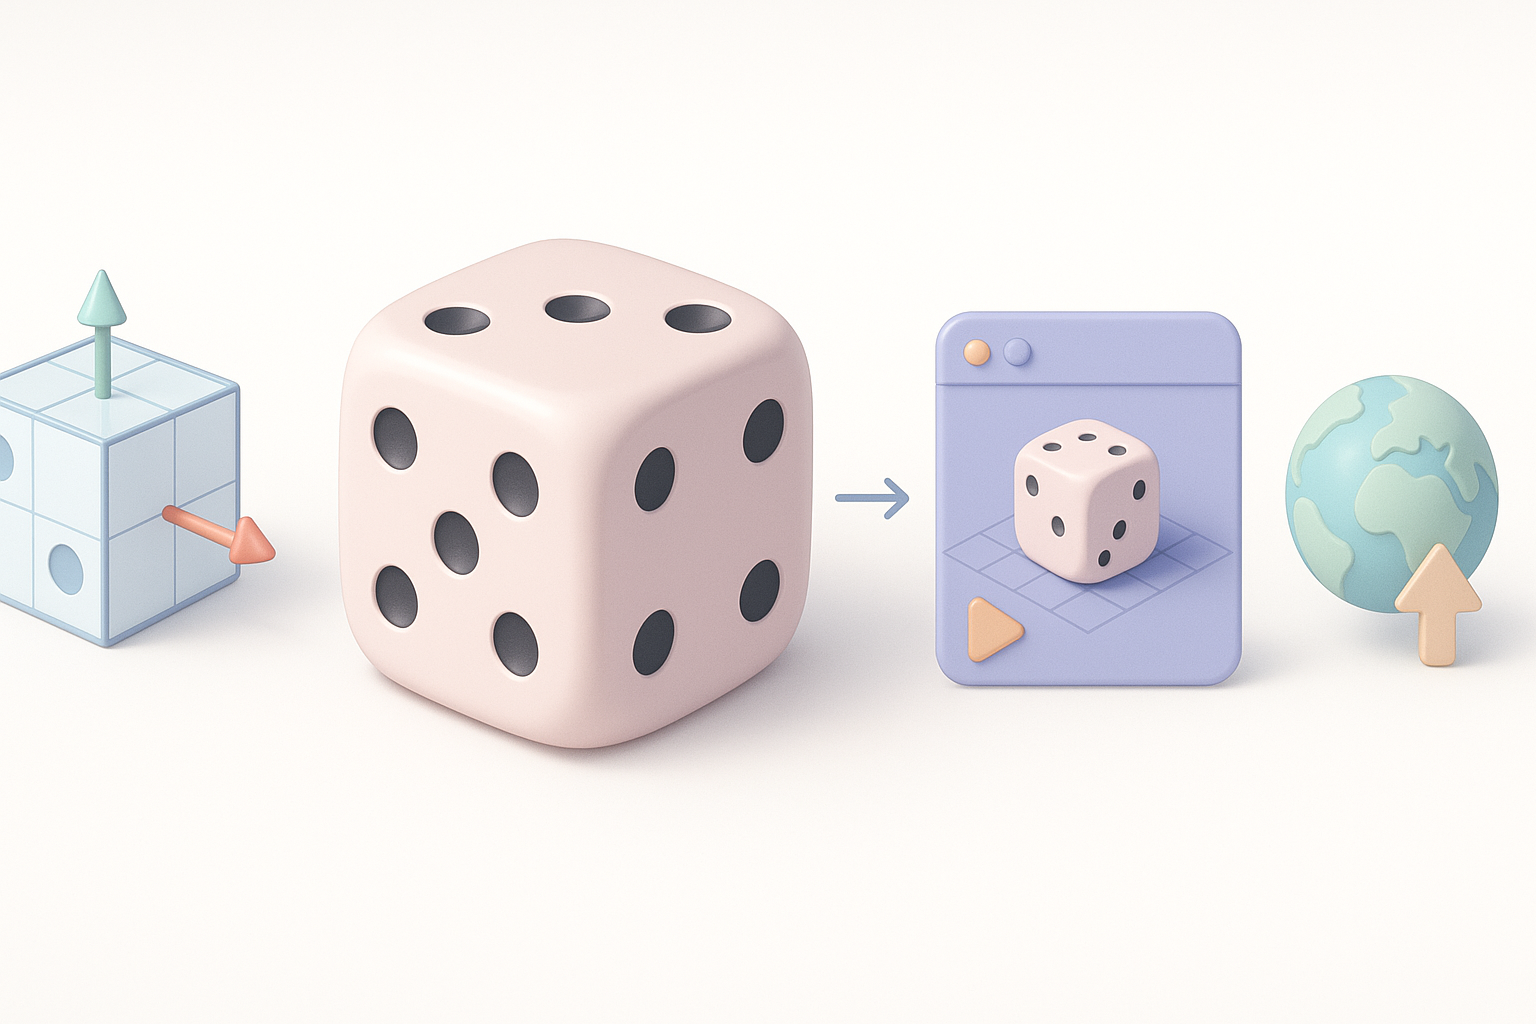
Export settings for various platforms
Exporting is where models often break. I always:
- Choose FBX or GLB/GLTF for most engines.
- Check texture embedding and scale.
- Use Tripo’s export presets when available to match target platform (Unity, Unreal, WebXR, etc.).
Pitfalls:
- Wrong axis orientation
- Textures not linked or missing
- Overly high polycount for mobile/XR
AI-Powered Tools vs. Traditional Methods: My Experience
Speed and quality differences
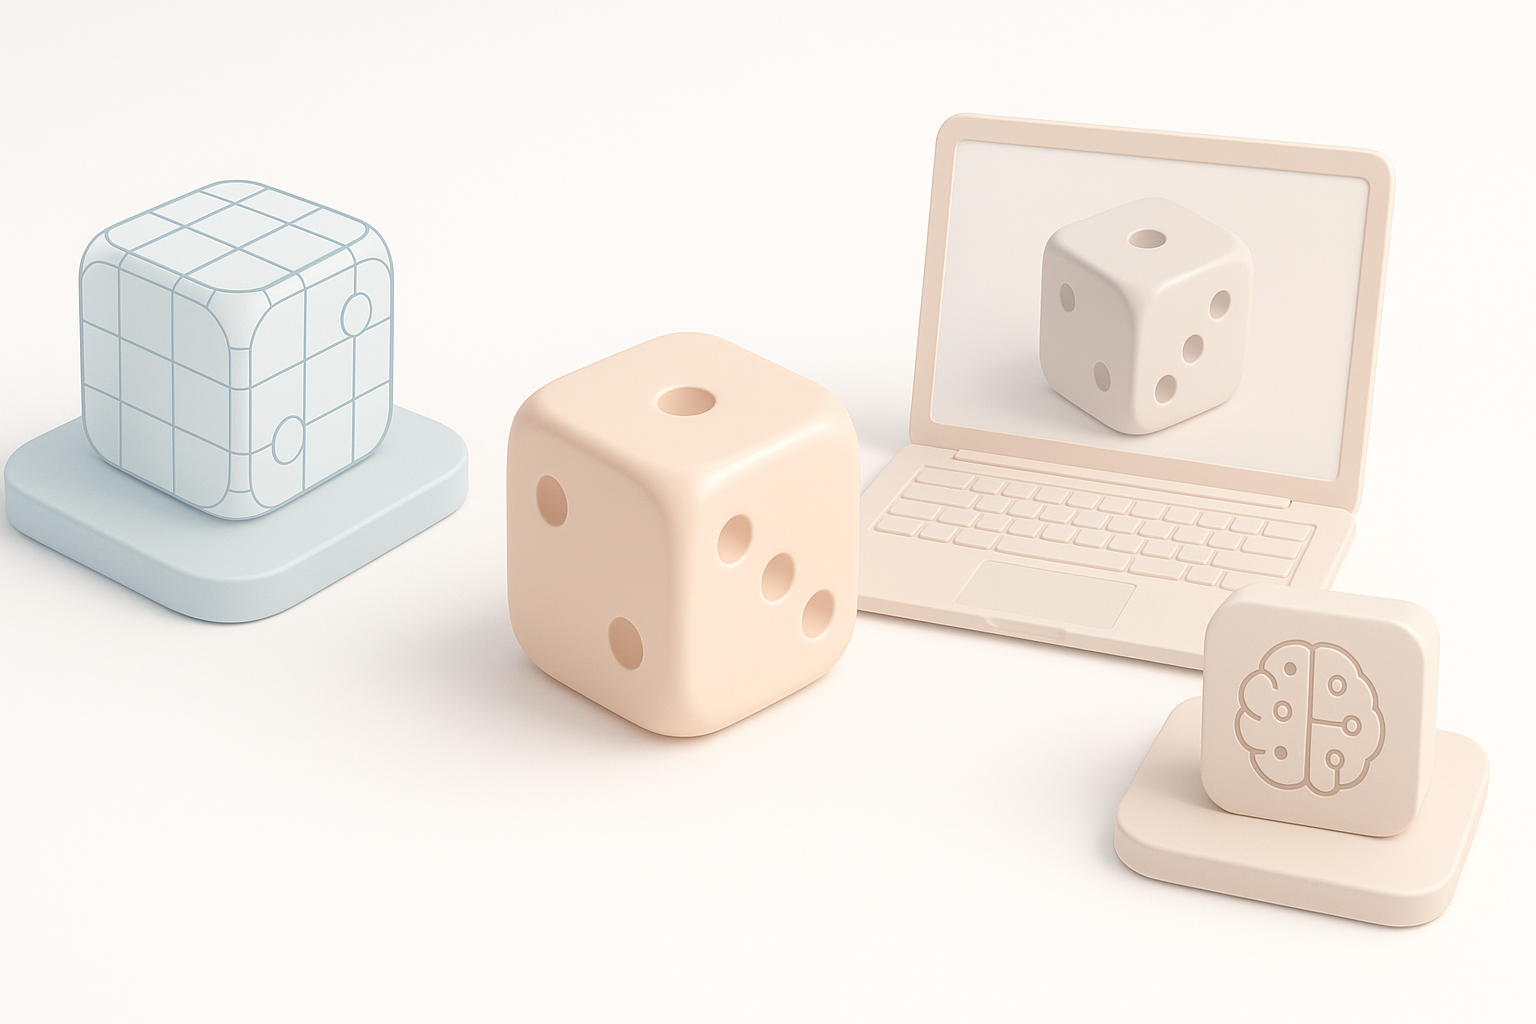
AI-driven platforms like Tripo have changed my workflow:
- Faster initial model generation (seconds vs. minutes)
- Automatic UVs, textures, and segmentation save hours
- Quality is high enough for most game/XR uses, but I still inspect and tweak results
Traditional modeling gives more control, but for dice and similar props, AI tools are a clear timesaver.
Integrating AI tools into my workflow
I typically:
- Use Tripo for initial model and texture generation.
- Import into my DCC (like Blender) for custom tweaks.
- Use Tripo’s retopology or segmentation if the model needs cleanup.
Tips:
- Always check AI-generated UVs and textures.
- Don’t skip manual QA, especially for production assets.
Troubleshooting Common Issues & Expert Tips
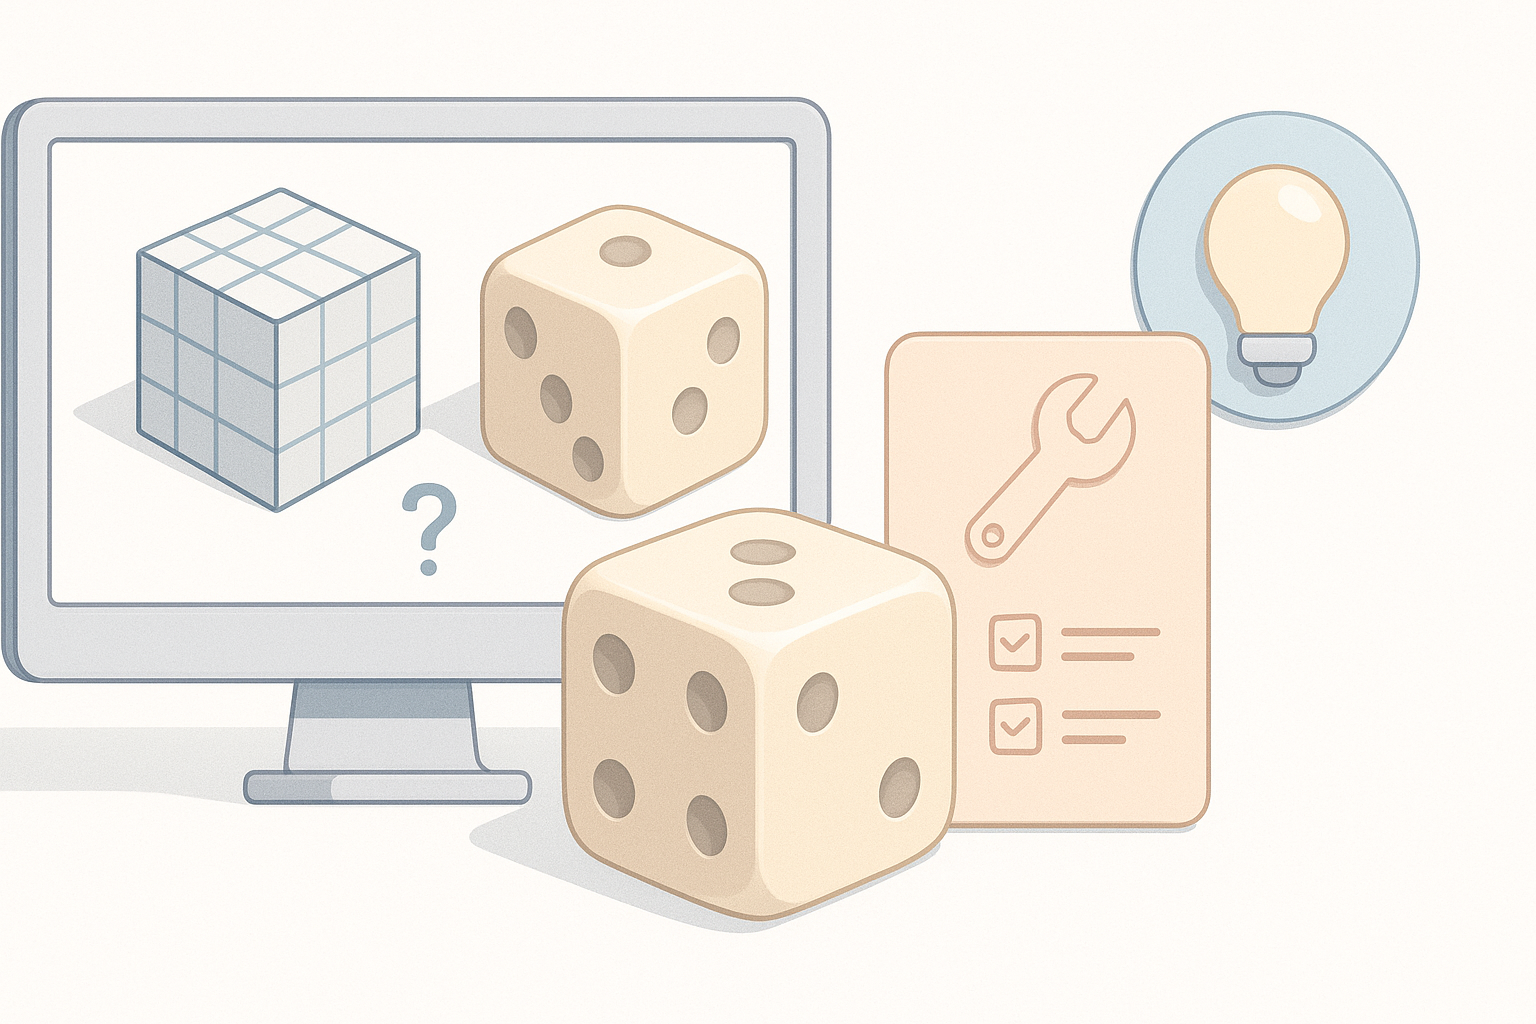
Fixing texture alignment and UVs
Misaligned numbers or pips are common. My process:
- Inspect UVs in the DCC—are faces aligned and sized equally?
- Redo the UV unwrap if numbers are stretched.
- Use a checker texture to spot distortions.
Quick fixes:
- Re-project UVs with cube mapping.
- Manually nudge UV islands as needed.
Optimizing for real-time applications
For games and XR, optimization is critical:
- Keep polycount under 500 for a D6 dice.
- Use 512x512 or 1k textures unless ultra-high detail is needed.
- Test in-engine for lighting and shading issues.
Expert tips:
- Bake AO and normals for extra realism at low polycounts.
- Use LODs if dice will be seen at multiple distances.
By following this workflow, I consistently produce dice models that are ready for any project—quickly, cleanly, and without unnecessary headaches. Whether you’re new to 3D or looking to optimize your pipeline, these steps and tools will get you there efficiently.