Creating Death Stranding 3D Models: Workflow & Best Practices
скачать 3d модель для chicken gun
Creating production-ready 3D models inspired by Death Stranding requires a blend of artistic vision and efficient technical execution. In my experience, leveraging AI-powered tools like Tripo AI has transformed the workflow, allowing me to focus more on creative decisions and less on technical bottlenecks. This guide walks through my end-to-end process, from gathering references to optimizing models for games and XR, with practical tips and pitfalls to avoid. Whether you’re a game artist, designer, or developer, you’ll find actionable steps to streamline your own Death Stranding-style asset creation.
Key takeaways:
- Reference gathering is critical for authenticity and consistency.
- AI-assisted platforms accelerate base mesh creation and texturing.
- Intelligent segmentation and retopology save hours in cleanup.
- Always optimize polycount and UVs for game/XR performance.
- Export settings and engine integration steps are crucial for final quality.
Executive Summary: Key Insights on Death Stranding 3D Models
What makes Death Stranding models unique
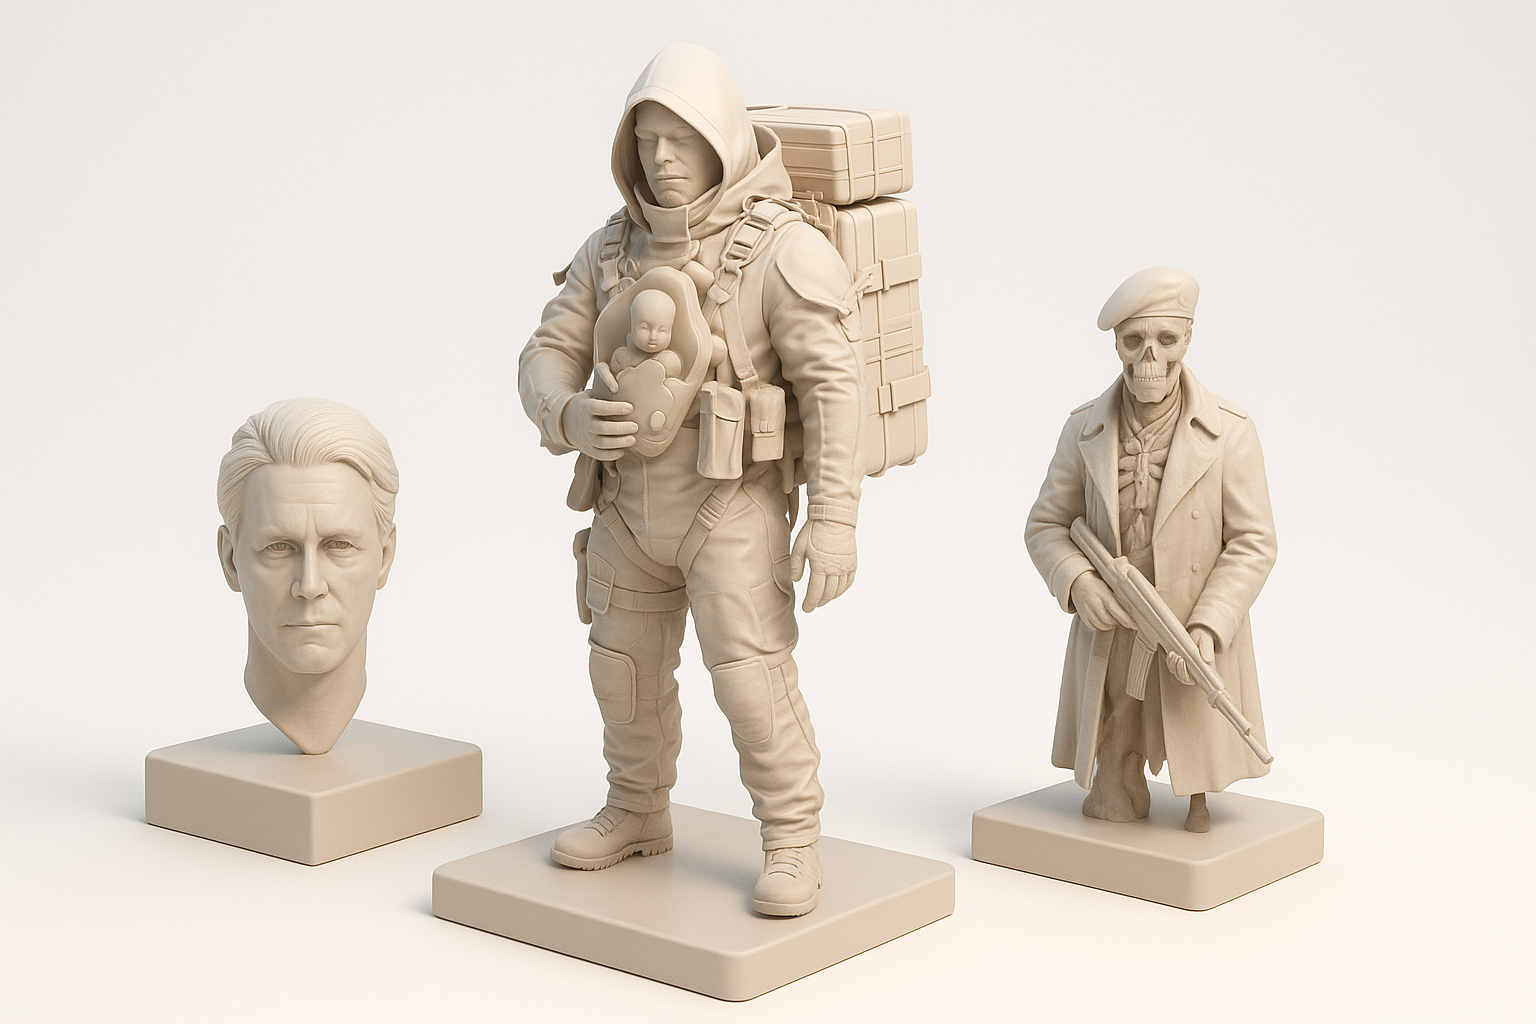
Death Stranding’s 3D models stand out for their hyper-realistic textures, intricate gear details, and weathered, utilitarian aesthetics. In my workflow, replicating this style means focusing on layered materials, believable wear, and accurate proportions—especially for character gear and environmental props. The models balance realism with performance, which is key for real-time applications.
Summary of optimal 3D workflow
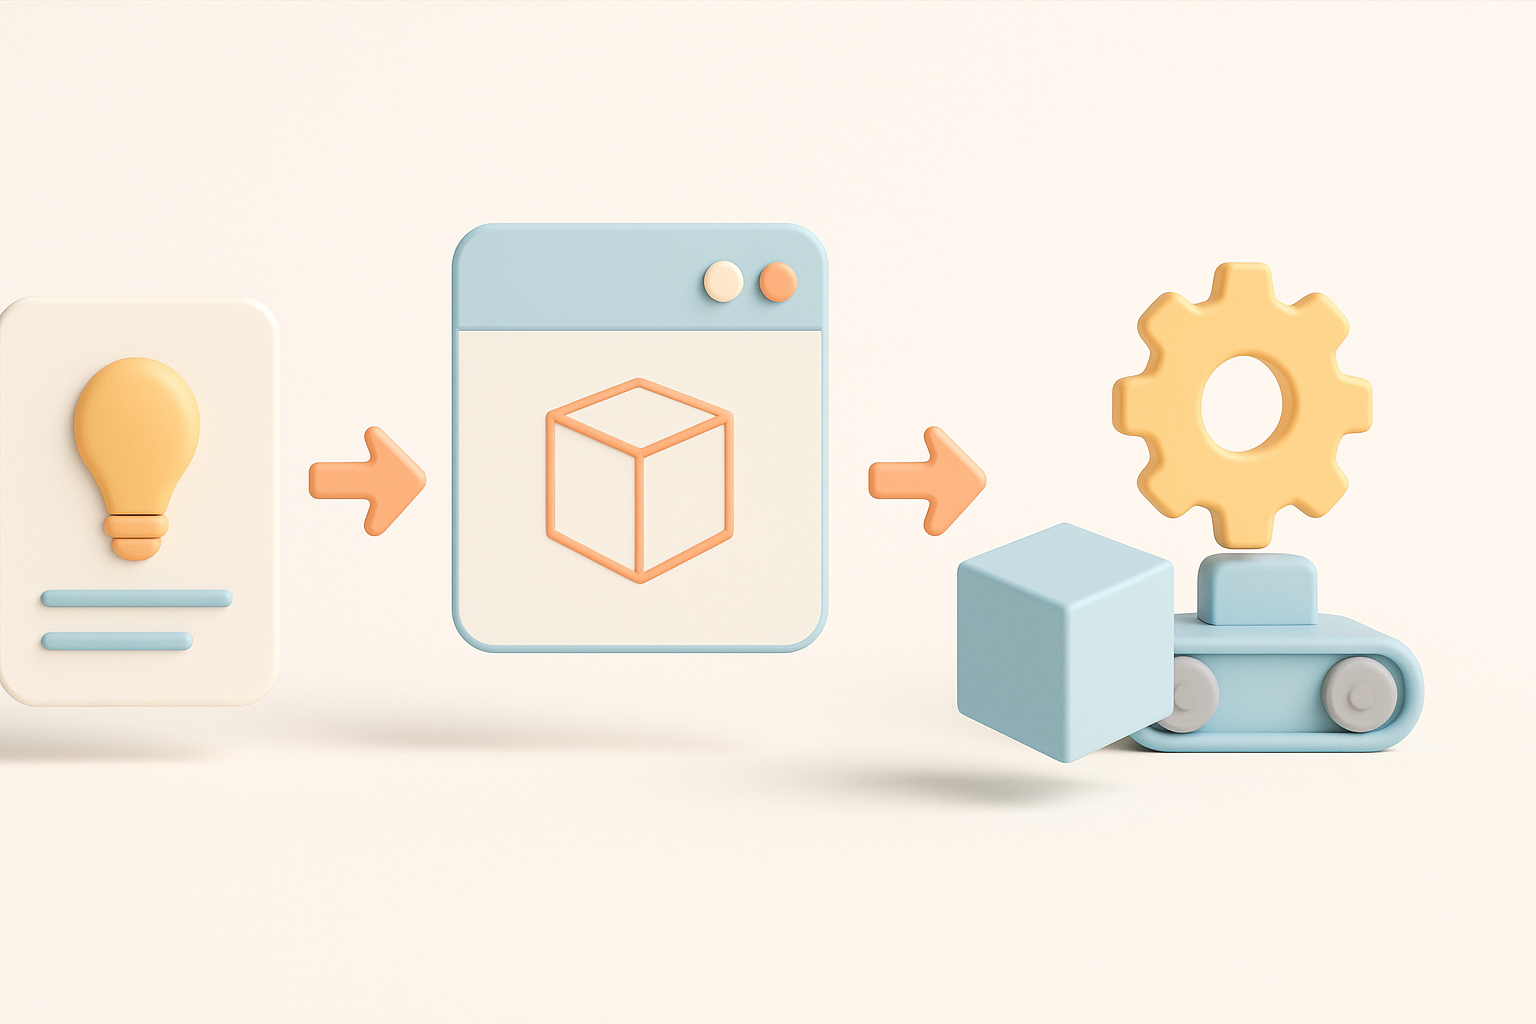
The optimal workflow I use combines reference gathering, concept planning, rapid base mesh generation using AI, and iterative refinement. AI-powered segmentation, retopology, and texturing tools let me quickly move from rough blockouts to production-ready assets. Final steps always include manual tweaks, optimization for target platforms, and thorough testing in-engine.
Reference Gathering and Concept Planning

Collecting visual references from Death Stranding
I start by building a reference board with high-res screenshots, concept art, and fan breakdowns. I focus on close-ups of materials, gear, and environmental details. For hard-to-find angles, I sometimes use in-game photomode or community resources.
Checklist:
- Gather multiple views (front, side, back)
- Focus on material close-ups (metal, fabric, plastics)
- Note scale and proportions relative to characters
Defining model scope and creative goals
Before modeling, I define the asset’s purpose: Is it a hero prop, background object, or character gear? I set clear goals for fidelity, polycount, and texture resolution based on the target platform (game, XR, cinematic).
Tips:
- Write a short brief for each asset
- Set constraints early (poly budget, texture size)
- Prioritize features that sell the Death Stranding look (e.g., grime, labels, modularity)
Choosing the Right Tools for 3D Model Creation
Why I use AI-powered platforms for game assets
AI platforms like Tripo AI have become my go-to for quickly generating base meshes and textures from text prompts or image references. This is especially useful for Death Stranding’s complex props—what used to take hours now takes minutes, freeing up time for creative tweaks.
What I’ve found:
- AI tools excel at initial blockouts and base texturing
- Manual refinement is still needed for hero assets
- Useful for generating variations and quick iterations
Comparing traditional and AI-assisted workflows
Traditional workflows involve manual box modeling, sculpting, and baking. While this allows total control, it’s time-consuming. With AI-assisted workflows, I can generate segmented, retopologized models with UVs and basic textures, then focus on polishing.
AI-assisted workflow advantages:
- Faster from concept to base mesh
- Automated UV mapping and retopology
- Built-in texturing saves setup time
Pitfalls:
- AI outputs may need cleanup for topology or edge flow
- Not all details are accurate—always cross-check with references
Step-by-Step Workflow: From Concept to Production-Ready Model
Blocking out the base mesh and proportions
I usually start by blocking out the main forms, either by hand or using AI-generated base meshes from Tripo AI. For Death Stranding assets, I pay close attention to silhouette and major proportions—getting this right early saves headaches later.
Steps:
- Import references into your scene
- Block out large shapes (ignore details)
- Check scale against reference images or character models
Applying intelligent segmentation, retopology, and texturing
Once the base is set, I use AI tools to segment the model into logical parts (e.g., straps, pouches, containers). Automated retopology and UV unwrapping streamline the process, and I often use AI-generated textures as a starting point before manual painting.
Tips:
- Use segmentation to separate materials for better texturing
- Check UVs for stretching or wasted space
- Layer procedural dirt, grime, and decals for realism
Optimizing Death Stranding Models for Games and XR
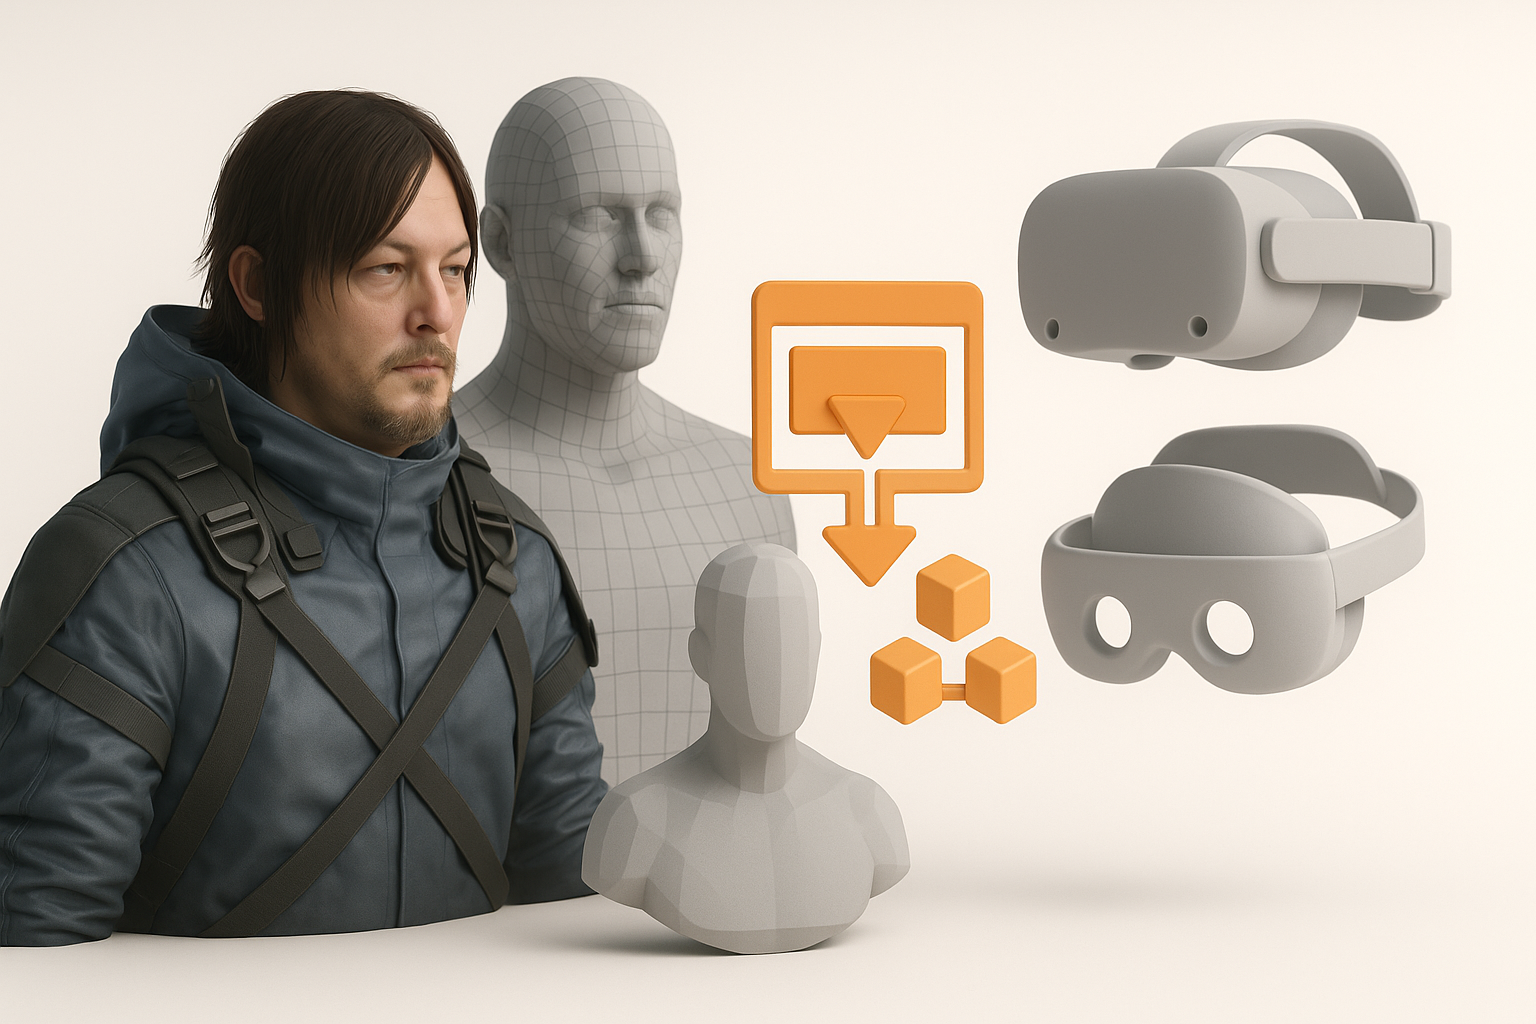
Best practices for polycount and UV mapping
For real-time use, I target a balanced polycount—enough for smooth silhouettes, but not excessive. I pack UVs tightly and avoid overlapping unless using mirrored textures. Baking normal maps from high-poly versions helps retain detail.
Checklist:
- Target polycount based on asset type (hero vs. background)
- Optimize UV islands for minimal seams and efficient packing
- Bake and test normal/AO maps for added detail
Exporting and integrating models into engines
Before exporting, I triangulate meshes, apply transforms, and ensure textures are named consistently. I use FBX or GLTF for most engines. In-engine testing is crucial—materials, LODs, and collisions often need tweaks.
Pitfalls:
- Forgetting to freeze transforms or apply scale
- Overlooking engine-specific material setups
- Not testing in context (lighting, camera distance)
Personal Tips and Lessons Learned

Common pitfalls and how I avoid them
Early on, I struggled with inconsistent scales and messy topology. Now, I always set up a reference grid and use AI retopology to clean up meshes. Another pitfall: relying too much on AI textures—manual passes are often needed for hero assets.
Avoid these:
- Ignoring reference scale
- Overcomplicating geometry
- Skipping manual polish steps
Enhancing realism and efficiency with AI tools
AI tools let me generate base assets and iterate quickly. For Death Stranding models, I use AI to block out complex gear, then add custom wear and decals by hand. This hybrid approach gives me the best balance of speed and quality.
Efficiency tips:
- Use AI for repetitive or modular parts
- Save custom material presets for consistency
- Batch export assets for testing in-engine
By integrating AI-powered platforms like Tripo AI into my workflow, I’ve dramatically reduced turnaround time and increased the quality of my Death Stranding-inspired 3D models. With careful reference gathering, smart tool choices, and attention to optimization, you can achieve production-ready results that stand up in any game or XR environment.