Creating a Citroën Jumper 3D Model: Workflow and Best Practices
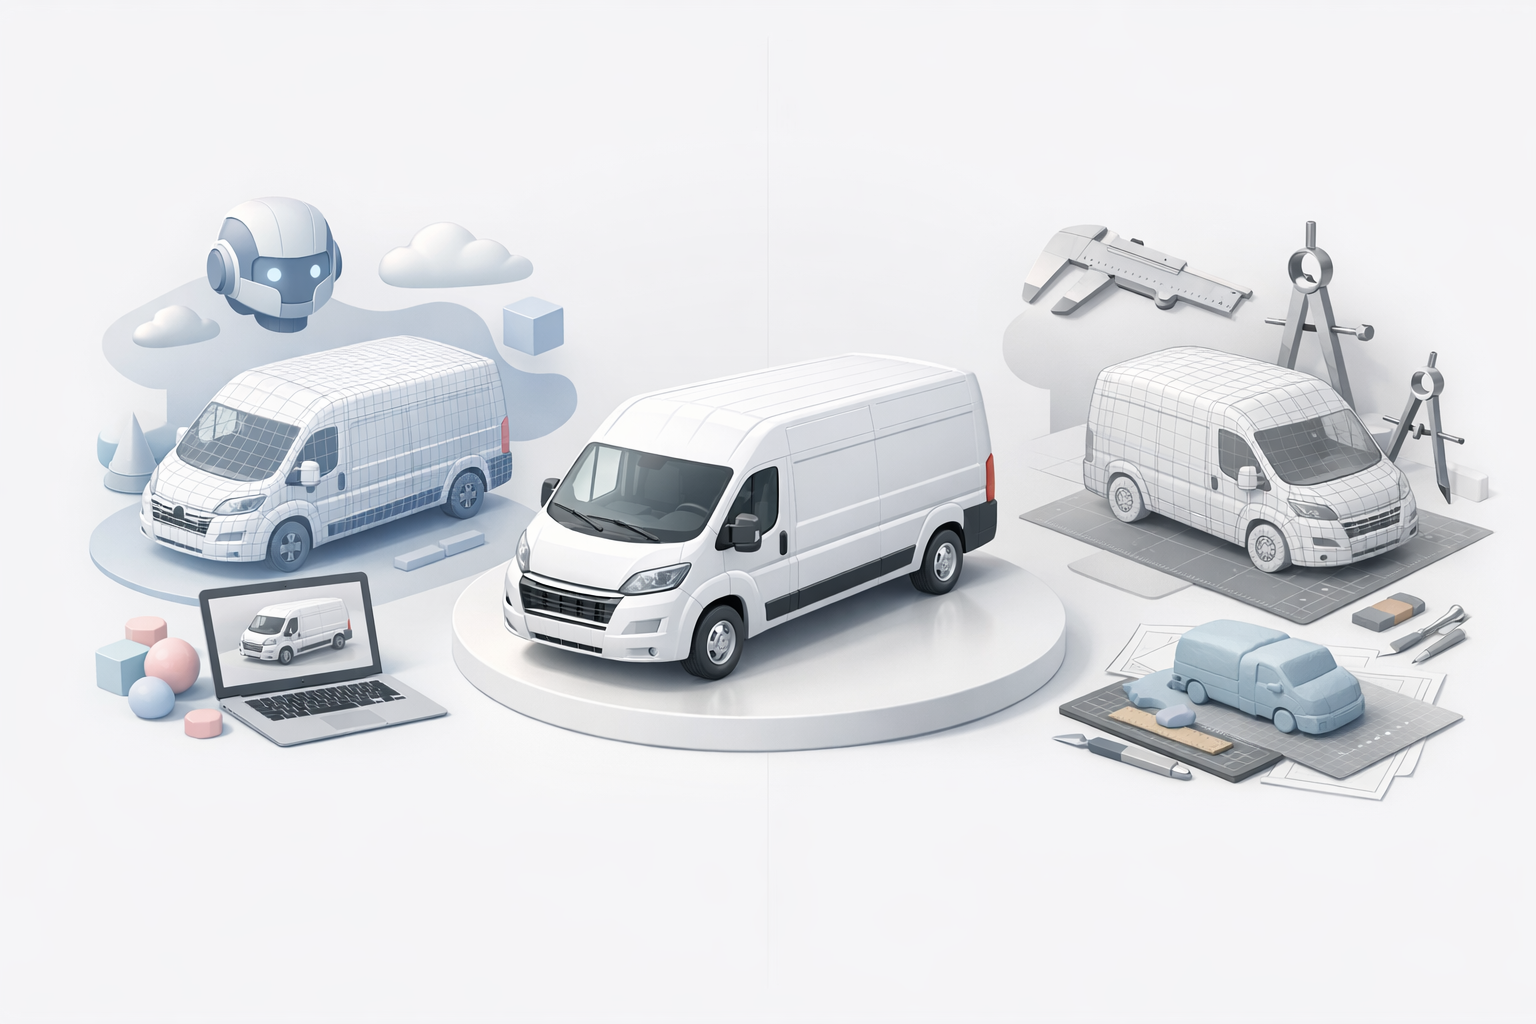
Building a production-ready Citroën Jumper 3D model is faster and more accessible than ever, thanks to AI-powered tools that streamline the entire workflow—from reference gathering and initial generation to retopology, texturing, and final export. In my experience, leveraging these platforms removes much of the technical friction, letting me focus on creative and project-specific needs. This article breaks down my hands-on approach, including practical steps, optimization tips, and lessons learned from real-world projects. Whether you’re working in games, XR, or visualization, this guide will help you get high-quality results efficiently.
Key takeaways
- AI-powered 3D tools drastically reduce modeling time and lower technical barriers.
- Clean reference gathering and planning lead to more accurate results.
- Automated retopology and texturing save hours, but manual tweaks are often necessary.
- Export settings and integration steps depend on the target platform (game engine, XR, film).
- Understanding the strengths and limitations of AI workflows ensures better outcomes.
- Real-world projects benefit from iterative testing and optimization.
Overview of Citroën Jumper 3D Modeling
Key features of the Citroën Jumper
The Citroën Jumper is a popular commercial van, characterized by a boxy silhouette, distinctive grille, and practical design. When modeling, I pay close attention to:
- Proportions: Accurate wheelbase, body height, and panel lines.
- Details: Headlights, door handles, mirrors, and badges.
- Interior (optional): Dashboard, seats, and cargo area, if the project requires.
Common use cases for 3D models
In practice, I’ve used Citroën Jumper 3D models for:
- Game assets (driveable vehicles, props)
- XR/VR training simulations (fleet management, delivery scenarios)
- Product visualization (marketing, configurators)
- Animation and film (background vehicles, crowd scenes)
Each use case influences the level of detail, polycount, and texturing approach.
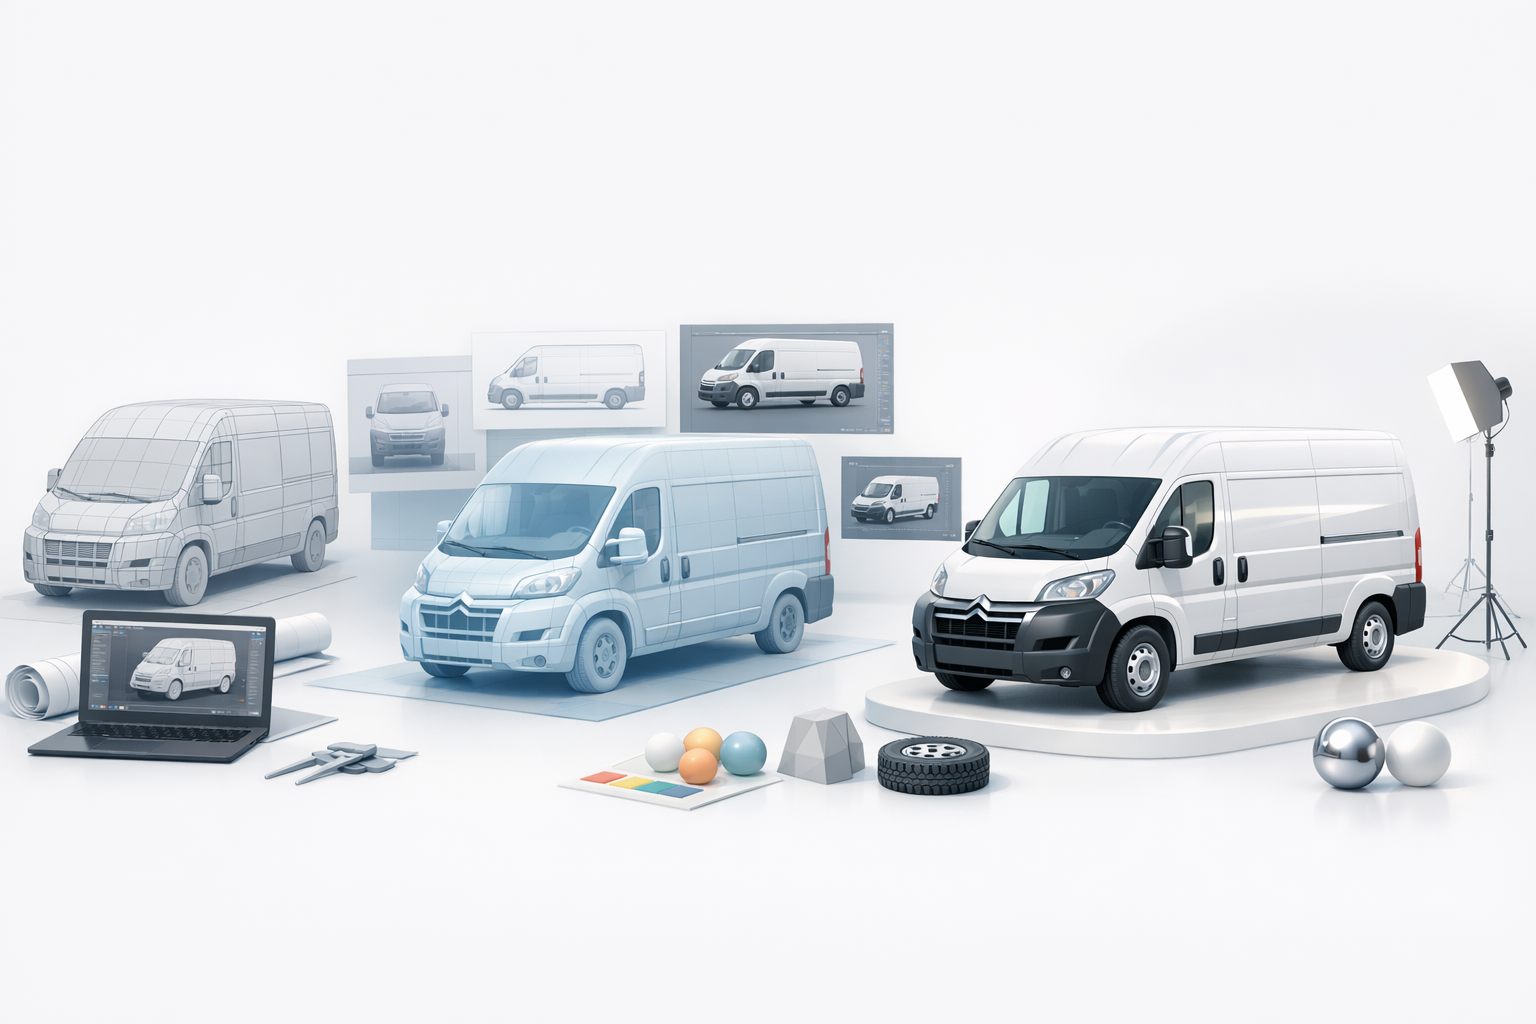
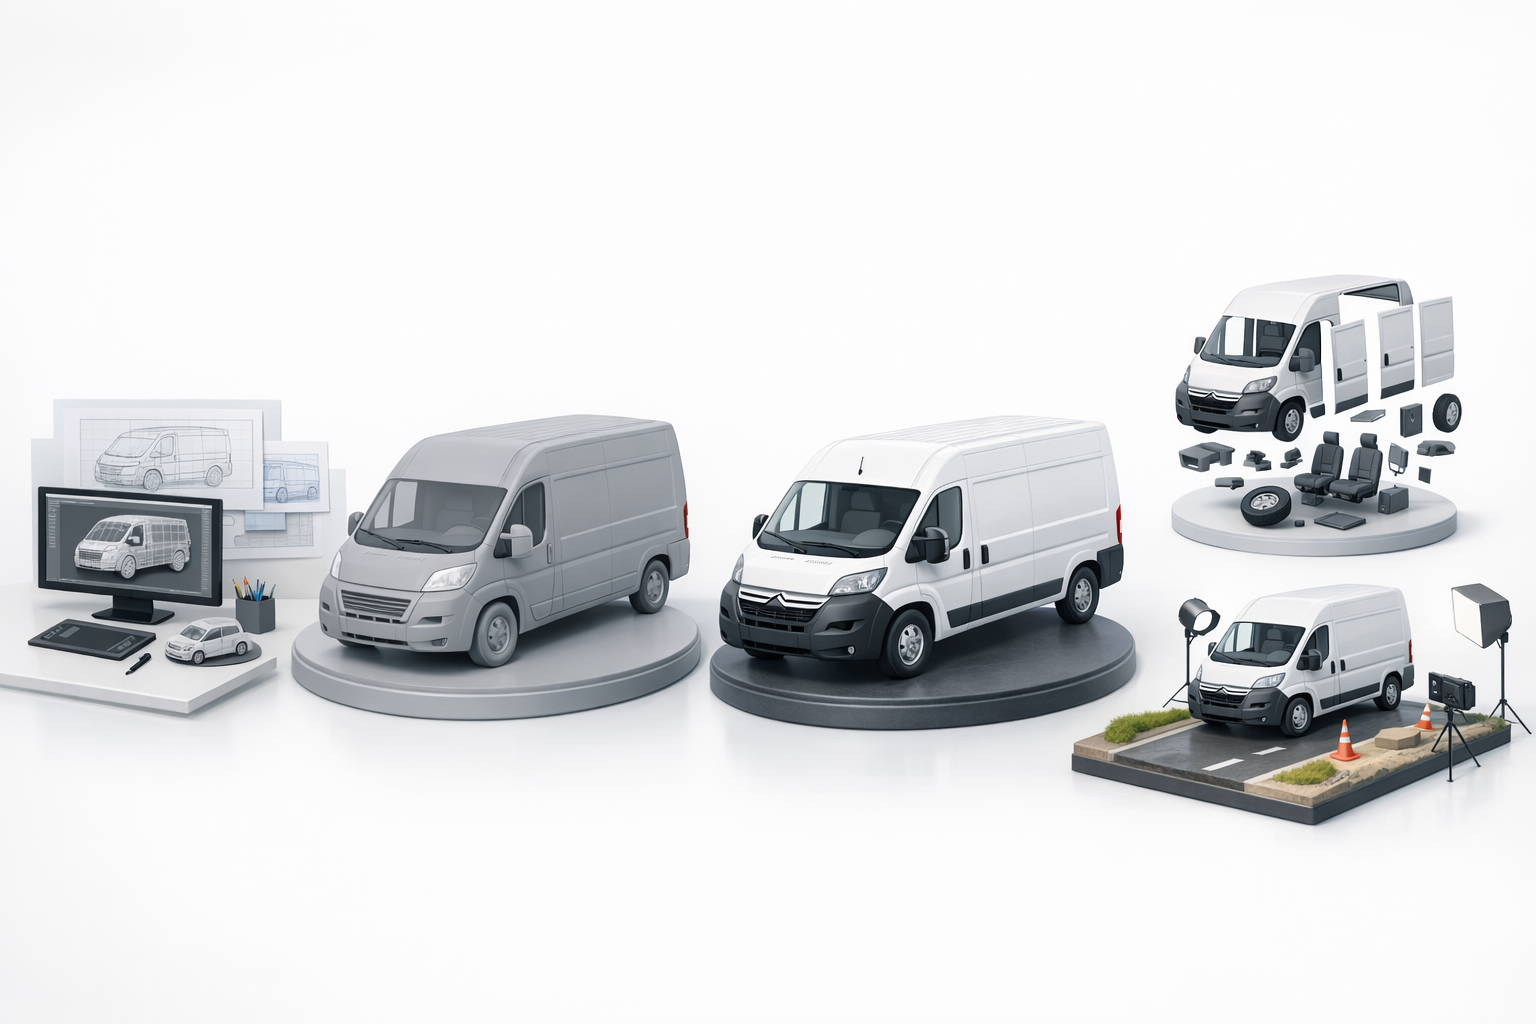
Step-by-Step Workflow for Building a Citroën Jumper 3D Model
Gathering references and planning
A solid reference library is essential. I typically:
- Collect high-res photos from multiple angles (front, side, rear, top).
- Find technical drawings or blueprints for scale accuracy.
- Note key features and any unique visual details needed for the project.
Checklist:
- Exterior and interior photos
- Blueprints or orthographic views
- Close-ups of wheels, lights, and trim
Planning ahead saves time—decide if you need LODs, an interior, or just an exterior shell.
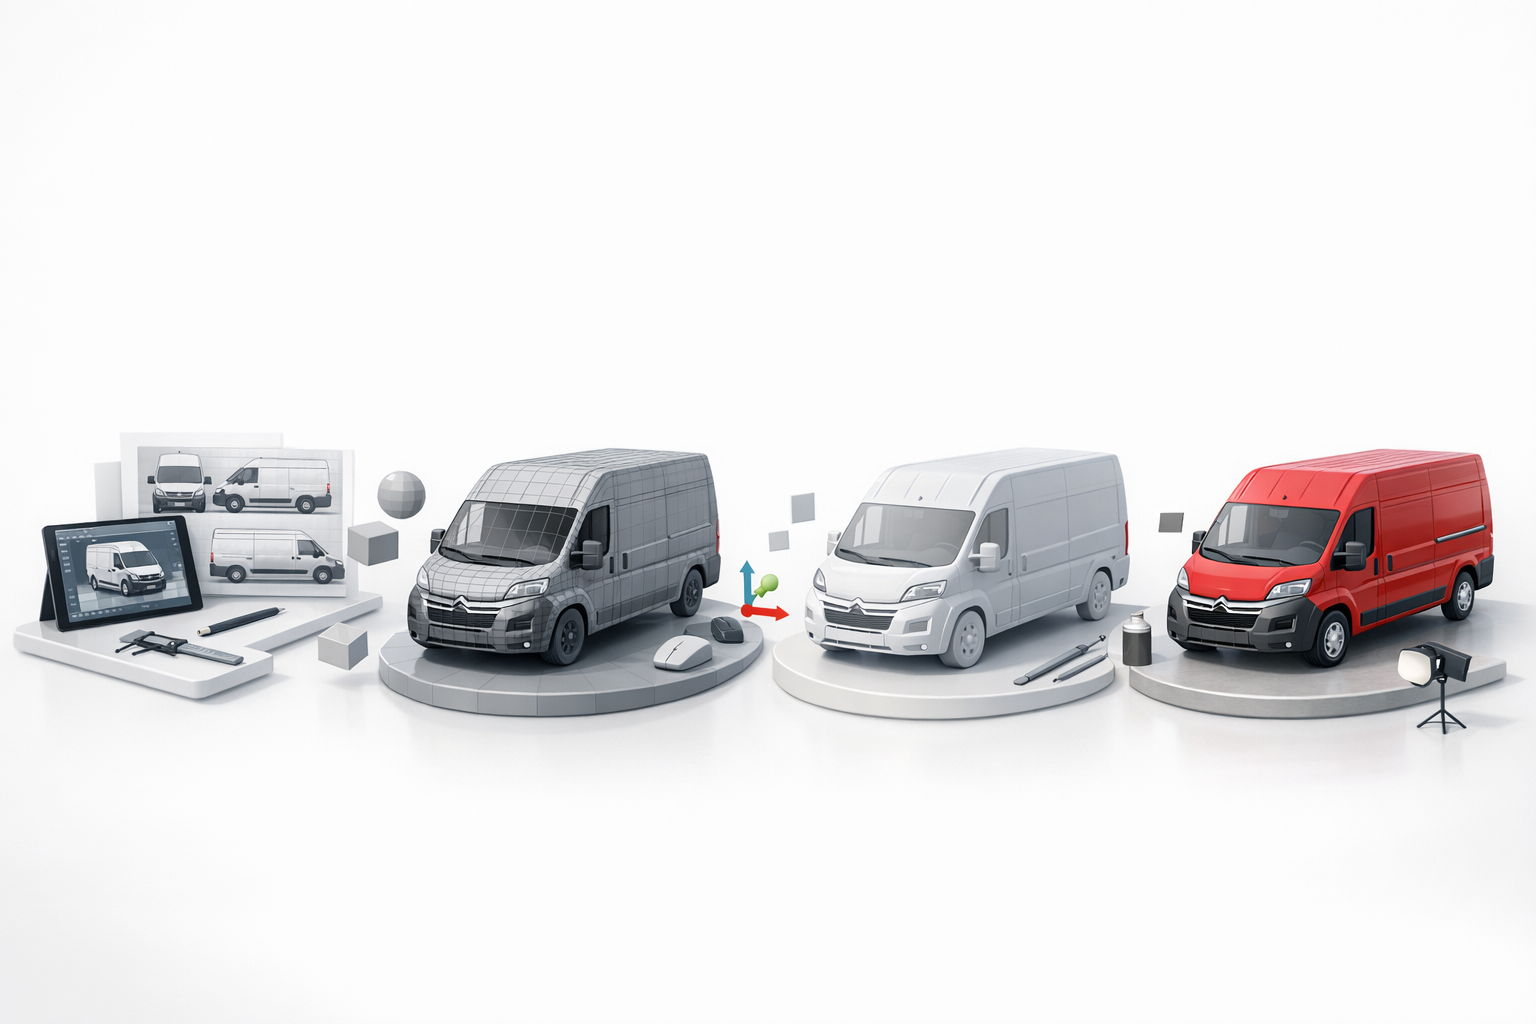
Using AI-powered tools for model generation
With references ready, I use Tripo AI or similar tools to generate a base mesh:
- Input: Upload reference images or a descriptive text prompt (e.g., “Citroën Jumper van, 2018, white, exterior”).
- Review: Inspect the generated mesh for shape accuracy and missing details.
- Edit: Use built-in sculpting or mesh editing tools to refine problem areas.
Tips:
- Start with the clearest references possible for best results.
- Expect to do some manual cleanup, especially on complex geometry or branding details.
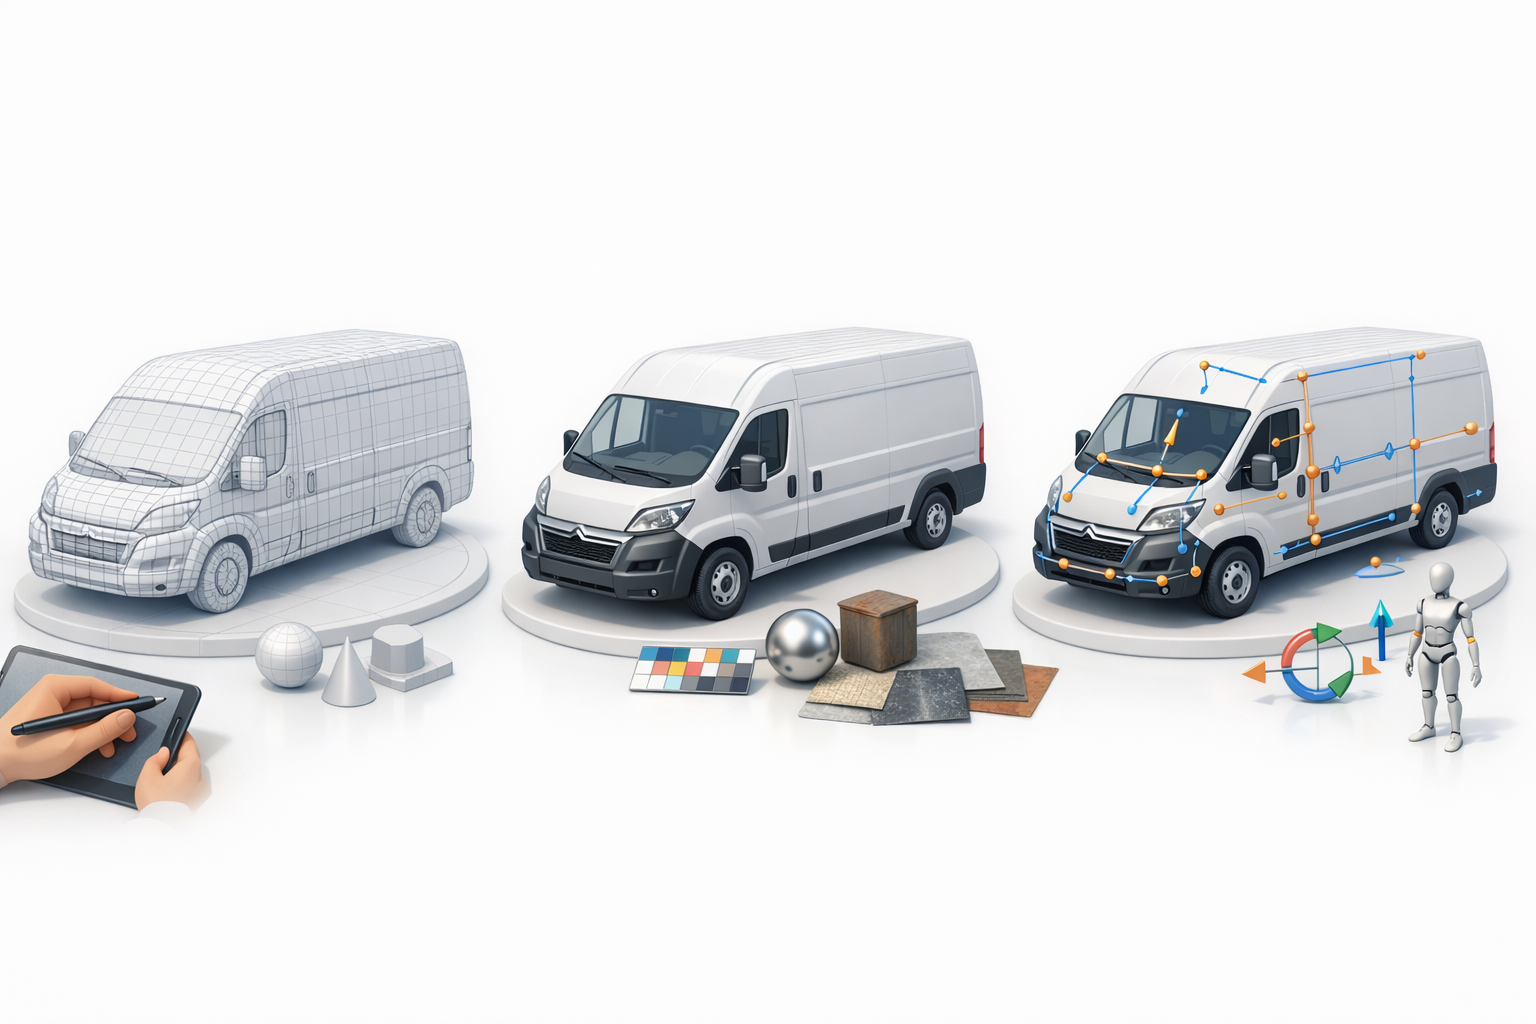
Optimizing the Model: Retopology, Texturing, and Rigging
Best practices for clean topology
Even with AI-generated meshes, I always check topology:
- Use automated retopology features for quad-based, animation-friendly geometry.
- Manually clean up poles, n-gons, and overlapping faces.
- Keep edge flow logical around doors, wheel arches, and panel lines.
Pitfalls:
- Overly dense meshes slow down games and XR apps.
- Messy topology can cause shading artifacts or rigging issues.
Efficient texturing and material setup
Texturing is critical for realism:
- Use AI-assisted UV unwrapping when available, but check for stretching or overlaps.
- Bake ambient occlusion and normal maps for added detail.
- Set up PBR materials—metallic paint, glass, rubber, and plastics.
Mini-checklist:
- Clean UVs
- Consistent texel density
- Realistic material assignments
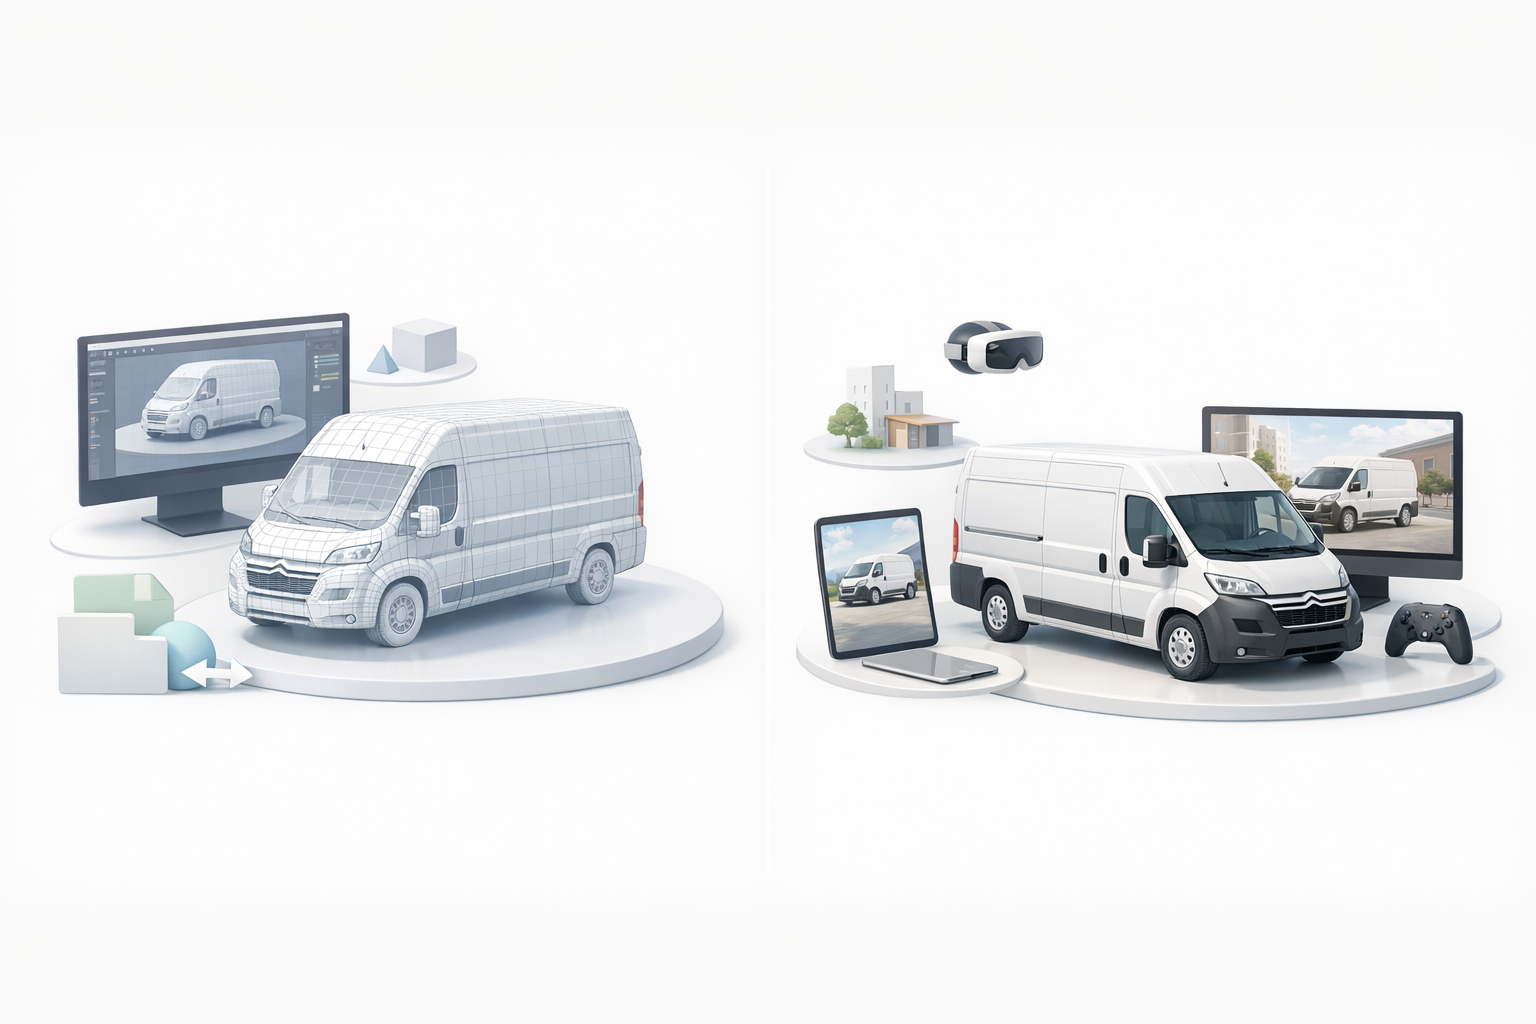
Exporting and Integrating the Citroën Jumper Model
Export settings for different platforms
Export settings depend on where the model will live:
- For real-time engines (Unity, Unreal): Use FBX or GLTF, triangulate meshes, embed textures.
- For XR/web: Optimize polycount and texture size; GLB/GLTF is my go-to.
- For offline rendering: OBJ or FBX with high-res textures.
Tips:
- Test exports in the target platform before final delivery.
- Check scale and pivot alignment to avoid import headaches.
Integrating into game engines or XR projects
Integration is smoother with clean assets:
- Import the model, assign materials, and test animations (if rigged).
- Adjust collision meshes and LODs as needed.
- Iterate—test in context to catch issues early.
Pitfalls:
- Inconsistent units or scale mismatches can cause floating or misplaced models.
- Missing textures are a common export error—always double-check paths.
Comparing AI-Powered and Traditional 3D Modeling Methods
Pros and cons of AI-assisted workflows
Pros:
- Massive time savings—hours instead of days.
- Lowers technical barriers for non-experts.
- Rapid iteration and concepting.
Cons:
- Occasional geometry errors or missing details.
- Less control over topology compared to manual modeling.
- Brand-specific details (logos, trim) may need manual work.
I use AI tools for fast base meshes, but still rely on manual techniques for polish and precision.
When to use alternative methods
- For hero assets or close-up shots, I often refine or rebuild parts by hand.
- For highly customized or heavily animated models, traditional modeling and rigging still have advantages.
- For quick prototyping or background assets, AI workflows are ideal.
Tips and Lessons Learned from Real-World Projects
Common challenges and how I solve them
- Imperfect AI output: I always plan for a cleanup pass—fixing topology, redoing UVs, or adding missing geometry.
- Reference gaps: When photos are missing, I supplement with similar vehicles or extrapolate from blueprints.
- Performance issues: I use mesh decimation and texture compression to hit target budgets.
Time-saving tricks and workflow optimizations
- Batch process similar assets—reuse materials and textures where possible.
- Use version control for models and textures to track changes.
- Automate repetitive steps (naming, exporting) with scripts or built-in batch tools.
Final advice: Embrace AI tools for speed, but don’t skip manual review and polish. Every project benefits from a blend of automation and hands-on craftsmanship.