Blender 3D Model Creation: Expert Workflow & Best Practices
Creating production-ready 3D models in Blender is easier than ever—especially with the right workflow and smart integration of AI tools. Over years of hands-on experience, I’ve refined a process that balances manual precision with speed, leveraging Blender’s core strengths and supplementing with platforms like Tripo AI for rapid prototyping. This guide is for artists, game developers, and designers who want to streamline their modeling pipeline without sacrificing quality. I’ll walk through my step-by-step workflow, share practical tips, and highlight common pitfalls to avoid.
Key takeaways:
- Blender’s flexibility and open ecosystem make it ideal for 3D modeling across industries.
- Efficient workflows combine manual techniques with AI-powered tools for speed and quality.
- Proper setup, blocking, and topology management are crucial for production-ready models.
- UV unwrapping and material application require careful planning for realistic results.
- Optimizing models for different platforms ensures compatibility and performance.
- Common mistakes can be avoided with structured processes and quality checks.
Getting Started with Blender 3D Modeling

Why I Choose Blender for 3D Projects
Blender’s open-source nature, robust toolset, and active community have made it my go-to for 3D modeling. Whether I’m working on game assets, film props, or XR prototypes, Blender’s versatility lets me tackle almost any project. Its frequent updates and extensive add-ons mean I can always find a solution or workflow tweak to suit my needs.
Practical reasons I use Blender:
- No licensing restrictions—ideal for freelance and studio work.
- Wide support for file formats and integration with other tools.
- Customizable interface and hotkeys streamline repetitive tasks.
Essential Setup and Interface Tips
Before diving into modeling, I always set up Blender for efficiency. Customizing the layout, organizing workspace tabs, and configuring shortcuts saves hours in the long run.
My setup checklist:
- Enable relevant add-ons (e.g., LoopTools, Node Wrangler).
- Set up custom hotkeys for frequent actions.
- Organize Outliner and Collections for asset management.
- Adjust viewport shading for quick material previews.
Pitfall: Skipping setup leads to cluttered projects and slower workflows. Invest a few minutes upfront.
Step-by-Step Guide to Creating 3D Models in Blender
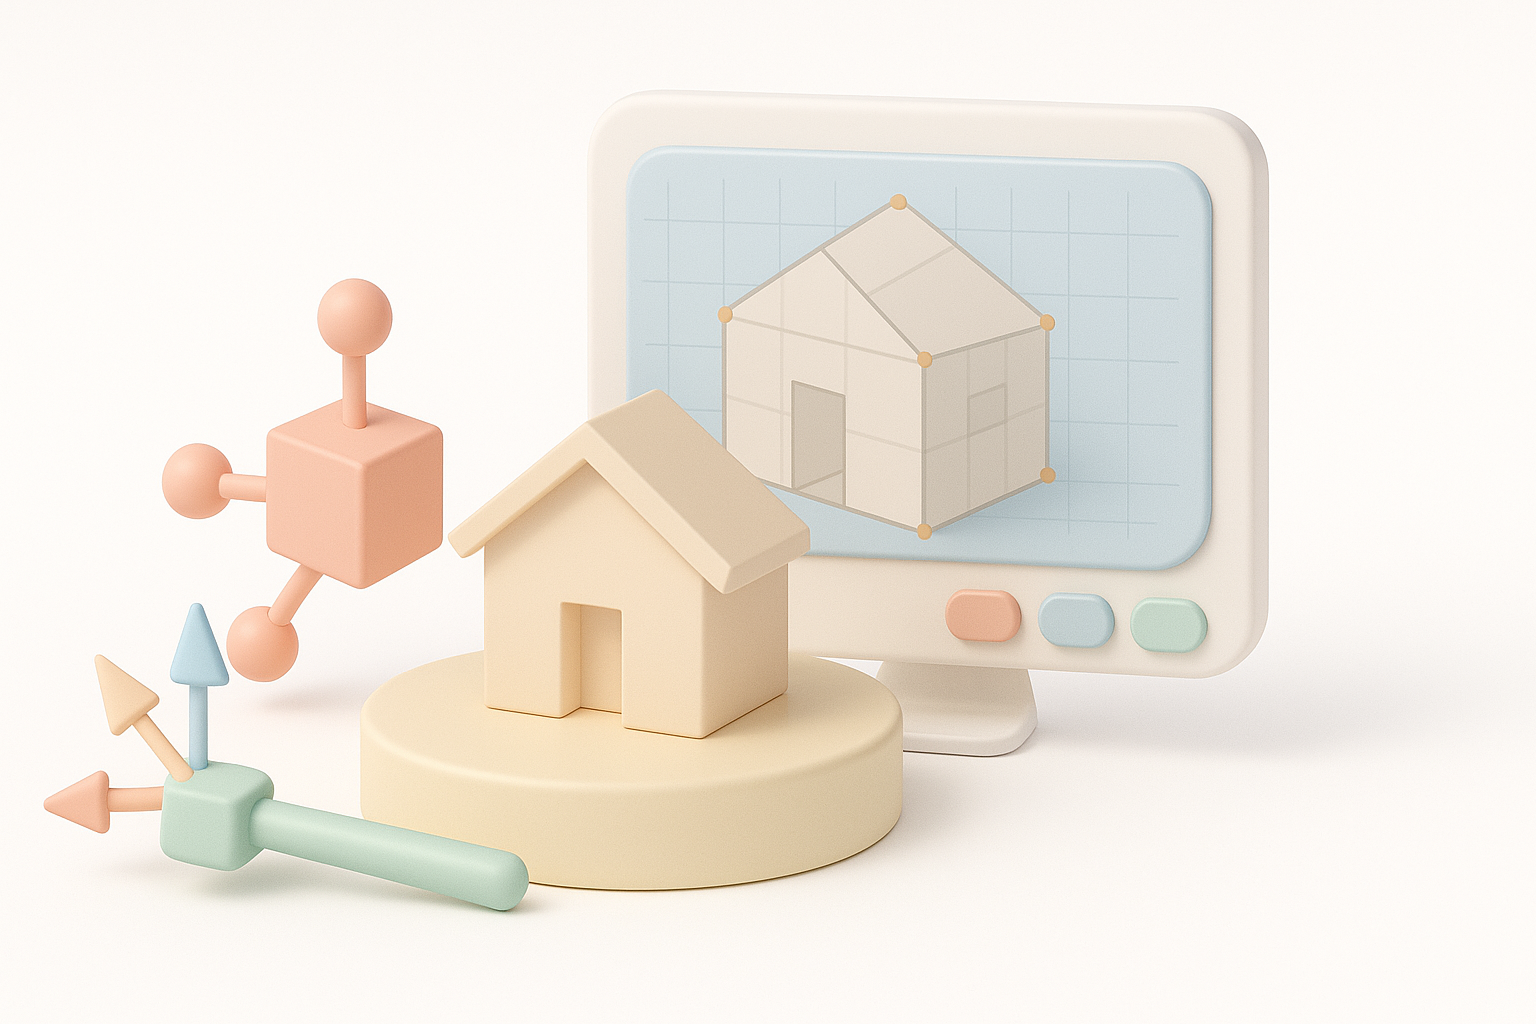
Blocking Out the Base Mesh
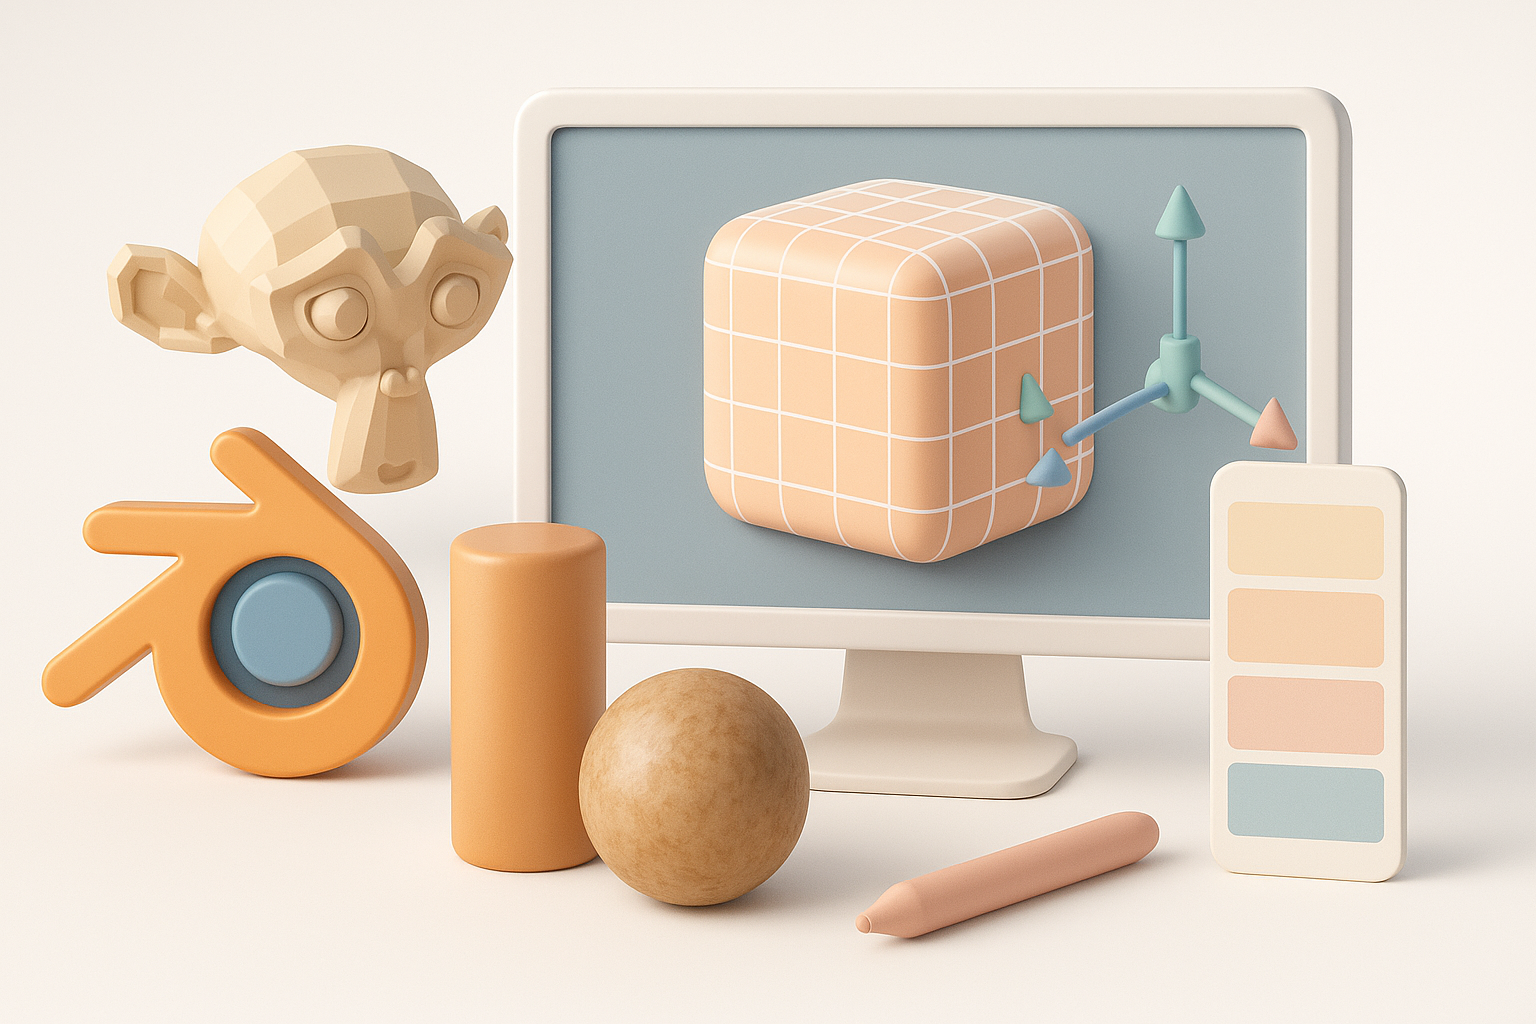
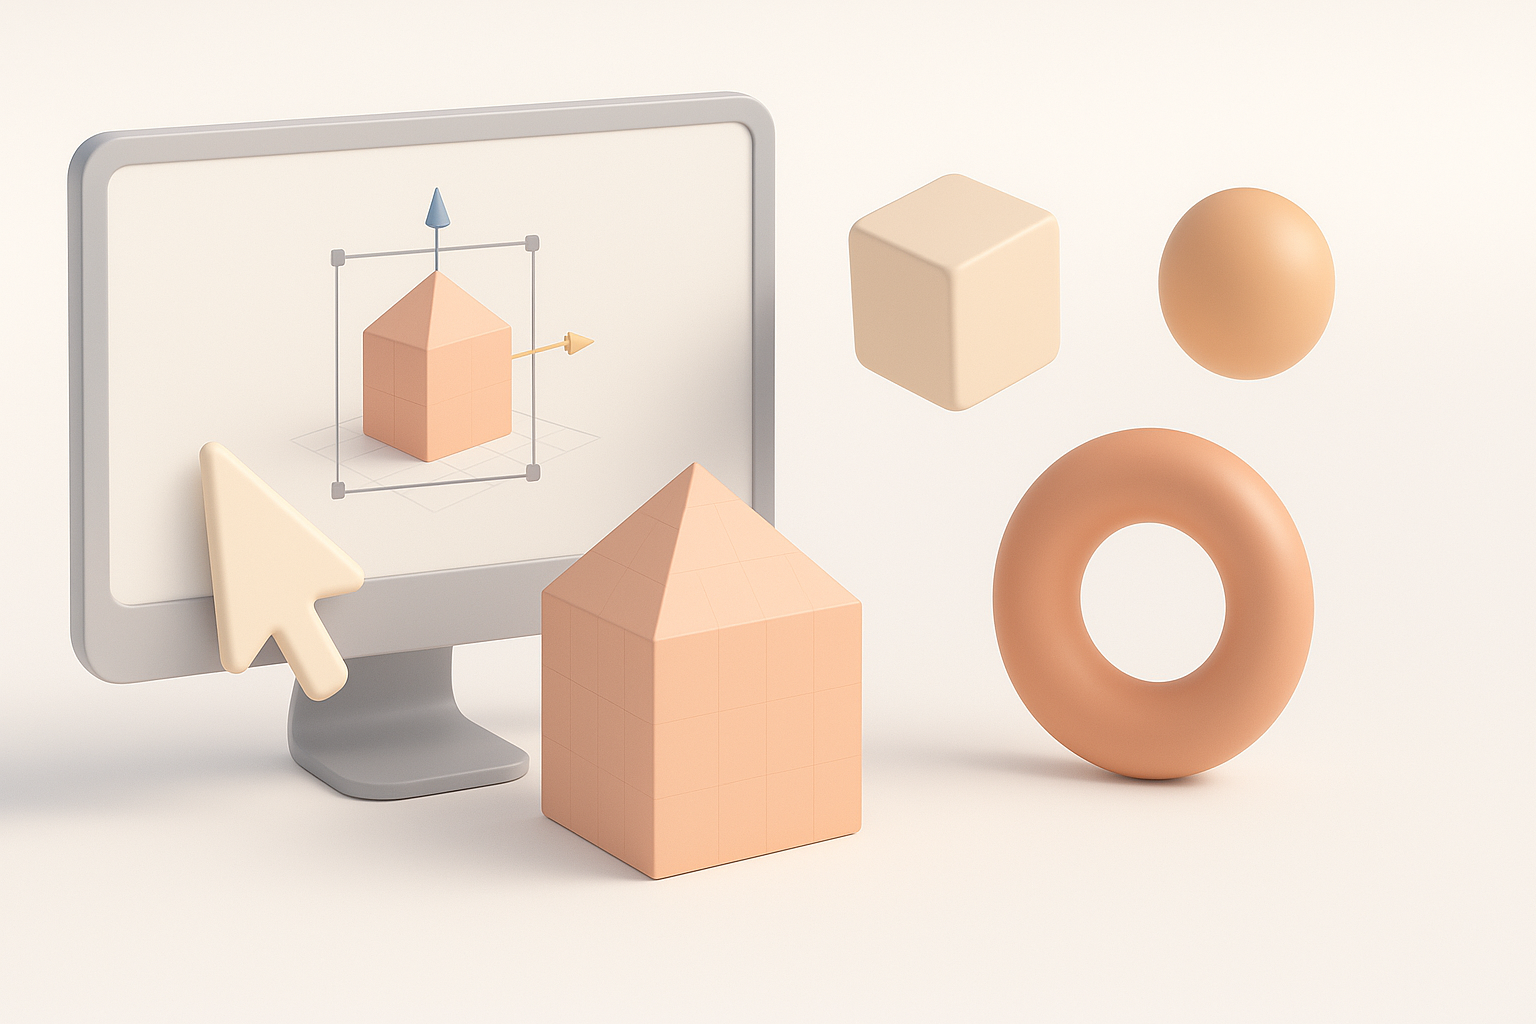
I start every model with a simple base mesh, focusing on silhouette and proportions. Using primitives (cube, sphere, plane) and modifiers (Mirror, Subdivision) helps iterate quickly.
Blocking steps:
- Add basic shapes to define the form.
- Use the Mirror modifier for symmetry.
- Adjust proportions with scale and move tools.
- Keep geometry simple—avoid early detail.
Tip: Don’t rush into details. A strong base mesh sets up clean topology later.
Refining Details and Topology
Once the base mesh is solid, I gradually add detail and refine topology. Edge loops, extrusions, and sculpting tools help achieve the desired complexity without introducing messy geometry.
Detailing workflow:
- Add edge loops to support key features.
- Use sculpt mode for organic shapes.
- Check topology with “Select > Select All by Trait > Non-Manifold” to catch errors.
- Optimize geometry for animation and deformation.
Pitfall: Overcomplicating early geometry makes later edits harder. Keep it iterative.
Texturing and Materials: Bringing Models to Life
My Workflow for UV Unwrapping
UV unwrapping is essential for applying textures accurately. I mark seams strategically and use Blender’s UV Editor for clean, non-distorted maps.
UV workflow:
- Mark seams along natural breaks.
- Unwrap and inspect for stretching.
- Pack UV islands efficiently to maximize texture space.
- Export UV layout for external painting if needed.
Tip: Test with checker textures to spot distortion early.
Applying Realistic Materials and Textures
With UVs ready, I apply materials using Blender’s node-based system. For complex assets, I often use texture painting or import maps from external tools.
Material steps:
- Set up base color, roughness, and normal maps.
- Use procedural textures for variation.
- Preview materials in Eevee or Cycles for lighting realism.
- Adjust shader settings for platform-specific requirements (e.g., game engines).
Pitfall: Inconsistent UVs or poorly packed islands lead to visible seams and artifacts.
Optimizing Models for Production
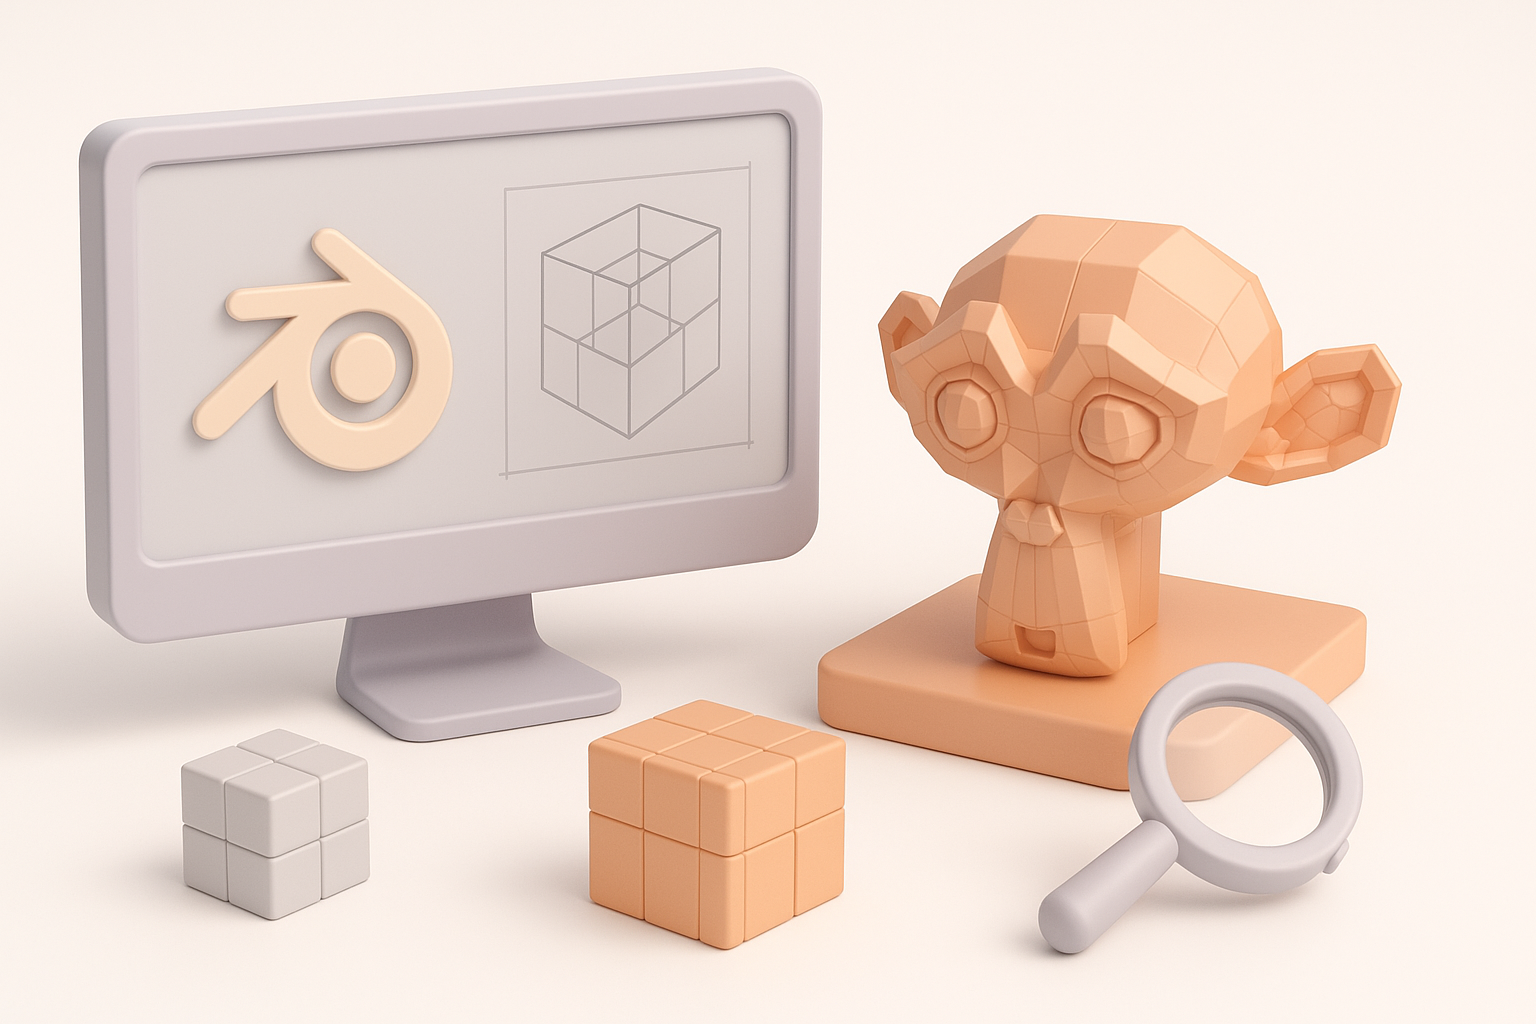
Retopology and Polycount Management
Production models need optimized geometry. I retopologize high-res sculpts for animation or real-time use, targeting the right polycount for the project.
Optimization steps:
- Use Blender’s Retopo tools or modifiers.
- Remove unnecessary edge loops and vertices.
- Check polycount and compare to platform guidelines.
- Test deformation with simple rigs.
Tip: Keep a backup of the original high-res mesh for baking maps.
Exporting for Games, Film, and XR
Exporting is more than just saving a file. I configure settings to match the target platform—whether it’s a game engine, film pipeline, or XR environment.
Export checklist:
- Apply all transforms (Ctrl+A).
- Set correct scale and orientation.
- Choose appropriate file format (FBX, OBJ, GLTF).
- Include only necessary mesh and texture data.
Pitfall: Forgetting to apply transforms or mismatching scale leads to import issues.
Integrating AI Tools and Alternative Methods
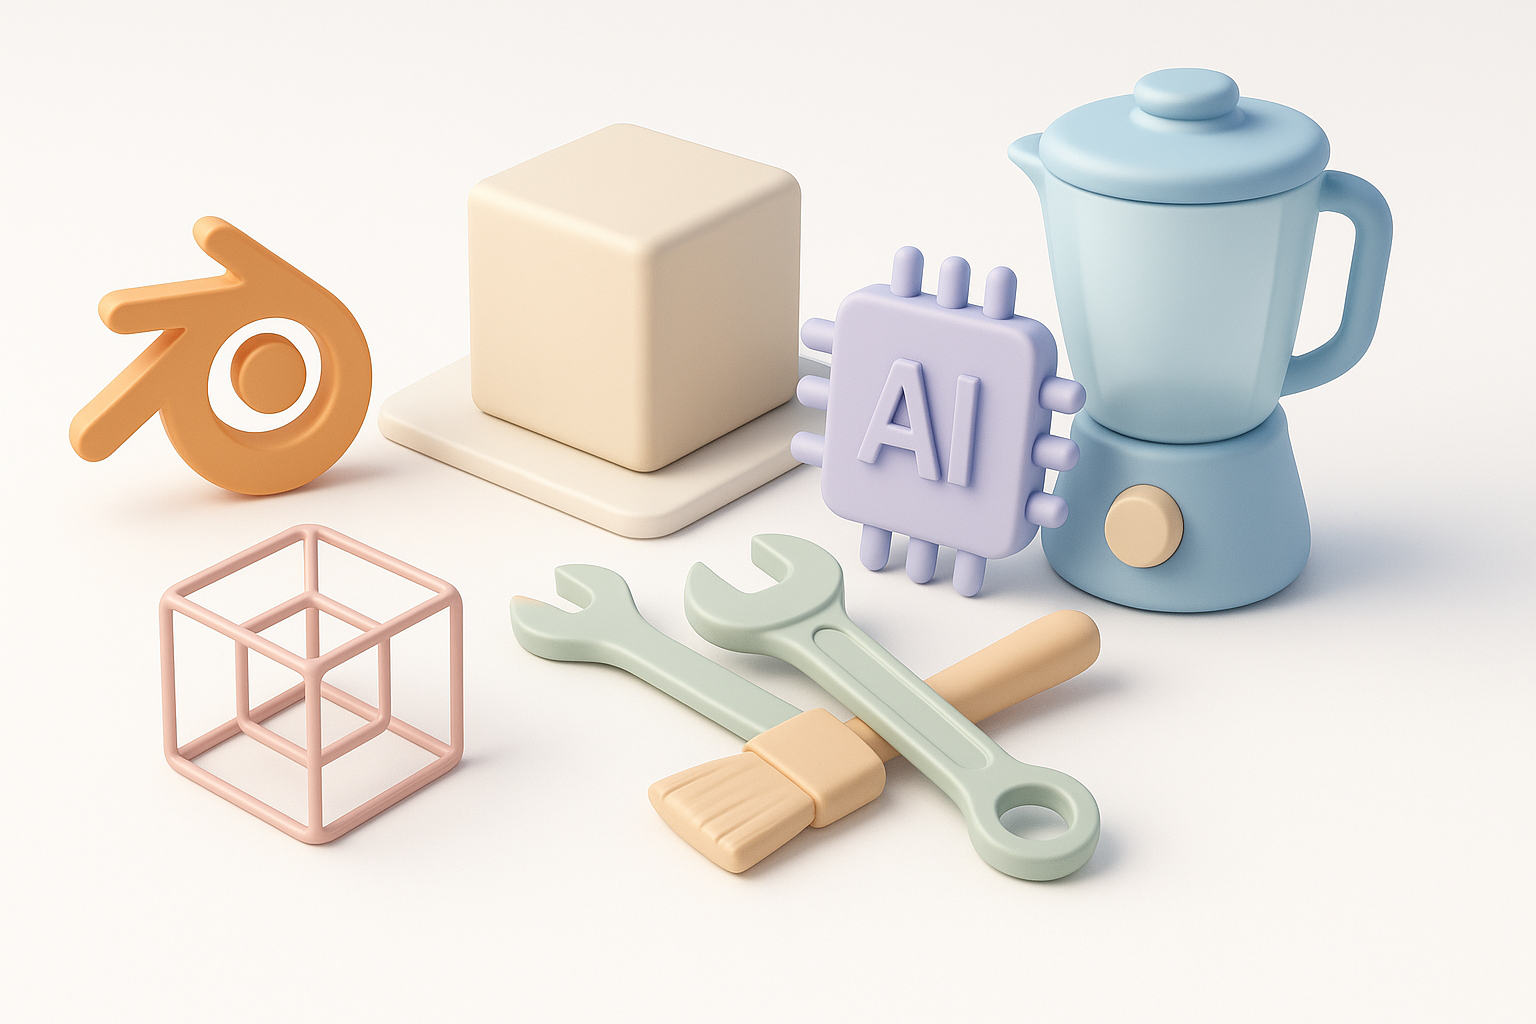
How I Use Tripo AI for Faster Model Generation
When speed is crucial, I leverage Tripo AI to generate base meshes or textured assets from text, images, or sketches. This accelerates prototyping and lets me focus manual effort on refinement and polish.
My workflow:
- Input a concept prompt or reference image.
- Review generated model for accuracy and editability.
- Import into Blender for further detailing, optimization, or animation.
- Use Tripo’s segmentation and retopology features for clean geometry.
Tip: Always check AI-generated topology before integrating with manual assets.
Comparing Manual and AI-Assisted Workflows
Manual modeling offers full control, but AI tools dramatically reduce iteration time. I often blend both approaches—using AI for initial shapes, then refining in Blender for production standards.
Workflow comparison:
- AI: Rapid ideation, good for concepting and base mesh generation.
- Manual: Essential for custom topology, animation, and high-quality detail.
- Hybrid: Best balance for speed and quality, especially in tight deadlines.
Pitfall: Relying solely on AI can result in generic or unusable assets if not properly reviewed.
Best Practices and Lessons Learned
Common Pitfalls and How I Avoid Them
Mistakes happen, but structured workflows minimize them. I’ve learned to watch for:
- Overcomplicated geometry early on.
- Poor UV layouts causing texture issues.
- Export errors from un-applied transforms.
- Ignoring platform-specific requirements.
How I avoid them:
- Regularly check topology and UVs.
- Use test exports and imports.
- Review platform guidelines before finalizing assets.
Tips for Consistent, High-Quality Results
Consistency is key for professional 3D work. Here’s what works for me:
- Maintain organized project files and naming conventions.
- Use version control for iterative changes.
- Reference real-world scale and proportions.
- Test assets in target environments early.
Mini-checklist for quality:
- Clean topology and UVs.
- Proper material setup.
- Optimized polycount for performance.
- Correct export settings.
By combining Blender’s powerful modeling tools with AI platforms like Tripo, I consistently deliver production-ready 3D assets efficiently. Structured workflows, careful optimization, and regular quality checks are the foundation of my approach—ensuring every model is ready for games, film, or XR.