Creating and Importing 3D Models for Arma 3: My Workflow
скачать 3d модель для chicken gun
When building 3D models for Arma 3, I focus on balancing visual quality with performance and compatibility. Over the years, I’ve refined a workflow that moves efficiently from concept to in-game asset, leveraging both traditional techniques and AI-powered tools like Tripo for speed and flexibility. This guide is for anyone looking to create production-ready Arma 3 assets—whether you’re an indie modder or a professional artist. I’ll break down each step, share real-world tips, and highlight where AI can make a big difference.
Key takeaways
- Understand Arma 3’s technical requirements before modeling.
- Use AI tools like Tripo to accelerate model creation and retopology.
- Prioritize clean topology, optimized UVs, and efficient textures.
- Always test models in-engine for compatibility and performance.
- Troubleshoot import errors early to avoid wasted effort.
- Choose manual or AI-assisted workflows based on project needs.
Understanding Arma 3 3D Model Requirements
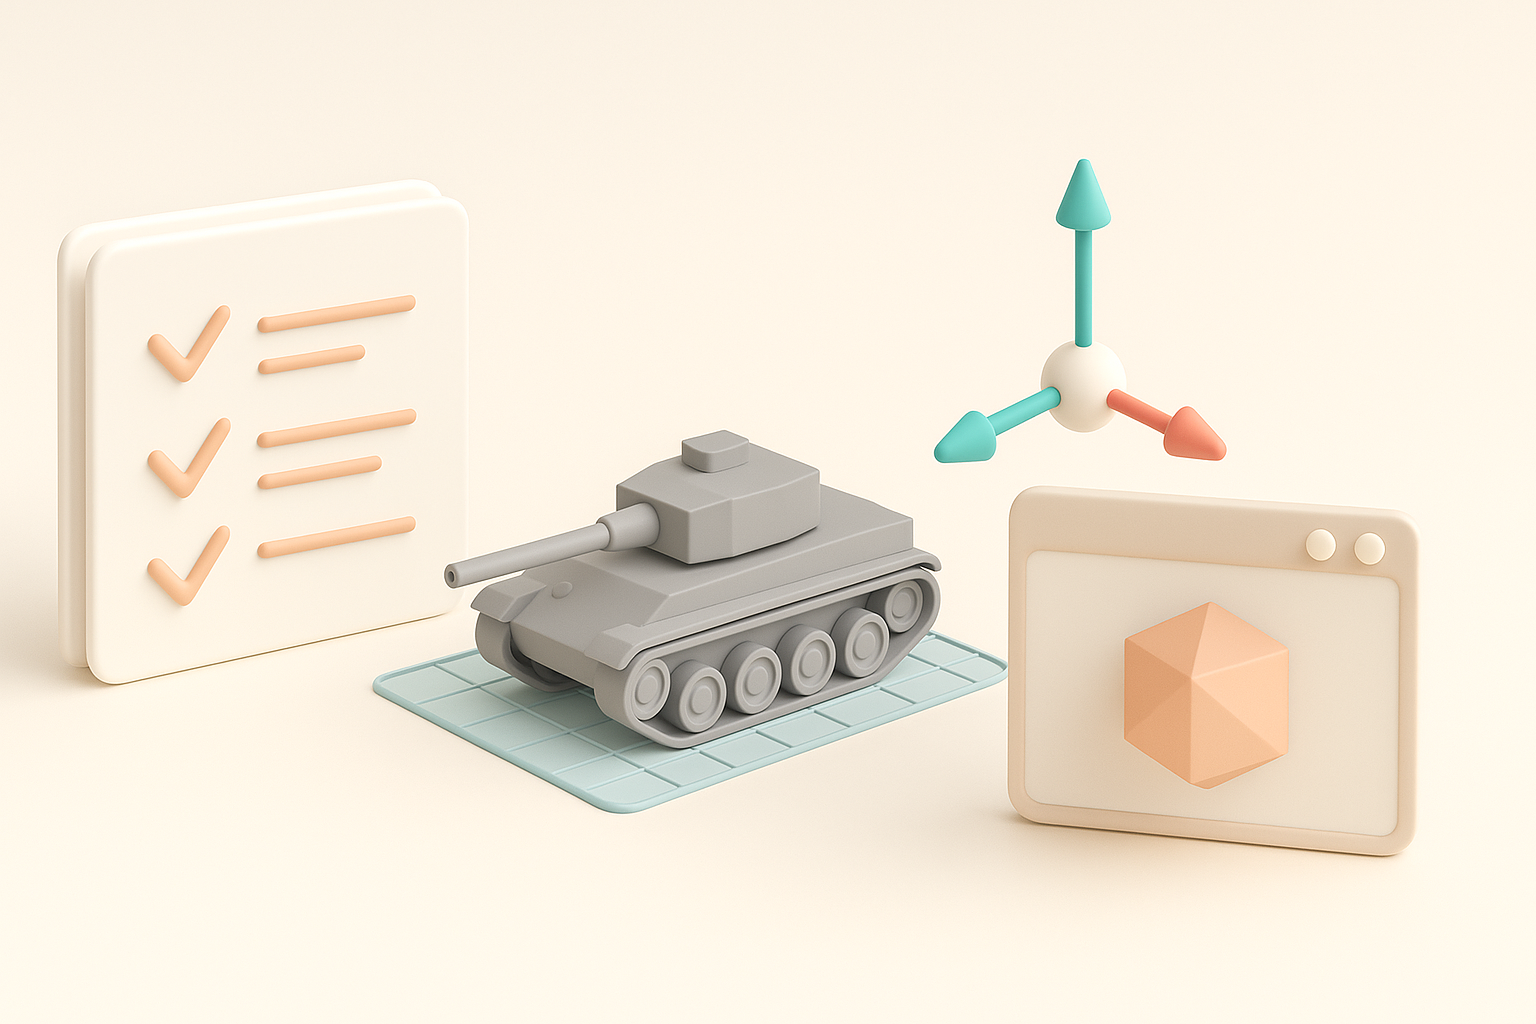
Supported file formats and polycount limits
Arma 3 primarily uses the P3D format, which is exported from tools like Blender or 3ds Max and converted using Arma 3’s Object Builder. From my experience, sticking to the following helps ensure smooth imports:
- File format: Export as .OBJ or .FBX, then convert to .P3D.
- Polycount: Keep LOD0 (highest detail) under 20,000 triangles for vehicles and 5,000–10,000 for props—weapons and gear should be even lower.
- LODs: Always prepare multiple Levels of Detail for performance.
Checklist
- Export in compatible format (.OBJ/.FBX).
- Create 3–5 LODs for each model.
- Stay within recommended polycount.
Texture and material guidelines
Arma 3 uses DirectX-compatible textures (usually .PNG or .TGA) and requires specific texture maps: diffuse, normal, and optionally specular or AO. I always:
- Use power-of-two resolutions (e.g., 1024x1024, 2048x2048).
- Keep texture sets compact—ideally, one set per asset.
- Name textures clearly (e.g.,
myasset_co.paafor color map).
Pitfalls
- Overly large textures can kill performance.
- Non-standard naming breaks material assignments.
My Step-by-Step Workflow for Arma 3 3D Model Creation
Concepting and reference gathering
Before touching any 3D software, I gather real-world references and sketch concepts. I use:
- Reference boards (Pinterest, PureRef).
- In-game screenshots for scale and context.
- Sketches or blockouts for proportions.
My tips
- Spend time up front on references—it pays off in accuracy.
- Check Arma 3’s asset proportions to match the visual style.
Modeling, retopology, and UV mapping
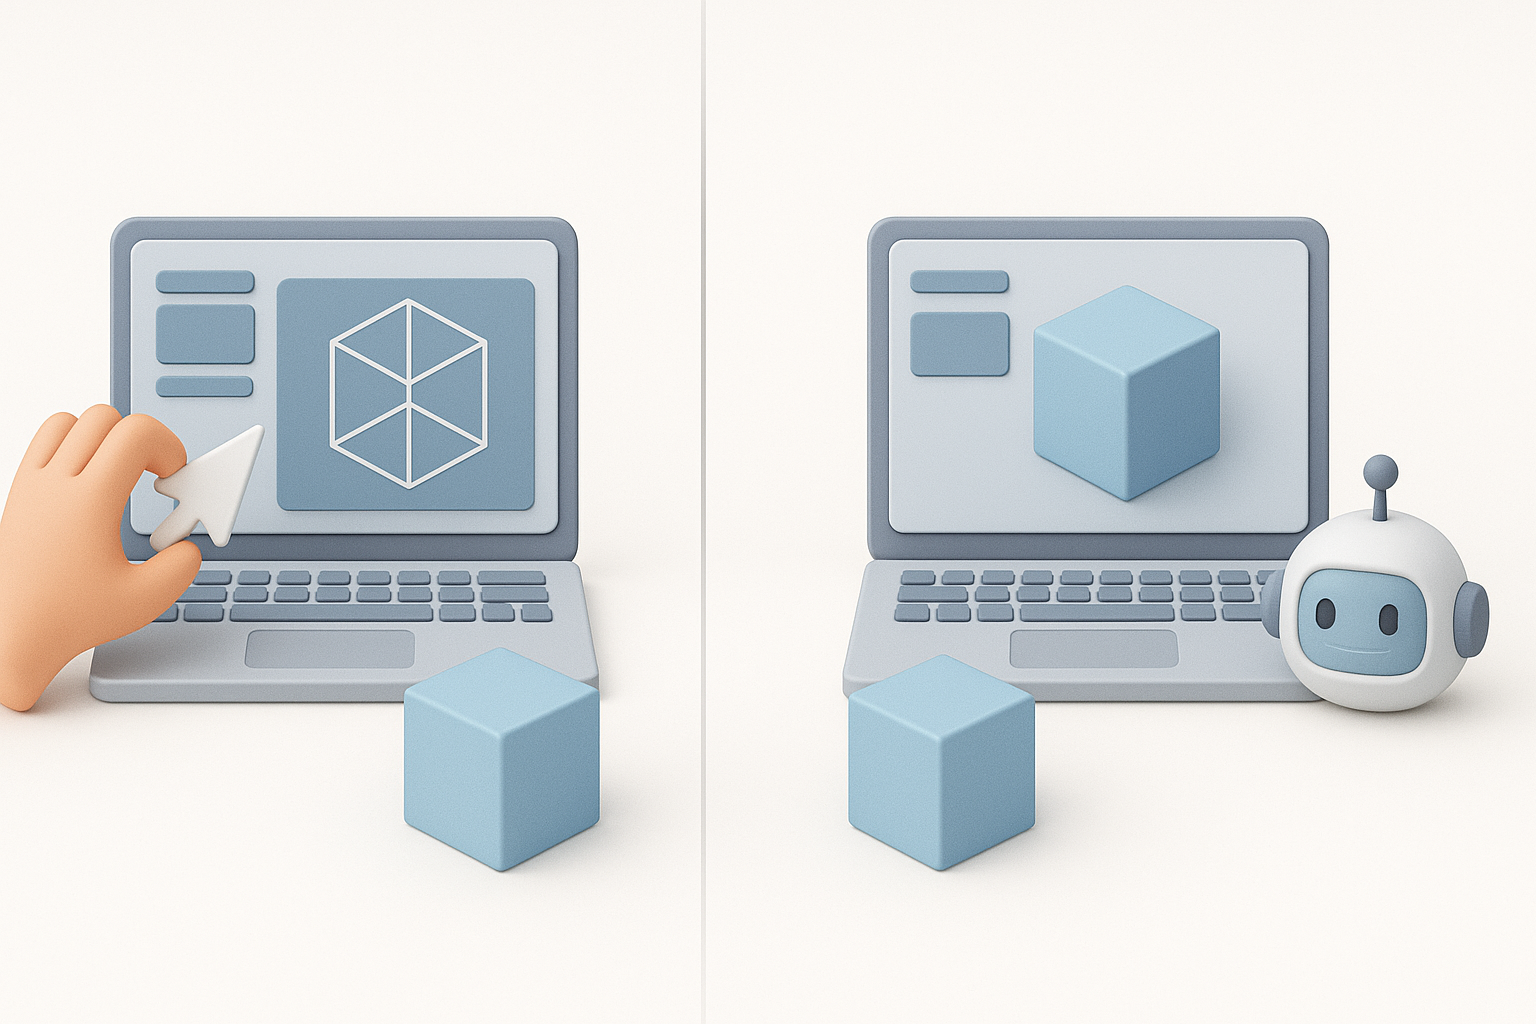
I usually start modeling in Blender. For high-detail assets, I sculpt or model high-poly, then retopologize. Here’s where Tripo speeds things up—its AI retopology and segmentation tools save me hours.
My workflow
- Block out basic shapes.
- Model high-poly details (if needed).
- Use Tripo for fast retopology and segmentation.
- UV unwrap manually or with AI-assisted tools for clean, non-overlapping UVs.
- Export to .OBJ or .FBX.
Watch out for
- Overlapping UVs (causes texture glitches).
- Too many triangles in unnecessary areas.
Texturing and Optimizing Models for Arma 3
Best practices for realistic textures
I create textures in Substance Painter or Photoshop. For quick results, Tripo’s AI texturing can generate base maps, which I then tweak for realism.
My approach
- Bake normal and AO maps from high to low poly.
- Use real-world photo references for materials.
- Keep textures sharp but not noisy.
Checklist
- Export maps in correct formats and naming.
- Test textures on the model in a PBR viewer before import.
Optimizing for performance and game integration
Optimization is non-negotiable for Arma 3. I always:
- Reduce texture resolution if the asset is small or rarely seen.
- Merge meshes where possible to reduce draw calls.
- Test in-game for FPS impact.
Tips
- Use Arma 3’s RPT logs to spot performance bottlenecks.
- Don’t skip LODs—Arma 3 relies on them for smooth gameplay.
Importing and Configuring Models in Arma 3
Export settings and conversion tools
After modeling and texturing, I export from Blender as .OBJ or .FBX. Then I use Arma 3’s Object Builder to convert to .P3D. Key settings:
- Apply transforms and scale before export.
- Use Y-up axis for Arma 3 compatibility.
- Check for ngons and convert to tris.
Steps
- Export from 3D software (.OBJ/.FBX).
- Import into Object Builder.
- Save as .P3D.
Configuring models in the Arma 3 engine
Once in .P3D format, I set up config files and materials:
- Write a config.cpp for each asset (defines class, LODs, textures).
- Assign textures and materials in Object Builder.
- Test in-game for placement, scaling, and material issues.
Pitfalls
- Missing config entries cause invisible models.
- Incorrect scale or orientation leads to floating or sunken assets.
AI-Powered Tools and My Experience with Streamlined 3D Workflows

How AI accelerates model creation
AI tools like Tripo have become essential in my workflow for:
- Rapid prototyping from text or sketches.
- Automated retopology and segmentation.
- Generating base textures to jumpstart detailing.
My experience
- I can go from concept to game-ready asset in hours, not days.
- AI is especially useful for background props and quick iterations.
Tips for integrating AI-generated assets
- Always review and clean up AI-generated geometry.
- Use AI for base meshes, then refine details and UVs manually.
- Test AI assets in-engine early to catch issues.
Checklist
- Inspect topology for errors.
- Re-bake normals if needed.
- Validate UVs and texture assignments.
Common Challenges and My Solutions
Troubleshooting import errors
I’ve hit plenty of snags importing models. Common issues and fixes:
- Model not appearing: Check scale, orientation, and config.cpp.
- Texture issues: Confirm file paths and naming.
- Animation glitches: Ensure correct bone hierarchy and weights.
My process
- Use Arma 3’s logs for error messages.
- Re-export and re-import in small steps to isolate problems.
Ensuring compatibility and quality
To guarantee assets look and perform right:
- Test in different lighting and weather conditions.
- Check for LOD popping or shading errors.
- Solicit feedback from other creators or players.
Comparing Manual and AI-Assisted 3D Model Creation
Pros and cons from my hands-on experience
Manual workflow:
- Pros: Full control, best for hero assets, highest quality.
- Cons: Time-consuming, steep learning curve.
AI-assisted workflow:
- Pros: Fast, great for prototyping and background assets, lowers skill barrier.
- Cons: May need cleanup, less control over fine details.
When to choose each approach
- Manual: For signature models, weapons, or anything requiring unique detail.
- AI-assisted: For props, environment clutter, or when speed is critical.
My advice
- Mix both approaches—use AI for speed, manual for polish.
- Always review AI output before final import.
By combining traditional techniques with AI-powered tools like Tripo, I’ve streamlined my Arma 3 asset workflow without sacrificing quality. Whether you’re creating your first model or optimizing a large asset library, these steps and tips should help you get from concept to in-game faster and with fewer headaches.