Creating Apex Legends 3D Models: Workflow and Best Practices
Creating game-ready 3D models for Apex Legends is a balance of technical precision and artistic flair. In my experience, the most efficient workflow combines strong reference gathering, disciplined modeling, and smart use of AI tools to accelerate repetitive tasks. This article breaks down my end-to-end process—from concept to export—highlighting best practices, hard-earned lessons, and ways to keep quality high without sacrificing speed. If you’re a 3D artist, game developer, or technical artist aiming to deliver polished, production-ready assets, these insights will help you streamline your pipeline.
Key takeaways
- Start with clear game-ready specs and robust references to avoid costly rework.
- Block out forms early; iterate before detailing.
- Use AI-powered tools (like Tripo) to speed up segmentation, retopology, and texturing.
- Always check compatibility and optimize exports for your target engine.
- Test in-engine early and often to catch shading or rigging issues.
- Maintain a personal checklist to ensure quality and consistency.
Understanding Apex Legends 3D Model Requirements
Game-ready model specifications
Apex Legends assets must be optimized for real-time performance. In my workflow, I target:
- Polycount: Typically 10k–30k tris for characters, 1k–5k for props. Always check your studio’s budget.
- UVs: Non-overlapping, efficiently packed UVs. I keep seams in less visible areas.
- Textures: PBR maps (albedo, normal, roughness, metallic, AO), usually 2k or 4k for characters.
- Scale & Orientation: Match the game’s world scale and axis conventions.
Mini-checklist:
- Polycount within budget
- Proper UV layout, no stretching
- Consistent texel density
- Clean topology, quads preferred
Common challenges and solutions
- Challenge: Overly dense meshes slow down the game.
- Solution: Use retopology tools (Tripo’s auto-retopo is a time-saver) and bake details to normals.
- Challenge: Texture seams visible in-game.
- Solution: Place seams strategically and use padding in bakes.
- Challenge: Rigging errors due to bad topology.
- Solution: Maintain edge flow around joints and test deformations early.
My Workflow for Crafting Apex Legends 3D Models

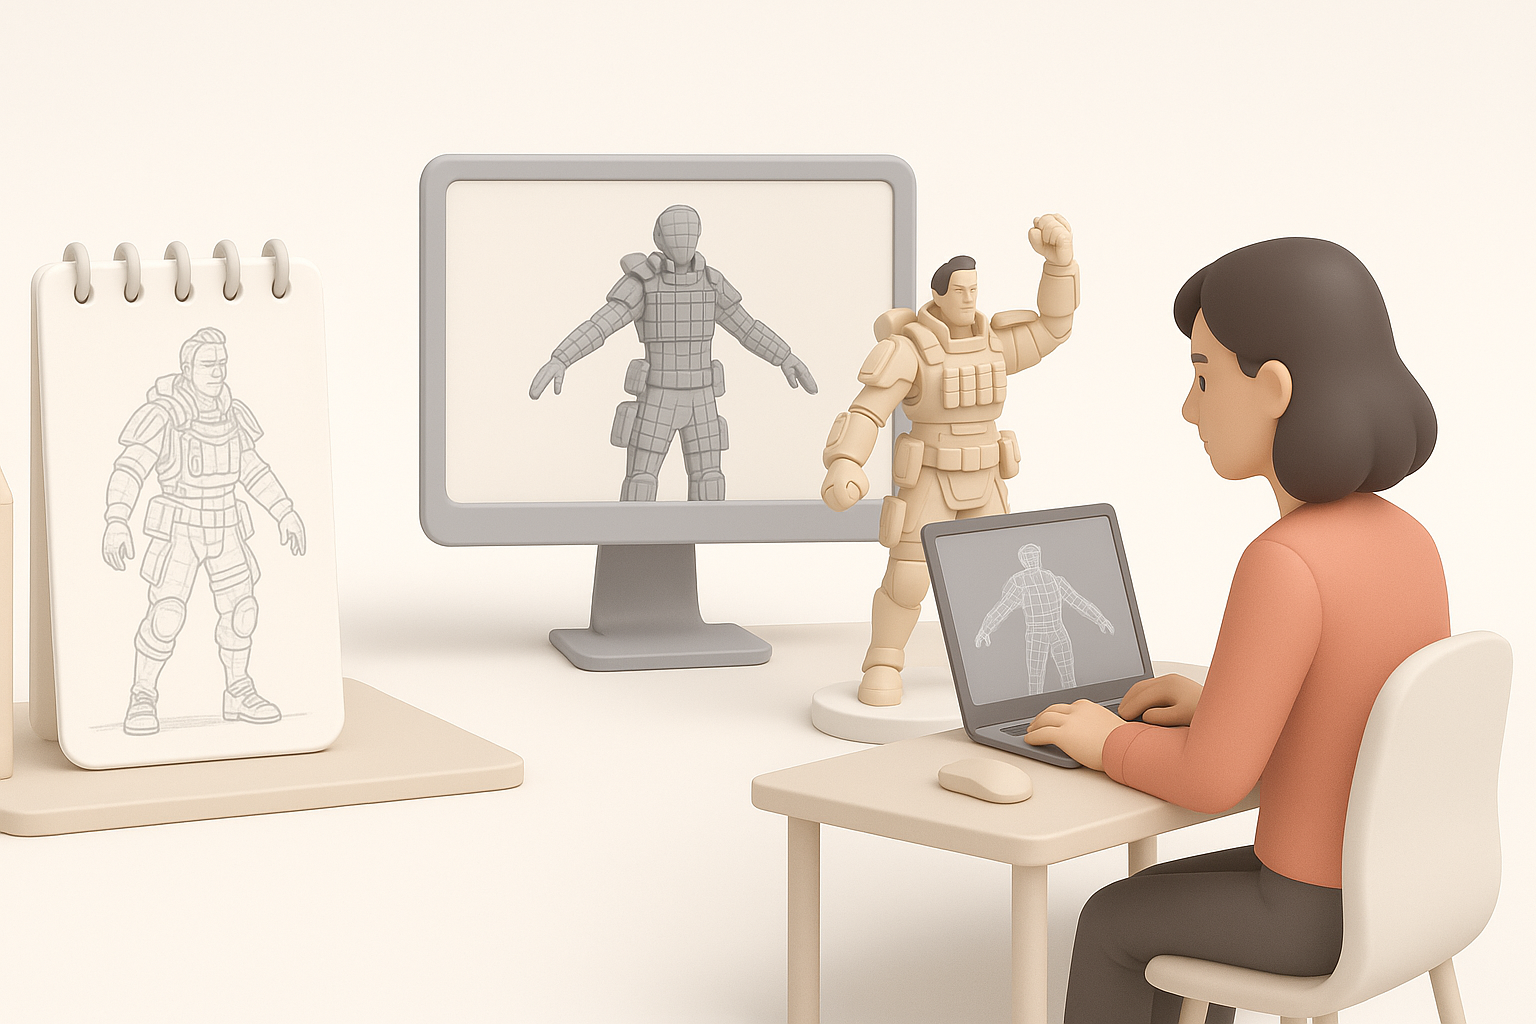
Concepting and reference gathering
Before opening my DCC tool, I collect references—official art, in-game screenshots, and fan models. I use PureRef or simple folders to organize:
- Visual style: Apex’s blend of realism and stylized detail.
- Silhouette: Recognizable shapes are critical for gameplay readability.
- Functionality: How the asset will be used or animated.
Tips:
- Gather more references than you think you need.
- Annotate key design elements and callouts.
Blocking out forms and proportions
I start with basic shapes, focusing on silhouette and proportions. This phase is fast and iterative:
- Sculpt or model low-res forms in Blender, Maya, or similar.
- Check against references from multiple angles.
- Iterate—it’s easier to fix issues now than after detailing.
Pitfalls to avoid:
- Don’t jump into details too early.
- Avoid uneven proportions—use guides or overlays.
Texturing, Rigging, and Animation Essentials

Efficient texturing techniques
For Apex-style assets, I rely on PBR workflows. I bake maps from high to low poly, then texture in Substance Painter or similar. When using Tripo, I often generate base textures and refine them manually.
My steps:
- Bake normal, AO, and curvature maps.
- Lay down base colors and materials.
- Add wear, decals, and edge highlights for visual interest.
Tips:
- Use smart materials to speed up repetitive tasks.
- Check textures under different lighting setups.
Rigging and preparing for animation
Clean topology is essential for good deformations. I use these steps:
- Place edge loops around joints.
- Test with basic skeletons and quick skin weights.
- Adjust mesh as needed before finalizing.
Checklist:
- No ngons or long triangles at joints
- Consistent vertex weights
- Test basic animations (walk, crouch) early
Using AI Tools to Accelerate 3D Model Creation
Integrating AI-powered platforms into my pipeline
AI platforms like Tripo have become a core part of my workflow for:
- Generating base meshes from text or sketches.
- Automating segmentation and retopology.
- Quick texturing for first-pass looks.
I usually start with a rough concept, let the AI generate a base, then refine manually. This cuts hours off my initial modeling phase.
Tips for optimizing AI-generated assets
- Always review geometry: AI outputs often need manual cleanup—check for stray verts or odd loops.
- Customize UVs: Automated UVs are a starting point. I repack for efficiency.
- Refine textures: Use AI textures as a base, but tweak details for style consistency.
Pitfall: Relying solely on AI can result in generic or off-style assets. Always iterate and polish by hand.
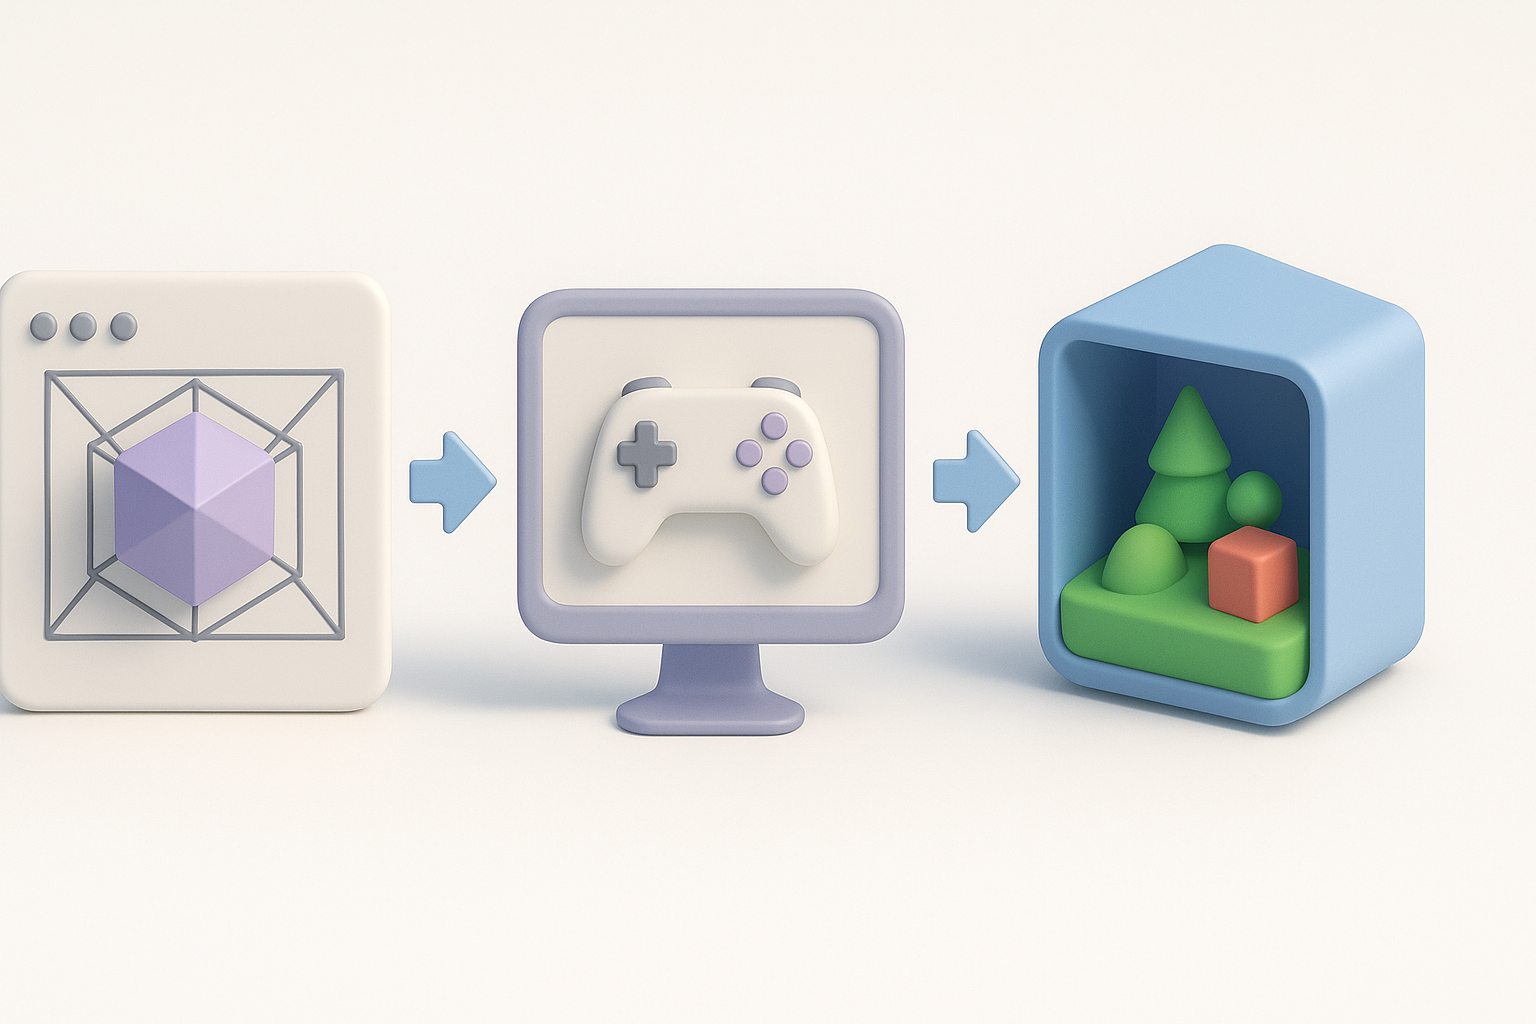
Exporting, Testing, and Implementing Models in Game Engines

Export settings and compatibility
I export models in FBX or OBJ, using the following settings:
- Scale: Match engine units (e.g., 1 unit = 1 meter).
- Normals/Tangents: Export smoothed normals and tangents for correct shading.
- Textures: Keep naming conventions consistent for easy import.
Checklist:
- Apply transforms and freeze scale
- Check for zeroed-out origins/pivots
- Verify material assignments
In-engine testing and troubleshooting
I import assets into the game engine (Unreal or Unity) early to spot issues:
- Check shading and materials—look for odd reflections or seams.
- Test animations—verify bones and weights.
- Profile performance—watch out for high draw calls.
Troubleshooting tips:
- If a model appears broken, double-check export settings and axis orientation.
- Artifacts? Revisit UVs and normals.
Best Practices and Lessons Learned
What I wish I knew starting out
- Iterate early: Don’t wait to test in-engine.
- Keep things modular: Reuse parts and materials where possible.
- Document your process: Saves time when revisiting assets or collaborating.
Maintaining quality and efficiency
- Use checklists: I keep a personal QA list for every asset.
- Automate repetitive tasks: Let AI handle segmentation, baking, and initial texturing.
- Stay organized: Clean file structures and naming conventions prevent chaos.
Final tip: The best results come from blending automation with hands-on artistry. Use every tool available, but never skip the critical review and polish phase.