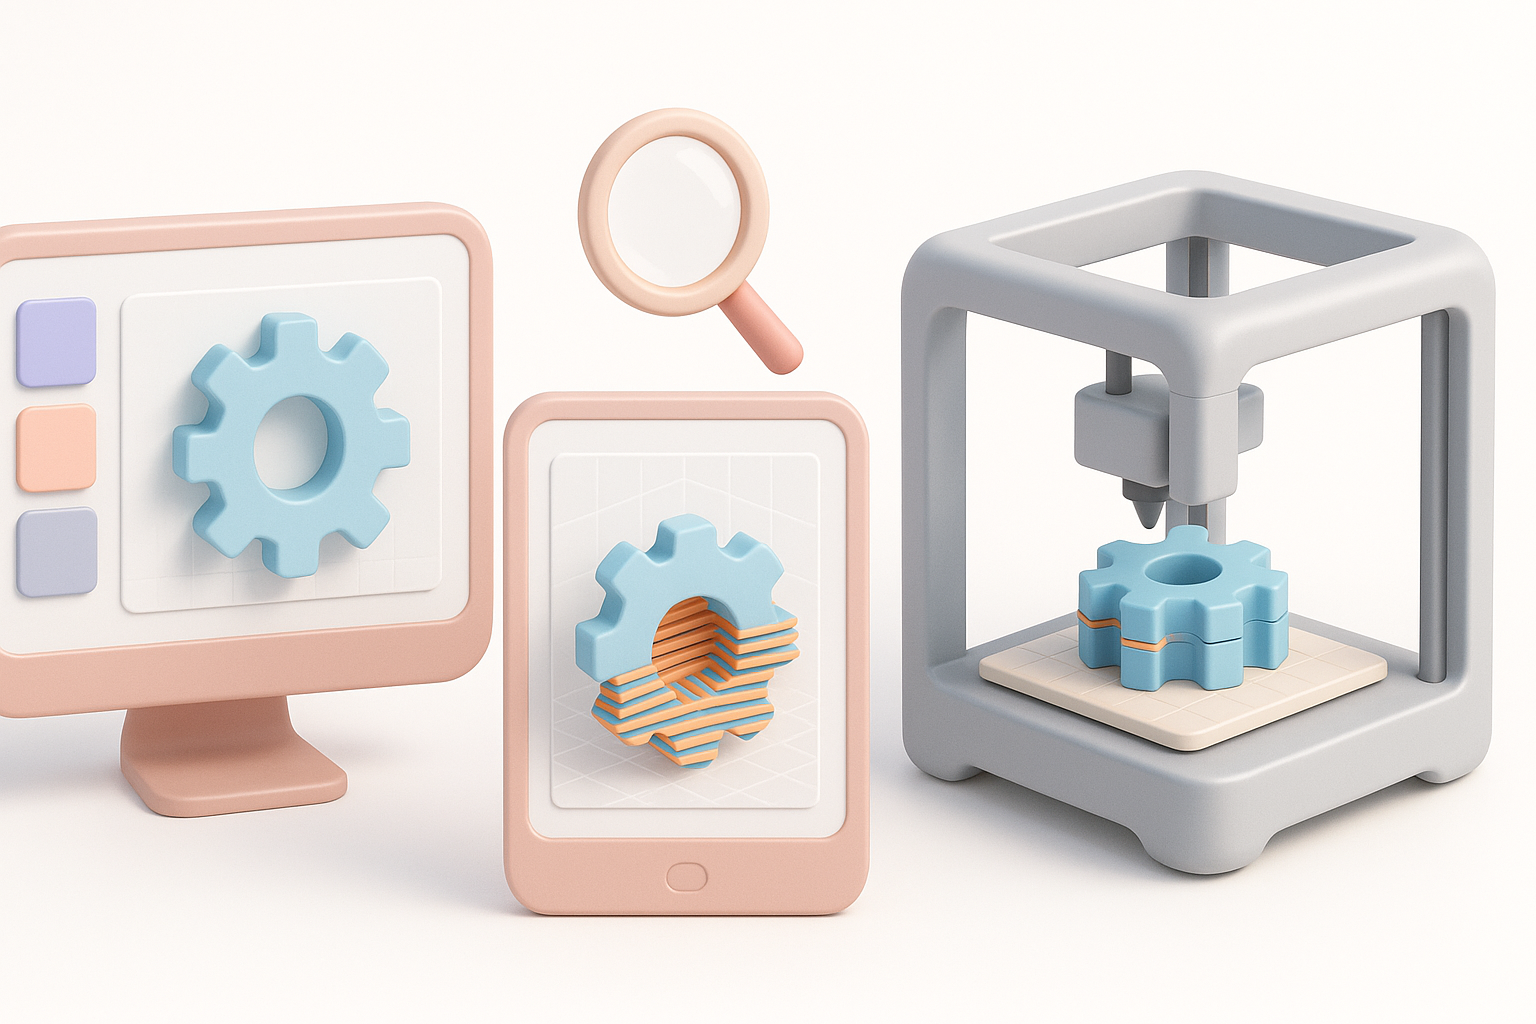
Creating and Optimizing 3D Printer Models: Expert Workflow
Designing for 3D printing is more than just exporting a file; it’s about making models that print reliably, look great, and require minimal post-processing. Over the years, I’ve honed a workflow that takes a concept from sketch to print-ready model, leveraging both AI-powered solutions and hands-on techniques. This article breaks down my process, covering model preparation, optimization, and final checks—ideal for designers, makers, and anyone aiming to produce high-quality 3D prints with minimal headaches.
Key takeaways
- Start with printability in mind—model geometry, wall thickness, and overhangs matter most.
- Use AI-powered tools like Tripo to accelerate modeling and cleanup, but always verify output.
- Optimize meshes for print: clean topology, watertight geometry, and proper scale.
- Choose the right file format for your printer and workflow.
- Slicing and export settings are critical—test before committing to long prints.
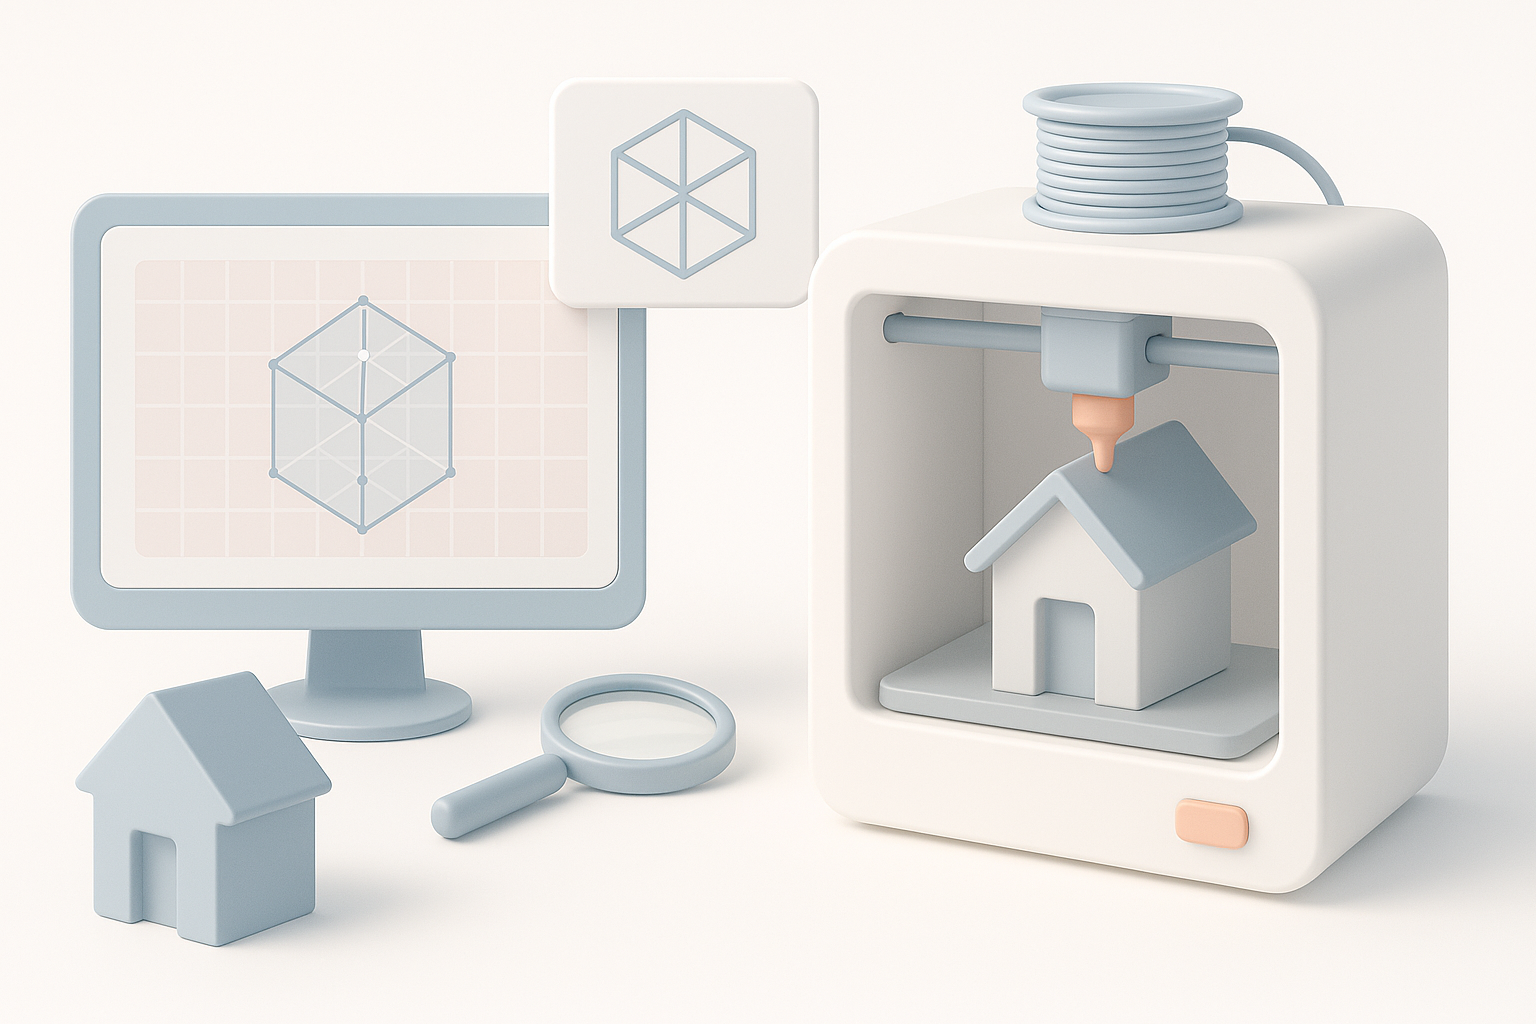
Understanding 3D Printer Models
What Makes a Model Printable
From experience, printability hinges on a few key factors: watertight geometry (no holes), proper wall thickness, and avoiding extreme overhangs. I always check for non-manifold edges and flipped normals—these are classic pitfalls that can ruin a print. Models should be designed with the printer’s capabilities in mind, including minimum detail size and layer height.
Checklist for printability:
- All surfaces closed (watertight mesh)
- Wall thickness meets printer/material specs
- No intersecting or floating geometry
- Overhangs < 45° (unless supports planned)
Common File Formats and Their Uses
I typically use STL for most FDM and resin printers; it’s universally supported but doesn’t store color or material data. OBJ is handy when I need vertex color or simple textures, especially for multi-material or full-color printers. For advanced workflows, I sometimes export in 3MF, which supports more metadata and is gaining traction for complex prints.
File format rundown:
- STL: Simple, reliable, no color/material info.
- OBJ: Supports color, easy for multi-part models.
- 3MF: Modern, supports color, materials, and build data.
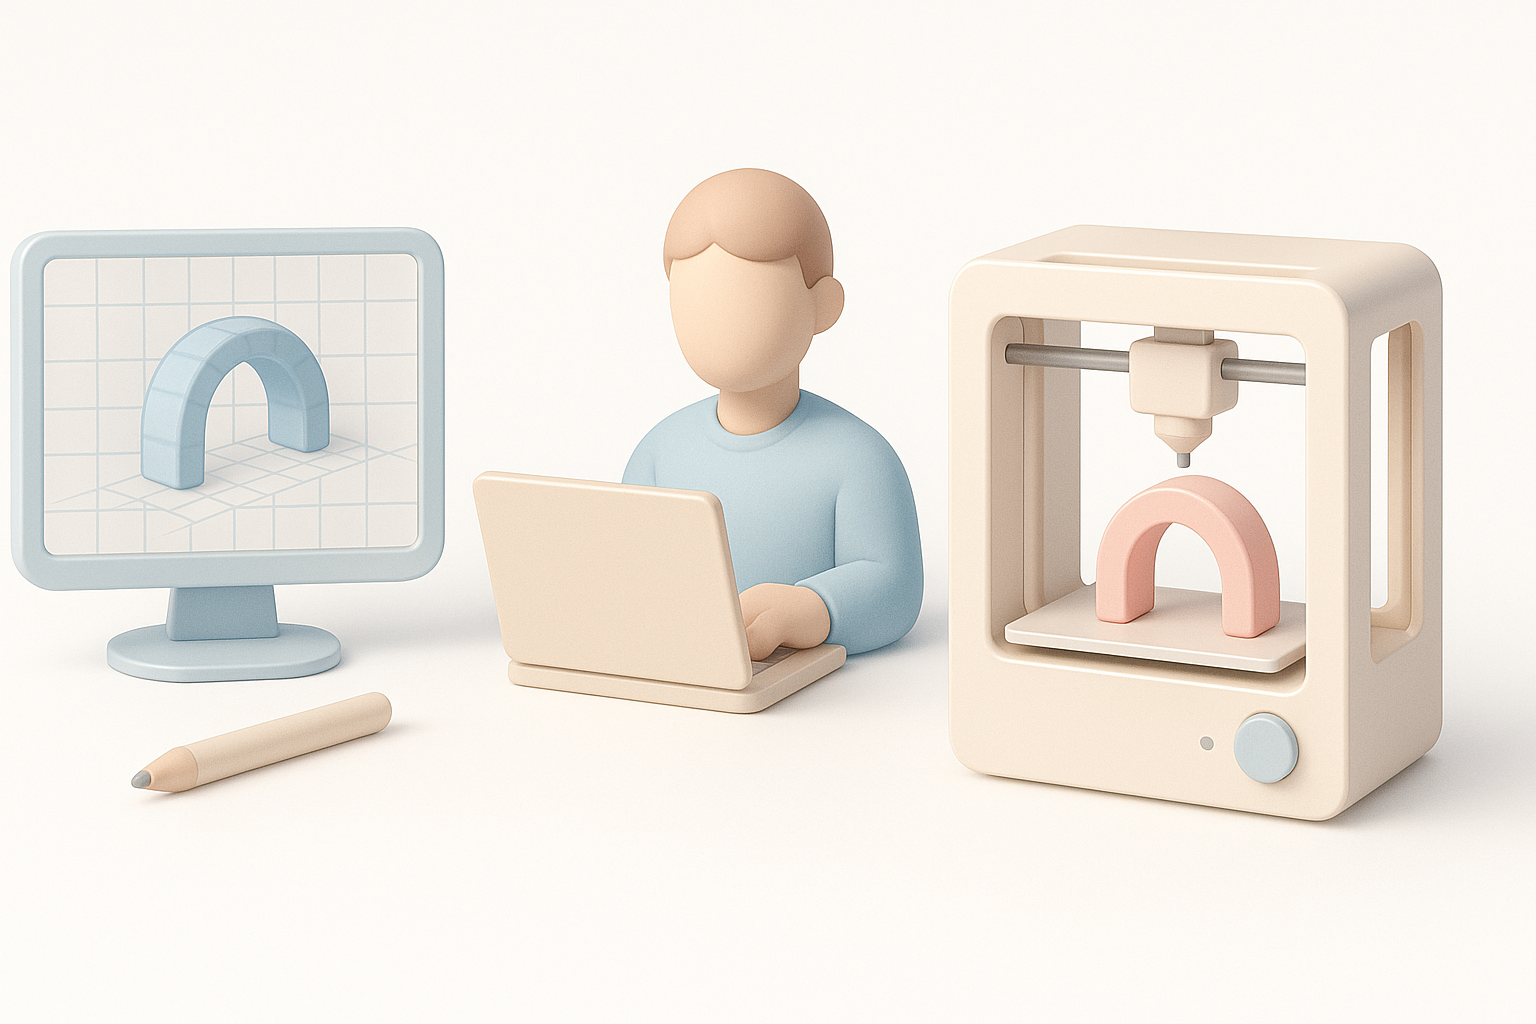
My Step-by-Step Workflow for Designing 3D Printer Models
Concept to CAD: How I Start
I usually begin with a rough sketch or reference image. For organic shapes or quick ideation, I use AI-powered tools like Tripo to generate a base mesh from text or sketches—this accelerates early iterations. For precise engineering parts, I jump straight into CAD software.
My starting steps:
- Gather references and define scale.
- Generate base mesh (AI or manual sculpting).
- Refine geometry in CAD or DCC software.
Preparing Models for Printing
Once the base model is ready, I focus on making it print-friendly. This means checking for non-manifold edges, merging overlapping shells, and scaling to the intended print size. I often use built-in Tripo tools for quick mesh cleanup and basic retopology, then do a manual pass for tricky areas.
Preparation tips:
- Run auto-repair tools, then inspect manually.
- Ensure all parts are merged or booleaned properly.
- Scale model and check tolerances for moving parts.
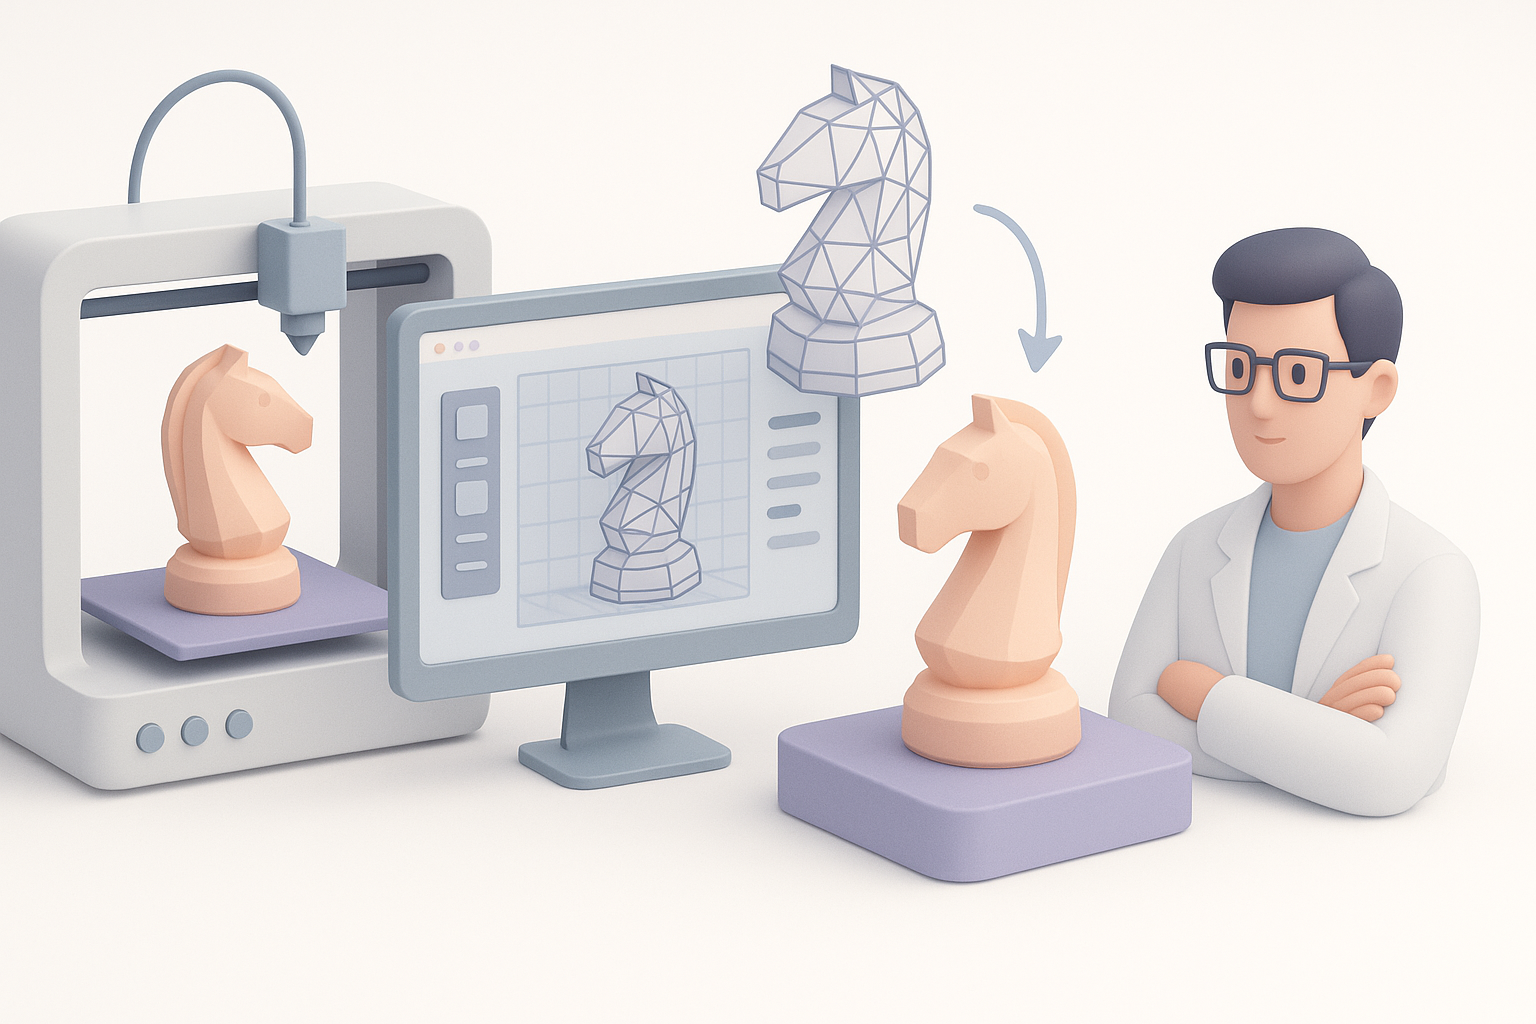
Best Practices for Model Optimization
Retopology and Mesh Cleanup
Clean topology is essential for both print quality and ease of slicing. I use retopology tools to reduce unnecessary polygons—especially on models generated by AI, which can be dense or messy. Tripo’s segmentation and retopo features are useful for quickly getting a clean, manageable mesh.
Mesh cleanup steps:
- Remove internal faces and stray vertices.
- Simplify mesh where possible (avoid millions of triangles).
- Check for and fix non-manifold geometry.
Ensuring Printability: Wall Thickness, Supports, and More
I always double-check wall thickness using measurement tools—thin walls can lead to fragile prints or failed jobs. For models with overhangs, I design with self-supporting angles when possible, or mark areas for support generation in the slicer. For articulated or multi-part models, I test fit tolerances digitally before printing.
Pitfalls to avoid:
- Walls thinner than printer/material minimums.
- Unintended floating parts or gaps.
- Ignoring support requirements for overhangs.
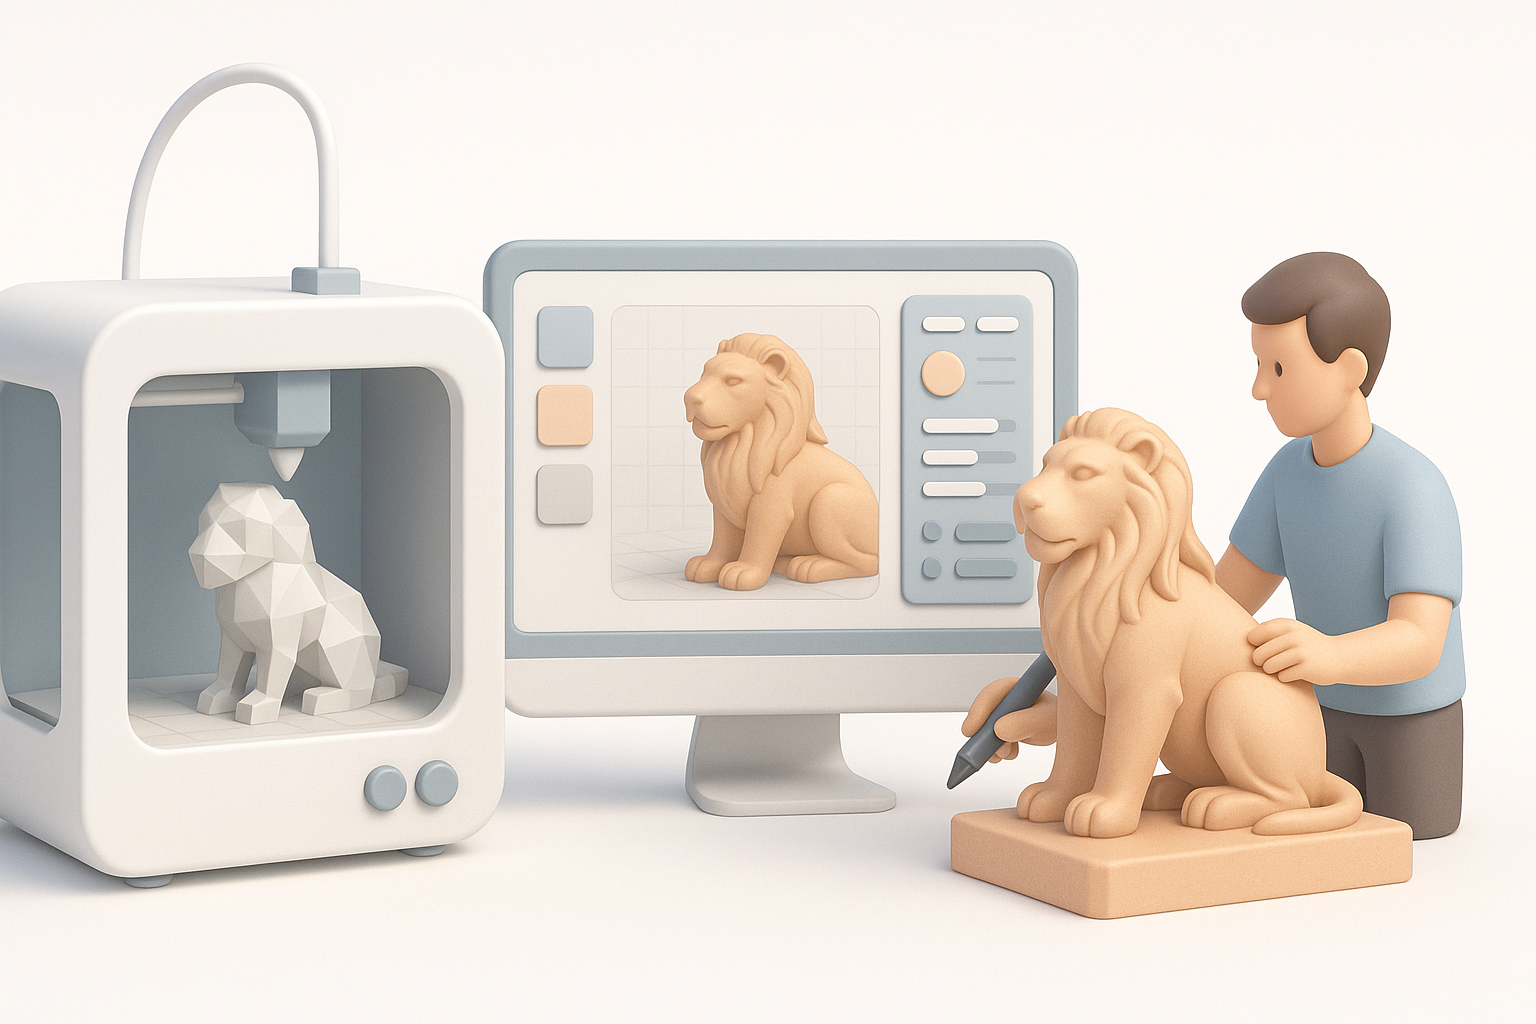
Texturing and Detailing for 3D Prints

Applying Textures and Colors
For most FDM and resin prints, textures are primarily for visual reference, since color is added post-print. However, for full-color or multi-material printers, I use vertex painting or UV-mapped textures. Tripo can generate basic color maps, which I refine in my preferred painting tool.
Workflow tips:
- Use simple, clear color zones for multi-material prints.
- Export color data in OBJ or 3MF formats.
- Test color separation with a quick preview render.
Tips for Multi-Material and Full-Color Printing
When printing with multiple materials or colors, I split the model into separate shells or assign distinct material IDs. I label each part clearly and verify alignment in the slicer. For full-color prints, I keep texture resolution moderate to avoid huge file sizes.
Checklist:
- Separate shells for each material/color.
- Consistent orientation and alignment.
- Preview in slicer before committing to print.
Comparing Tools and AI Solutions for Model Creation
When I Use AI-Powered Platforms
I turn to AI-powered platforms like Tripo when I need to generate concept models quickly or automate tedious tasks like segmentation and retopology. They’re especially helpful for organic shapes, rapid prototyping, or when iterating on multiple design variations.
When AI shines:
- Fast base mesh generation from sketches or text.
- Automatic cleanup and retopology.
- Quick turnaround for client previews.
Alternative Methods and Manual Techniques
For precise engineering parts or when I need total control, I still rely on manual modeling in CAD or DCC tools. Manual methods are slower but offer unmatched accuracy for mechanical tolerances and complex assemblies. I recommend blending AI and manual workflows—use AI for speed, manual for precision.
My approach:
- AI for concept, manual for detail and fit.
- Always inspect and refine AI-generated models.
- Use manual boolean operations for assemblies.
Exporting, Slicing, and Final Checks
Export Settings I Trust
For most printers, I export as STL with units set to millimeters and ensure the model is at the correct scale. I disable unnecessary export options (like normals or UVs for STL) to keep files clean. For color prints, I use OBJ or 3MF, double-checking that all textures are included.
Export checklist:
- Confirm scale and orientation.
- Use binary STL for smaller file sizes.
- Include all assets for OBJ/3MF (textures, MTL files).
Slicing Software and Print Preparation
I load my model into my preferred slicer and check for errors—most slicers will flag non-manifold edges or thin walls. I preview supports, infill, and layer lines before starting the print. For complex prints, I run a small test section first.
Final steps:
- Review layer preview for issues.
- Adjust support density and infill as needed.
- Test print critical sections before full run.
By following this workflow and leveraging both AI-powered tools and manual checks, I consistently achieve reliable, high-quality 3D prints—saving time, reducing failed prints, and delivering professional results.
