How to Design and 3D Print a Model Rocket: Expert Workflow
Designing and 3D printing a model rocket is one of the most rewarding hands-on projects I’ve tackled as a maker. From initial concept to a successful launch, I’ve learned that the right workflow, tools, and safety practices make all the difference. Whether you’re a first-time hobbyist or a seasoned 3D designer, this guide distills my hard-earned insights, highlighting how to leverage AI-powered 3D tools for rapid, reliable results. I’ll walk you through planning, modeling, printing, and launching—plus practical troubleshooting for each stage.
Key takeaways:
- Plan your rocket’s design and materials with safety as the top priority.
- AI-powered 3D modeling tools can drastically speed up and simplify the design phase.
- Optimize print settings for both strength and precision—compromises matter.
- Careful post-processing and assembly are critical for a safe, successful flight.
- Always perform thorough pre-launch safety checks and expect to iterate.
- Choose tools and methods based on your project’s complexity and your experience.
Executive Summary: Key Steps and Insights
What I’ve learned from 3D printing model rockets
Every successful rocket project I’ve completed started with careful planning and a focus on safety. 3D printing introduces unique considerations—material strength, print orientation, and tolerances all impact flight performance and reliability. I’ve found that using AI-powered 3D platforms for part generation and refinement cuts hours from the workflow and helps avoid common design pitfalls.
Essential takeaways for beginners and experts
- Beginners: Start with simple designs, read up on local regulations, and don’t skip safety steps.
- Experts: Push the envelope with custom fin shapes or staged rockets, but always validate with test prints and ground launches.
- For all: Document your process—each build is a learning opportunity.
Planning Your 3D Printed Model Rocket
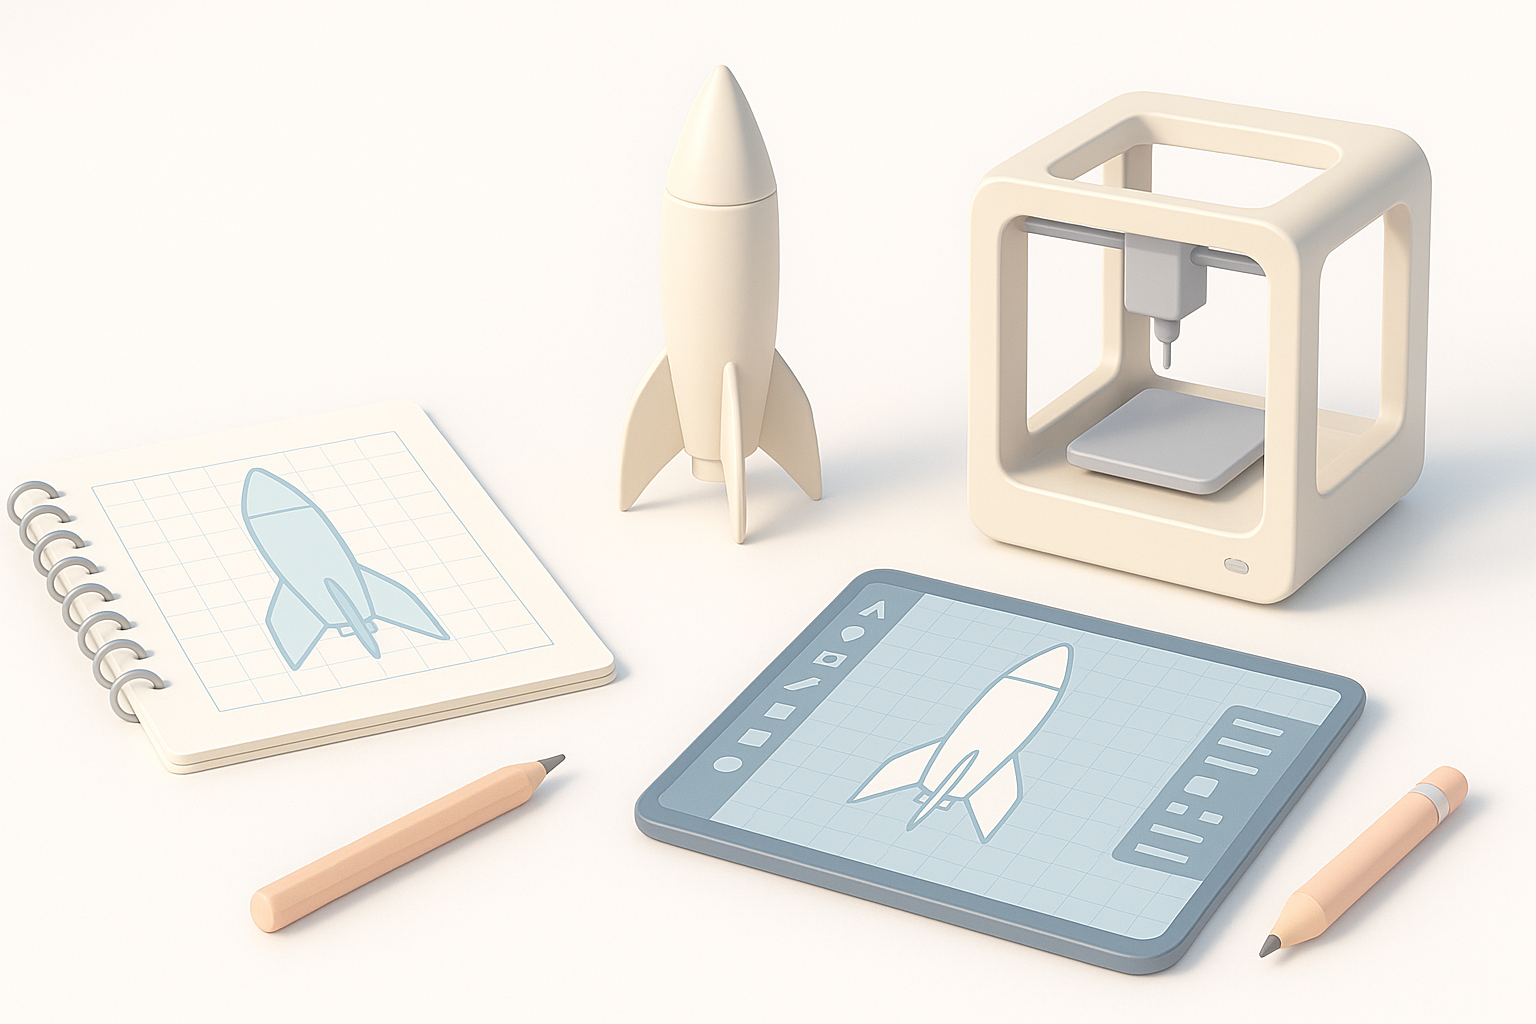
Choosing a rocket design and scale
I always begin by deciding on the rocket’s mission: display model, low-power flight, or high-altitude launch. For beginners, classic single-stage rockets (30–50 cm) are manageable and reliable. I sketch concepts or use reference images, then translate these into rough 3D forms.
Checklist:
- Define the rocket’s purpose and size.
- Research proven designs for stability.
- Sketch or gather images for reference.
Selecting materials and safety considerations
Material choice is critical. I prefer PLA for prototypes (easy to print, low warping), but for flight-ready parts, PETG or ABS offer better heat and impact resistance. For motor mounts and fins, I sometimes reinforce with carbon rods or use higher infill for strength.
Safety tips:
- Never use brittle or untested materials for load-bearing parts.
- Check your 3D printer’s tolerances—undersized parts can fail in flight.
- Review local rocketry regulations and launch site rules.
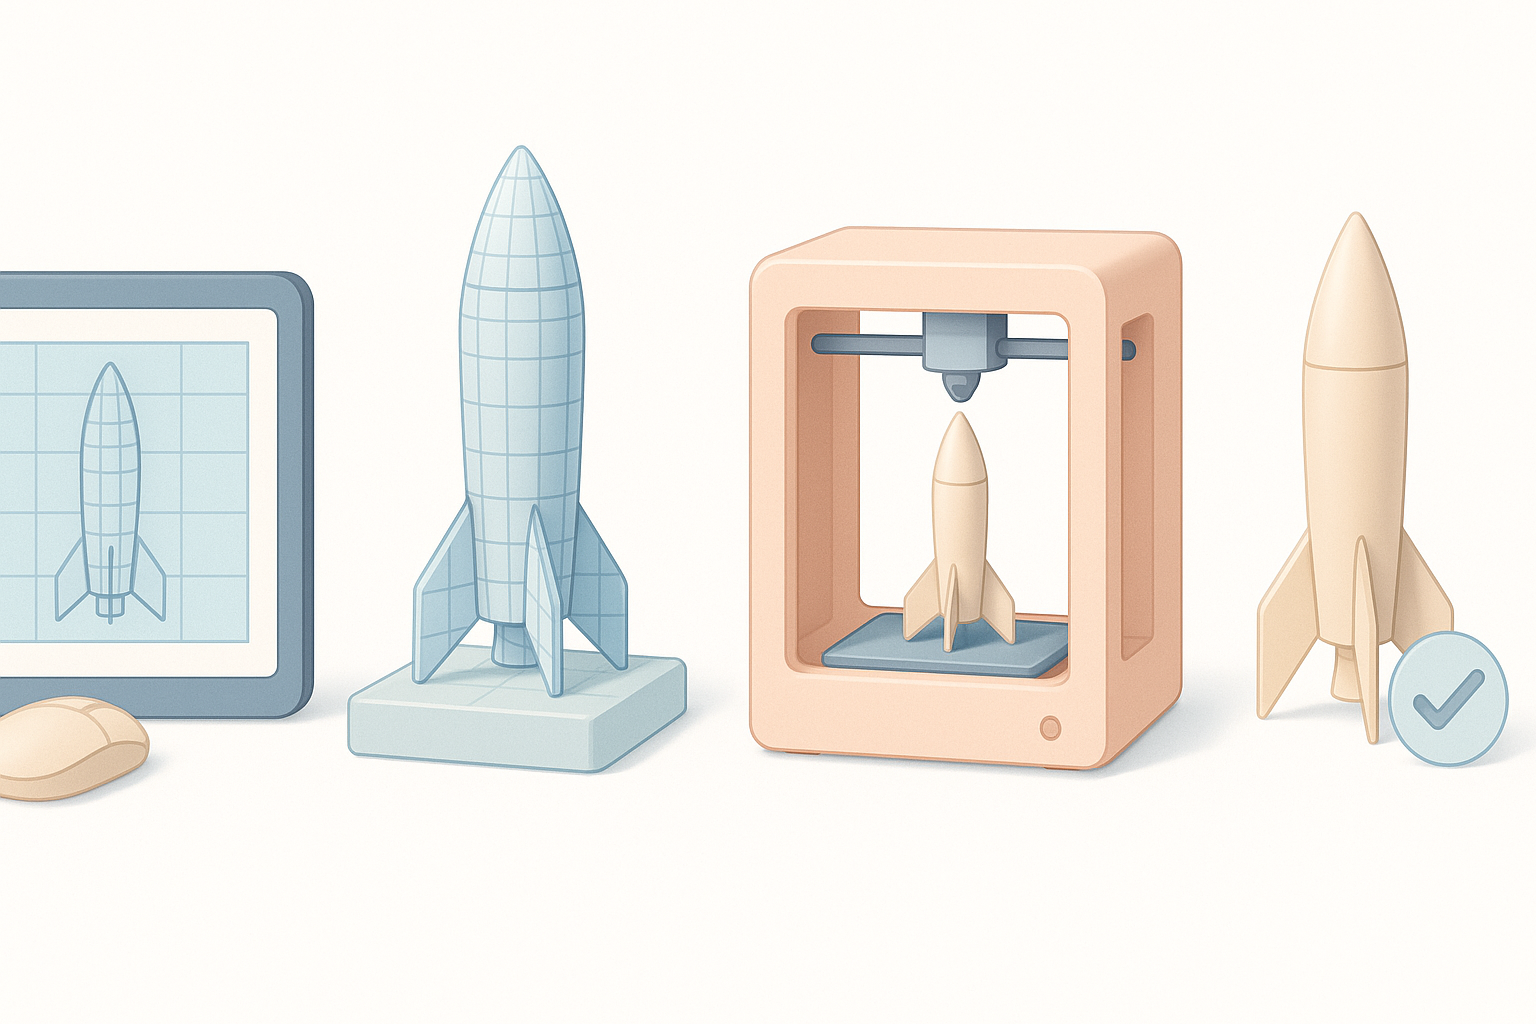
Designing the Rocket in 3D Software

My workflow for modeling rocket parts
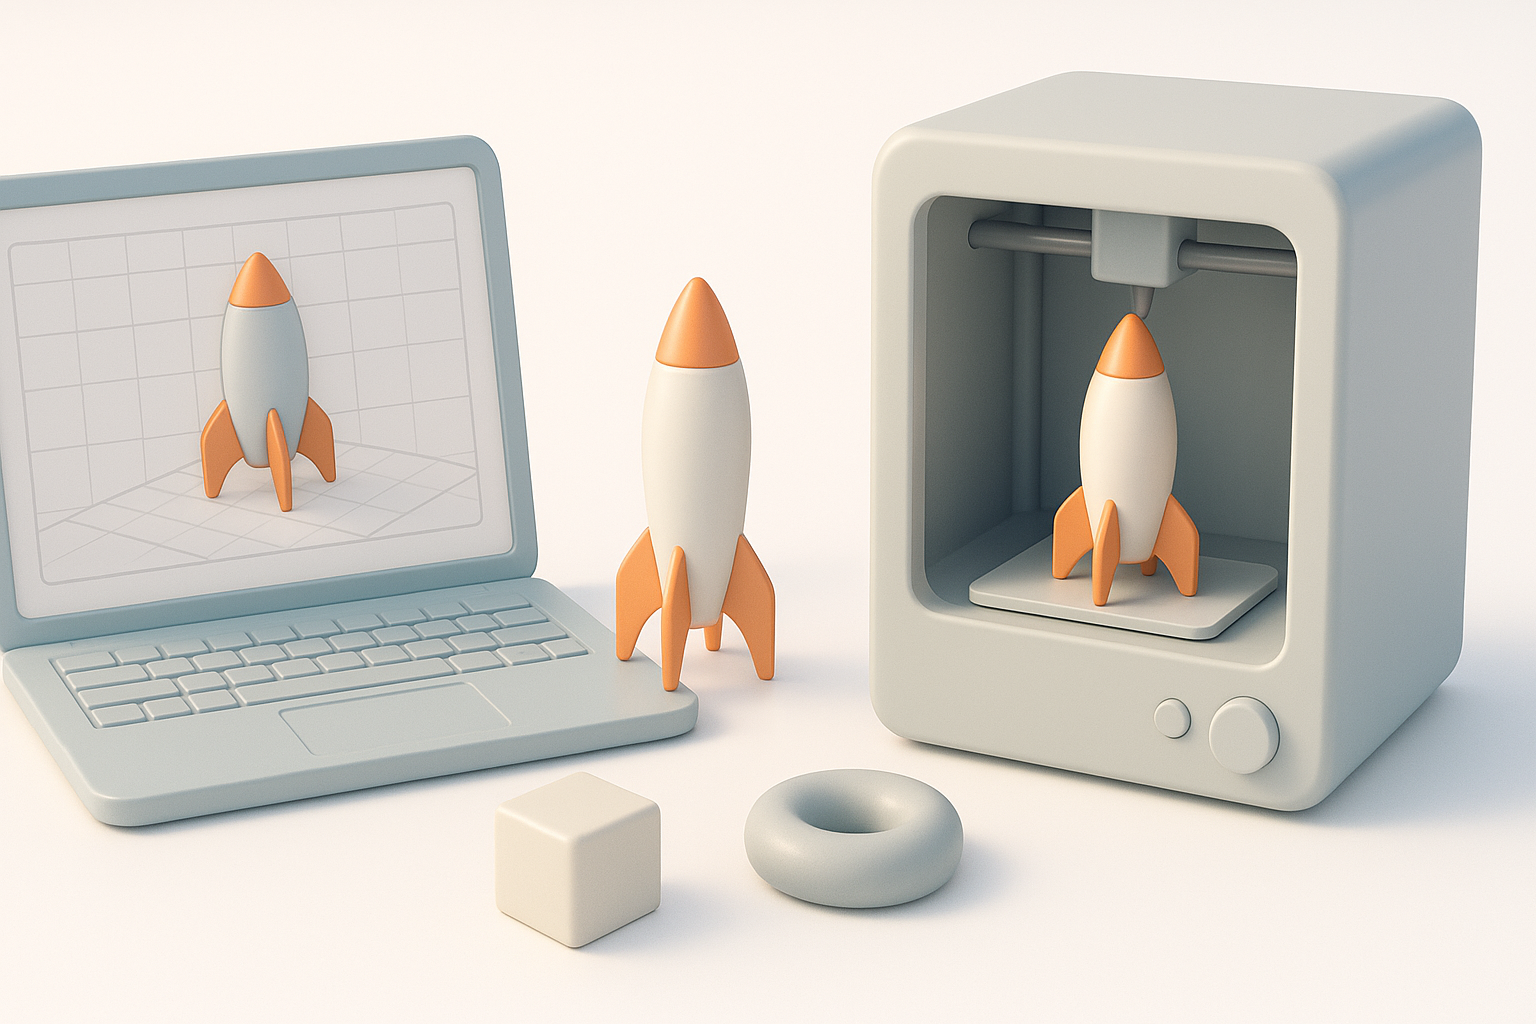
I break the rocket into modular sections: nose cone, body tube, fins, motor mount, and recovery system bay. I use parametric modeling for precise fit and alignment. With AI-powered tools like Tripo, I can quickly generate base geometry from sketches or text prompts, then refine details manually.
Steps:
- Generate base shapes (nose, body, fins) from sketches or prompts.
- Use segmentation tools to separate components for printing.
- Add alignment features (slots, tabs) for easy assembly.
Tips for using AI-powered 3D tools
What’s worked for me is starting with a clear prompt or reference image. Tripo’s segmentation and retopology features help clean up complex parts, ensuring printability and fit. I always review the mesh for thin walls or unsupported features before exporting for slicing.
Pitfalls to avoid:
- Overly complex prompts can produce unprintable geometry.
- Always check wall thickness and tolerances in the 3D view.
- Test-fit digital assemblies before committing to print.
Preparing and Printing the Rocket Components
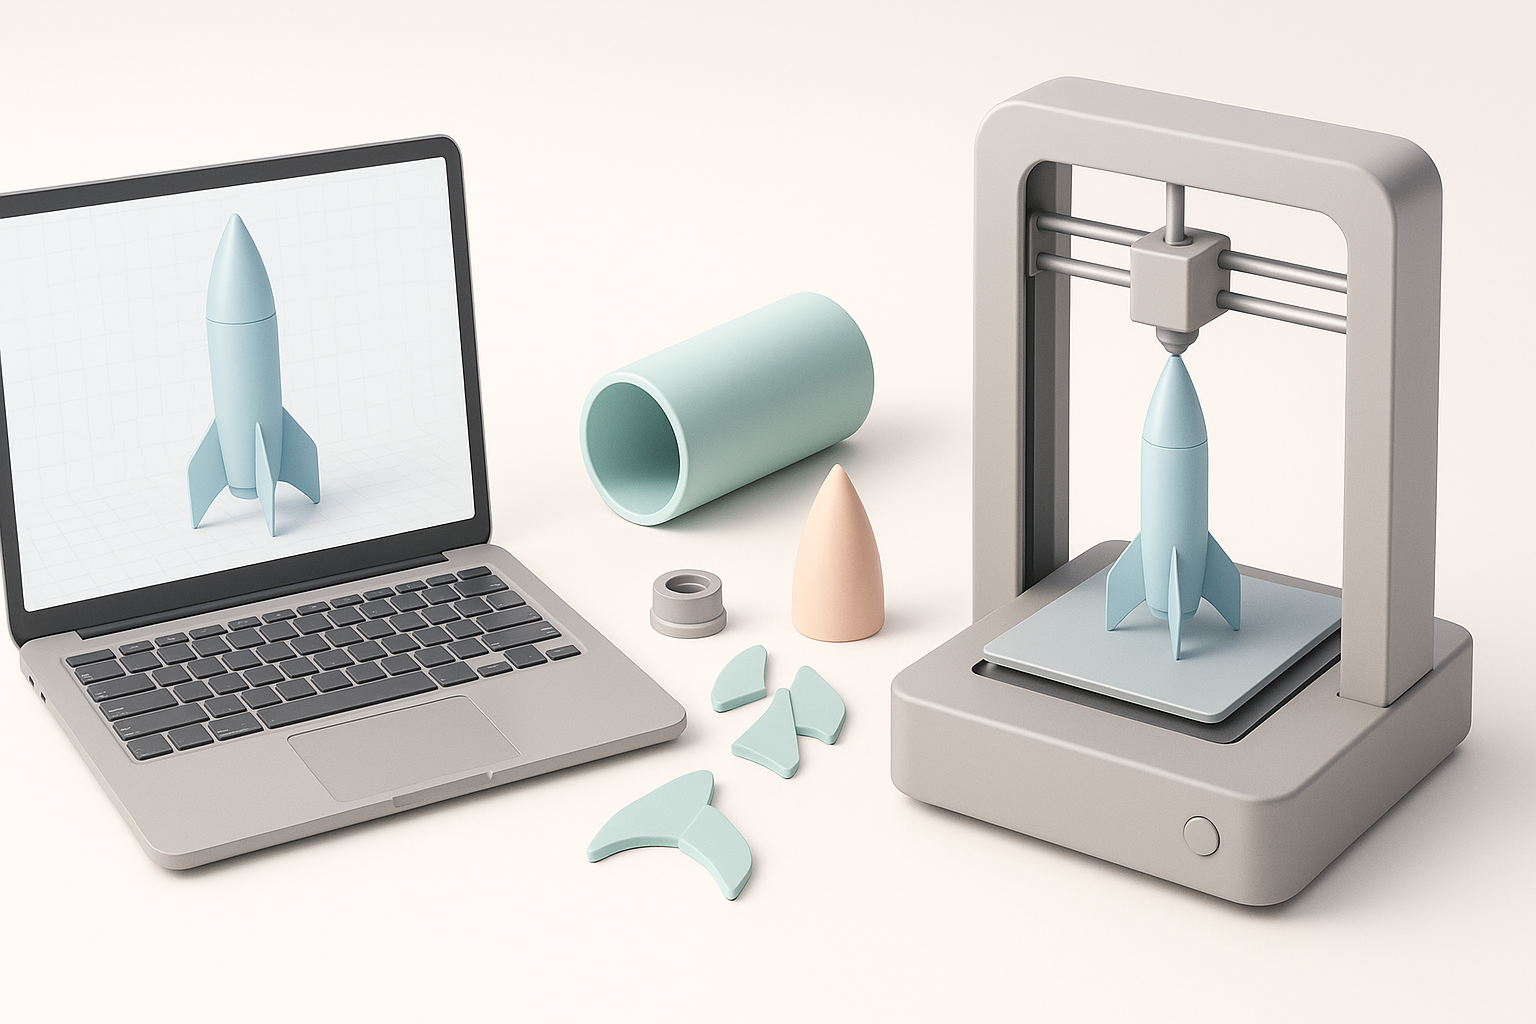
Optimizing print settings for strength and detail
I orient parts to maximize layer adhesion along stress lines—especially for fins and motor mounts. For flight parts, I use 4+ perimeters, 40–60% infill, and slow print speeds for accuracy. Supports are minimized to reduce post-processing.
Print checklist:
- Orient parts for strength (e.g., fins vertical).
- Increase wall/perimeter count.
- Use moderate infill (avoid solid prints—too heavy).
- Check for proper layer bonding.
Post-processing and assembly best practices
Once printed, I dry-fit all parts. Sanding mating surfaces and clearing support scars ensures a snug, straight assembly. For critical joints, I use CA glue or epoxy. I test the recovery system (parachute fit, ejection) before final assembly.
Tips:
- Test fit before gluing—misalignment can ruin a launch.
- Remove all print artifacts from moving parts.
- Balance the finished rocket for stable flight.
Testing and Launching Your 3D Printed Rocket
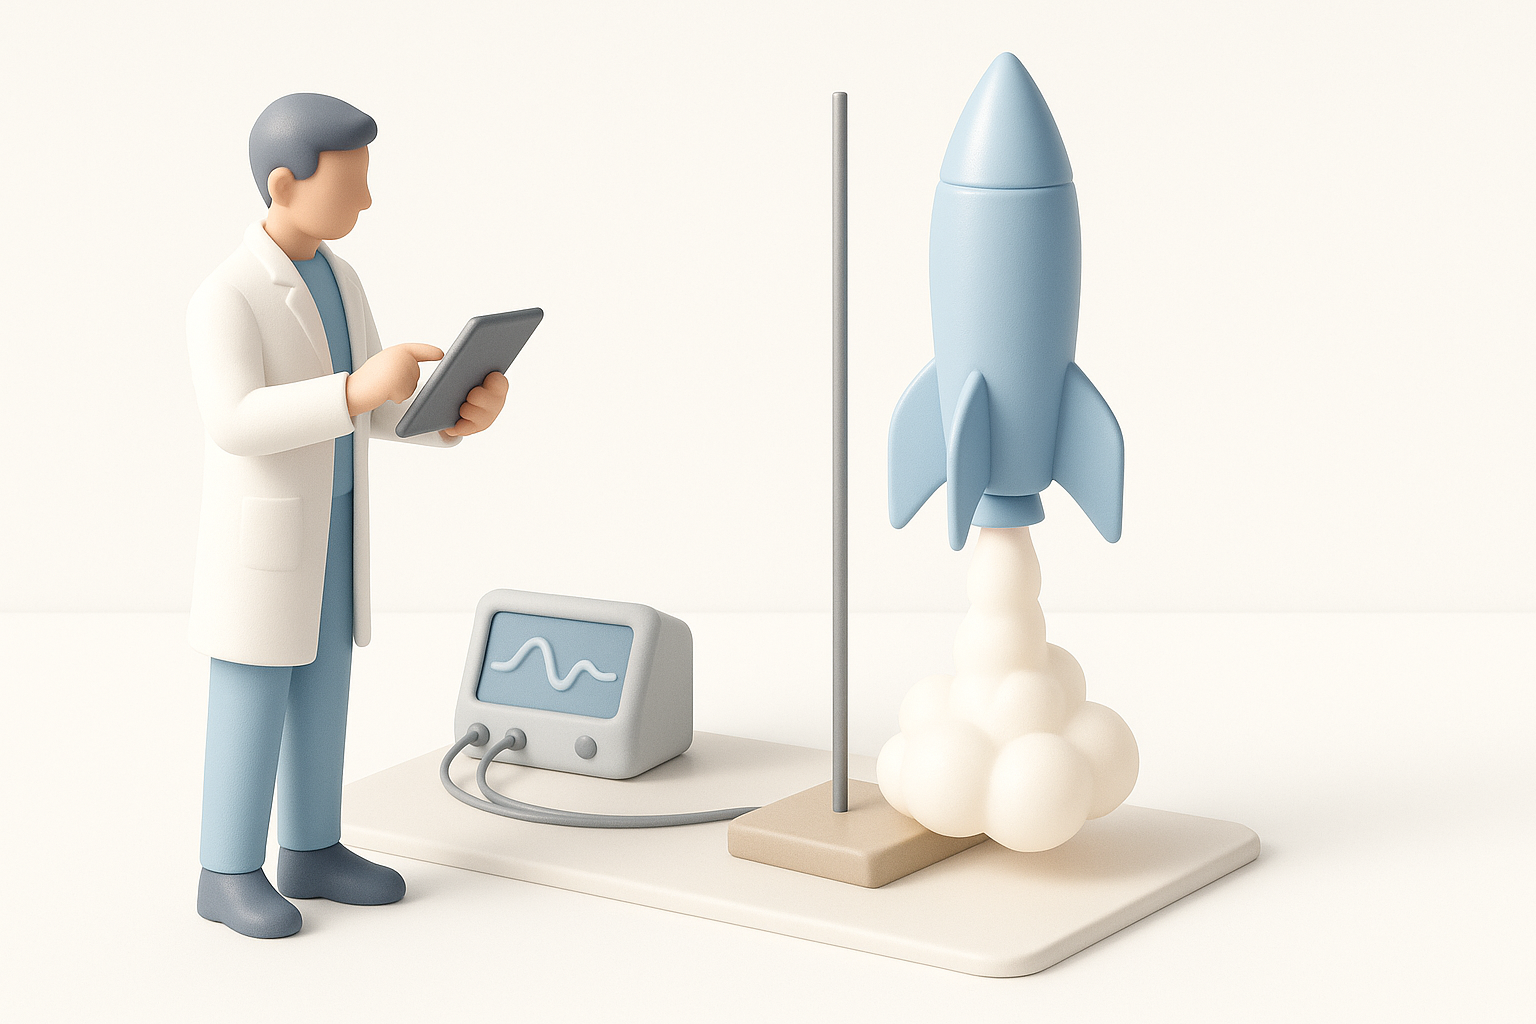
Pre-launch checks and safety protocols
I follow a strict pre-launch checklist: inspect for cracks, check motor fit, verify parachute deployment, and confirm CG/CP balance. I always launch in an open area, with a safe distance and a fire extinguisher on hand.
Pre-launch checklist:
- Inspect all joints and surfaces.
- Test-fit motor and recovery system.
- Confirm balance and stability.
- Review local safety rules.
What I’ve learned from real-world launches
Not every launch is perfect—failures teach more than successes. Most issues I’ve had were due to overlooked print defects or rushed assembly. Iteration is key: log each flight, adjust the design, and reprint as needed.
Lessons:
- Don’t skip ground tests (tethered ejection, dry runs).
- Document every flight for troubleshooting.
- Celebrate small wins—successful recovery is a big deal.
Comparing 3D Printing Tools and Methods
When to use AI-powered platforms vs. traditional modeling
For rapid prototyping and creative exploration, AI-powered tools like Tripo are my go-to—they handle segmentation, retopology, and texturing with minimal manual effort. For highly technical or competition rockets, I sometimes revert to traditional CAD for full control.
When to use each:
- AI-powered: Fast ideation, unique shapes, less manual modeling.
- Traditional CAD: Maximum precision, engineering constraints, advanced simulation.
Alternative approaches and troubleshooting tips
Sometimes, hybrid workflows work best—generate base shapes with AI, refine in CAD, then slice and print. If a print fails, I check STL for errors, re-slice with different settings, or adjust orientation for better strength.
Troubleshooting tips:
- Use mesh repair tools if slicing errors occur.
- Print small test sections before full builds.
- Iterate on design and print settings for best results.
In summary: With the right planning, tools, and attention to detail, 3D printing your own model rocket is accessible and deeply satisfying. My workflow leverages AI-powered modeling for speed and creativity, careful material selection for safety, and rigorous testing for reliable launches. Happy building—and safe flying!
Keywords: 3d printed rocket, model rocket workflow, 3d printing tips, rocket design, ai 3d tools, tripo ai
Meta description: Learn how to design, 3D print, and launch a model rocket with expert tips, best practices, and workflow insights for safe and successful results.