How to Create a 3D Printed Dragon Model: Expert Workflow & Tips
Designing and 3D printing a dragon model is both challenging and rewarding. Over years of hands-on experience, I’ve developed a streamlined workflow that leverages AI-powered tools and practical sculpting techniques to produce impressive, print-ready dragons. This guide is for anyone—artists, hobbyists, or game designers—who wants to create detailed, dynamic dragons without getting bogged down by technical hurdles. I’ll cover concepting, modeling, optimizing for print, and finishing, with actionable tips for avoiding common pitfalls and maximizing results.
Key takeaways:
- Reference gathering and concepting are crucial for unique dragon designs.
- AI-powered tools help streamline modeling, segmentation, and retopology.
- Mesh cleanup and support preparation are essential for successful prints.
- Texturing and detailing bring your dragon to life—plan ahead for painting.
- Export and slicing settings directly impact print quality and ease.
- Post-processing and assembly are just as important as the modeling stage.
Overview: 3D Printed Dragon Models and Key Considerations
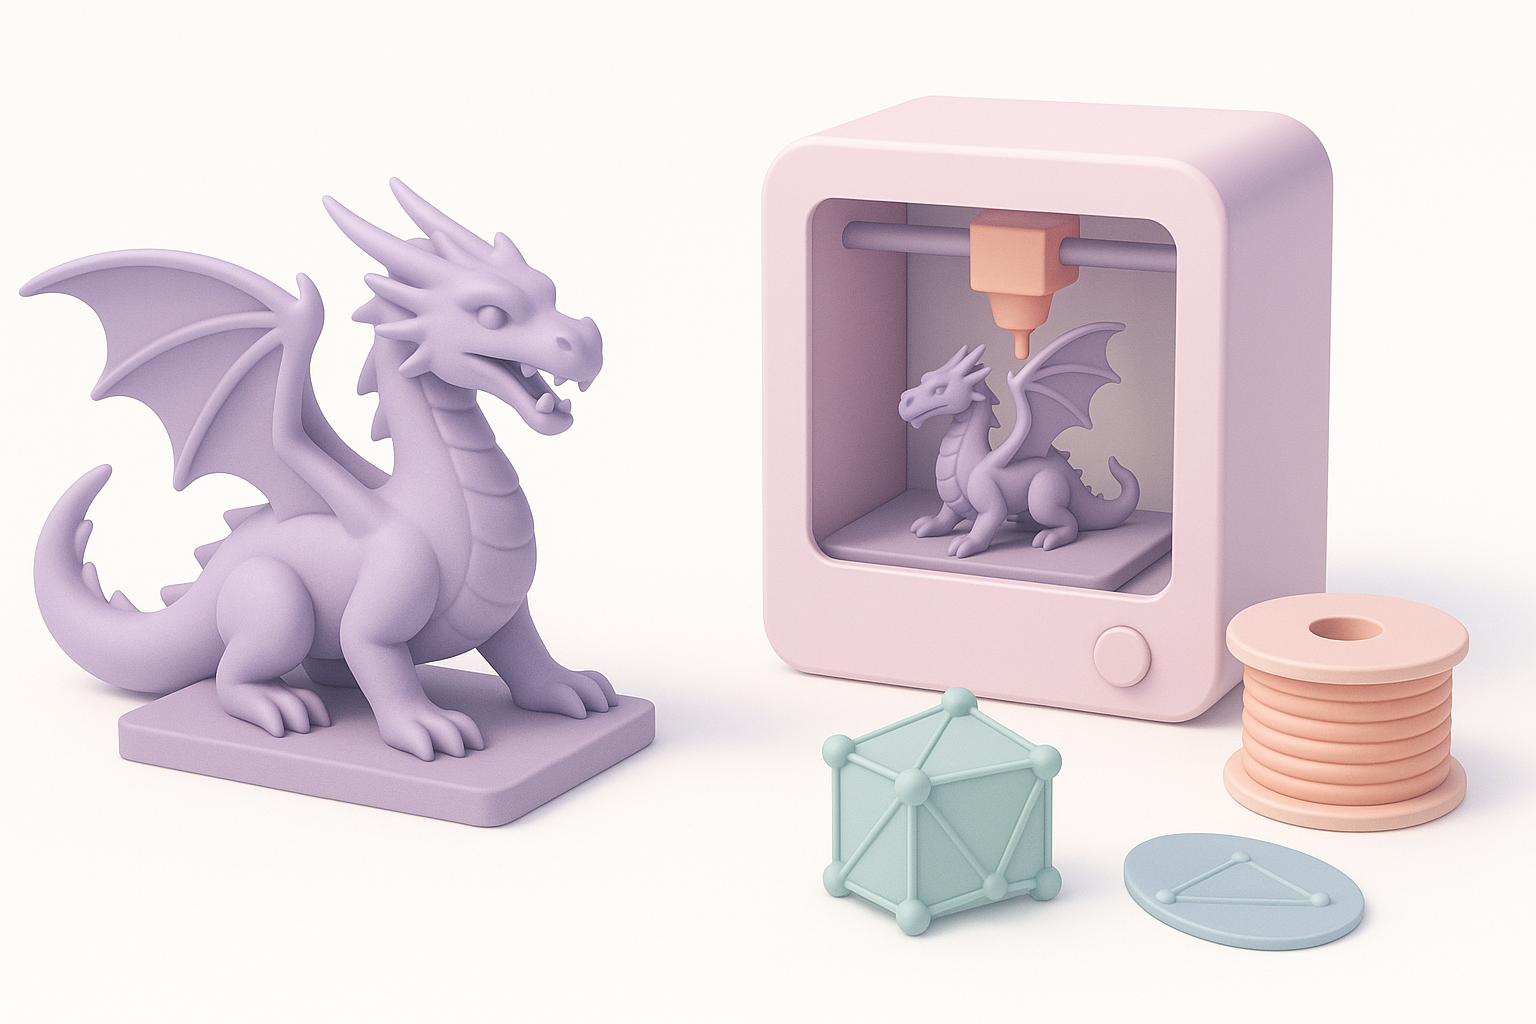
Why 3D printed dragons are popular
Dragons are iconic in fantasy, gaming, and collectibles. Their complex anatomy and imaginative variations make them ideal for showcasing modeling and printing skills. I often see high demand for dragons due to their striking presence and the challenge they pose to creators.
What makes a great dragon model for printing
A successful dragon model balances detail with printability. Key factors I consider:
- Clear silhouette and dynamic pose: Avoid overly thin or unsupported features.
- Surface detail: Scales, horns, and facial features that survive post-processing.
- Modular design: For large prints, I design in parts for easier assembly.
My Step-by-Step Workflow for Designing a Dragon Model
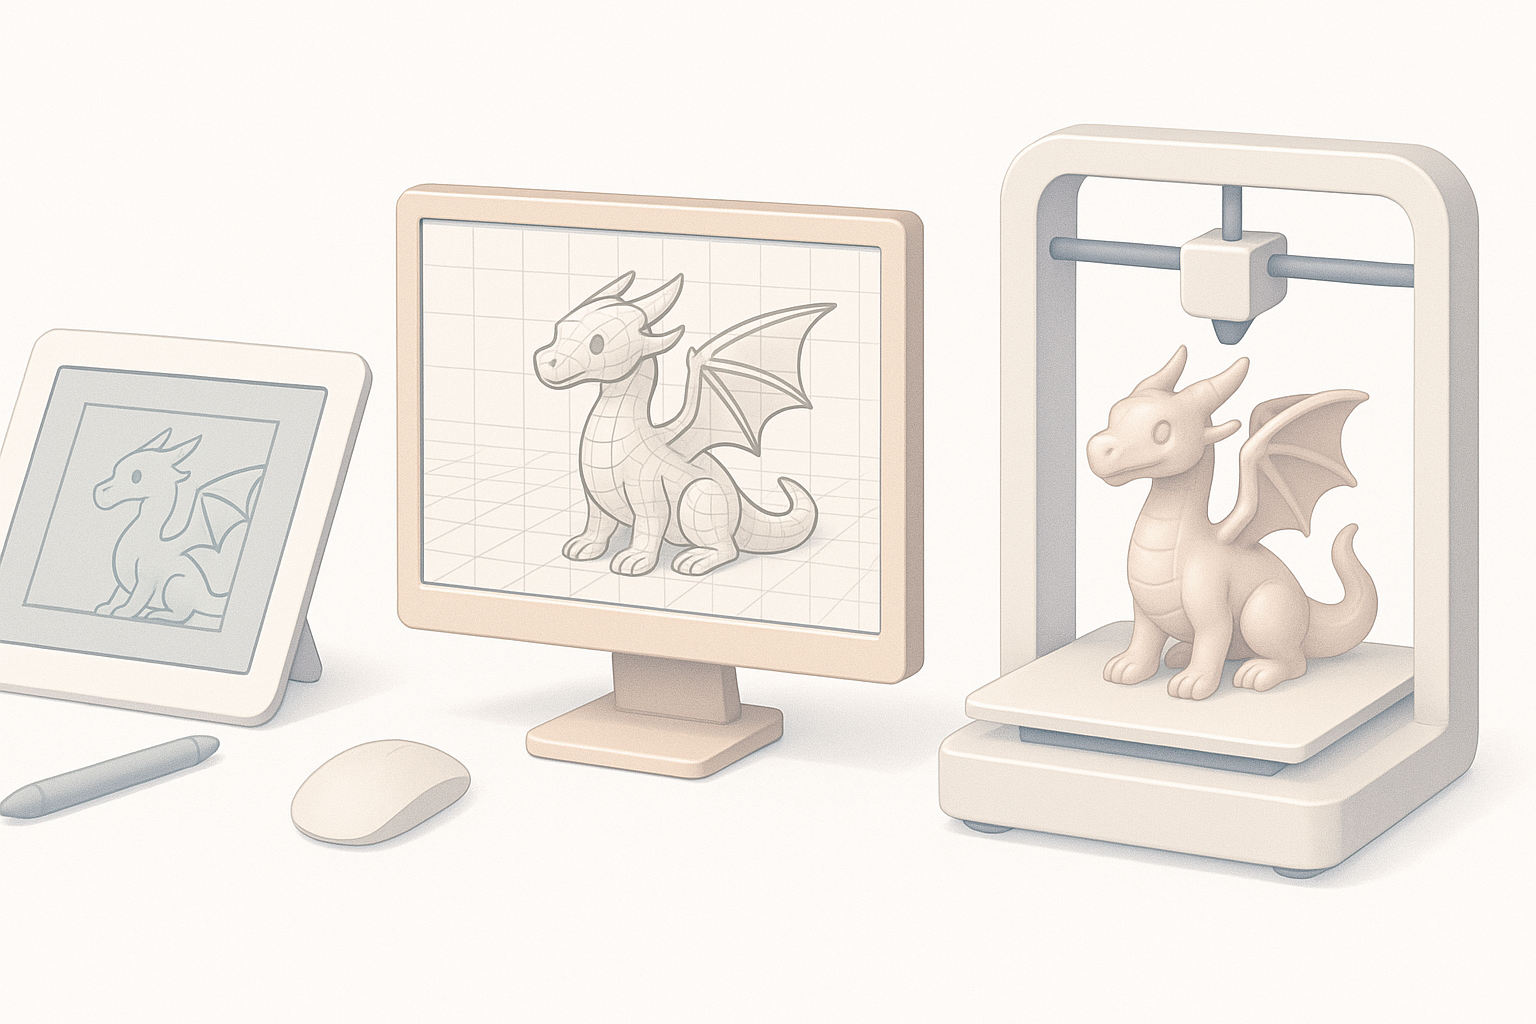
Concepting and reference gathering
I start every project by collecting references—artwork, anatomical studies, and previous prints. This helps nail down the dragon’s personality and pose. My checklist:
- Gather 5–10 visual references.
- Sketch rough poses and silhouettes.
- Decide on scale and base (e.g., standing, flying, curled).
Sculpting and modeling techniques I use
I use digital sculpting tools for organic shapes. For speed and flexibility, I often leverage AI-powered platforms like Tripo for base meshes and segmentation. My process:
- Block out main forms (head, body, limbs, wings).
- Refine anatomy and add secondary shapes.
- Use AI-assisted retopology for clean, printable geometry.
- Save incremental versions—helps revert if needed.
Optimizing the Model for 3D Printing
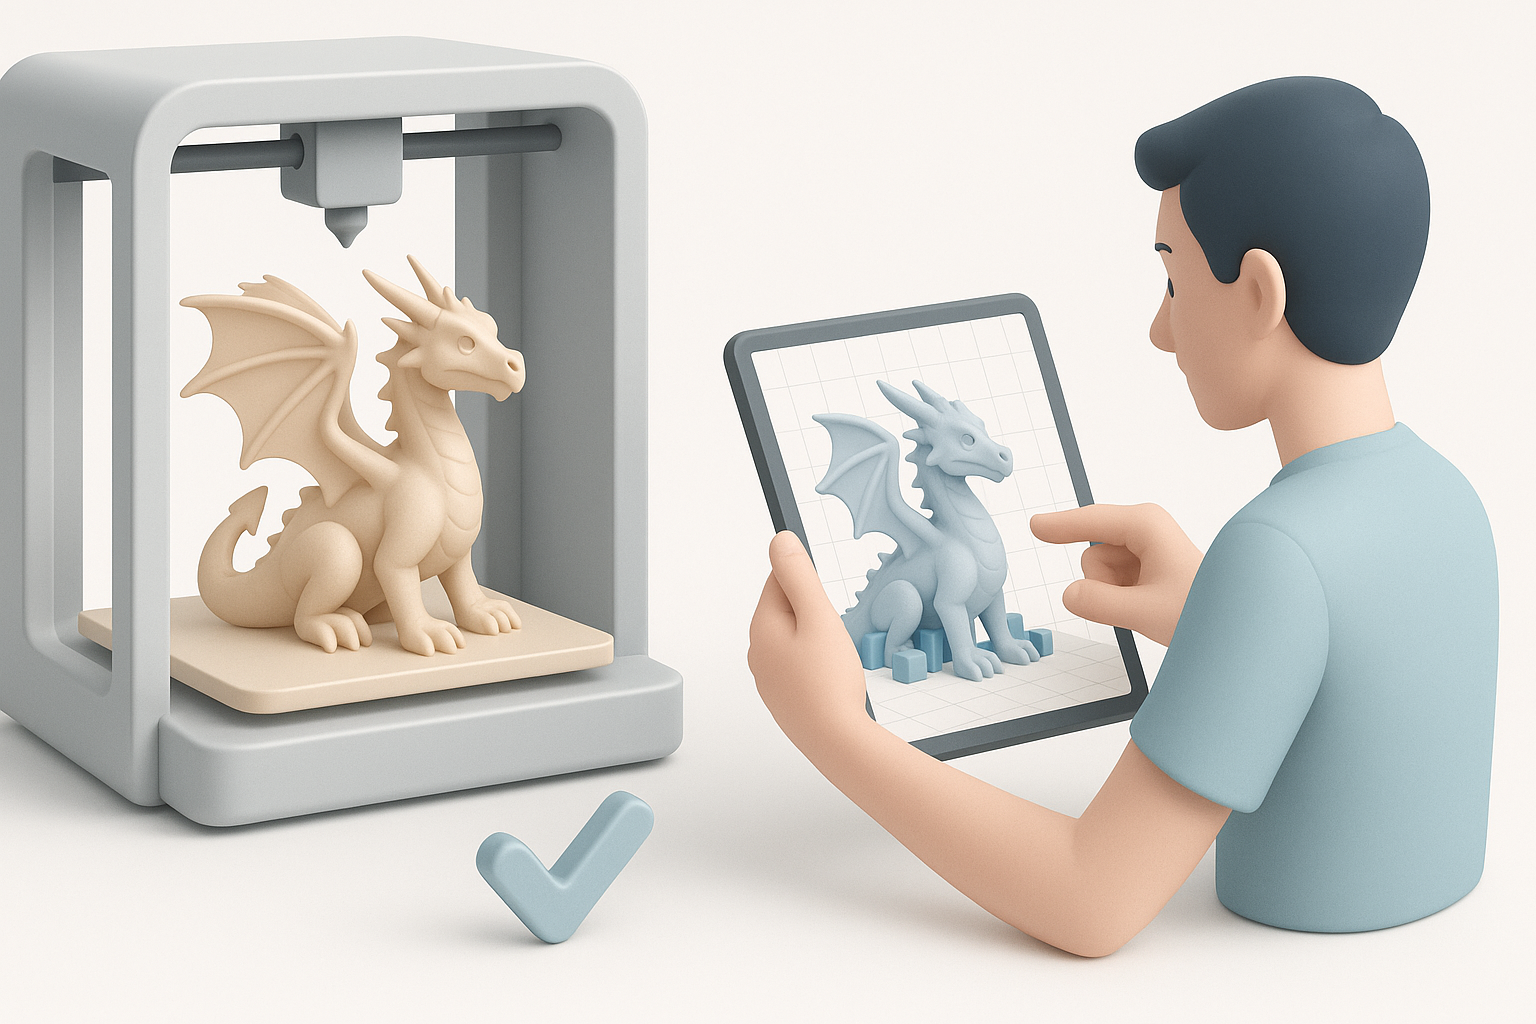
Retopology and mesh cleanup best practices
Print-ready models need clean, watertight meshes. I rely on automated retopology in Tripo and manual checks:
- Eliminate non-manifold edges and holes.
- Merge overlapping geometry.
- Simplify overly dense areas (especially under wings and inside mouths).
Preparing supports and ensuring printability
Before exporting, I check for overhangs and thin parts. My approach:
- Add or thicken fragile features (like wing tips).
- Orient the model for minimal supports.
- Use slicer preview tools to spot trouble areas.
- For multipart dragons, design keyed joints for easy assembly.
Texturing and Detailing: Bringing the Dragon to Life
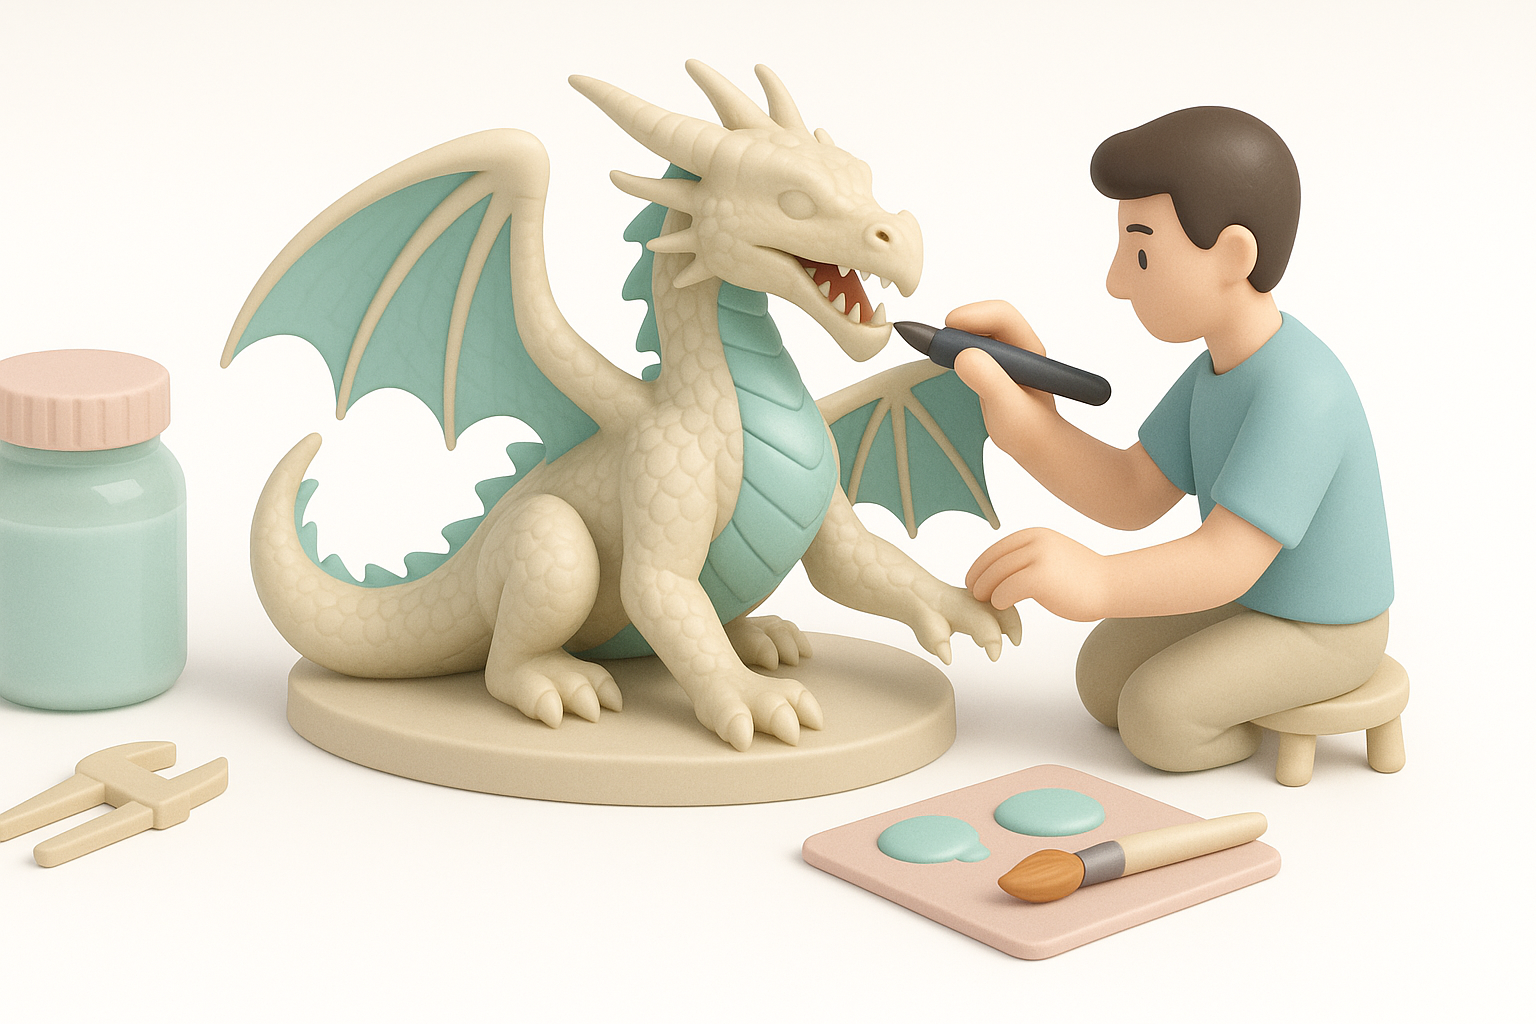
Adding scales, horns, and fine details
I sculpt scales and horns directly in the modeling stage. For fine details:
- Use custom brushes for scale patterns.
- Layer detail—start large, add smaller elements.
- Test-print small sections if unsure about detail resolution.
Choosing textures and color strategies
While 3D prints are usually painted, I plan textures during modeling:
- Choose paint-friendly surface textures.
- Map out color zones (e.g., belly, wings, horns).
- For digital renders, use procedural or hand-painted textures.
Exporting, Slicing, and Printing the Dragon
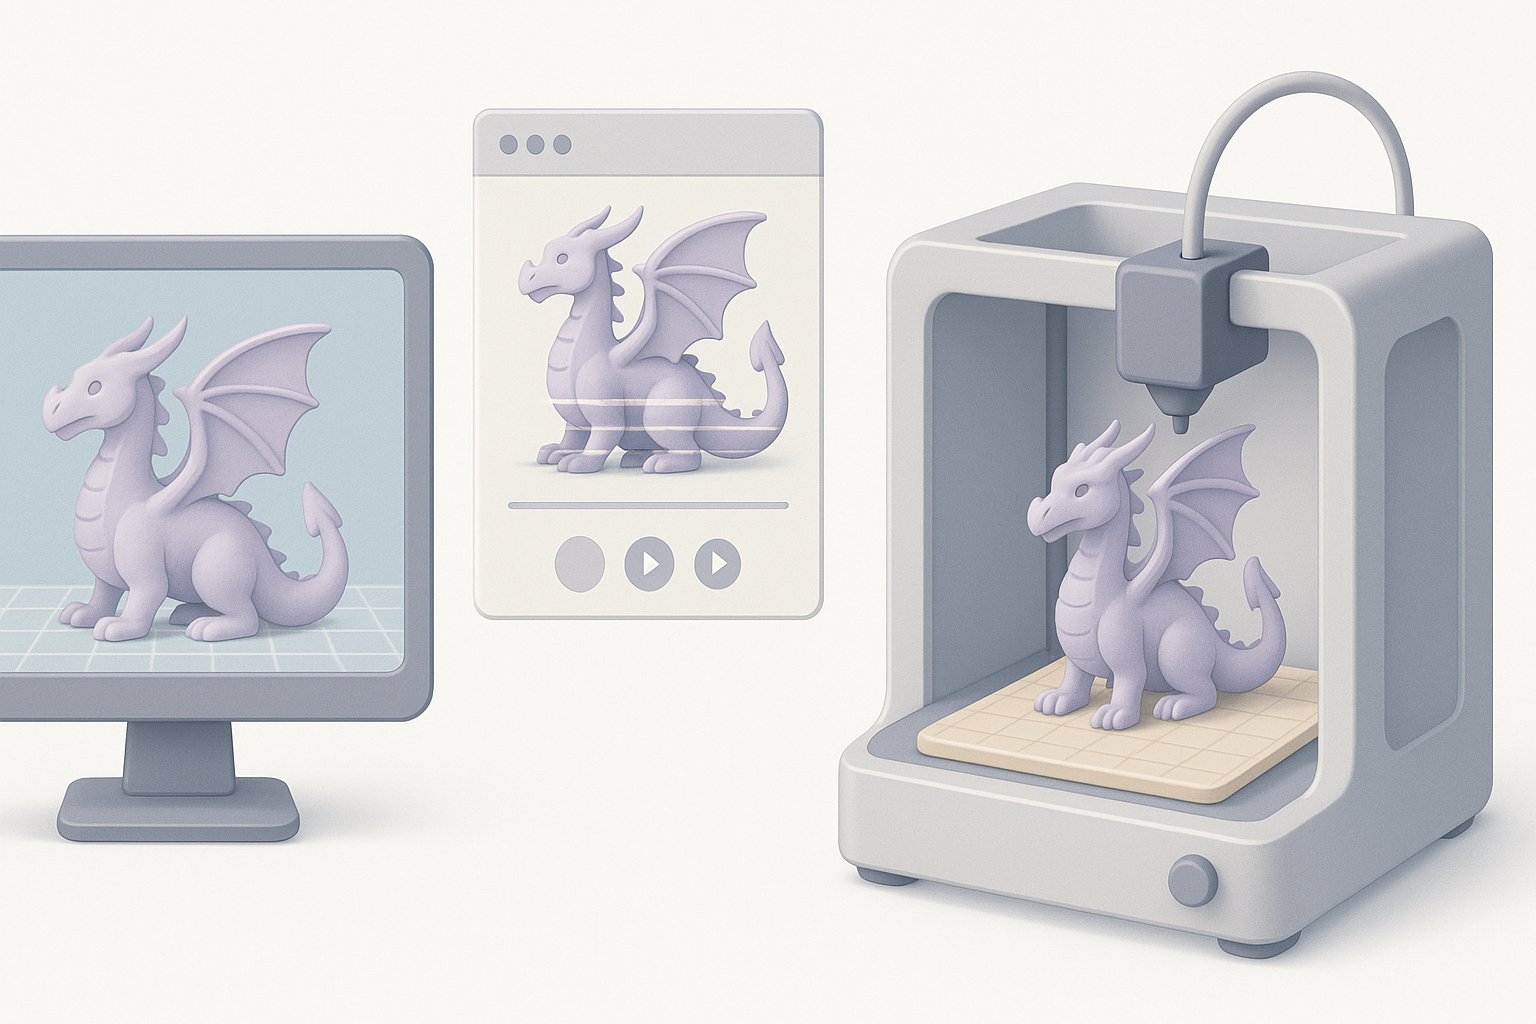
Export settings and file formats I recommend
I export models as STL or OBJ, ensuring scale and orientation match my printer setup. Tips:
- Double-check units (mm vs. inches).
- Use Tripo’s export presets for watertight meshes.
- For multipart models, export each section with unique naming.
Slicing tips and printer setup
Slicing is where print success is determined. My steps:
- Use appropriate layer height (0.1–0.2mm for detail).
- Adjust support density for delicate parts.
- Preview every layer for hidden issues.
- Calibrate printer for material and temperature.
Post-Processing and Finishing Touches
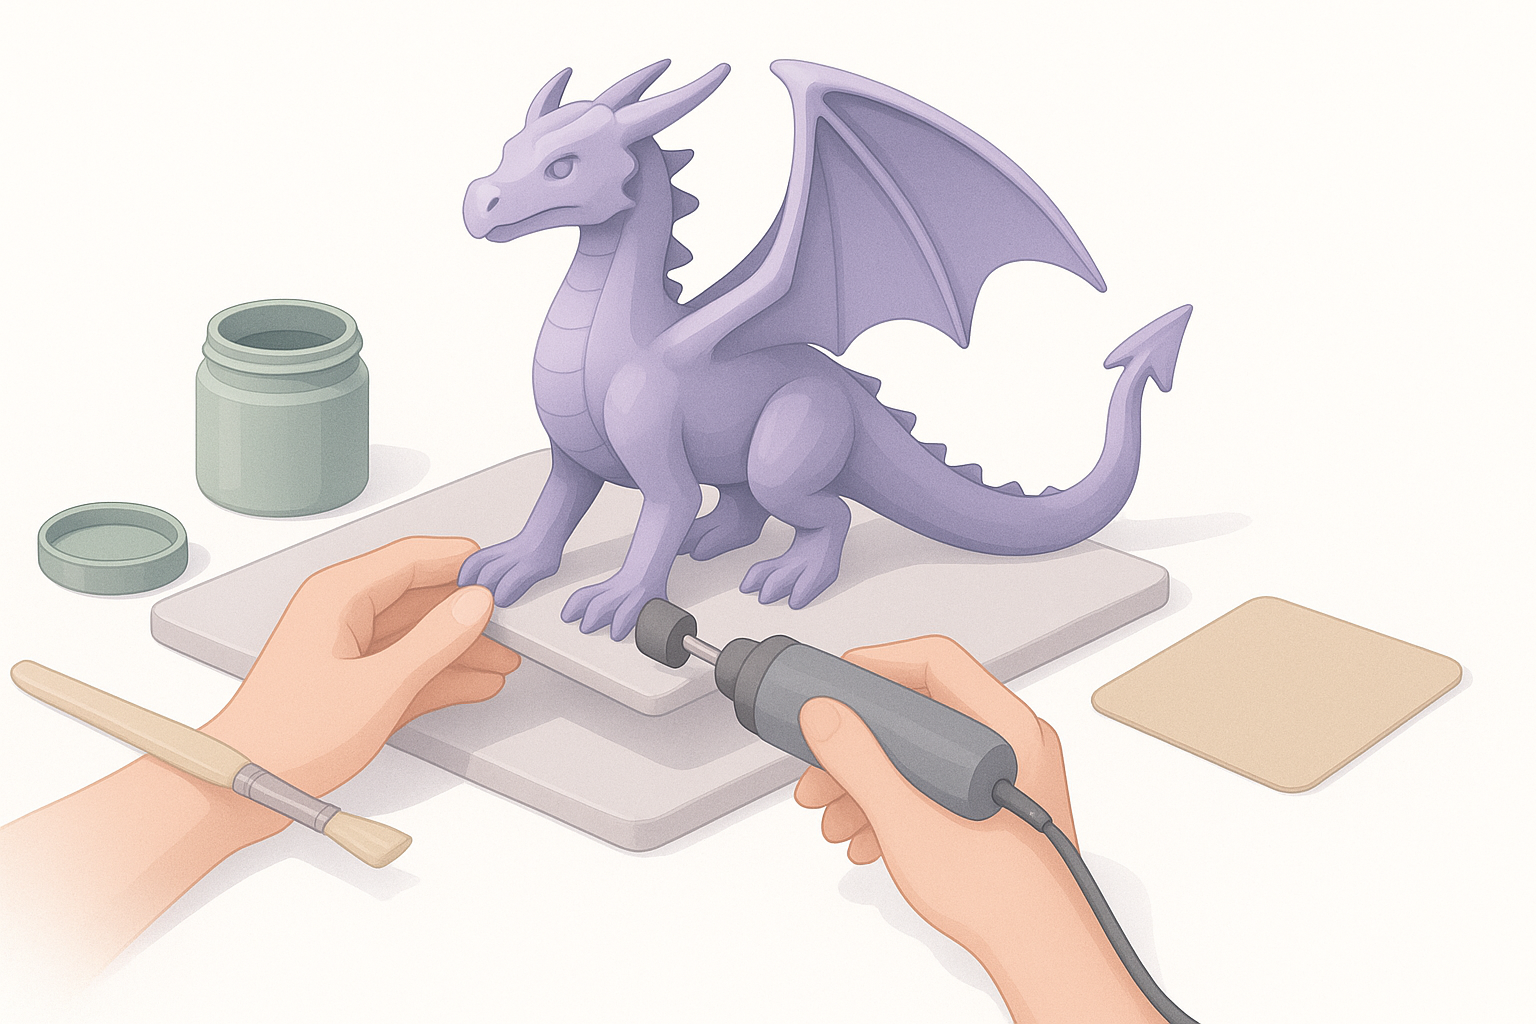
Cleaning, assembling, and painting the print
Once printed, I remove supports carefully, sand seams, and assemble parts. My routine:
- Wash and cure resin prints.
- Dry-fit parts before gluing.
- Prime before painting—helps paint adhere and reveals flaws.
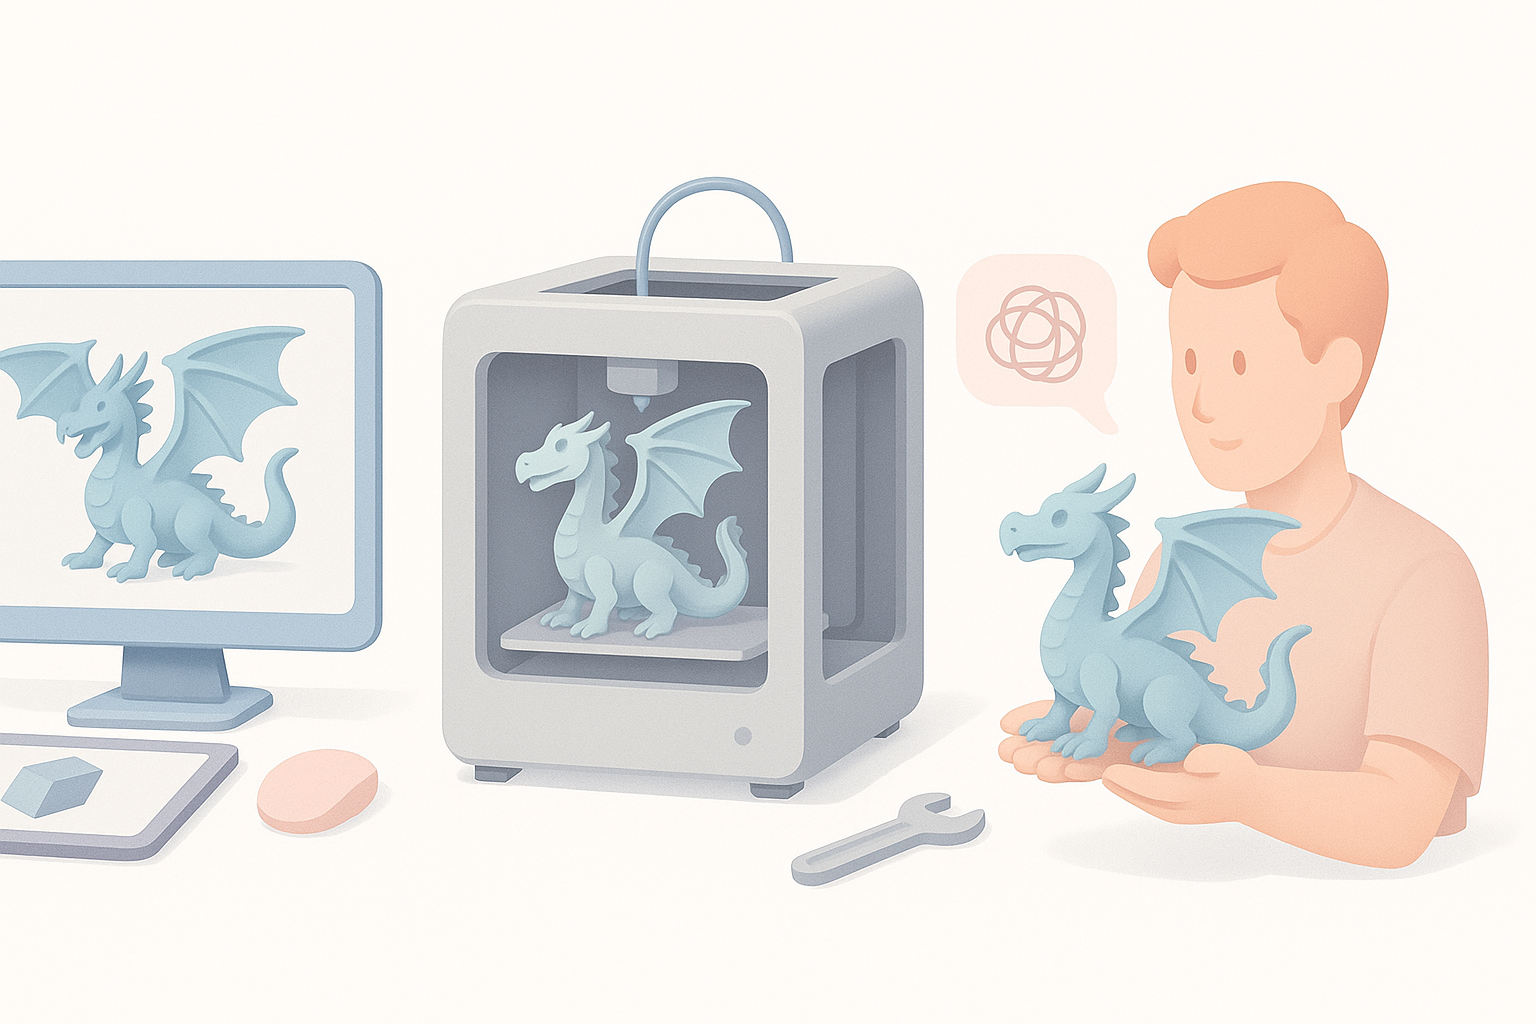
Showcasing and sharing your finished dragon
Good photos make your work stand out. I use:
- Neutral backgrounds and strong lighting.
- Multiple angles to show details.
- Share on social platforms and portfolio sites.
Best Tools and AI Platforms for 3D Dragon Creation
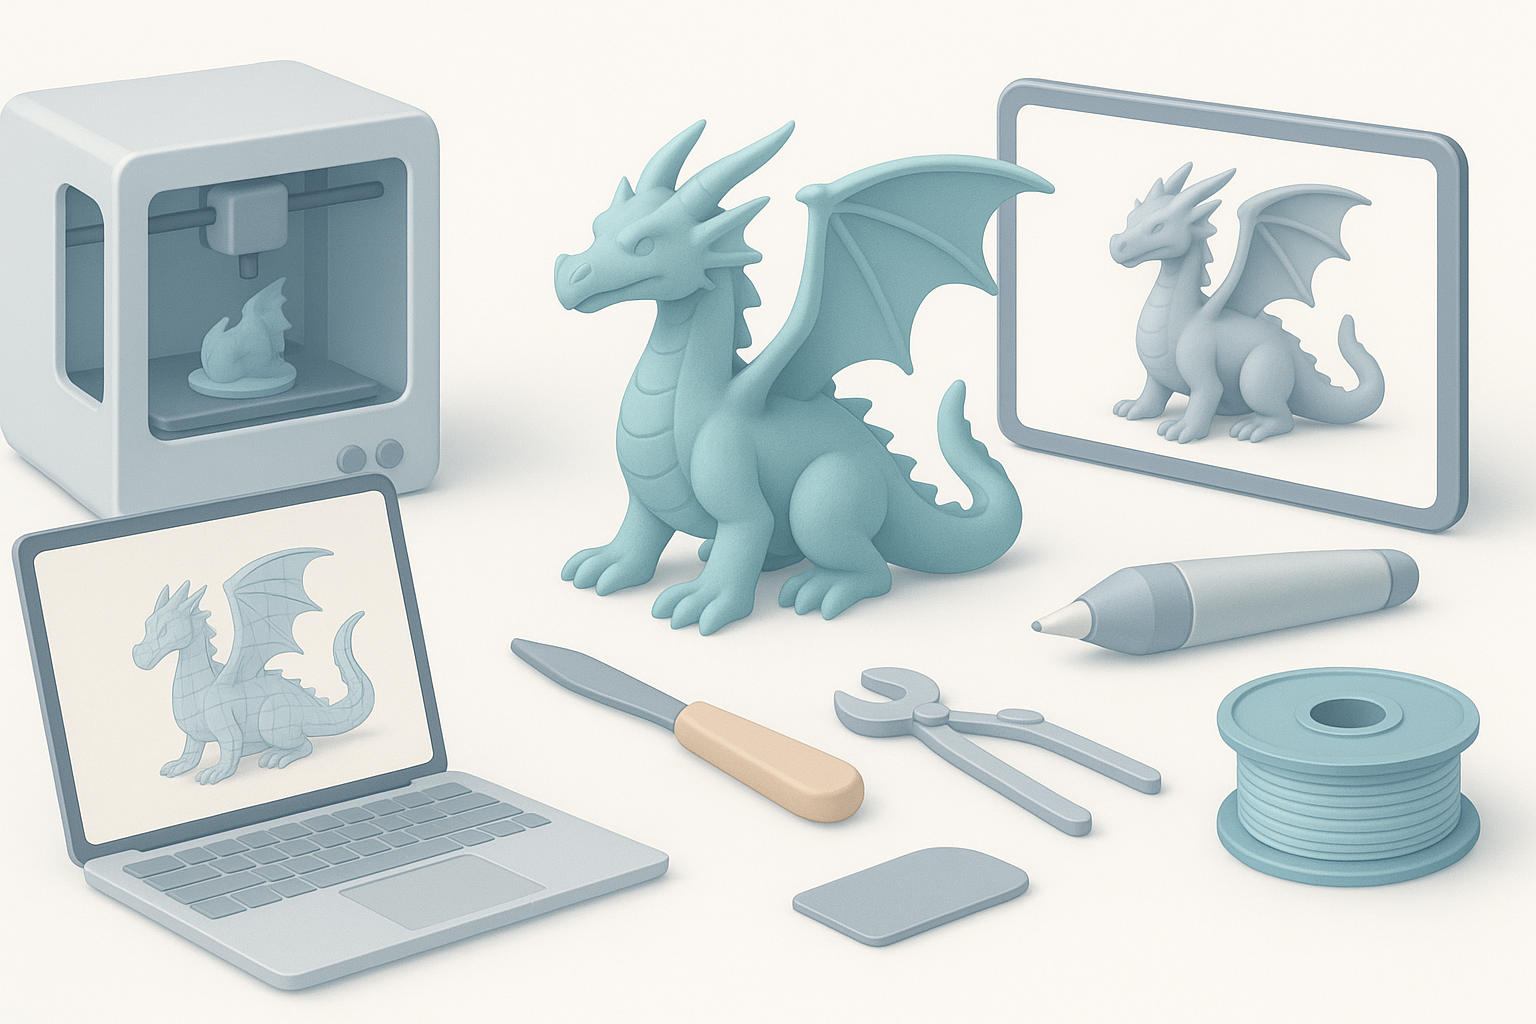
How I use AI-powered tools in my workflow
AI platforms like Tripo have streamlined my process:
- Generate base meshes from sketches or text prompts.
- Automated segmentation and retopology.
- Rapid iteration—change pose or anatomy in minutes.
Comparing manual and AI-assisted methods
Manual sculpting offers full creative control but is time-consuming. AI tools:
- Speed up repetitive tasks (mesh cleanup, base form generation).
- Allow non-experts to focus on creative aspects.
- I combine both—AI for base, manual for fine detail and adjustments.
Common Challenges and My Solutions
Avoiding failed prints and troubleshooting
Print failures usually stem from unsupported overhangs or mesh errors. My fixes:
- Run mesh analysis before slicing.
- Orient parts for minimal unsupported areas.
- Test small sections before full print.
Tips for complex poses and dynamic designs
Dynamic dragons need careful planning. What I’ve found:
- Balance weight distribution—avoid top-heavy poses.
- Use integrated bases for stability.
- Split model into logical parts for easier printing and assembly.
Summary:
Creating a 3D printed dragon is a blend of creative vision and technical execution. With the right workflow, AI tools, and attention to detail, you can produce dragons that impress both in digital renders and physical prints.