How to Create a Realistic 3D Planet Model: Expert Workflow
скачать 3d модель для chicken gun
Creating a realistic 3D planet model is all about balancing artistry with technical know-how. In my experience, the right workflow—especially when leveraging AI-powered platforms—can turn a complex project into a streamlined, creative process. This guide walks through my hands-on approach, from initial planning to final export, with practical tips for achieving realism and efficiency. Whether you’re building assets for games, film, or XR, these steps will help you avoid common pitfalls and get production-ready results faster.
Key takeaways
- Start with clear goals and strong reference material to inform your planet’s look and purpose.
- Use AI-powered tools like Tripo to accelerate modeling, texturing, and detailing.
- Focus on high-resolution textures and procedural materials for realism.
- Atmospheric effects and lighting are essential for believable planetary renders.
- Optimize exports for your target platform (games, film, XR) to avoid workflow bottlenecks.
- Integrate manual techniques with AI outputs for the best balance of speed and control.
Getting Started: Planning Your 3D Planet Model
Defining the Purpose and Style
Before opening any software, I clarify the purpose of my planet model. Is it for a cinematic close-up, a game asset, or an XR environment? This determines the level of detail, polycount, and texturing fidelity required.
- For games and XR, I prioritize performance and modularity.
- For film or high-res renders, I focus on detail and realism, even at higher polycounts.
Establishing a style—realistic, stylized, or something in between—helps guide all subsequent decisions.
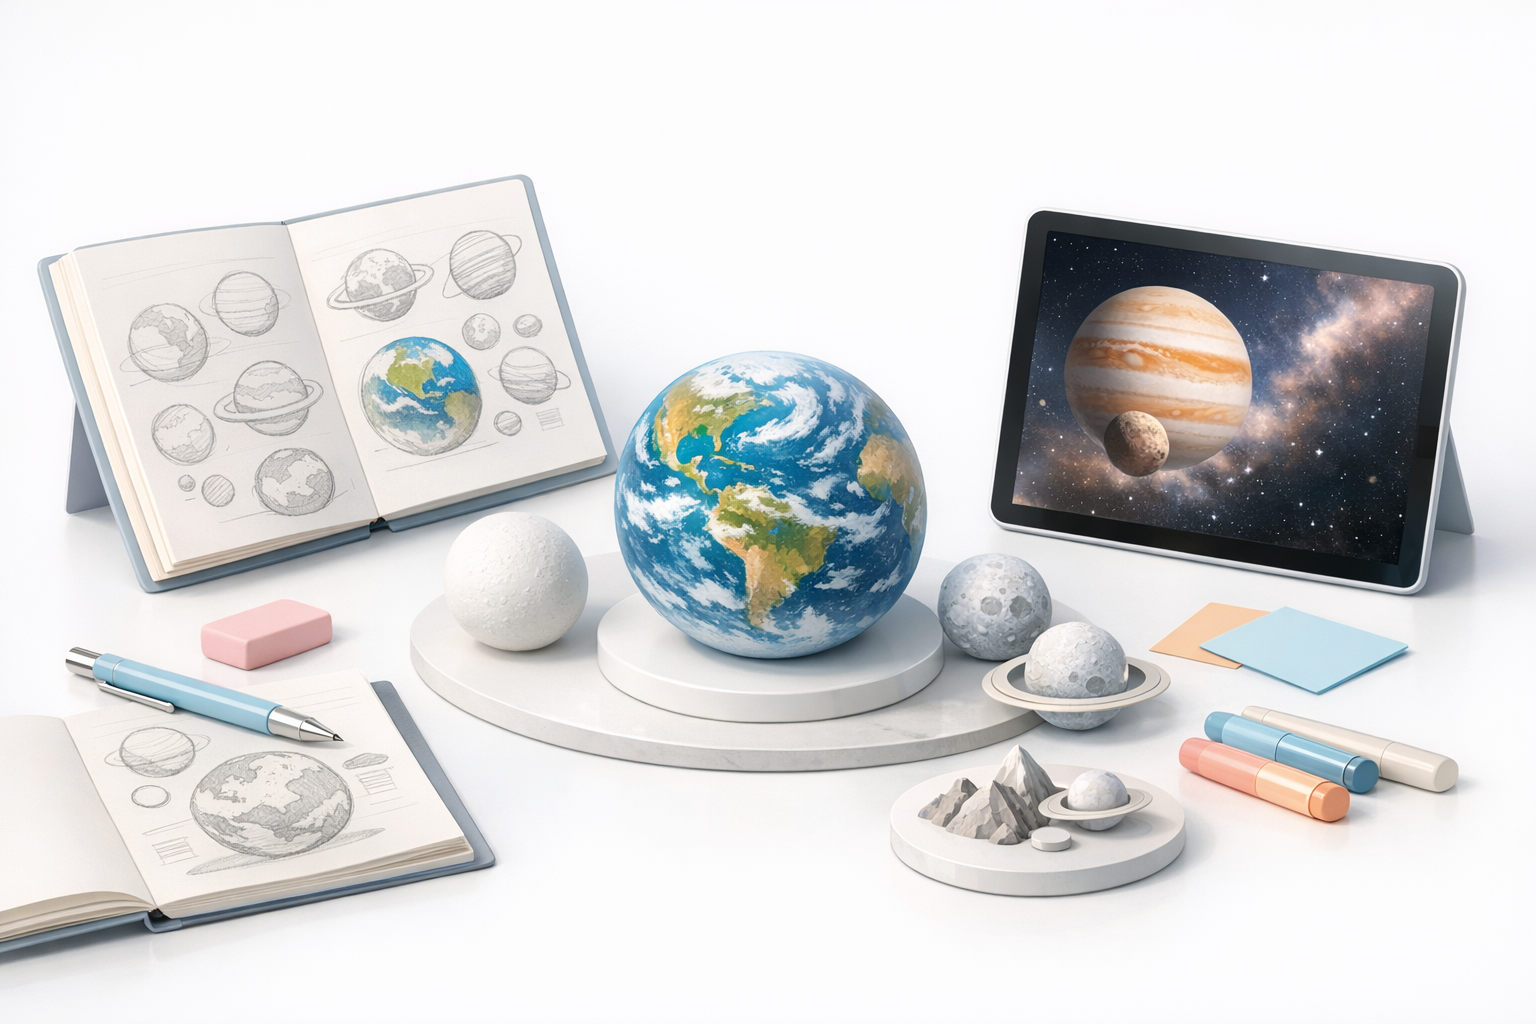
Gathering Reference Images and Inspiration
I build a reference board with real planetary photos (NASA, satellite imagery), concept art, and color palettes. This step is crucial for nailing believable surface features and atmospheric effects.
- Collect top-down and side views for surface and atmospheric cues.
- Note variations in color, cloud patterns, and geological features.
- Use references to avoid generic or repetitive surface details.
Choosing Tools and Setting Up Your Workspace

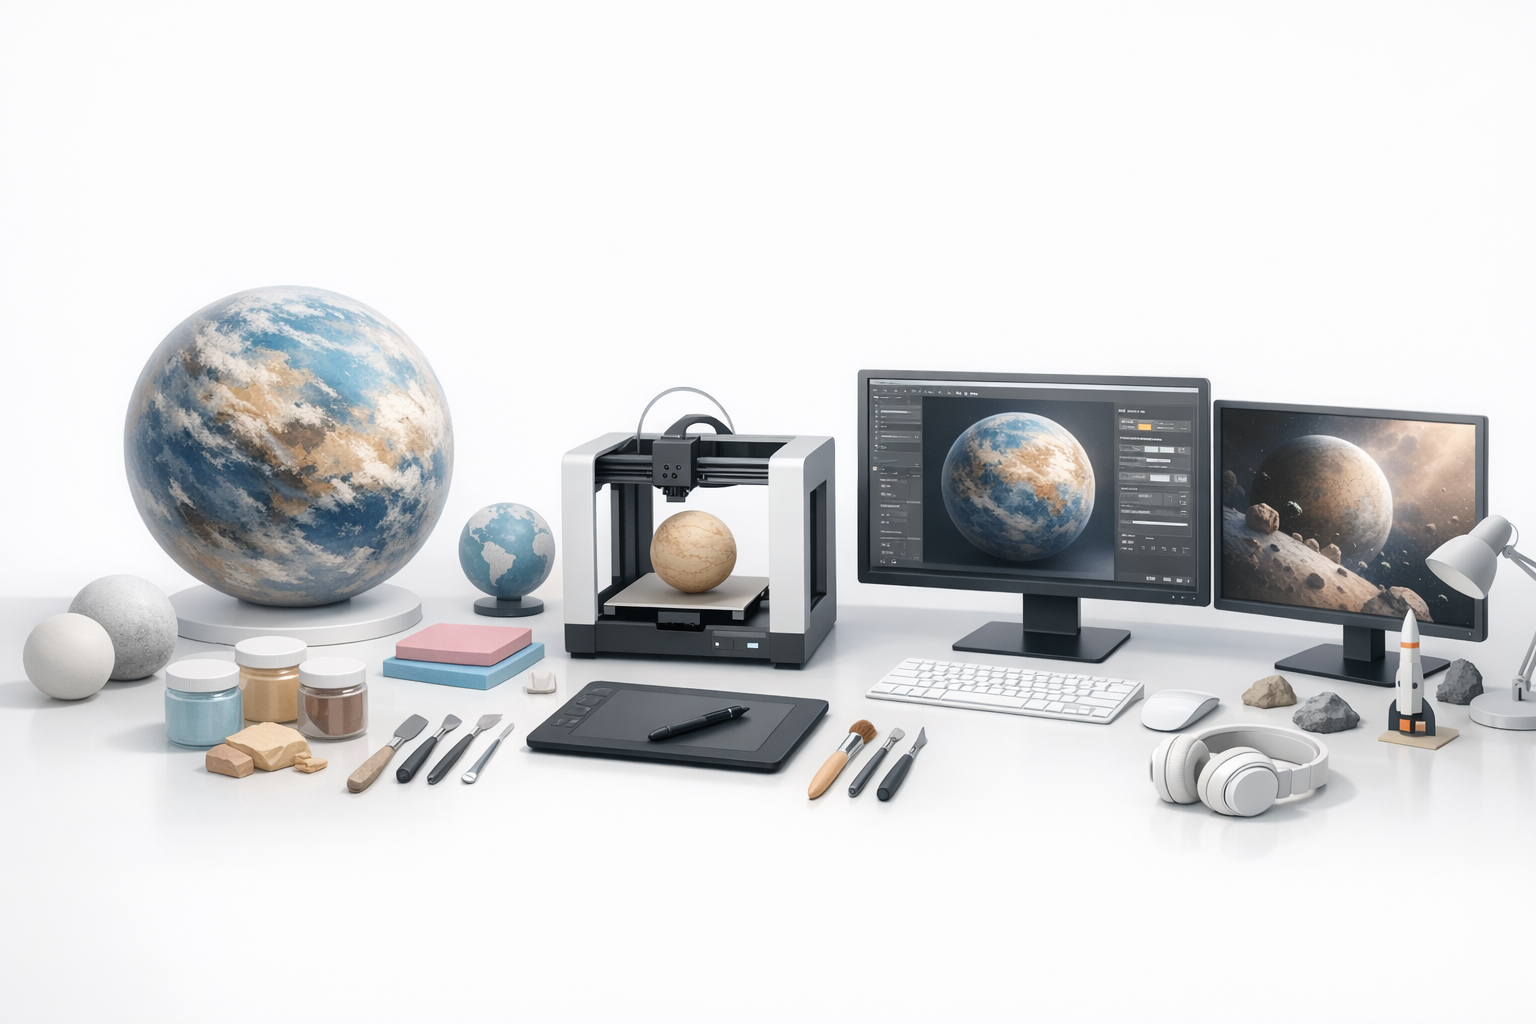
Selecting the Right 3D Software
My go-to toolkit includes a DCC (digital content creation) suite for modeling and texturing, plus AI-powered platforms like Tripo for rapid prototyping and asset generation.
- For fast iterations, I use Tripo to generate base models or detailed surfaces from text prompts or sketches.
- I supplement with traditional modeling tools for fine-tuning and custom tweaks.
Optimizing Your Workflow for Efficiency
I set up my workspace with a clear folder structure, version control, and hotkeys for common actions. Keeping AI tools and manual software open side-by-side lets me quickly swap assets and test ideas.
- Preload reference images and palettes in the viewport.
- Use Tripo’s segmentation and retopology features to save time on cleanup.
- Regularly save incremental versions to avoid data loss.
Step-by-Step: Modeling the Planet Base
Creating the Sphere and Adjusting Scale
I start with a perfect sphere as the planet’s base mesh. In most DCC tools, I set the initial radius and subdivisions based on the desired detail level.
- For high-res, I use more subdivisions; for real-time, I keep it lean.
- In Tripo, I can generate and scale a sphere instantly via text or image input.
Adding Surface Details and Features
Surface realism comes from subtle irregularities—mountain ranges, craters, ocean beds. I use displacement or normal maps for depth without heavy geometry.
- In Tripo, I describe features (e.g., “rocky continents, deep blue oceans, polar ice caps”) to auto-generate base detail.
- I refine with sculpting brushes or custom height maps as needed.
- Avoid over-detailing; focus on features visible at your intended camera distance.
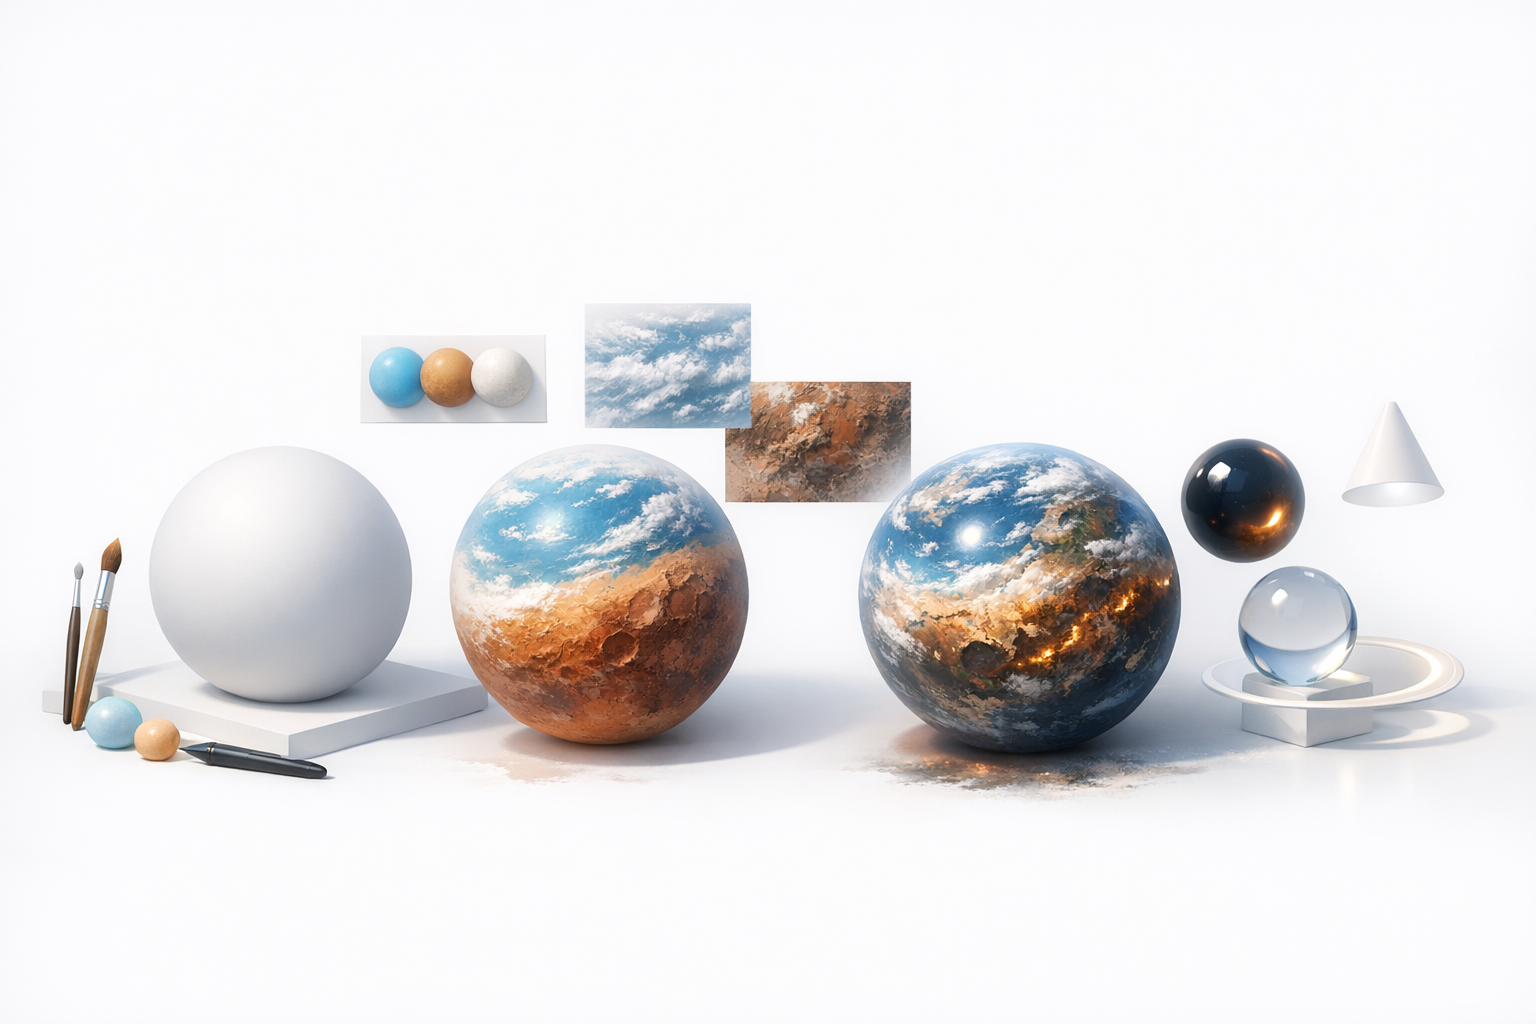
Texturing and Shading for Realism
Applying High-Resolution Textures
High-res textures make or break realism. I use 4K or 8K maps for close-ups, and bake down for games or XR.
- Tripo can auto-generate diffuse, roughness, and normal maps from prompts or sketches.
- For custom looks, I blend satellite imagery with hand-painted layers.
- Always check for visible seams and stretching at the poles.
Using Procedural Materials and Maps
Procedural shaders let me add variation—like cloud cover, weathering, or color gradients—without manual painting.
- Layer procedural noise for continents, oceans, and ice.
- Mix procedural and image-based textures for natural complexity.
- Test materials under different lighting for realistic results.
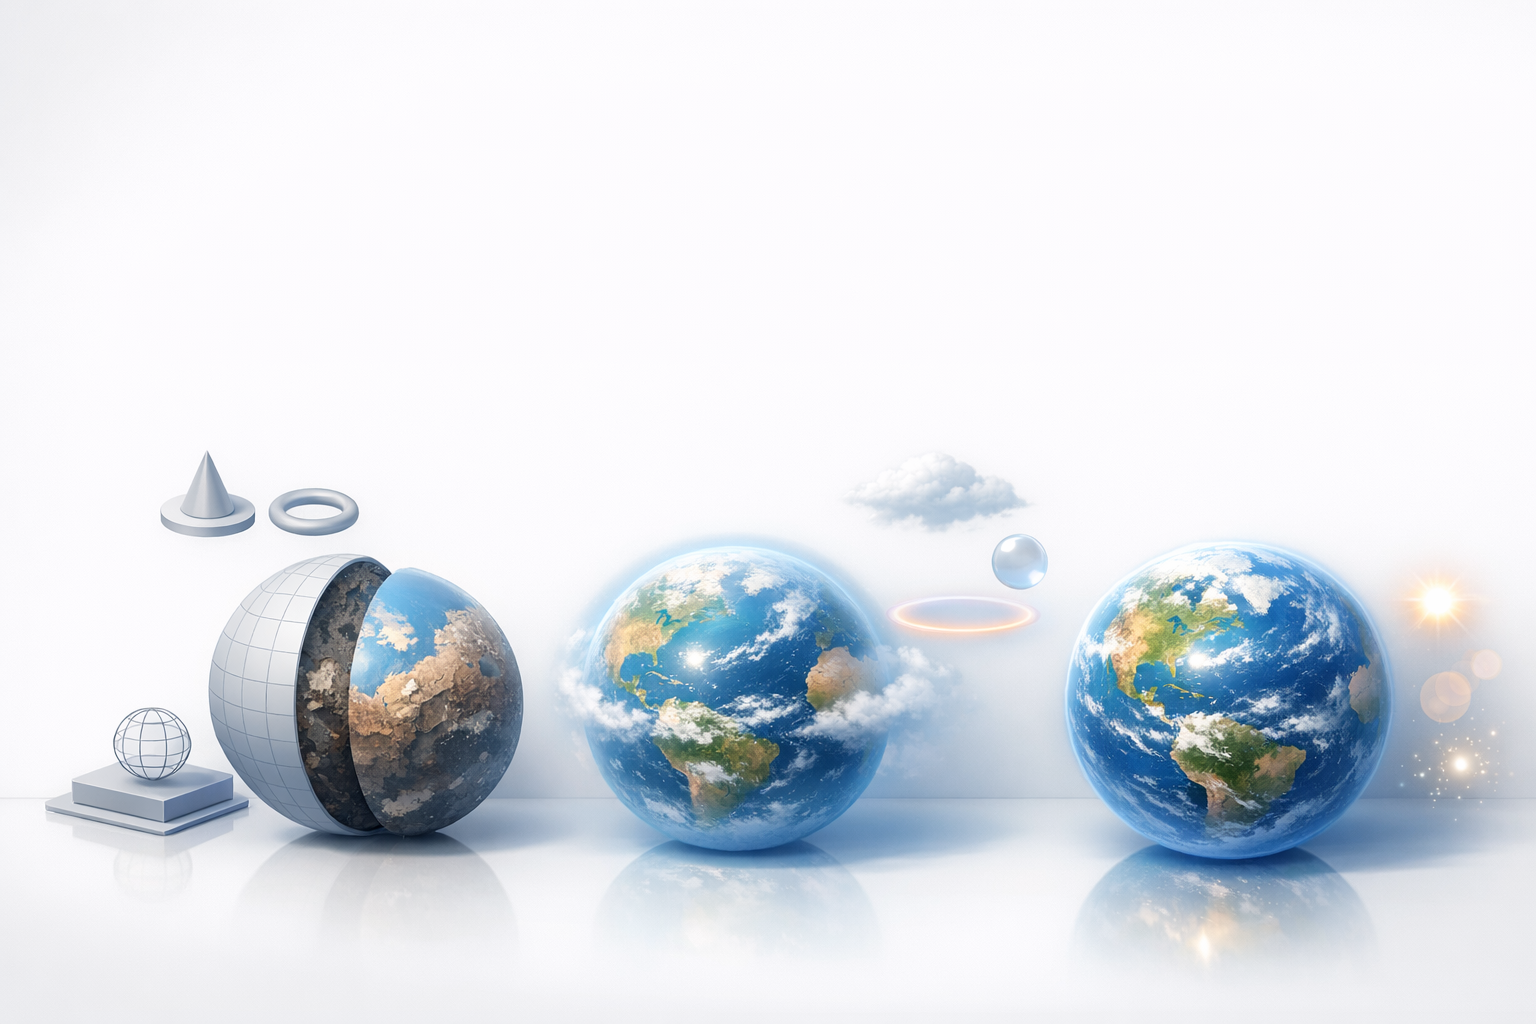
Enhancing with Atmosphere and Effects
Simulating Clouds and Atmospheric Layers
A planet feels alive with atmospheric effects. I add a slightly larger transparent sphere for the atmosphere, using alpha-mapped clouds and volumetric shading.
- In Tripo, I generate cloud layers as separate assets, then composite in my DCC.
- Use soft gradients for haze and limb glow.
- Animate cloud rotation for extra realism in motion.
Lighting Techniques for Planetary Scenes
Lighting sells scale and mood. I use a strong directional light as the “sun,” with rim lighting for atmospheric scattering.
- Place fill lights for subtle surface detail.
- In cinematic shots, add lens flares or bloom for drama.
- Test at different angles to ensure the planet reads well in all views.
Exporting, Sharing, and Using Your 3D Planet

Optimizing for Games, Film, or XR
Export settings depend on your target platform:
- For games/XR: Bake textures, reduce polycount, and use efficient UV layouts.
- For film: Keep high-res geometry and uncompressed maps.
I use Tripo’s export presets to quickly match project requirements.
Export Settings and File Formats
I typically export in FBX or GLB for compatibility, ensuring all maps are packed and named properly.
- Double-check scale and orientation.
- Include separate layers for atmosphere/clouds if needed.
- Test imports in the target engine or viewer before final delivery.
Best Practices and Lessons Learned
Common Pitfalls and How I Avoid Them
- Seam artifacts: Always check UVs and texture seams, especially at the sphere’s poles.
- Over-detailing: Focus detail only where the camera sees it.
- Ignoring scale: Use real-world measurements for believable results.
A thorough QA pass saves headaches later.
Tips for Faster, Higher-Quality Results
- Leverage AI tools for base generation, then refine manually.
- Reuse modular assets (clouds, textures) across projects.
- Automate repetitive tasks (UV unwrapping, baking) wherever possible.
Comparing AI-Powered and Traditional Workflows
When to Use AI Tools for Planet Modeling
I reach for AI platforms like Tripo when I need quick iterations, concept prototypes, or to auto-generate complex surfaces. They’re ideal for:
- Early-stage exploration
- Generating multiple variants
- Speeding up repetitive tasks (retopology, texturing)
Integrating AI with Manual Techniques
The best results come from blending AI outputs with hands-on refinement:
- Use AI for the heavy lifting, then tweak forms, textures, and shaders manually.
- Validate and adjust all auto-generated assets for your specific pipeline.
- Don’t rely solely on AI—your eye for detail and context is irreplaceable.
By combining clear planning, efficient tools, and a hybrid AI/manual workflow, I consistently deliver realistic, production-ready 3D planet models—faster and with fewer headaches.