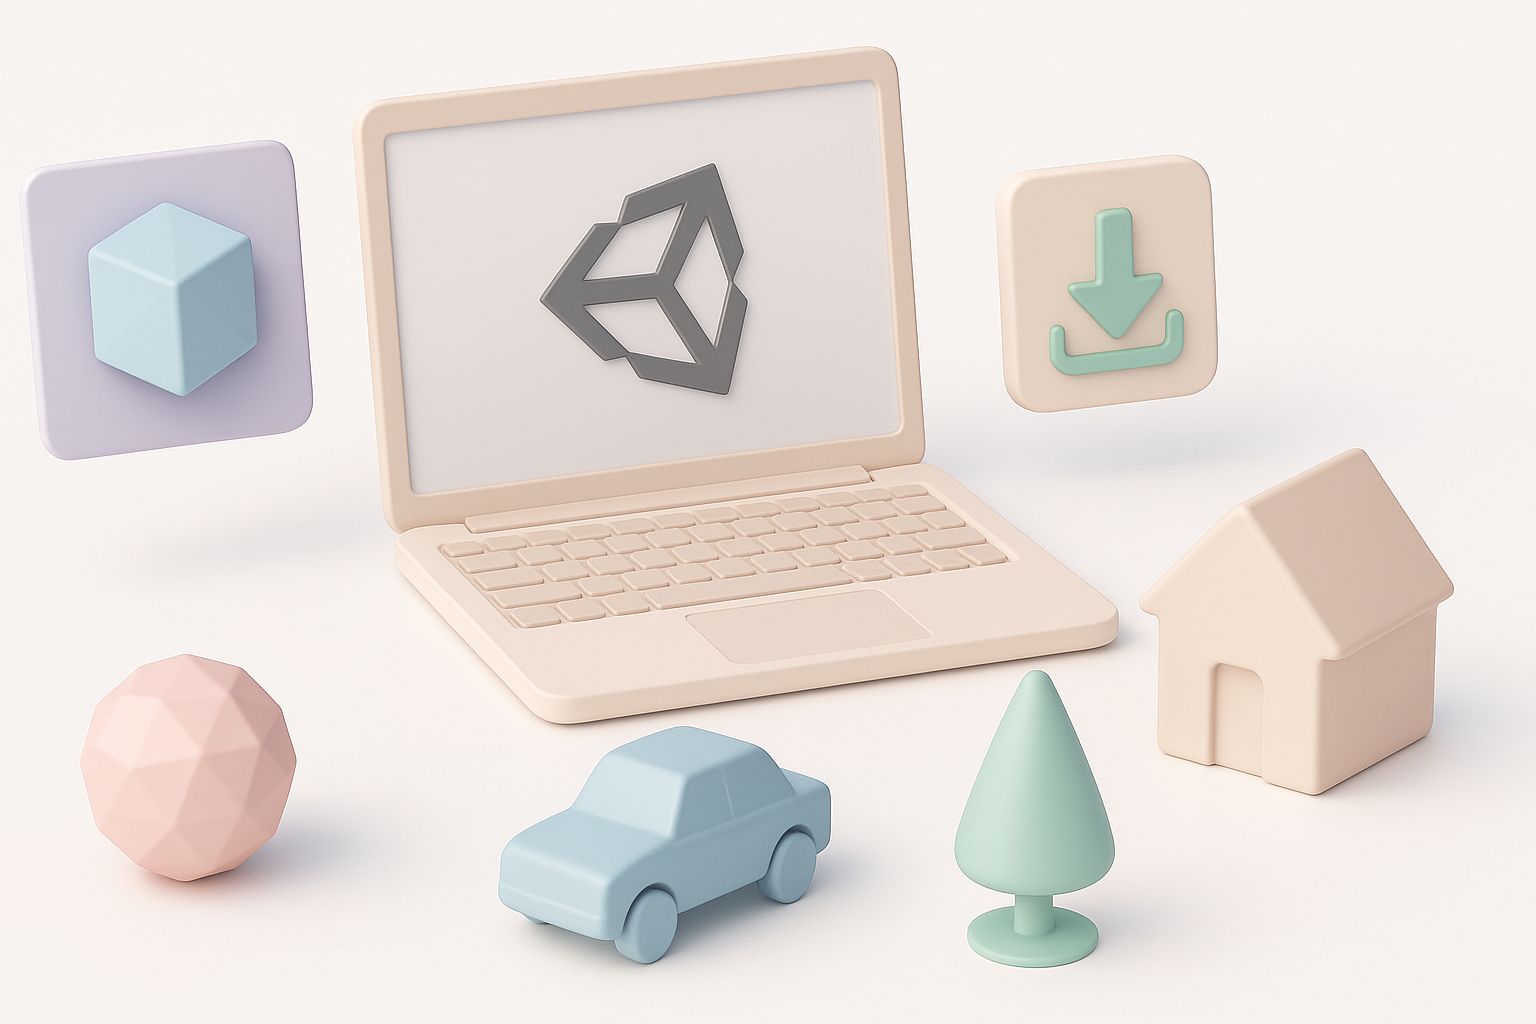
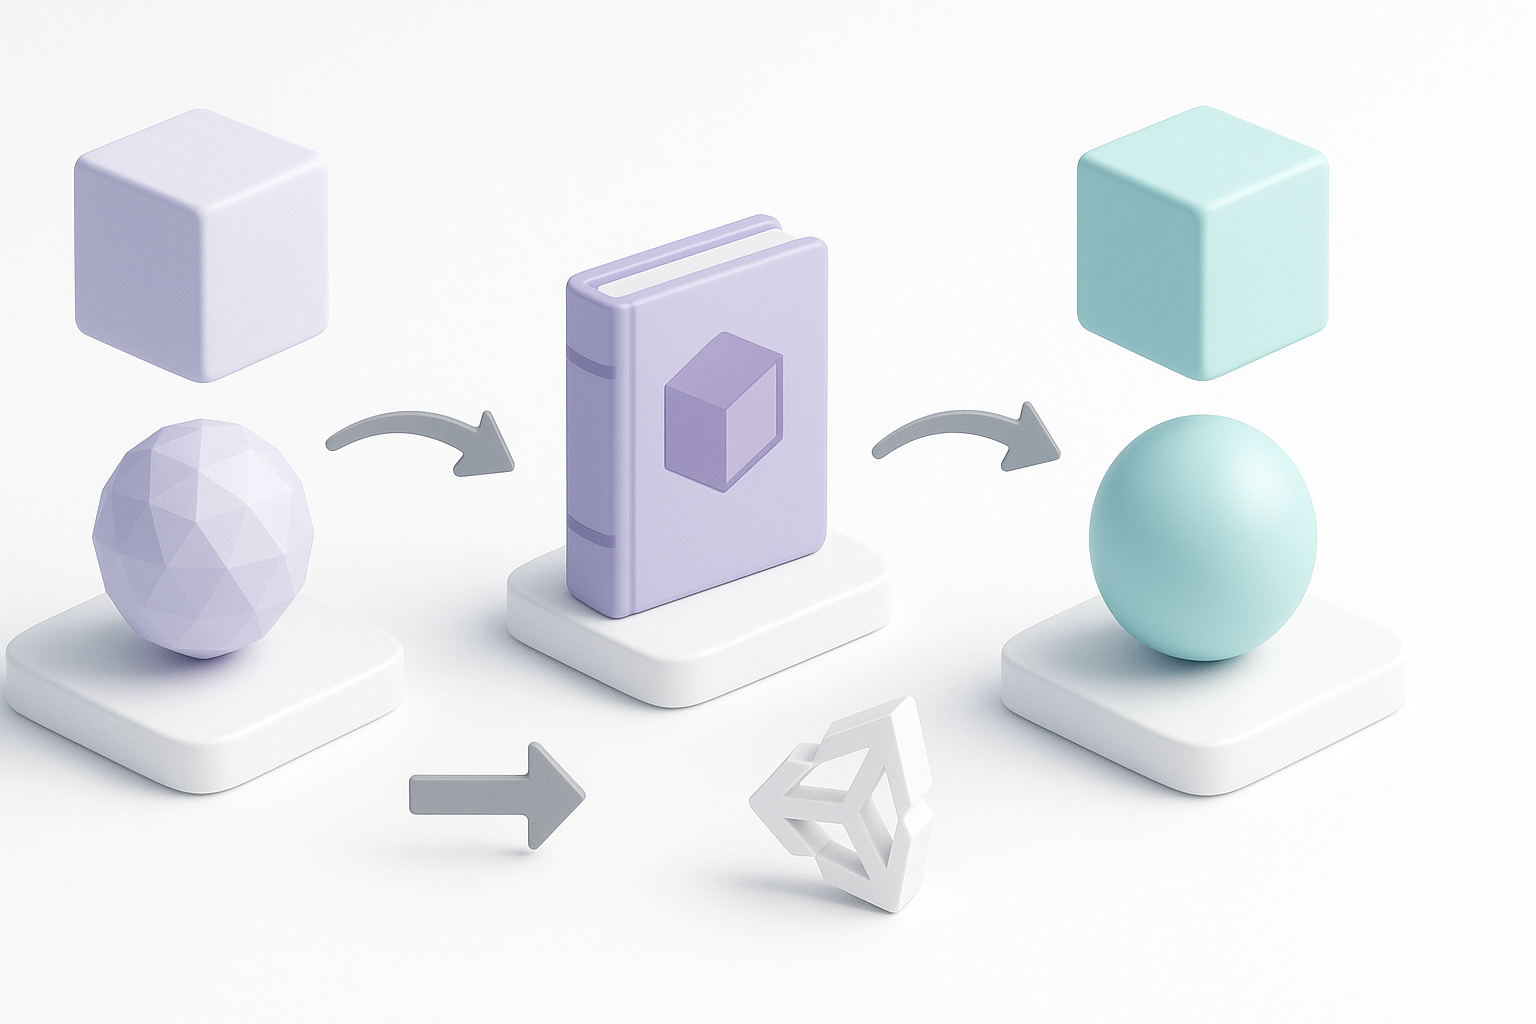
Erstellung und Import von 3D-Modellen für Unity: Experten-Workflow
Als 3D-Profi, der mit Unity arbeitet, habe ich meinen Workflow optimiert, um die Effizienz und die Qualität der Assets zu maximieren. Unabhängig davon, ob ich traditionelle Modellierungstechniken verwende oder KI-gestützte Tools wie Tripo nutze, liegt mein Fokus immer auf produktionsreifen Modellen, die ein ausgewogenes Verhältnis zwischen Performance und visueller Qualität bieten. In diesem Artikel stelle ich meinen bewährten Prozess vor – von der Asset-Auswahl und -Optimierung bis hin zum Import und den abschließenden Prüfungen –, damit du häufige Fehler vermeiden und deine Unity-Projekte beschleunigen kannst. Wenn du Spieleentwickler, Designer oder XR-Creator bist und nach spieltauglichen Ergebnissen strebst, werden dir diese praktischen Einblicke helfen, Assets bereitzustellen, die großartig aussehen und flüssig laufen.
Das Wichtigste auf einen Blick:
- Wähle Assets, die zum Stil und den technischen Anforderungen deines Projekts passen
- Optimiere Geometrie, Topologie und Texturen für Echtzeit-Performance
- Nutze KI-Plattformen, um 3D-Modelle schnell zu erstellen und zu iterieren
- Befolge Best Practices für den Import und behebe häufige Unity-Probleme
- Führe vor dem Deployment immer abschließende Qualitäts- und Performance-Checks durch
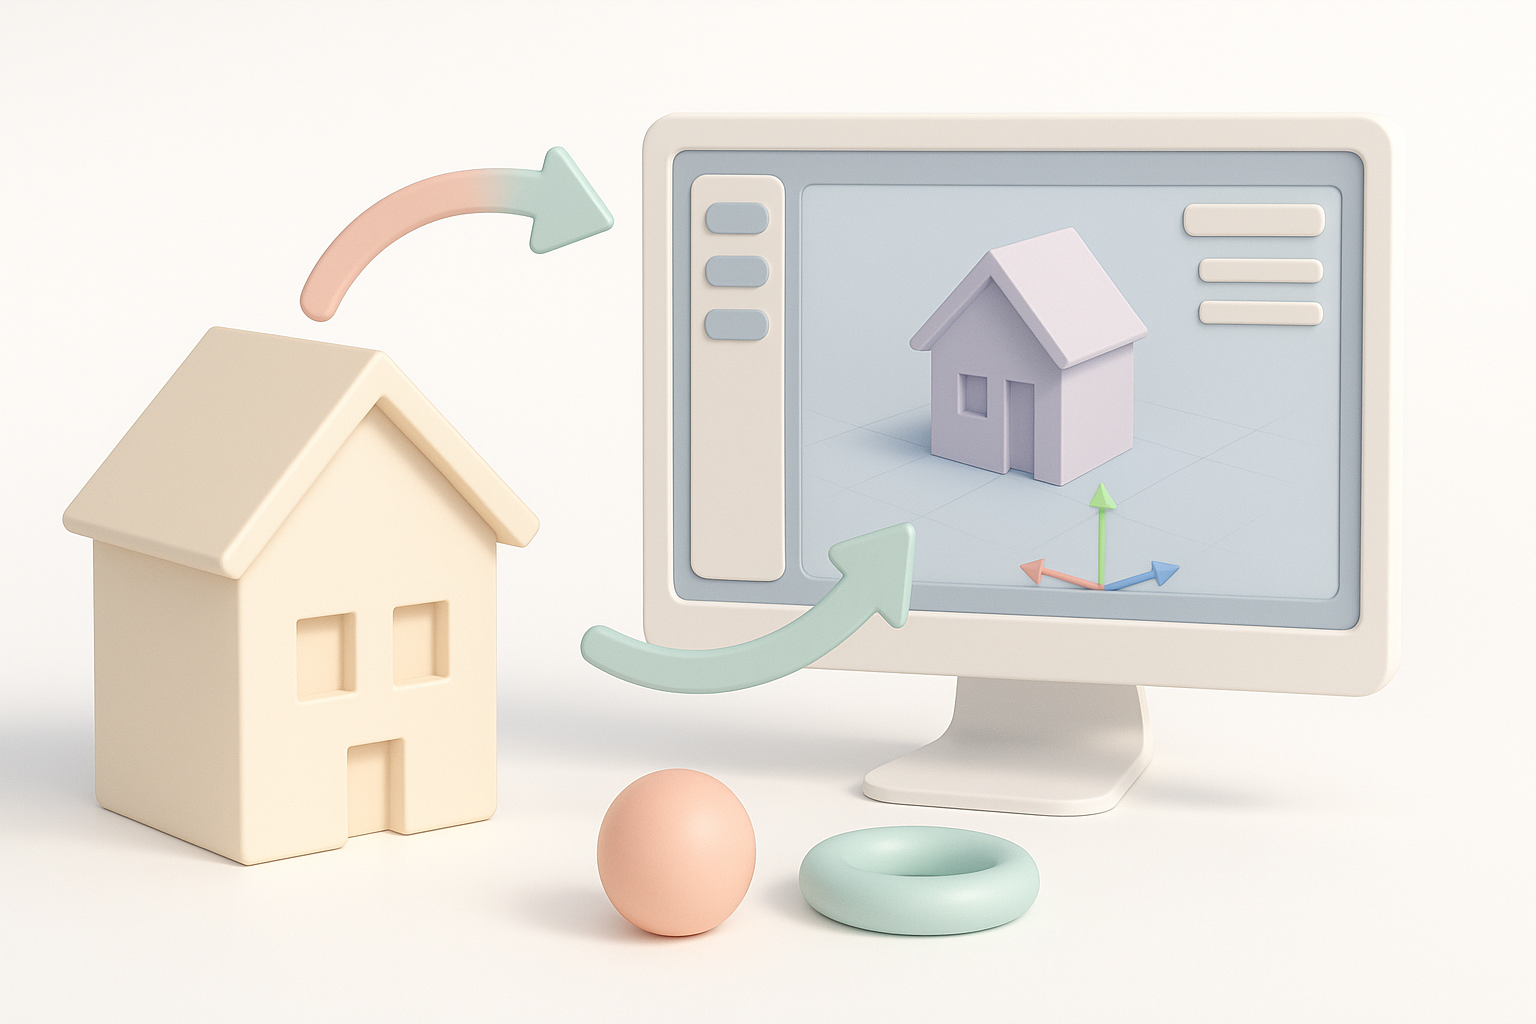
Die richtigen 3D-Modelle für Unity-Projekte auswählen
Worauf ich bei produktionsreifen Assets achte
Bei der Auswahl von 3D-Modellen für Unity bevorzuge ich Assets mit sauberer Topologie, effizienten UVs und einheitlicher Skalierung. Modelle sollten für die Echtzeitnutzung bereit sein – das bedeutet keine übermäßig hohen Polygon-Zahlen oder unordentliche Geometrie. Ich achte auf logische Namenskonventionen und gut organisierte Ordner, was die Integration erheblich erleichtert.
Meine Asset-Checkliste:
- Saubere Quad-basierte Topologie
- Angemessene Polygon-Anzahl (Poly Count) für die Zielplattform
- Korrekte Skalierung und Pivot-Platzierung
- Organisierte Texturen und Materialien
Balance zwischen Qualität, Performance und Stil
Die Balance zwischen visueller Qualität und Performance ist entscheidend. Ich vermeide Modelle mit unnötig hohen Details, es sei denn, das Projekt erfordert es. Für stilisierte Projekte suche ich nach Assets, die zur Art Direction passen und leicht angepasst werden können. Meiner Erfahrung nach ist es besser, mit Modellen mit etwas geringerer Auflösung zu beginnen und diese bei Bedarf zu verbessern, anstatt später überladene Assets optimieren zu müssen.
Häufige Fehler, die man vermeiden sollte:
- Zu dichte Meshes, die die Performance beeinträchtigen
- Uneinheitlicher Stil zwischen den Assets
- Fehlende LODs (Level of Detail) für größere Umgebungen
Best Practices für die Vorbereitung von 3D-Modellen für Unity
Geometrie und Topologie optimieren
Vor dem Import überprüfe ich die Geometrie immer auf Probleme wie Non-Manifold-Edges, N-Gons oder vereinzelte Vertices. Retopologie-Tools (einschließlich der integrierten Funktionen von Tripo) helfen mir, Modelle schnell zu bereinigen. Bei Charakter-Assets stelle ich sicher, dass die Edge-Loops die Animation unterstützen.
Meine Vorbereitungsschritte:
- Unnötige Polygone und verdeckte Flächen entfernen
- Retopologie für ein sauberes, animationsfreundliches Mesh anwenden
- Meshes nach Bedarf für die Anforderungen von Unity zusammenführen oder aufteilen
UV-Mapping und Texturierungs-Tipps aus der Praxis
UVs sollten überlappungsfrei und effizient gepackt sein. Ich nutze Auto-Unwrap-Funktionen in KI-Tools für einfache Assets, bearbeite die UVs bei komplexen Modellen jedoch manuell. Texturen müssen für Unity eine Zweierpotenz-Größe (Power of Two) haben, und ich überprüfe immer die korrekte Materialzuweisung.
UV- und Textur-Checkliste:
- Keine überlappenden UVs
- Effiziente Texturauflösung (4K vermeiden, außer wenn unbedingt nötig)
- Einheitliche Materialbenennung
3D-Modelle in Unity importieren: Schritt für Schritt
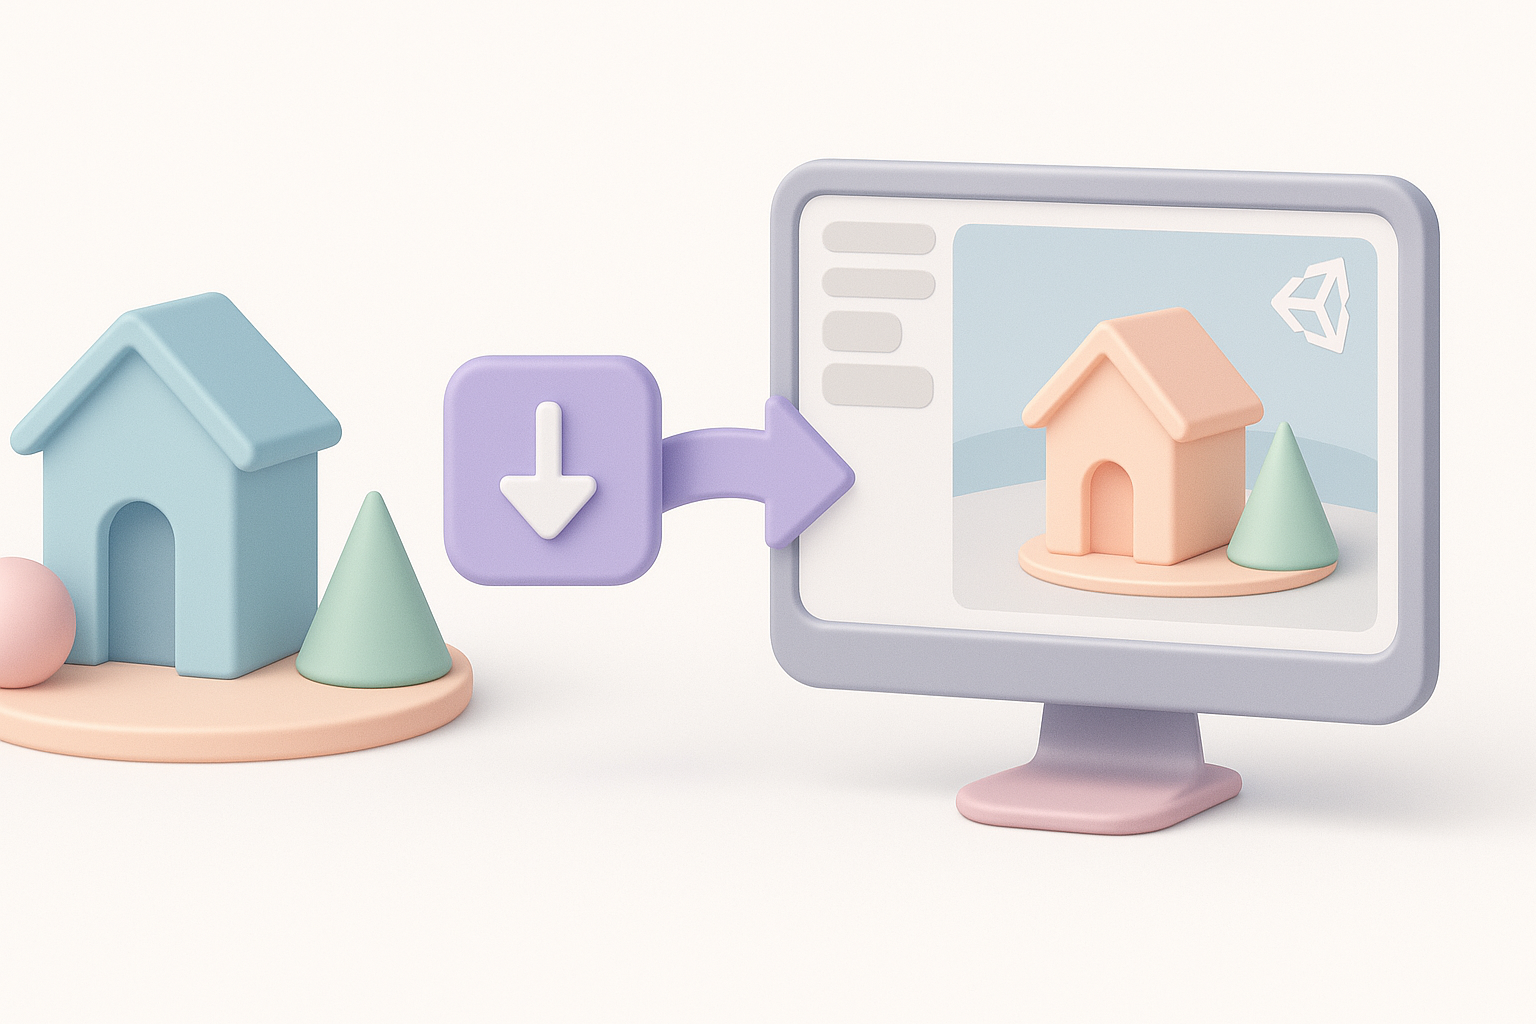
Unterstützte Dateiformate und meine bevorzugten Einstellungen
Unity unterstützt FBX, OBJ, GLTF und weitere Formate. Ich bevorzuge FBX aufgrund der Zuverlässigkeit bei Animationen und Materialien. Beim Exportieren wende ich Transformationen an (Apply Transforms) und trianguliere Meshes. In Unity lege ich die Import-Skalierung fest, aktiviere die Mesh-Komprimierung und weise Materialien zu.
Import-Schritte:
- Modell als FBX exportieren (oder GLTF für leichtgewichtige Assets)
- Transformationen anwenden und triangulieren
- In den Assets-Ordner von Unity ziehen
- Import-Einstellungen für Skalierung, Normalen und Materialien anpassen
Fehlerbehebung bei häufigen Import-Problemen
Häufige Probleme sind fehlende Texturen, falsche Skalierung und fehlerhafte Animationen. Ich überprüfe die Konsole auf Fehler und verifiziere die Texturpfade. Wenn Modelle verzerrt erscheinen, exportiere ich sie erneut mit den korrekten Achseneinstellungen.
Schnelle Lösungen:
- Fehlende Texturen in Unity neu verknüpfen
- Export-Achse überprüfen (Y-up vs. Z-up)
- Rig-Einstellungen der Animation neu anwenden, falls das Skelett fehlerhaft ist
Effizientere 3D-Modellerstellung mit KI-gestützten Tools
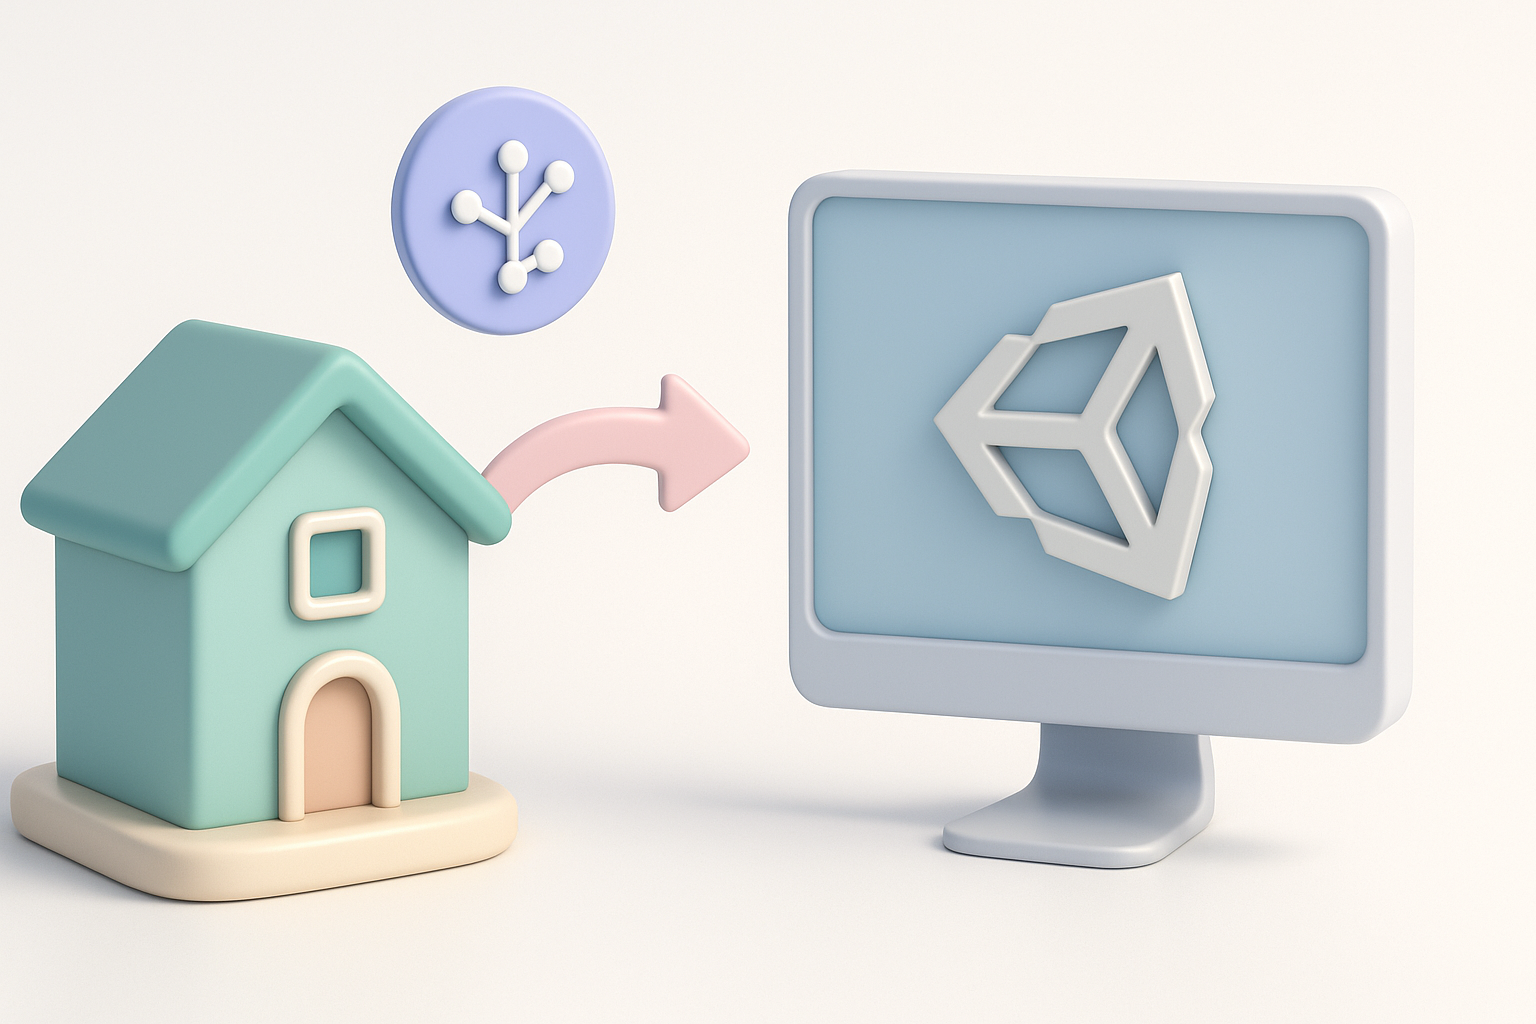
Wie ich KI-Plattformen für die schnelle Asset-Generierung nutze
KI-gestützte Plattformen wie Tripo haben meinen Workflow grundlegend verändert. Ich generiere Basismodelle aus Text oder Skizzen und verfeinere sie dann nach Bedarf. Für schnelles Prototyping verlasse ich mich auf KI für rasche Iterationen und nutze integrierte Segmentierungs- und Retopologie-Tools, um Assets für Unity vorzubereiten.
Tipps für den KI-Workflow:
- Starte mit beschreibenden Prompts für präzise Ergebnisse
- Nutze Auto-Retopologie für saubere Meshes
- Direkt in Unity-freundlichen Formaten exportieren
Integration von KI-generierten Modellen in Unity-Workflows
Ich behandele KI-generierte Assets wie jedes andere Modell: Geometrie, UVs und Texturen prüfen, dann importieren. Manchmal passe ich Materialien an oder füge in Unity eigene Animationen hinzu. Das Auto-Rigging von Tripo spart Zeit bei Charakter-Assets, aber ich überprüfe immer die Bone-Weights (Knochengewichtung) und die Animationskompatibilität.
Integrationsschritte:
- KI-generiertes Mesh und Texturen überprüfen
- In die Unity-Szene importieren und testen
- Materialien anpassen und bei Bedarf LODs hinzufügen
Vergleich zwischen manuellen und automatisierten 3D-Modell-Workflows
Wann ich mich für traditionelle Modellierung entscheide
Für Hero-Assets oder stark stilisierte Charaktere bevorzuge ich nach wie vor die manuelle Modellierung. Sie gibt mir die volle Kontrolle über Topologie, UVs und künstlerische Details. Ich nutze manuelle Workflows, wenn Assets einzigartige Funktionen oder benutzerdefinierte Animationen erfordern.
Vorteile des manuellen Workflows:
- Maximale Kontrolle über Details
- Individuelle UVs und Texturen
- Ideal für einzigartige Assets oder Hauptobjekte
Wo mir KI-Tools Zeit und Mühe sparen
KI-Tools glänzen bei Hintergrund-Requisiten (Props), schnellem Prototyping und der iterativen Asset-Generierung. Ich nutze sie, um Szenen schnell zu füllen oder Ideen zu testen, und verfeinere dann nur das, was wirklich nötig ist. Dieser Ansatz spart Stunden bei repetitiven Aufgaben und ermöglicht es mir, mich auf kreative Entscheidungen zu konzentrieren.
Vorteile des KI-Workflows:
- Schnelle Asset-Generierung für große Szenen
- Automatisierte Retopologie und Texturierung
- Einfache Iteration und Skalierung
Letzte Prüfungen: Sicherstellen, dass die Modelle spieltauglich sind
Testen von Performance und visueller Qualität
Vor dem Deployment teste ich Assets in Unity: Ich überprüfe die Frameraten, inspiziere Materialien unter verschiedenen Lichtbedingungen und spiele Gameplay-Szenarien durch. Ich nutze den Profiler von Unity, um Engpässe aufzuspüren und die Mesh-Komplexität oder Texturauflösung nach Bedarf anzupassen.
Performance-Tipps:
- Auf der Zielplattform testen (PC, Mobile, XR)
- Draw Calls und Speichernutzung überwachen
- Auf visuelle Artefakte im Spiel prüfen
Meine Checkliste vor dem Deployment
Meine abschließende Checkliste stellt sicher, dass jedes Asset bereit für die Produktion ist:
- Saubere Geometrie und optimierte Topologie
- Korrekte UVs und gepackte Texturen
- Korrekte Skalierung, Pivot und Ausrichtung
- Materialien zugewiesen und getestet
- LODs für größere Assets
- Animationen funktionieren wie gewünscht
Fazit:
Ob du nun von Hand modellierst oder KI-Plattformen wie Tripo nutzt – ein disziplinierter Workflow stellt sicher, dass deine Unity-Assets visuell ansprechend, performant und bereit für Echtzeitanwendungen sind. Wenn du diese praktischen Schritte und Checklisten befolgst, wirst du häufige Fehler vermeiden und jedes Mal spieltaugliche Ergebnisse liefern.
