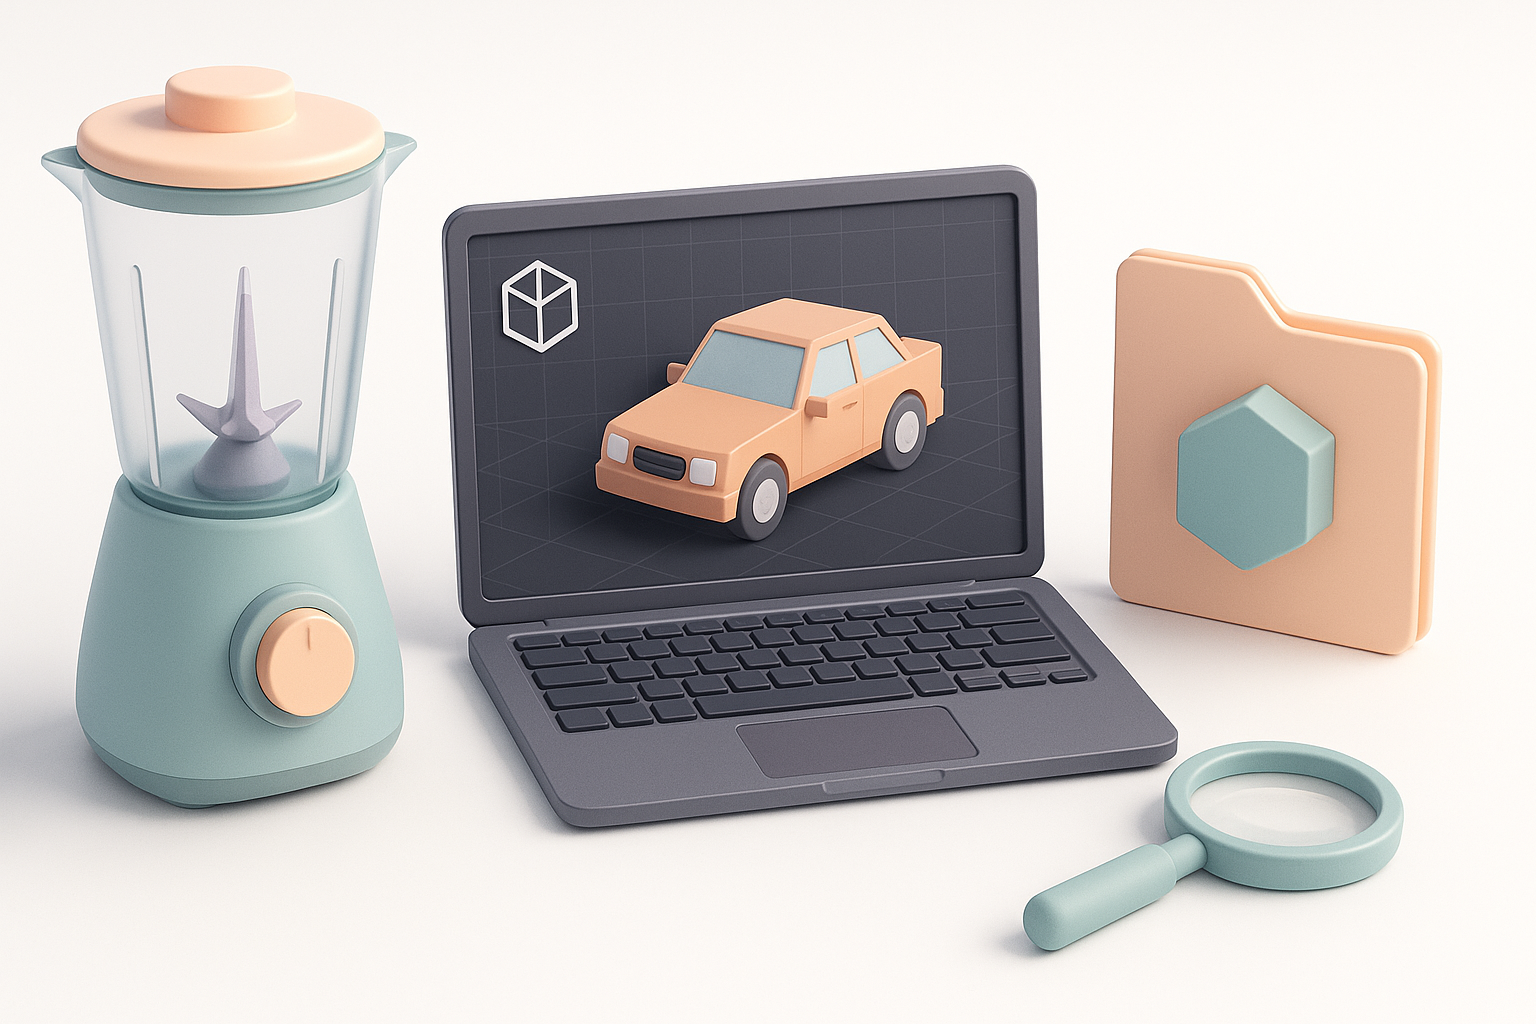
How to Find and Use 3D Models for Blender: Expert Tips
As a 3D artist and technical director, I’ve spent years sourcing, importing, and creating models for Blender across games, animation, and XR. The right workflow can save hours and prevent headaches down the line. In this guide, I’ll share my proven methods for finding quality 3D models, optimizing them for Blender, and using AI-powered tools like Tripo for rapid prototyping. Whether you’re a beginner or a studio pro, these strategies will help you get production-ready results faster.
Key takeaways
- Know where to find reliable free and paid 3D models—and how to vet them.
- Follow a structured import and cleanup workflow to avoid Blender headaches.
- Use AI-powered tools for fast prototyping and complex tasks like retopology.
- Manual modeling still matters for custom work and fine control.
- Always check scale, topology, and naming before export to avoid rework.
- Common pitfalls include bad normals, messy UVs, and missing textures—catch them early.
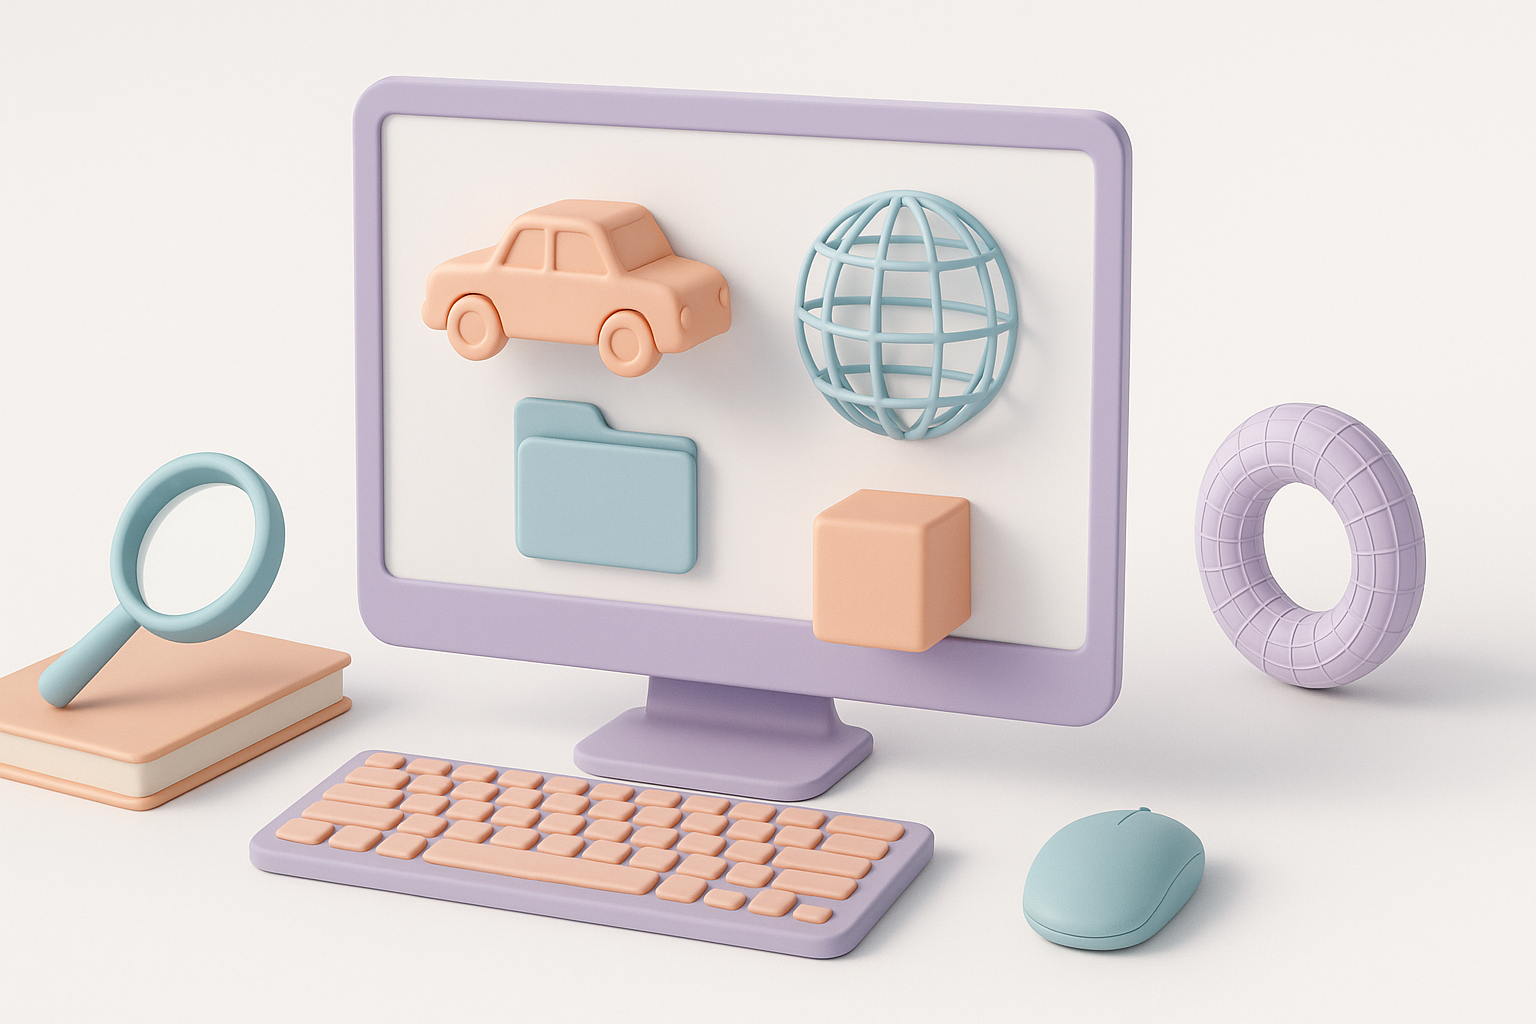
Where to Find Quality 3D Models for Blender
My go-to sources for free and paid models
I rely on a mix of curated libraries and marketplaces for 3D assets. For free models, I usually start with reputable community sites that offer clear licensing and Blender-compatible formats (like .blend, .fbx, or .obj). For paid or higher-quality models, I turn to established marketplaces with good previews, reviews, and clear polycount info.
My checklist for sources:
- Check licensing—avoid legal headaches later.
- Look for Blender-native formats when possible.
- Prioritize sources with user ratings and wireframe previews.
How I evaluate model quality before downloading
Before downloading, I always scrutinize the model’s preview images and technical specs. I look for clean wireframes, logical UV layouts, and reasonable polycounts for my project. If possible, I check for sample renders and read user comments for common issues.
My pre-download quality check:
- Is the topology clean and evenly spaced?
- Are there clear UVs and included textures?
- Is the scale and orientation Blender-friendly (Z-up)?
- Are there any reports of import errors or missing files?
Importing and Optimizing 3D Models in Blender
Step-by-step import workflow I follow
My import process is systematic to avoid surprises:
- Import the model: Use Blender’s
File > Importmenu (choose the correct format). - Isolate the model: Move it to a new collection for easy management.
- Check scale and orientation: Fix units and rotate if needed.
- Inspect materials and textures: Relink missing textures and adjust shaders.
Pro tip: If the model is complex or from an unknown source, I always run Clean Up > Merge by Distance and check for loose geometry.
Best practices for retopology and cleanup
Imported models often need cleanup. I use Blender’s built-in tools for retopology, but for complex assets, I’ll leverage AI-powered solutions like Tripo to automate segmentation and retopo.
Cleanup workflow:
- Remove doubles, stray vertices, and non-manifold edges.
- Use quad remeshing for animation-ready topology.
- Re-unwrap UVs if the originals are messy or overlapping.
- Fix normals (recalculate outside) and check shading.
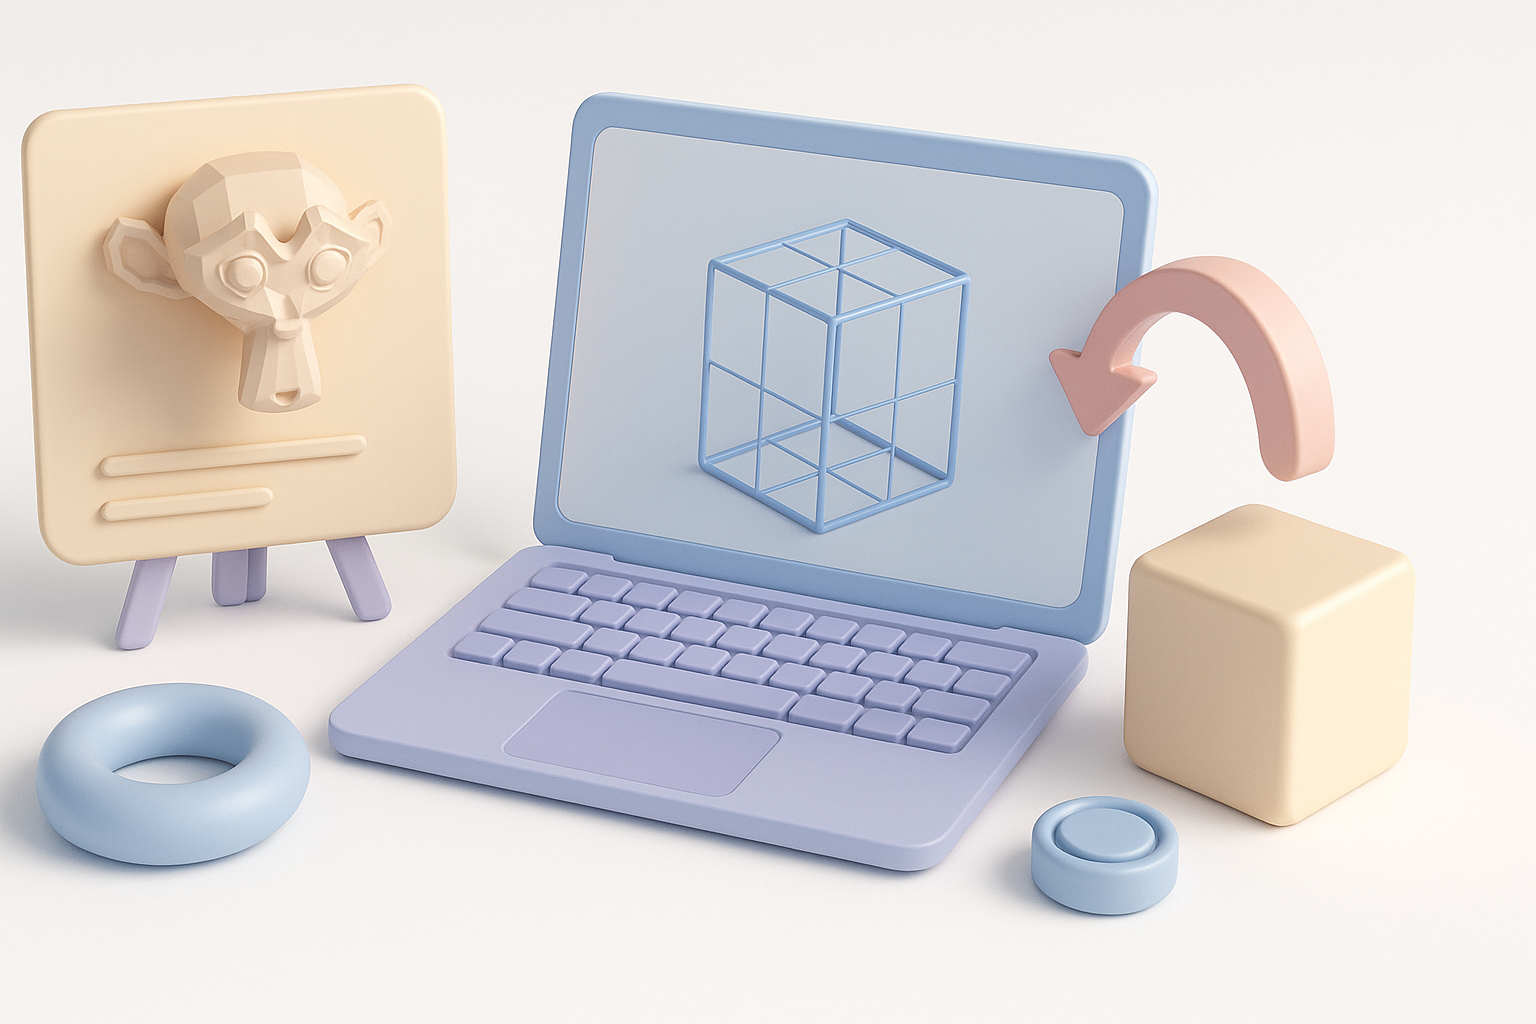
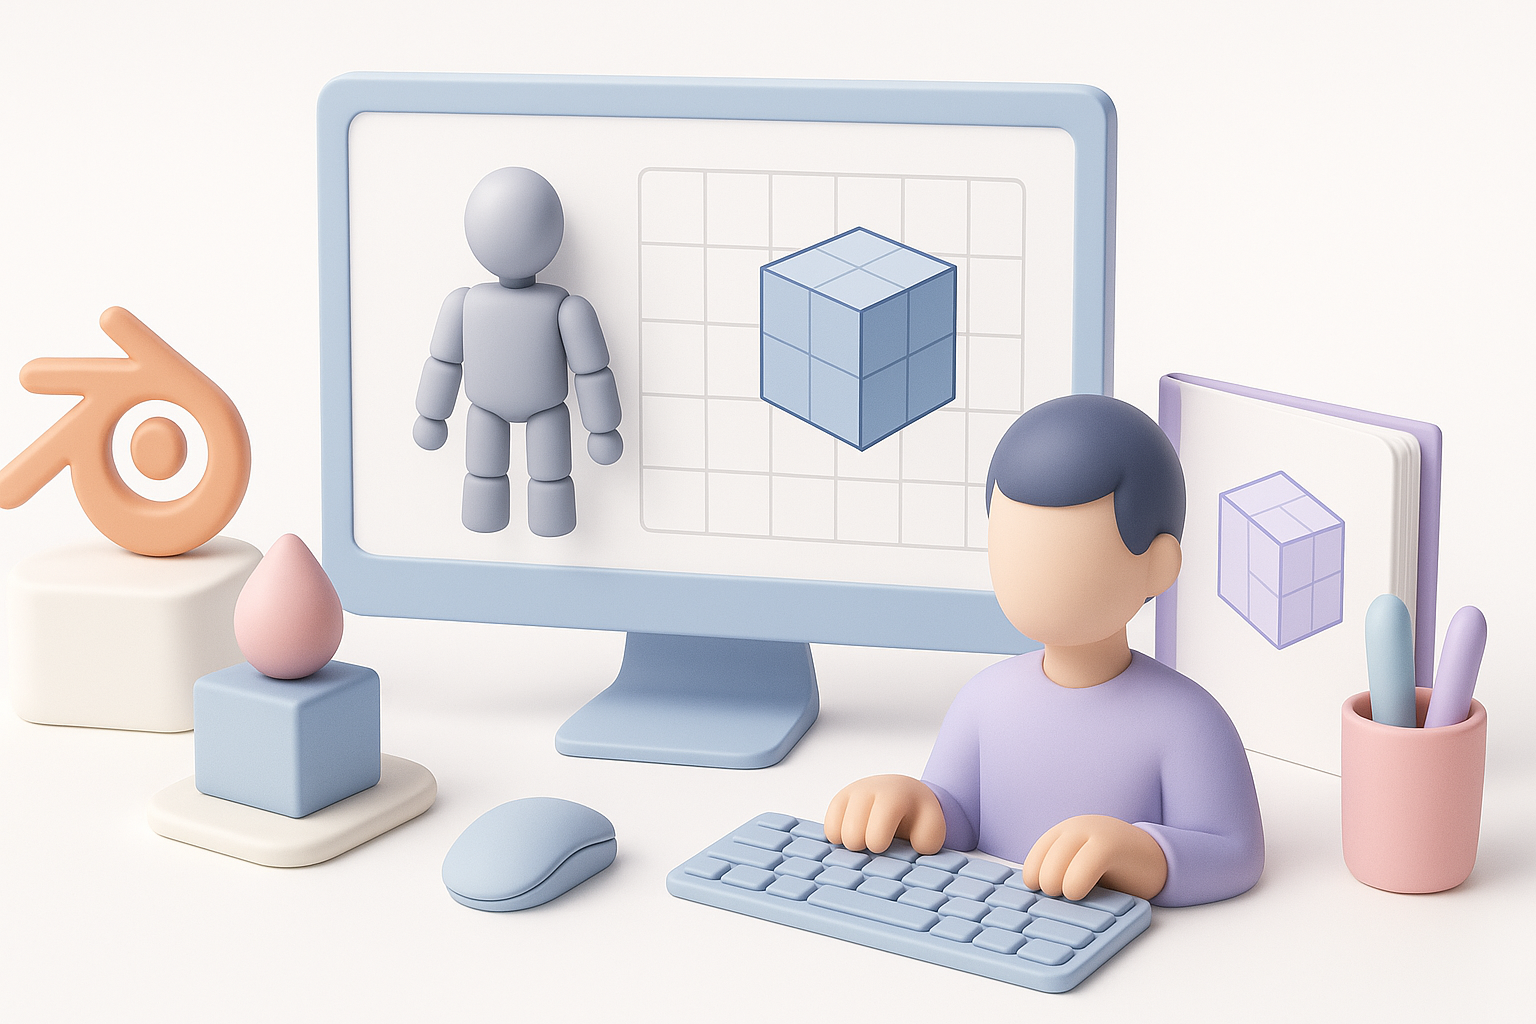
Creating Custom 3D Models: My Workflow
How I use AI-powered tools for rapid prototyping
When I need a quick base mesh or want to explore ideas, I use AI-powered platforms like Tripo. I’ll input a text prompt, sketch, or reference image and get a usable 3D asset within seconds. This is a game-changer for blocking out concepts or populating scenes fast.
Workflow tips:
- Use clear, descriptive prompts for best results.
- Always review and clean up AI-generated meshes.
- Combine AI output with manual sculpting for custom details.
Tips for texturing, rigging, and animation
Texturing starts with solid UVs. I use Blender’s UV tools for adjustments, and bake maps as needed. For rigging, I prefer auto-rigging tools for simple characters, but hand-rig for complex needs. Animation is smoother with clean weights and well-named bones.
My checklist:
- Check for overlapping UVs before texturing.
- Use PBR textures for realism; test in Eevee and Cycles.
- For rigging, verify bone orientation and test deformations early.
Comparing Manual and AI-Assisted 3D Model Creation
When I choose traditional modeling techniques
I default to manual modeling for hero assets, highly specific details, or when I need full control over topology and edge flow. Sculpting and box modeling are still unmatched for unique characters or props.
Manual modeling is best when:
- Precise topology is required (e.g., for deformation).
- The design is iterative and needs frequent tweaks.
- Artistic style or hand-crafted details matter.
Scenarios where AI tools save me time
AI tools shine for background assets, quick iterations, and prototyping. When deadlines are tight or I need to generate lots of variations, AI-powered solutions like Tripo cut hours from my workflow.
AI tools excel at:
- Blocking out environments or crowds.
- Generating base meshes from text or sketches.
- Automating repetitive cleanup tasks (e.g., retopology).
Best Practices for Production-Ready Blender Models
What I check before final export
Before exporting, I run through a final checklist:
- Apply all transforms (
Ctrl+Ain Blender). - Ensure clean topology (no ngons, stray verts).
- Verify UVs are non-overlapping and properly scaled.
- Pack all textures and relink missing files.
- Name objects, materials, and bones logically.
Export tip: Use the format best suited for your pipeline—.fbx for engines, .obj for general use, .blend for Blender-native workflows.
Common pitfalls and how I avoid them
Some issues crop up again and again. I’ve learned to catch these before they become bigger problems:
- Bad normals: Always recalculate outside and check shading.
- Missing textures: Pack resources before sharing or exporting.
- Wrong scale/orientation: Set up a reference cube and use consistent units.
- Messy hierarchy/naming: Clean up the Outliner for easy team handoff.
Final advice: A few extra minutes on cleanup and export saves hours of troubleshooting later—especially when collaborating or moving assets between tools.
By following these workflows and leveraging both manual and AI-powered tools, I consistently deliver production-ready 3D assets in Blender—without the usual headaches.