3D Modeling for 3D Printing: Expert Workflow & Best Practices
Creating reliable, print-ready 3D models takes more than just artistic skill—it demands a clear understanding of 3D printing requirements, careful preparation, and the right tools. Over years of hands-on experience, I’ve learned that the workflow for 3D printing differs significantly from modeling for games or animation. This article outlines my proven process, practical tips, and lessons learned, aimed at creators, engineers, and anyone serious about getting high-quality prints without wasted time or material.
Key takeaways:
- 3D printing requires watertight, manifold geometry—unlike models for digital-only use.
- Choosing the right file format and printer compatibility is crucial.
- AI-powered tools like Tripo streamline modeling and prep, but traditional skills still matter.
- Proper scale, wall thickness, and support planning prevent print failures.
- Export and slicing settings can make or break a print.
- Learning from failed prints is essential for improving your workflow.
Understanding 3D Printing Requirements
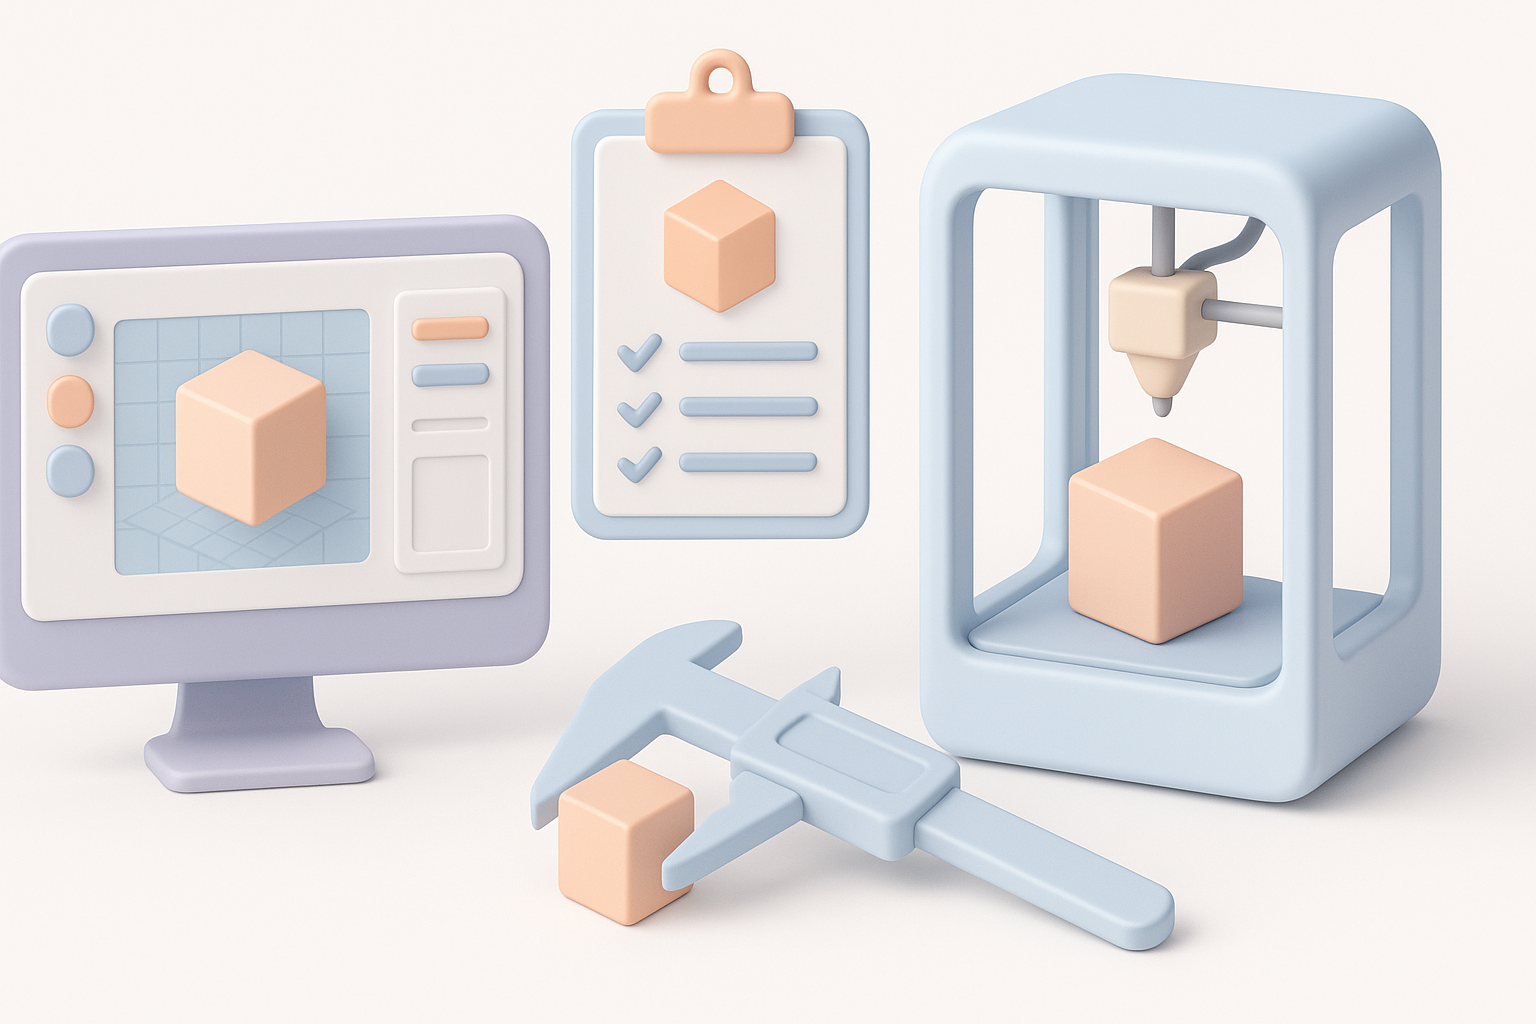
Key differences between 3D modeling for printing vs. other uses
When modeling for 3D printing, I focus on creating geometry that’s physically manufacturable. Unlike models for games or VR, which can have open edges and non-manifold meshes, print-ready models must be watertight—meaning every surface is closed, with no gaps or holes. I also avoid overlapping geometry and ensure all faces are correctly oriented (normals facing outward).
Checklist:
- All geometry is closed and manifold.
- No overlapping or intersecting meshes.
- No stray edges or non-planar faces.
Common file formats and printer compatibility
Most printers accept STL and OBJ files, but I always check the printer’s documentation. STL is the standard for most FDM and SLA printers, while OBJ is useful when color or material data is needed. Some printers and slicers require specialized formats, so I verify compatibility before exporting.
Tips:
- Use STL for basic geometry; OBJ for color/textured prints.
- Check your slicer’s supported formats before exporting.
- Avoid unnecessary complexity in exported files.
My Step-by-Step 3D Modeling Workflow
Concept development and reference gathering
I start every project by gathering clear references—photos, sketches, or concept art. This helps me visualize scale, detail, and function. For complex parts, I sketch orthographic views to guide proportions.
Process:
- Collect reference images or sketches.
- Define the model’s intended use and required detail.
- Plan for print orientation and assembly if needed.
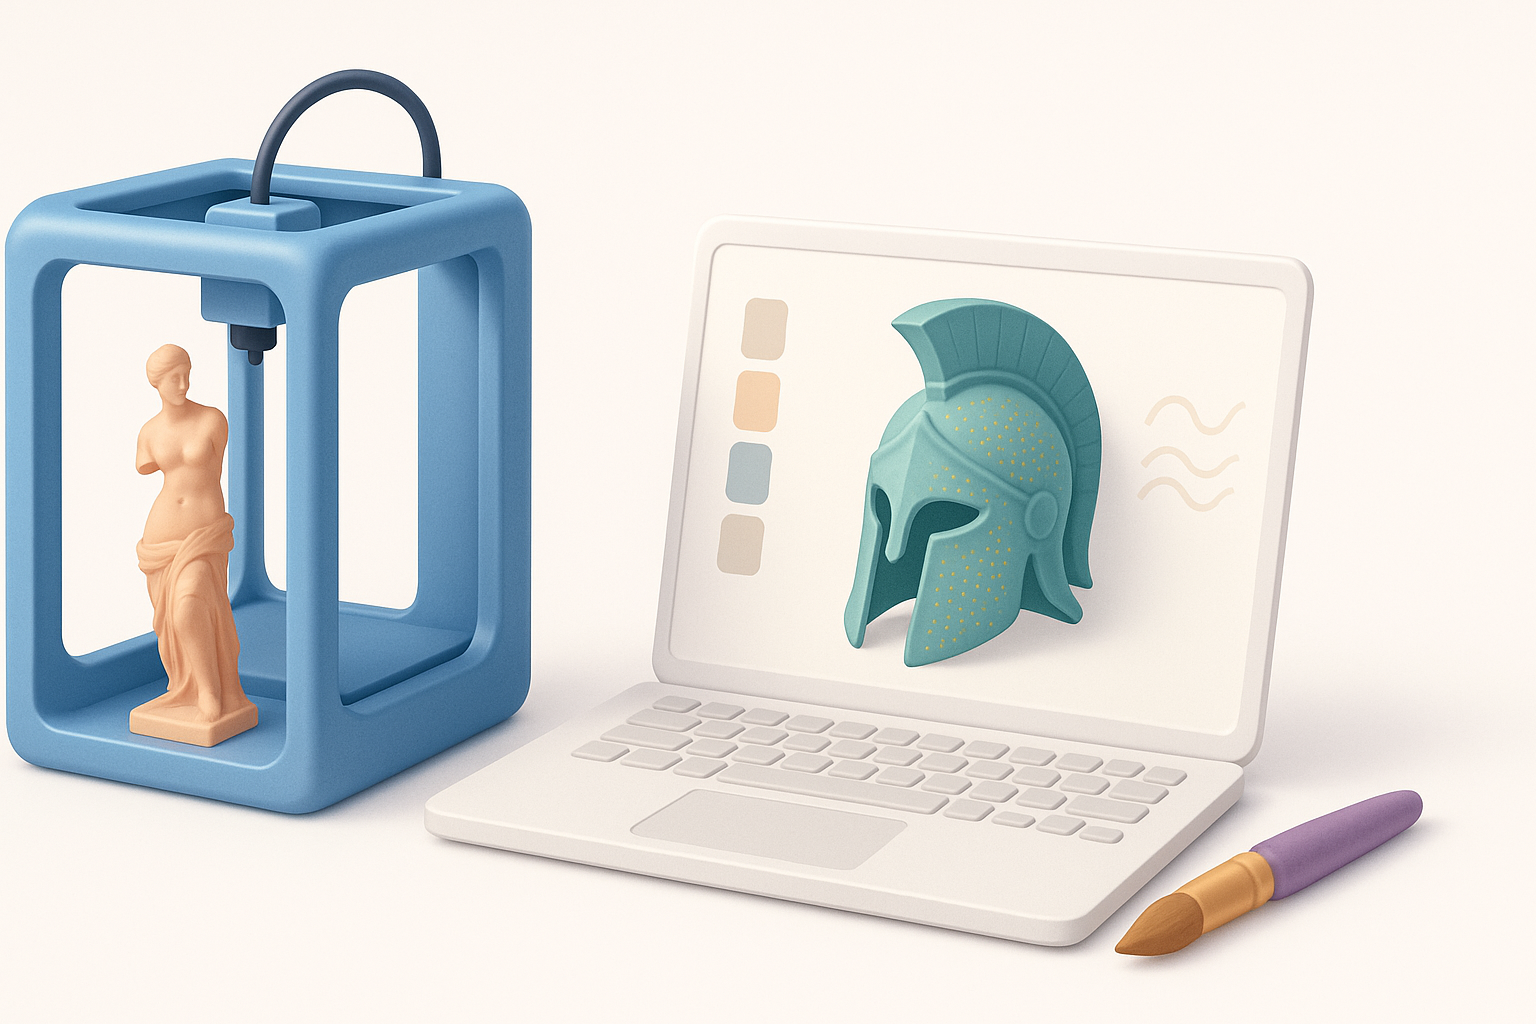
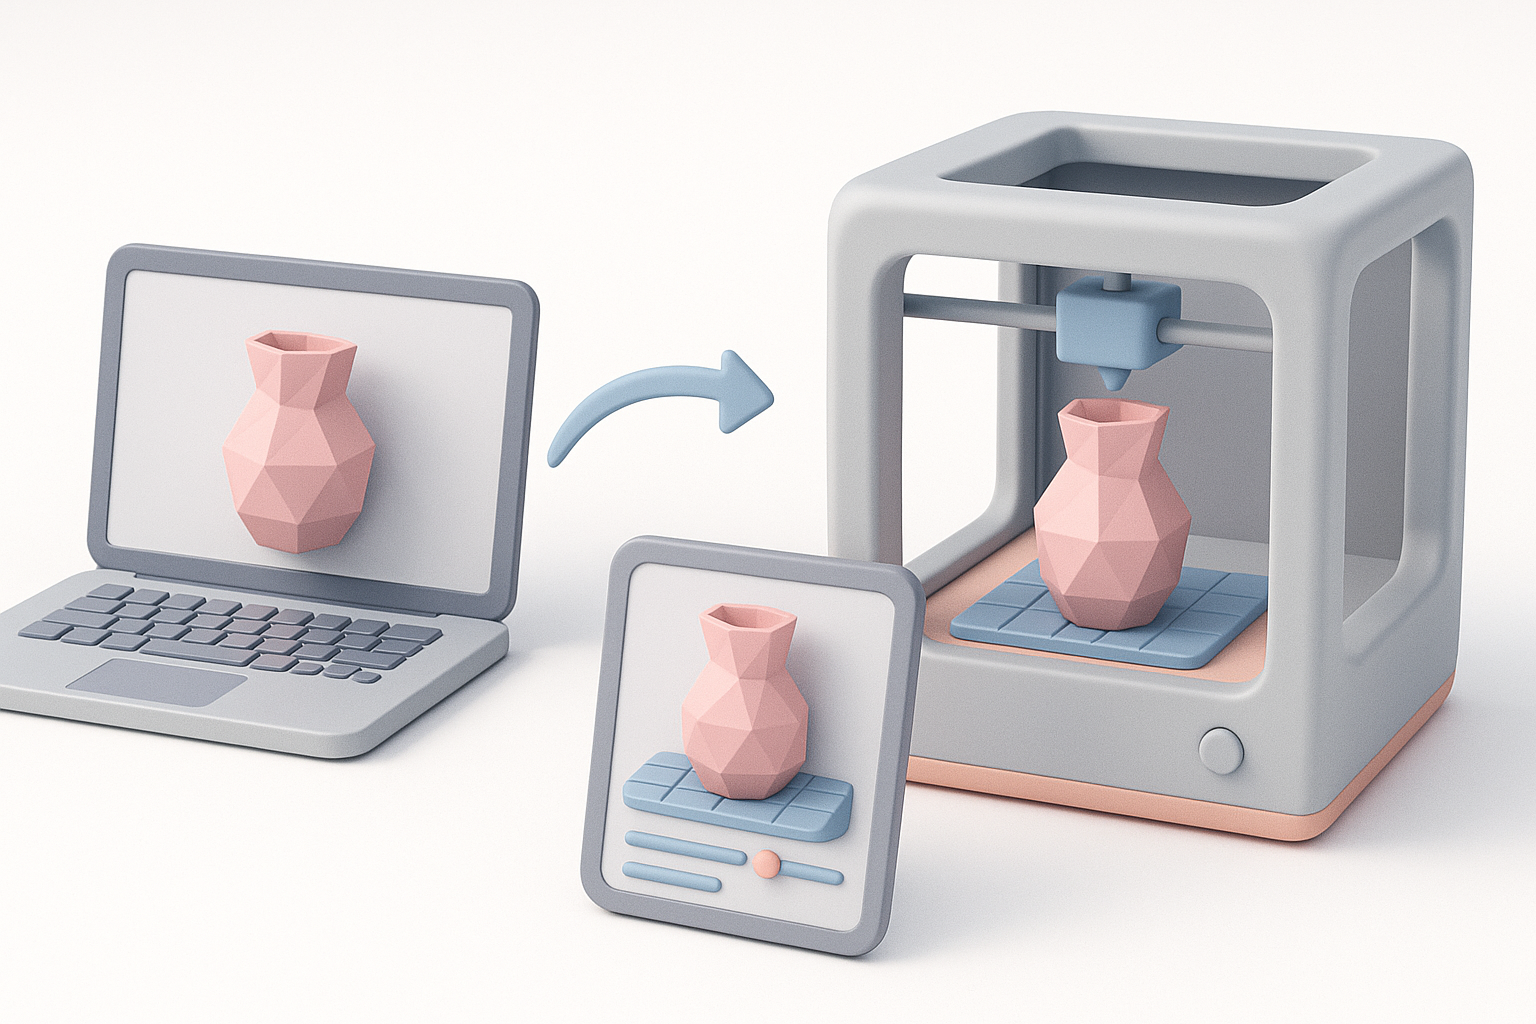
Choosing the right modeling tools and software
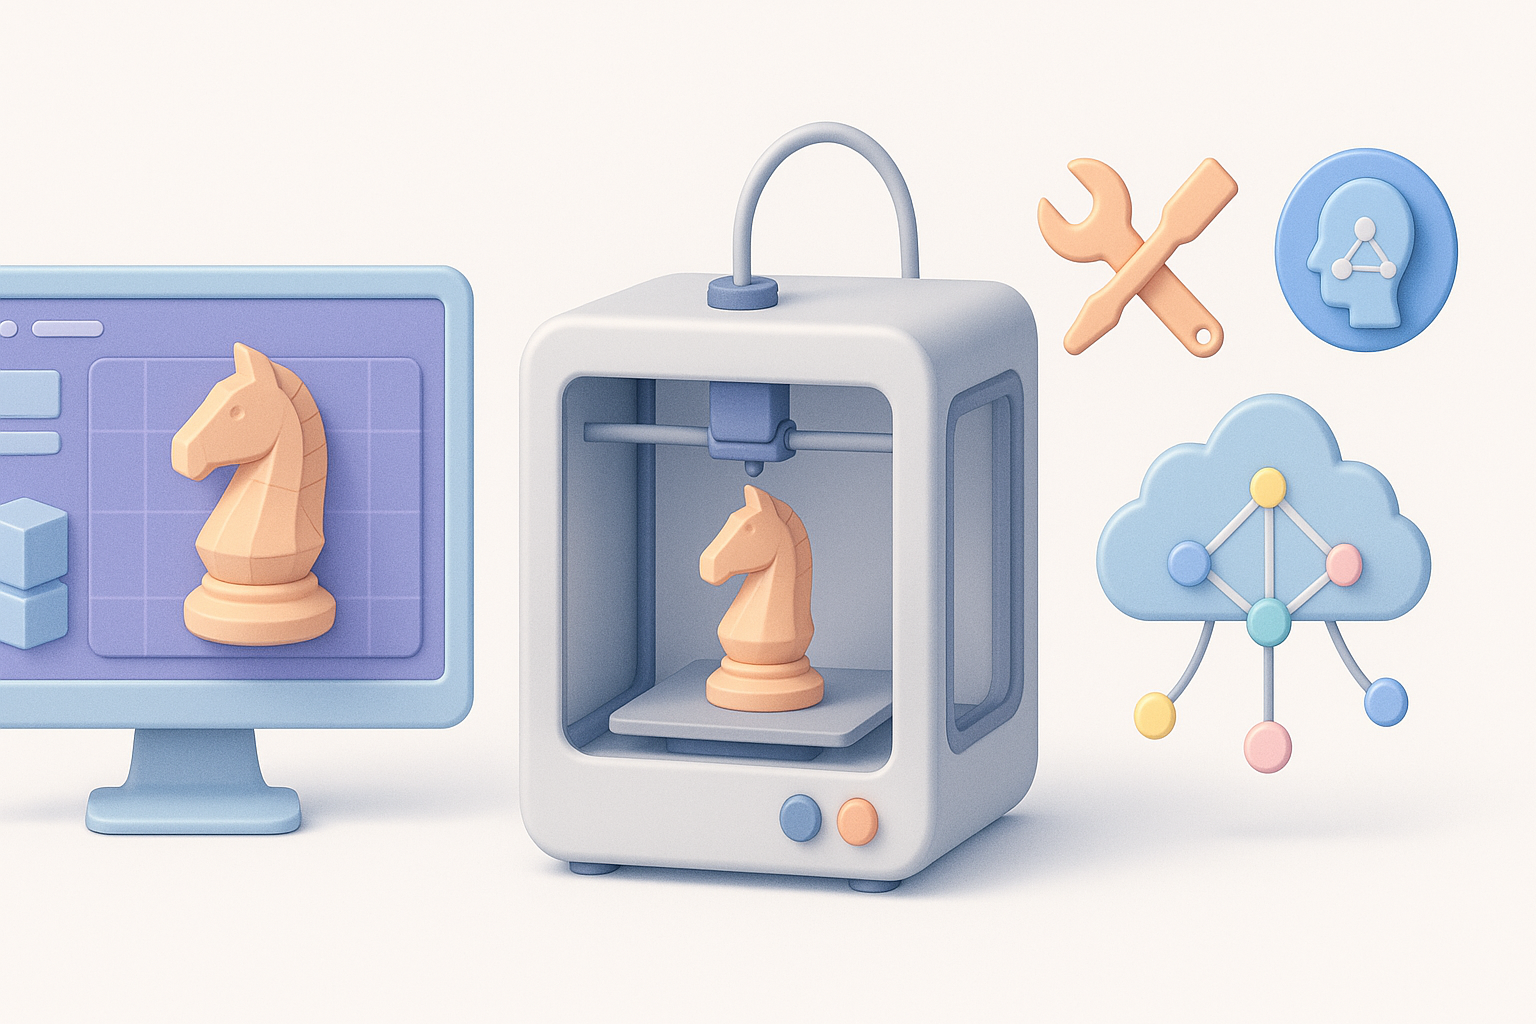
I use a mix of traditional modeling software and AI-powered platforms like Tripo, depending on project needs. For organic shapes or rapid prototyping, Tripo’s text/image-to-3D workflow saves hours. For precise engineering parts, I rely on CAD tools for control.
Tips:
- Use AI tools for quick concept generation and iterative changes.
- Switch to manual modeling for fine mechanical details.
- Always check for model cleanliness before moving to prep.
Preparing Models for Print Success
Ensuring watertight geometry and manifold meshes
Before exporting, I run mesh checks to ensure there are no holes or non-manifold edges. Most modeling tools have built-in analysis functions, and Tripo’s segmentation helps identify problem areas quickly.
Steps:
- Use mesh analysis tools to check for holes.
- Repair geometry using automatic or manual fixes.
- Double-check normals and remove stray vertices.
Optimizing scale, wall thickness, and supports
Proper scale and wall thickness are critical. I set wall thickness based on printer specs (usually 1–2mm for FDM, 0.5–1mm for SLA). For overhangs, I plan support structures or adjust geometry to minimize them.
Pitfalls:
- Walls too thin = fragile prints.
- Walls too thick = wasted material and print time.
- Forgetting supports = failed prints.
Checklist:
- Adjust scale to fit printer build volume.
- Set minimum wall thickness for chosen material.
- Design or plan for supports as needed.
Texturing and Surface Detailing Tips
How I approach textures for different print materials
For most 3D prints, textures are less about color and more about surface relief. I use bump maps or model fine details directly onto the mesh. When printing in color (full-color printers), I use OBJ with texture maps, but always check material compatibility.
Tips:
- Model surface details rather than relying on textures.
- Use high-contrast reliefs for better print visibility.
- For color prints, ensure UVs and textures are clean and simple.
Balancing detail with printability
Too much detail can be lost or cause print failures. I scale down fine features based on printer resolution, and avoid sharp overhangs or deep recesses.
Guidelines:
- Limit detail size to minimum printer resolution.
- Smooth sharp edges to prevent stress points.
- Test-print small sections if unsure.
Exporting and Slicing: Final Steps
Export settings and file checks I always use
Before exporting, I triple-check the model’s scale, orientation, and cleanliness. I prefer binary STL for efficiency, and always verify there are no duplicate faces or loose geometry.
Checklist:
- Export as STL (binary) for most printers.
- Double-check scale and units.
- Run mesh validation tools post-export.
Slicing software tips for reliable prints
In slicing software, I optimize layer height, infill, and supports. I preview the sliced layers to spot potential issues—like unsupported overhangs or thin walls. Tripo’s integrated tools help automate some of these checks.
Tips:
- Use preview mode to catch errors before printing.
- Adjust support density for easy removal.
- Save slicing profiles for repeatable results.
Comparing Tools and AI-Powered Solutions
When I use AI-driven platforms like Tripo
I turn to AI-driven platforms when I need fast iterations or want to automate tedious prep steps—like retopology or segmentation. For creative concepts or organic models, Tripo’s text-to-3D workflow accelerates ideation. For technical parts, I still rely on manual precision.
Practical uses:
- Rapid prototyping and concept modeling.
- Automated mesh cleanup and prep.
- Quick generation of base models for further refinement.
Pros and cons of traditional vs. AI-assisted workflows
AI tools reduce manual labor and speed up repetitive tasks, but manual modeling offers greater control for complex or technical parts. I balance both approaches depending on project needs.
Pros (AI):
- Fast, automated prep and modeling.
- Easy for non-specialists.
Cons (AI):
- Less control over fine details.
- May require manual fixes for technical accuracy.
Troubleshooting and Lessons Learned

Common modeling mistakes and how I fix them
Some mistakes crop up again and again: non-manifold geometry, thin walls, or missed supports. I use mesh analysis tools and preview prints to catch these early. Fixes include merging vertices, thickening walls, and adjusting support placement.
Common fixes:
- Merge stray vertices or faces.
- Thicken walls using extrusion tools.
- Add or reposition supports in slicer.
What I’ve learned from failed prints
Failed prints are inevitable, but each one teaches me something. Most failures stem from overlooked geometry issues or poor support planning. I keep a log of failures and tweak my workflow accordingly.
Lessons:
- Always check mesh integrity before exporting.
- Test-print critical features before full runs.
- Review slicer previews carefully—don’t rush.
If you’re serious about 3D printing, adopting a structured modeling workflow and leveraging both traditional and AI-powered tools will save you time, money, and frustration. Every print is a chance to refine your process—so embrace the learning curve and keep iterating.
