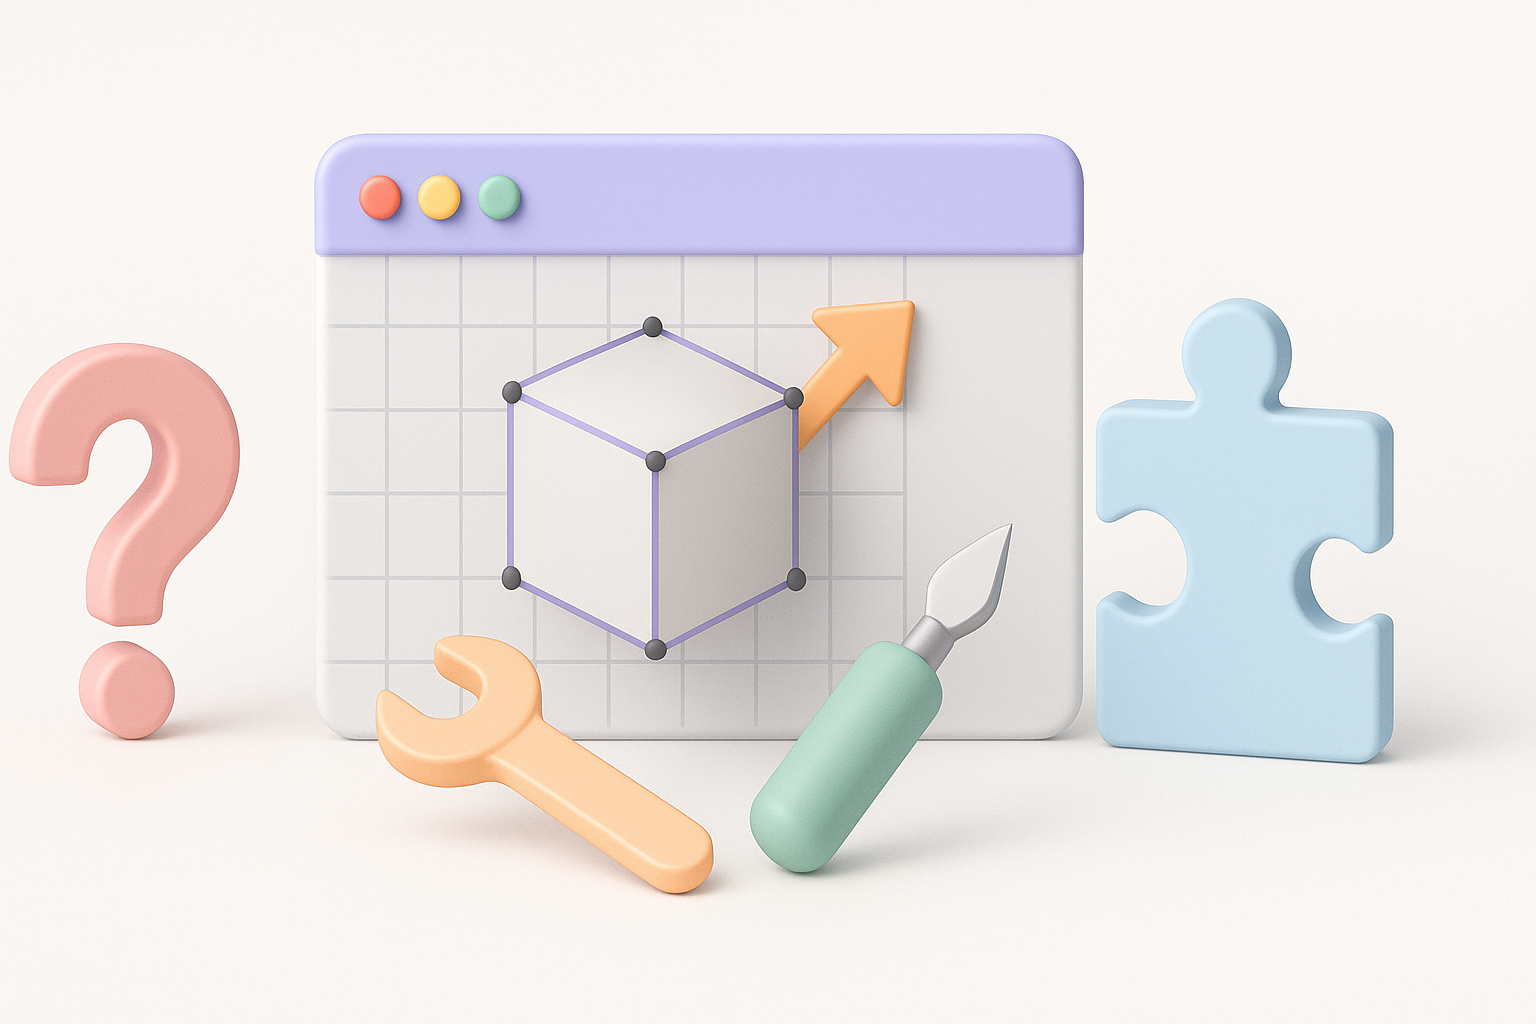
3D Modeling: Expert Workflows, Tools, and Best Practices
скачать 3d модель для chicken gun
As a 3D practitioner, my goal is always to create production-ready models efficiently, whether for games, film, XR, or design. Over years of hands-on work, I’ve refined workflows that combine AI platforms and traditional software to maximize creativity while minimizing technical friction. This article shares my practical process—from concept to completion—plus tool selection strategies, best practices, and solutions for common modeling challenges. If you’re aiming to elevate your 3D output, streamline your pipeline, or adopt new tech like AI, this guide is for you.
Key takeaways:
- Efficient workflows blend planning, reference, and iterative modeling.
- AI tools accelerate concept-to-model, but classic software is still vital for refinement.
- Retopology, UV mapping, and texturing are critical for production-ready assets.
- Optimize models for animation and export early to avoid costly revisions.
- Troubleshooting mesh issues and speeding up iteration requires both skill and smart tool use.
What Is 3D Modeling? Core Concepts and Applications
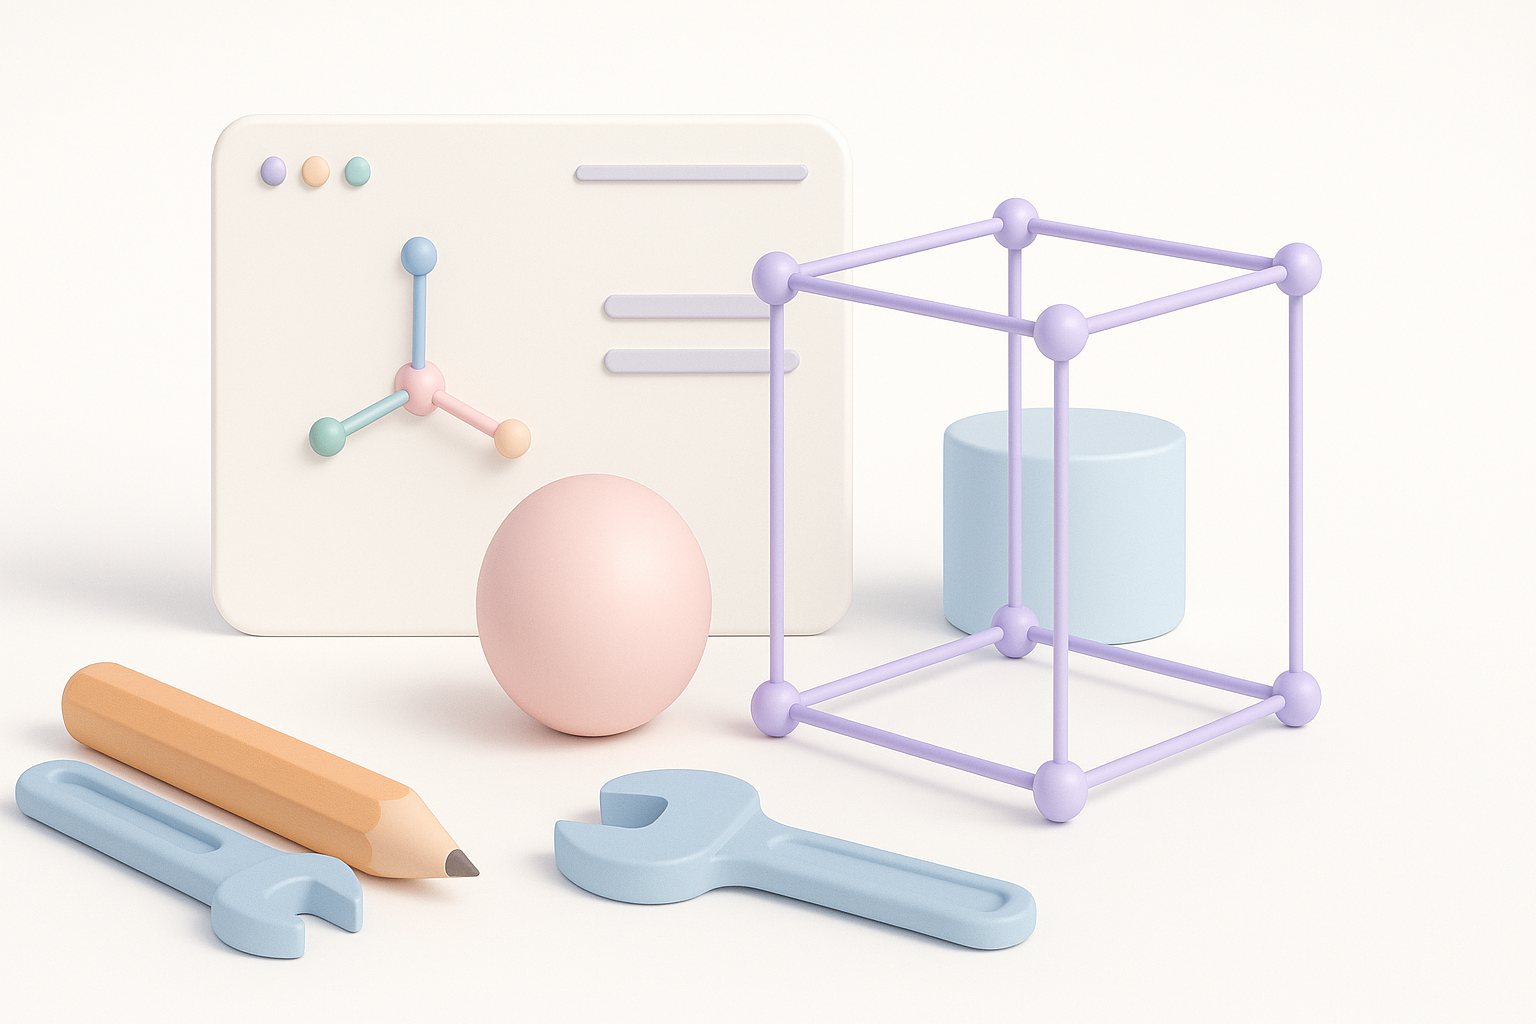
Defining 3D Modeling in Creative Industries
3D modeling is the creation of digital objects that exist in three-dimensional space. In my experience, it’s the foundation for visual storytelling, interactive experiences, and product design. Models are built using polygons, curves, and surface data, then refined for realism or stylization depending on the project.
- Tip: Always clarify the intended use—game engine, film render, XR experience—before starting, as this influences technical requirements.
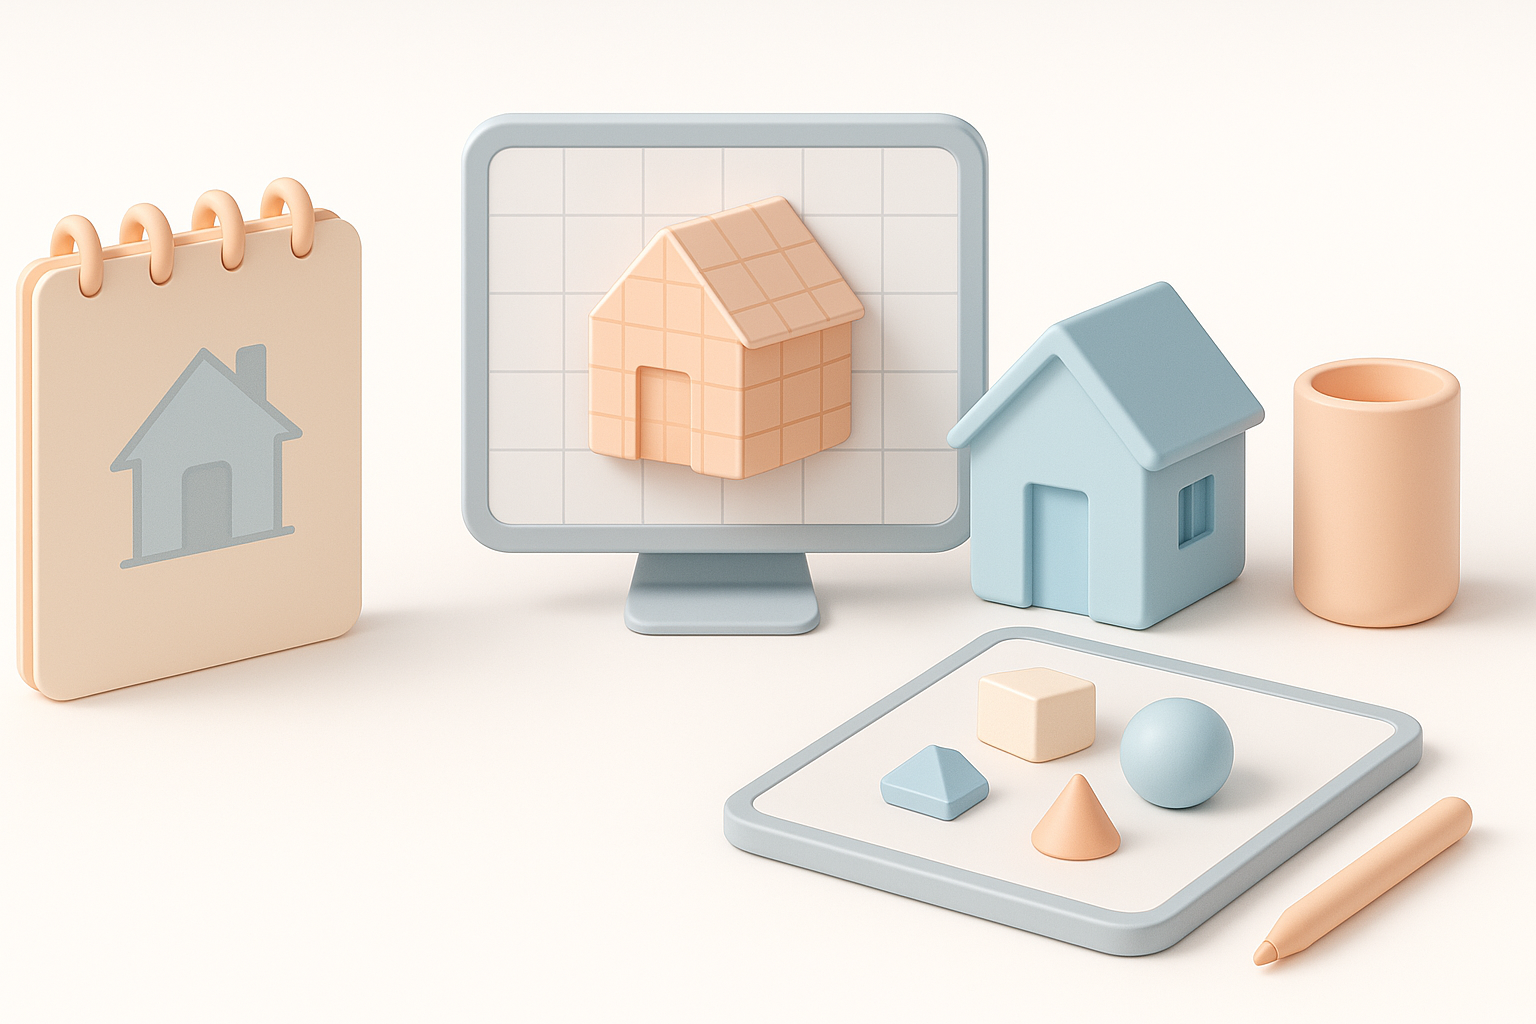
Key Use Cases: Gaming, Film, XR, and Design
I’ve worked across multiple industries, and each has unique demands:
- Gaming: Real-time optimization, low-poly counts, efficient UVs.
- Film: High detail, complex shaders, often non-realtime.
- XR: Lightweight assets, mobile-friendly, seamless integration.
- Design/Product: Precision, accurate measurements, manufacturability.
- Checklist: Know your target platform’s specs and constraints before modeling.
My 3D Modeling Workflow: From Concept to Completion
Initial Planning and Reference Gathering
Every successful project starts with clear planning. I gather references—photos, sketches, style guides—to define the visual goal and technical specs.
- Steps:
- Collect visual references (Pinterest, mood boards, sketches).
- Define scale, proportions, and any required details.
- Clarify output format and poly budget.
- Pitfall: Skipping reference gathering leads to inconsistent results and wasted time.
Blocking Out Forms and Refining Details
I begin with rough shapes—blocking out the model to establish silhouette and proportions. This stage is quick and iterative, often using AI tools for rapid prototyping.
- Steps:
- Block out base shapes (primitive forms).
- Refine proportions and add secondary details.
- Iterate, using AI-generated variants if speed is needed.
- Tip: Don’t get caught up in details too early; focus on overall form first.
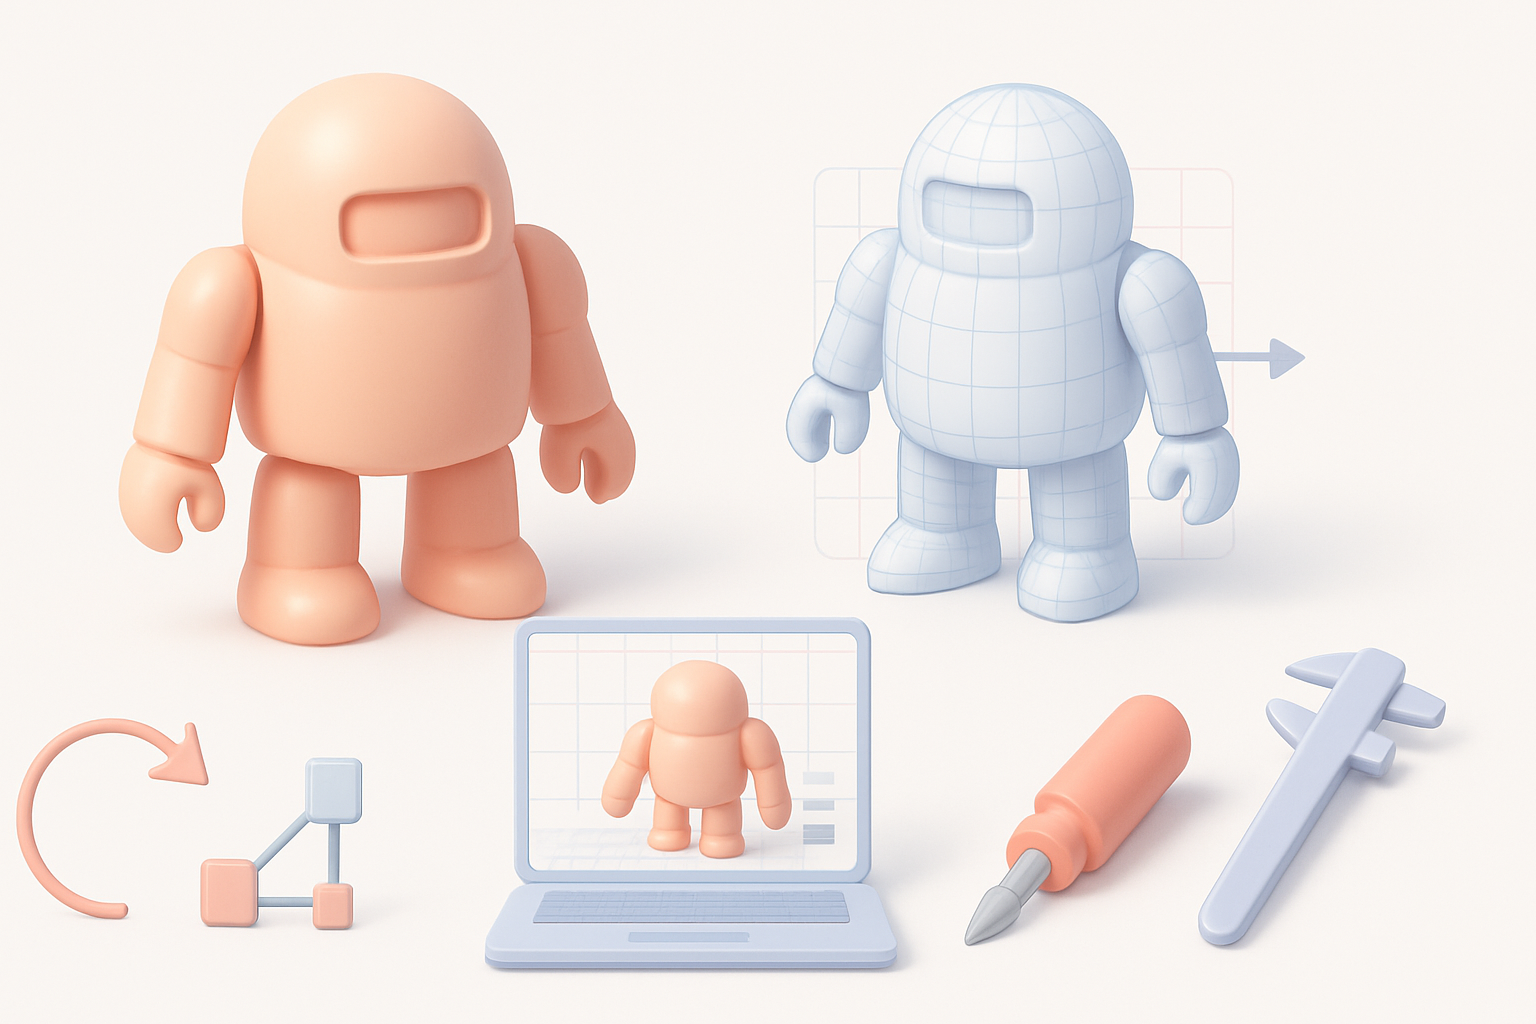
Choosing the Right Tools: AI Platforms and Traditional Software

When I Use AI-Powered Solutions
AI platforms are a game-changer for concept generation and quick asset creation. I use them to generate base meshes, segment objects, and automate repetitive tasks like retopology and texturing.
- Checklist:
- Use AI for rapid prototyping and base mesh creation.
- Leverage built-in segmentation and auto-texturing.
- Validate output for production suitability.
- Pitfall: Don’t rely solely on AI for final polish—manual refinement is often needed.
Integrating AI with Classic 3D Software
My workflow blends AI and traditional tools. After generating a base model with AI, I import it into classic software for detailed sculpting, UV mapping, and animation prep.
- Steps:
- Export AI-generated model.
- Refine geometry and topology in standard 3D software.
- Apply custom textures or shaders as needed.
- Tip: Maintain a non-destructive workflow—save versions at each stage.
Best Practices for Efficient, Production-Ready Models
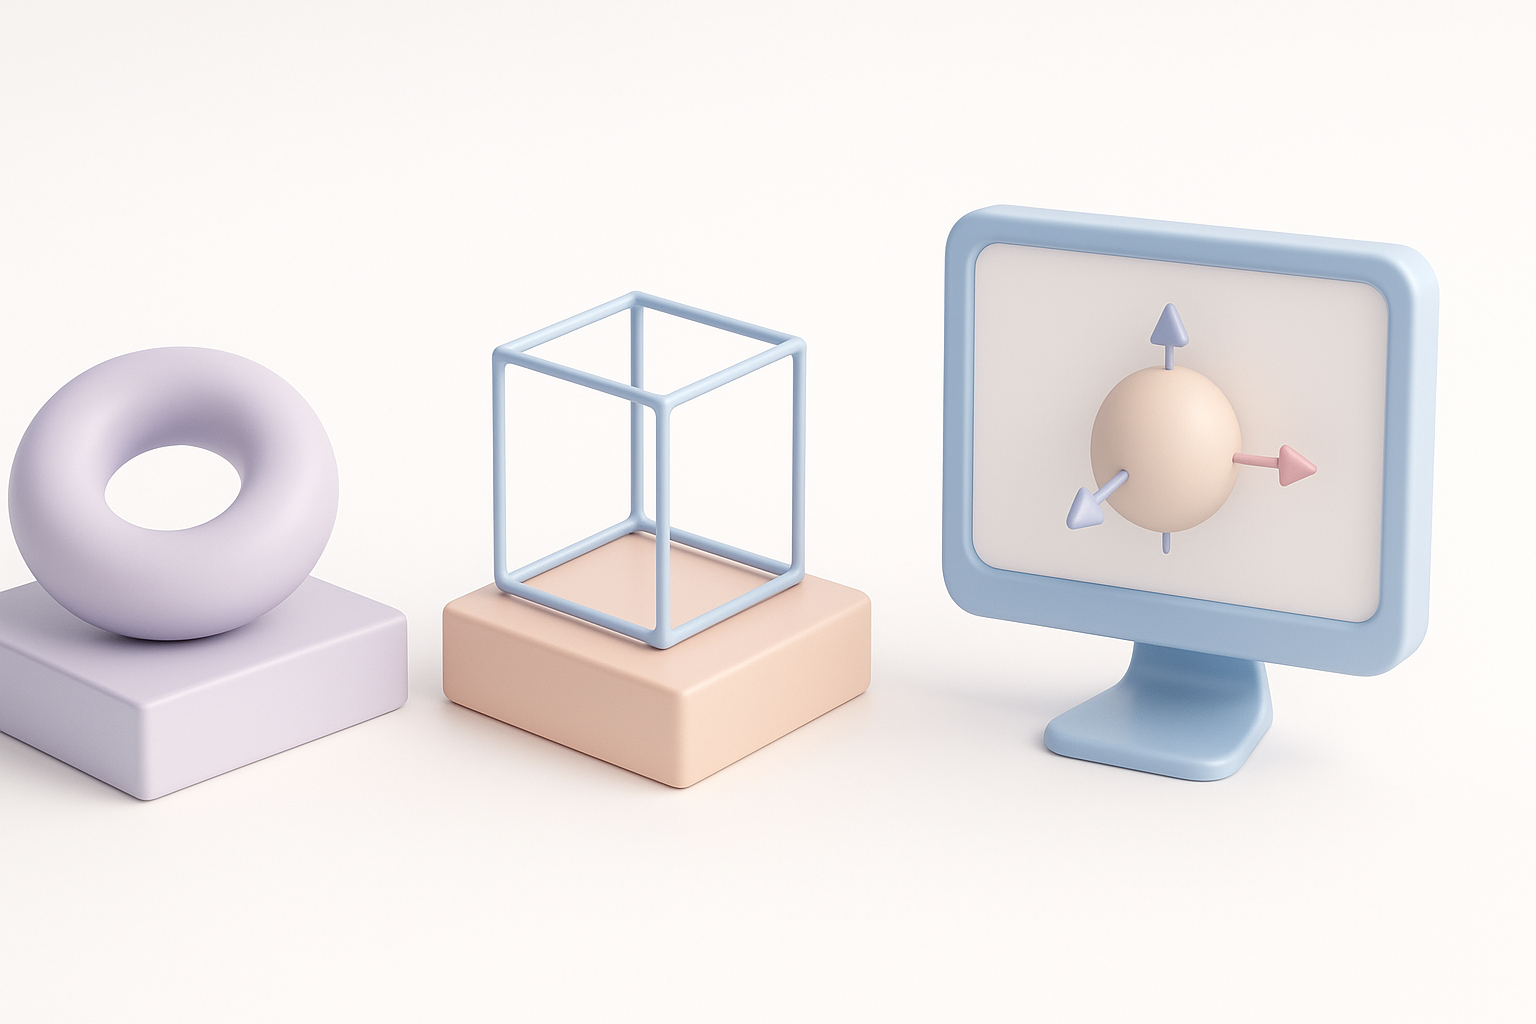
Retopology, UV Mapping, and Texturing Tips
Clean topology and efficient UV maps are essential for animation and texturing. I prioritize these early to avoid headaches later.
- Checklist:
- Use quad-based topology for deformation.
- Keep UV islands logical and minimize seams.
- Bake high-res details to texture maps.
- Use AI tools for auto-retopology, but always check results manually.
- Pitfall: Overlapping UVs or messy topology can break animation and shading.
Optimizing for Animation, Rigging, and Export
Models intended for animation need proper joint placement and deformation-friendly topology. I always test rigging early to catch issues.
- Steps:
- Place edge loops at joints.
- Test skinning and basic rig deformation.
- Export in target format (FBX, OBJ, GLTF) with correct settings.
- Tip: Validate model scale and orientation before export to avoid integration problems.
Comparing Modern 3D Modeling Approaches
AI-Driven vs. Manual Techniques: What I’ve Learned
AI-driven modeling accelerates early stages and repetitive tasks, but manual techniques still provide unmatched control and nuance. I combine both for best results.
- Checklist:
- Use AI for ideation and base mesh.
- Refine manually for detail and accuracy.
- Balance speed with quality—don’t sacrifice one for the other.
- Pitfall: AI outputs can lack subtlety; manual tweaking is essential for production assets.
Selecting the Best Method for Your Project
The right approach depends on project scope, timeline, and quality requirements. For quick prototypes, AI tools shine; for hero assets, manual refinement is a must.
- Steps:
- Assess project timeline and complexity.
- Choose AI or manual workflow accordingly.
- Iterate and adapt as needed.
- Tip: Flexibility is key—don’t lock yourself into one method.
Common Challenges and My Solutions
Troubleshooting Mesh and Topology Issues
Mesh errors—like non-manifold geometry or poor edge flow—can derail production. I regularly check for these and use automated tools for fixes, but manual cleanup is often necessary.
- Checklist:
- Run mesh validation tools.
- Fix non-manifold edges and stray vertices.
- Rebuild topology if needed.
- Tip: Regularly inspect mesh quality before moving to texturing or rigging.
Speeding Up Iteration Without Sacrificing Quality
Rapid iteration is essential, but quality must not suffer. I use AI for quick drafts, then focus on targeted manual improvements.
- Steps:
- Create fast prototypes with AI.
- Identify critical areas for manual detail.
- Use version control to track changes.
- Pitfall: Rushing through iterations can introduce errors—always review before finalizing.
Conclusion
Expert 3D modeling relies on a smart blend of planning, tool selection, and iterative refinement. By leveraging both AI platforms and traditional software, I streamline workflows and deliver production-ready assets efficiently. The key is balancing speed, quality, and adaptability—never sacrificing one for the other.