Mastering 3D Model Poses: Techniques and Best Practices
When it comes to creating compelling 3D models, posing is a make-or-break skill—whether for games, film, XR, or design. In my experience, mastering both manual and AI-assisted posing workflows is essential for delivering natural, expressive, and production-ready results. This guide distills what works: from foundational concepts, tool choices, and practical posing steps, to optimizing topology and preparing assets for downstream use. If you’re a 3D artist, animator, or developer aiming to streamline your workflow and boost pose quality, these insights are for you.
Key takeaways
- Understand the fundamentals and diverse applications of 3D model posing.
- Leverage AI-assisted tools for rapid, high-quality posing—while knowing when manual finesse is needed.
- Use references and planning to achieve natural, expressive results.
- Optimize topology and rigging before posing to avoid deformation issues.
- Export posed models in compatible formats for animation and game engines.
Understanding 3D Model Posing Fundamentals

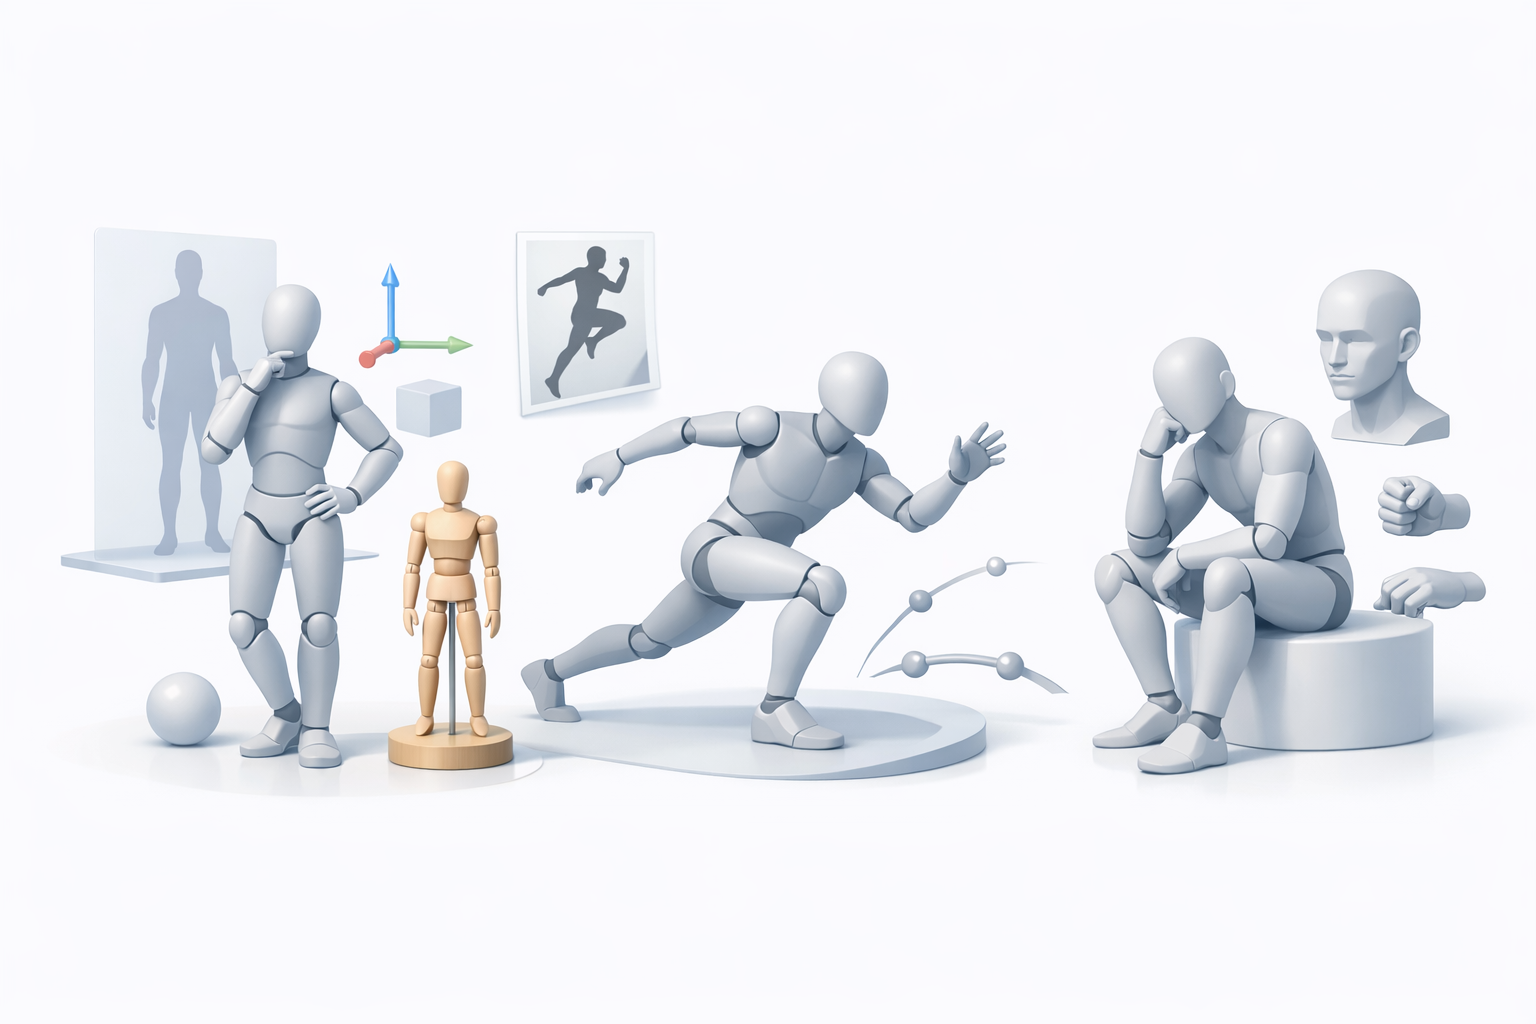
What is 3D Model Posing?
3D model posing is the process of manipulating a digital character or object’s skeleton (rig) to achieve a specific stance or expression. At its core, it’s about transforming a neutral model into one that conveys action, emotion, or intent. In my workflow, posing is both a technical and artistic challenge: the goal is to make the model look natural from every angle, with believable weight and balance.
Common Use Cases for 3D Poses
Posed 3D models are everywhere: game characters, animated films, product visualizations, and virtual/augmented reality experiences. I often use posing for:
- Keyframe animation setup
- Marketing renders and hero shots
- Pre-visualization for scenes
- Motion studies and anatomical reference
Understanding the intended use helps me choose the right posing approach and level of detail.
Essential Tools and Workflows for Posing 3D Models
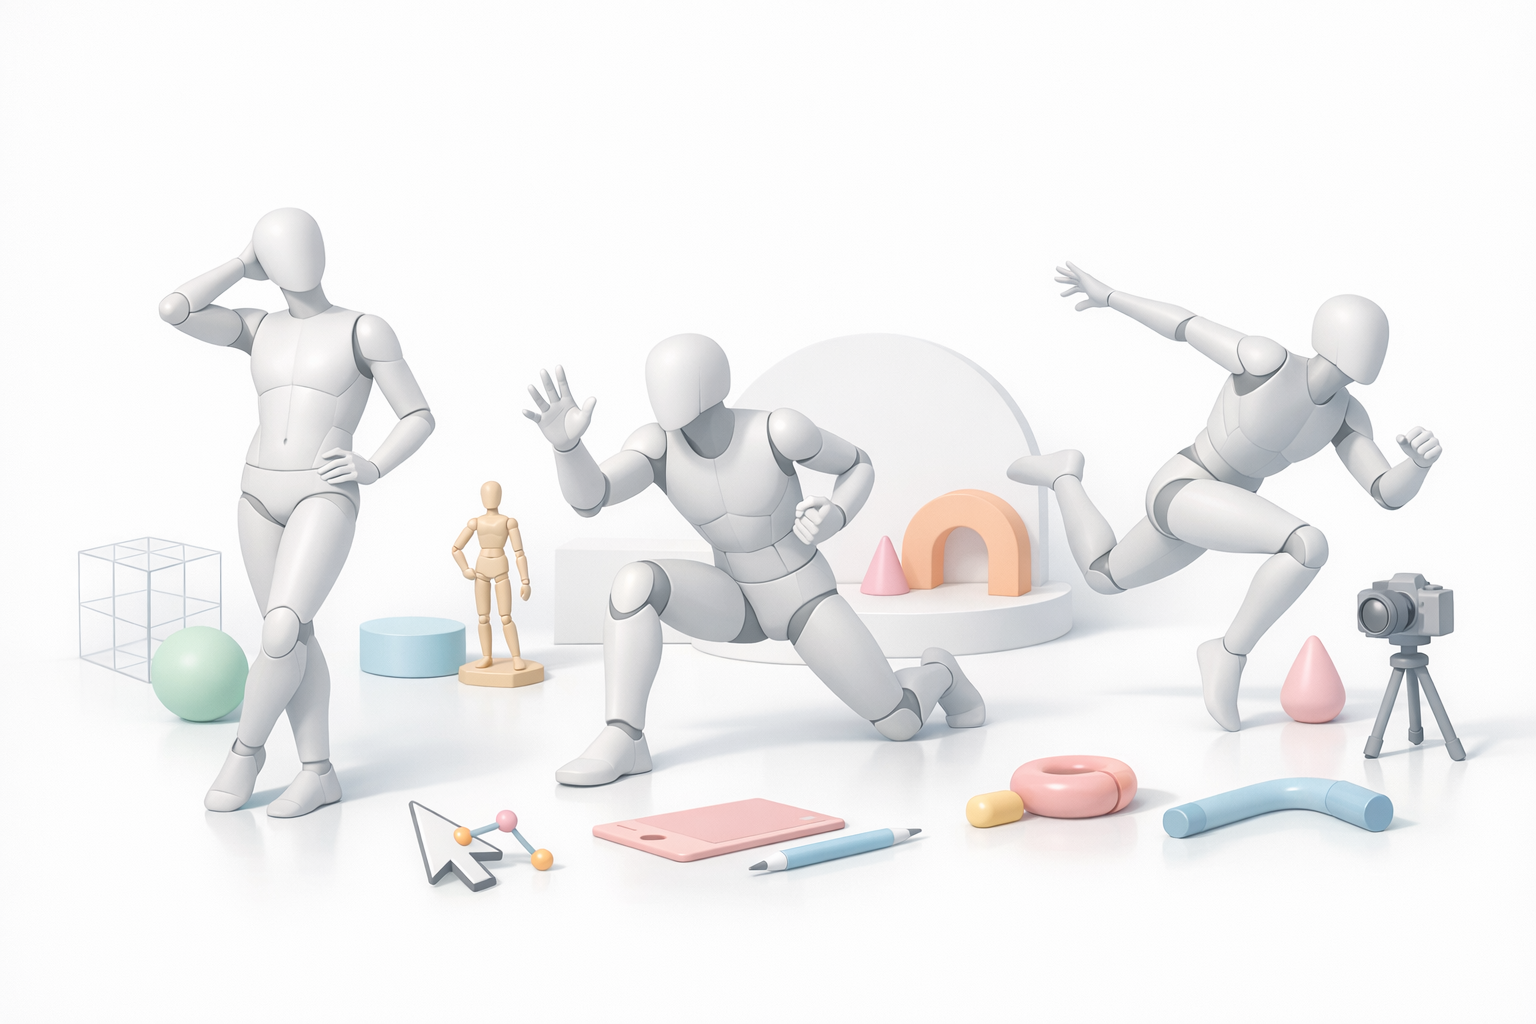
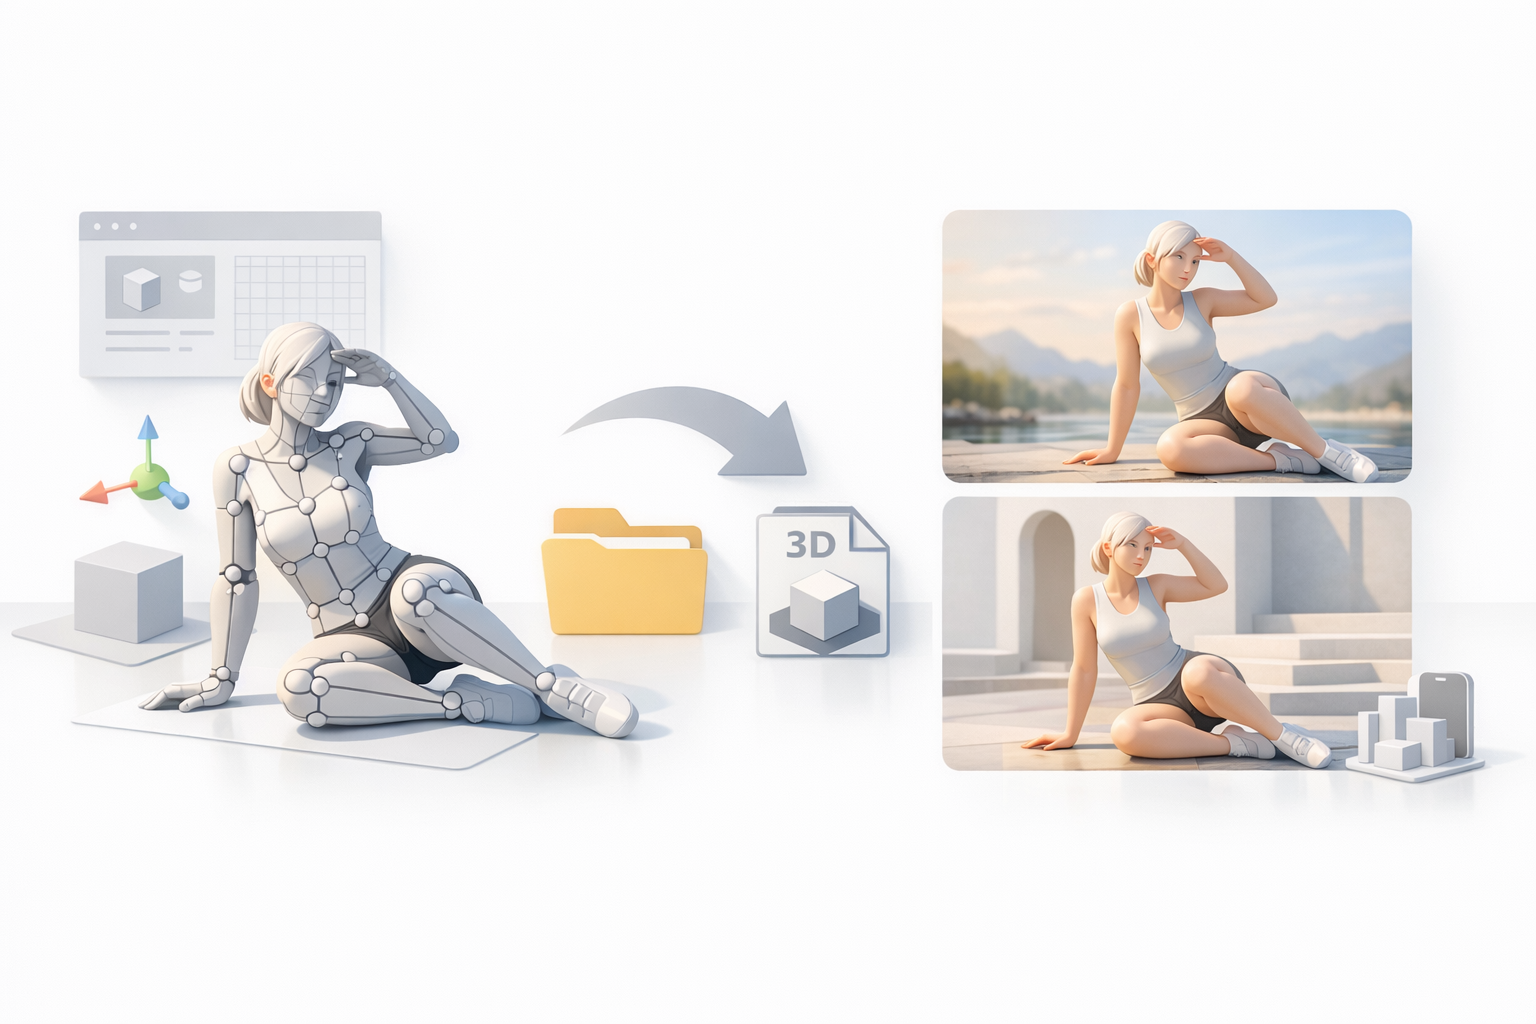
AI-Assisted Posing Platforms and Their Benefits
AI-powered tools, such as Tripo, have changed my approach to posing. With these platforms, I can generate natural, production-ready poses from text prompts, sketches, or reference images in seconds. The main benefits I’ve experienced:
- Drastically reduced posing time
- Consistent anatomical accuracy
- Easy iteration for client feedback or creative exploration
For quick concepting or large asset libraries, AI-assisted posing is a real productivity boost.
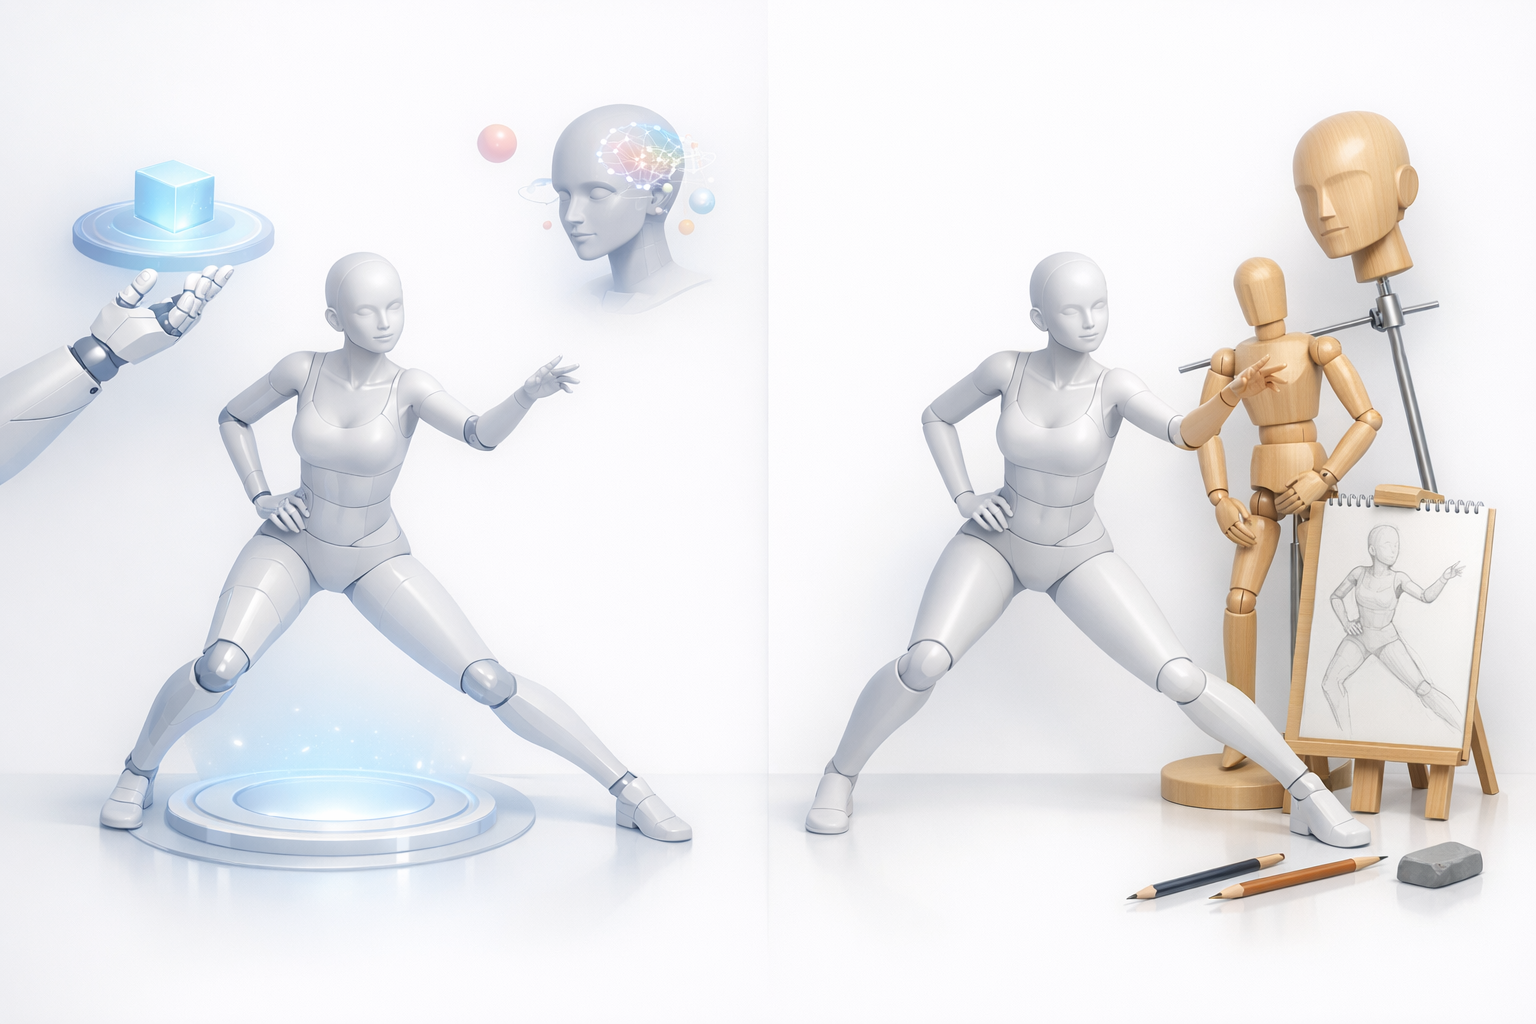
Manual vs. Automated Posing: My Workflow Insights
Manual posing, using traditional 3D software, gives me granular control—especially for subtle expressions or stylized work. However, it’s time-consuming and prone to human error. My typical workflow:
- Use AI-assisted tools for initial pose generation or blocking.
- Refine manually for nuanced adjustments or to fix artifacts.
- Always check joint deformations and silhouette from multiple angles.
This hybrid approach balances speed with quality.
Step-by-Step Guide: Creating Natural and Dynamic Poses
Reference Gathering and Planning
Before I touch any rig controls, I gather references—photos, anatomy diagrams, or sketches. This step is non-negotiable for realism. My planning checklist:
- Identify the character’s intent or emotion.
- Collect multiple angle references (front, side, action shots).
- Sketch or block out the pose in 2D if needed.
Reference prevents awkward, unnatural results.
Applying Poses: Tips for Realism and Expression
When applying a pose, I focus on weight distribution, line of action, and avoiding symmetry (which looks stiff). Here’s my practical posing routine:
- Start with the hips and spine—these drive the overall gesture.
- Pose the limbs, ensuring natural bends and relaxed hands/feet.
- Tilt the head and adjust facial expressions for emotion.
- Check the silhouette and tweak for clarity and appeal.
Pro tips:
- Use mirror mode sparingly—real poses are rarely perfectly symmetrical.
- Subtly rotate joints off-axis for a more lifelike effect.
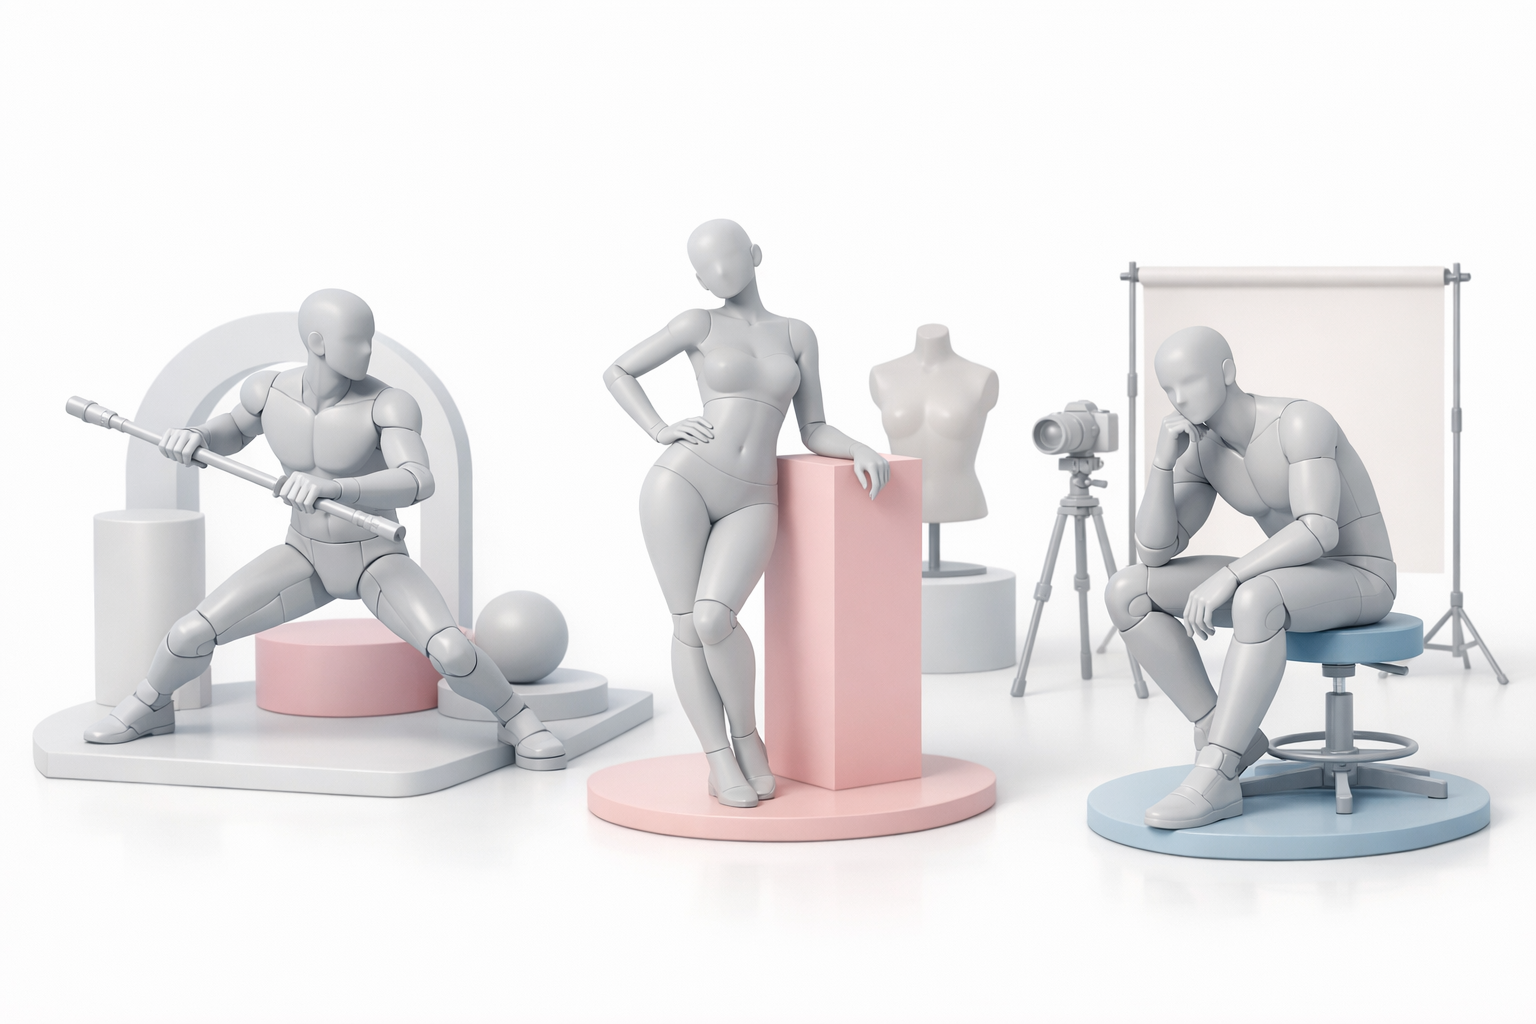
Best Practices for Production-Ready 3D Poses
Optimizing Topology and Rigging for Posing
Clean topology and robust rigging are prerequisites for good posing. What I’ve learned:
- Ensure edge loops follow muscle flow, especially around joints.
- Test the rig with extreme poses before committing to production.
- Use weight painting tools to smooth out deformations.
If you’re using Tripo or similar AI tools, verify that the generated rig supports your intended pose range.
Avoiding Common Posing Mistakes
Even experienced artists fall into these traps:
- Overly stiff or symmetrical poses
- Limbs intersecting the body or environment
- Ignoring secondary motion (clothing, hair, accessories)
- Unnatural joint bends (hyperextension)
I always do a “pose sanity check” from all angles and with different lighting to catch these issues early.
Comparing Posing Methods: AI Tools vs. Traditional Techniques
Speed, Quality, and Flexibility Considerations
AI-assisted posing is unmatched for speed—great for prototyping, batch work, or when time is tight. Manual posing excels in:
- Artistic nuance
- Highly stylized or exaggerated poses
- Custom rigs or unique anatomy
In my experience, the best results often come from blending both: AI for the heavy lifting, manual for the polish.
When to Use AI vs. Manual Approaches
I use AI-assisted posing when:
- I need quick, realistic poses for concepting or client review.
- The model uses a standard humanoid rig.
I switch to manual posing when:
- The character is non-standard or highly stylized.
- Subtle storytelling or personality is required.
Knowing when to leverage each method is key to efficiency and quality.
Exporting and Integrating Posed Models
Preparing Posed Models for Animation or Game Engines
Before exporting, I always:
- Freeze or bake the pose into the mesh if it’s a static asset.
- Double-check that the rig and skin weights are clean.
- Remove unnecessary rig controls or helpers.
For animation, I ensure the pose transitions smoothly from the default T-pose or A-pose.
File Formats and Compatibility Tips
The most common export formats I use:
- FBX: Best for game engines and animation pipelines.
- OBJ: For static, posed meshes (no rig).
- GLTF/GLB: For web and real-time applications.
Checklist:
- Verify scale and orientation match your target platform.
- Include textures and materials if needed.
- Test import in the final destination software.
Mastering 3D posing is a blend of art and process. By combining the speed of AI tools like Tripo with manual refinement and solid fundamentals, you can deliver expressive, production-ready assets for any project.