Wie man 3D-Modelle in Minecraft importiert: Experten-Workflow
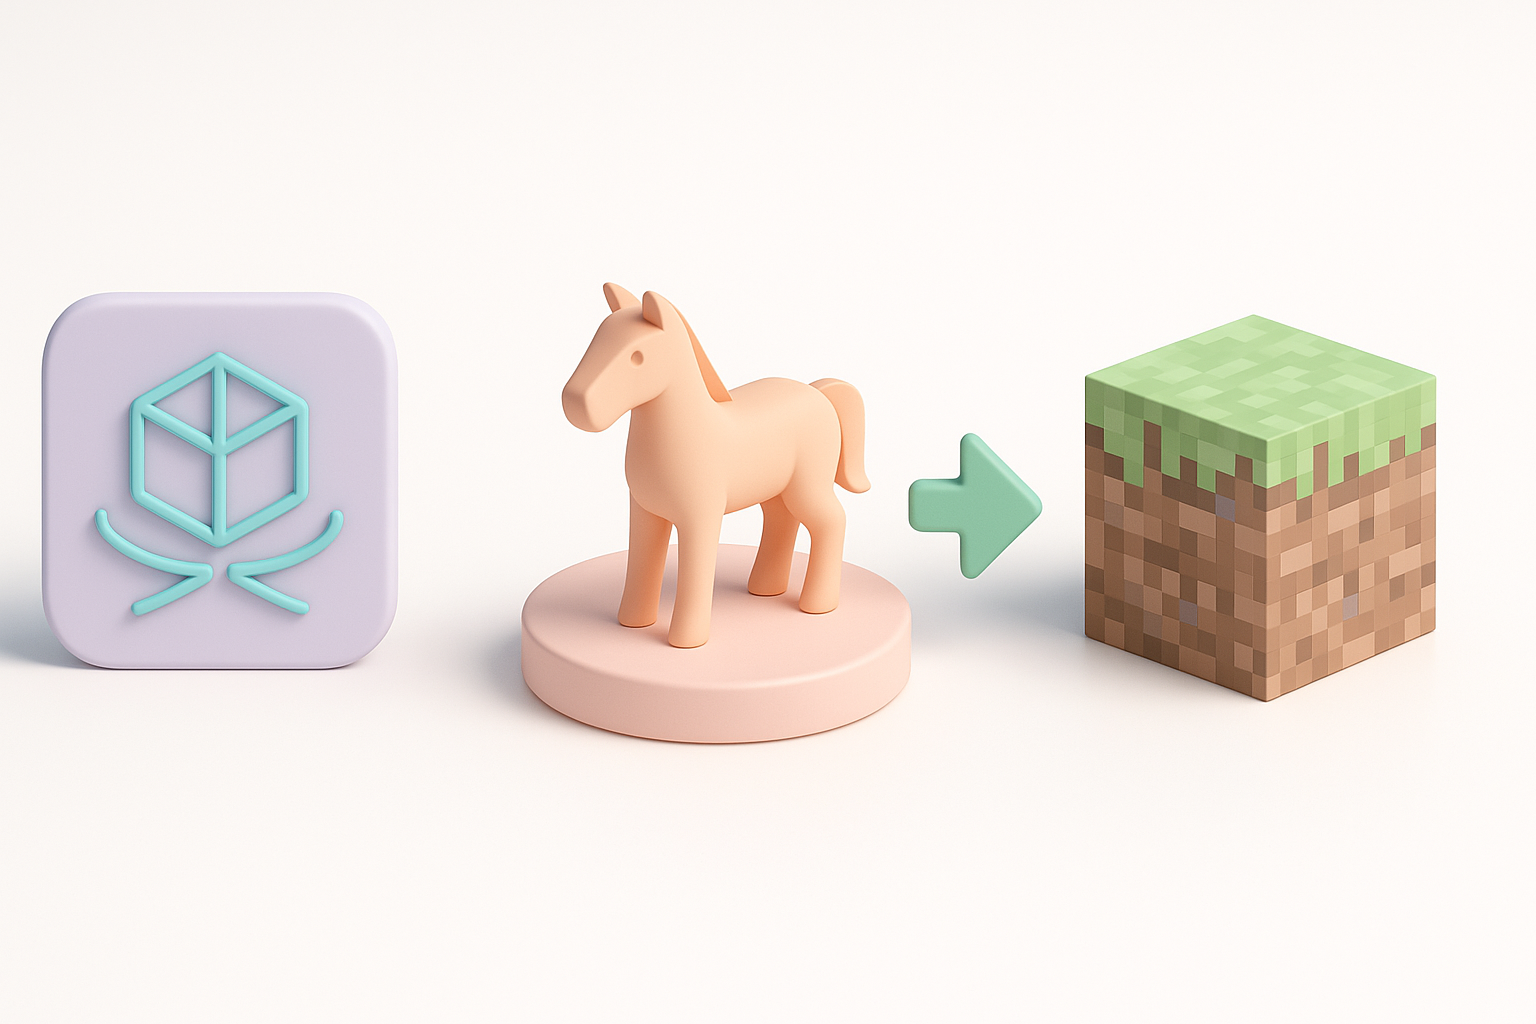
Chicken Gun 3D-Modell herunterladen
Das Importieren von 3D-Modellen in Minecraft kann Baumeistern, Designern und Moddern neue kreative Möglichkeiten eröffnen. Meiner Erfahrung nach erfordert der Prozess eine sorgfältige Modellvorbereitung, Formatkonvertierung und die Verwendung der richtigen Importwerkzeuge. KI-gestützte Plattformen wie Tripo haben die Erstellung und Optimierung von Assets erheblich beschleunigt, aber die Liebe zum Detail ist nach wie vor entscheidend für reibungslose Importe und die Performance im Spiel. Dieser Leitfaden fasst zusammen, was in realen Projekten funktioniert, einschließlich Best Practices, Werkzeugempfehlungen und Tipps zur Fehlerbehebung für jeden, der eigene 3D-Modelle in Minecraft integrieren möchte.
Wichtigste Erkenntnisse:
- Optimieren Sie Ihre 3D-Modelle vor dem Import für die Polygon- und Texturgrenzen von Minecraft.
- Verwenden Sie unterstützte Formate und zuverlässige Konvertierungstools für eine nahtlose Integration.
- KI-Tools wie Tripo können die Asset-Erstellung und -Vorbereitung beschleunigen, aber manuelle Überprüfungen bleiben unerlässlich.
- Seien Sie bereit, nach dem Import Fehler bei Textur-Mapping, Skalierung und Performance zu beheben.
- Wählen Sie Ihren Workflow (KI-basiert oder manuell) basierend auf dem Projektumfang und den technischen Anforderungen.
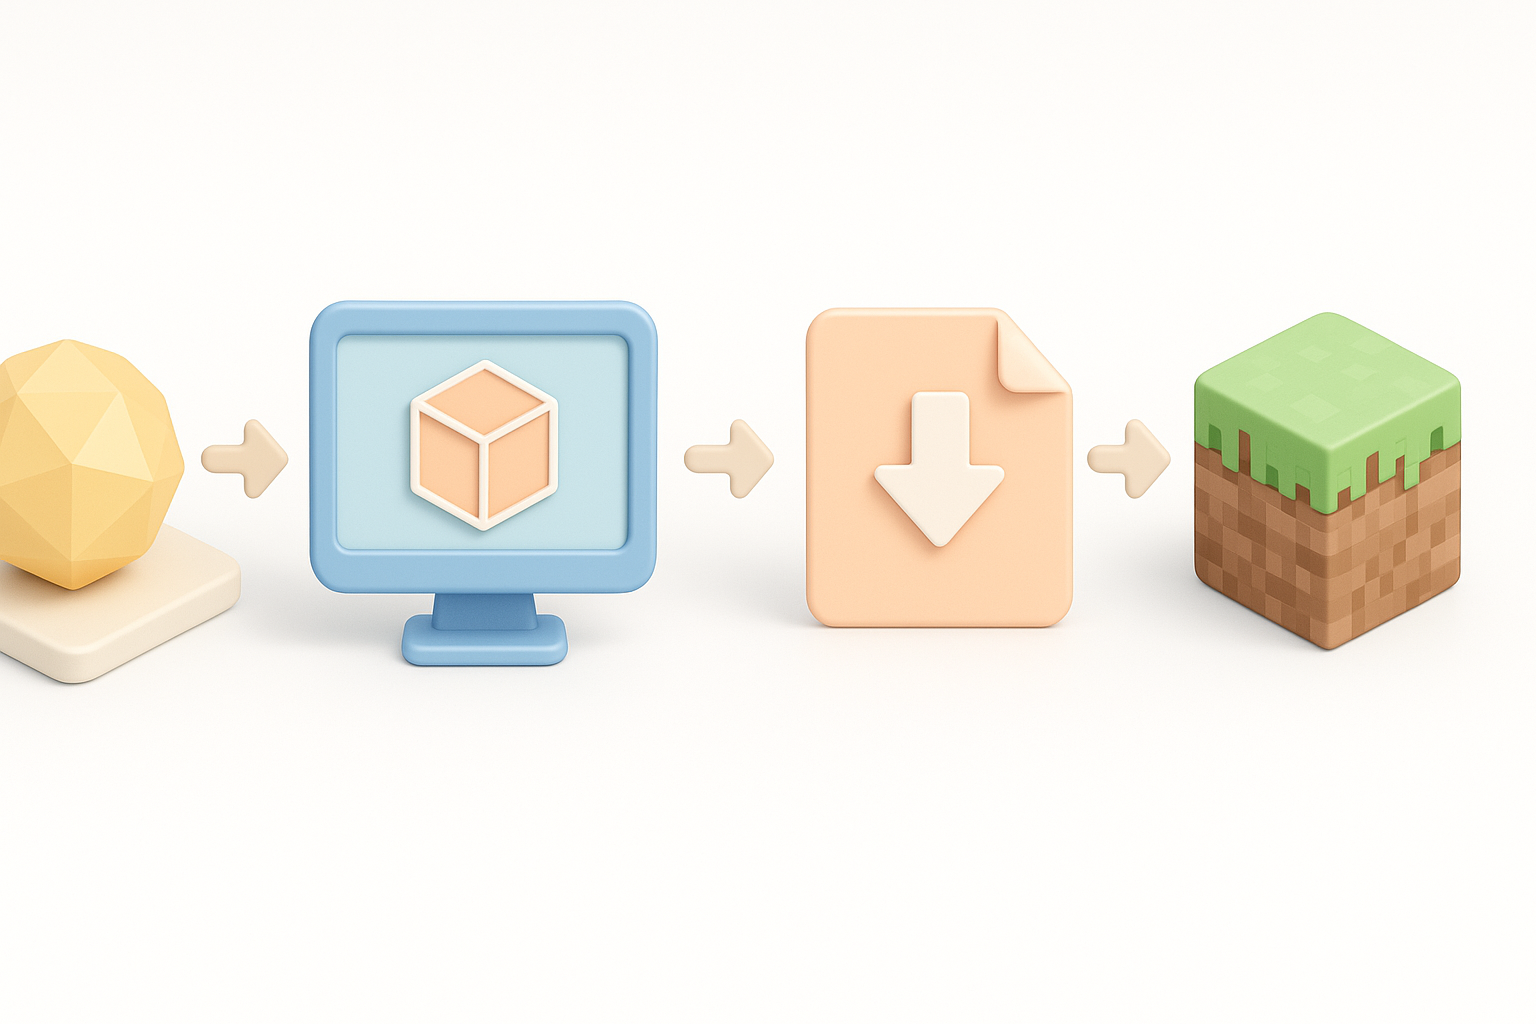
Zusammenfassung: Die wichtigsten Schritte zum Importieren von 3D-Modellen in Minecraft
Was ich aus realen Projekten gelernt habe
Aus meiner praktischen Erfahrung weiß ich, dass die erfolgreichsten Minecraft-Importe mit einem klaren Verständnis der Einschränkungen der Plattform beginnen – insbesondere der Polygonanzahl, der Texturgröße und des Dateiformats. Eile führt zu fehlerhaften Modellen oder ruckeligem Gameplay. Ich empfehle immer einen schrittweisen Workflow: Modellvorbereitung, Konvertierung, Import und Tests im Spiel.
Häufige Fehler und wie man sie vermeidet
- Zu komplexe Geometrie: Minecraft kann mit High-Poly-Modellen nicht gut umgehen.
- Textur-Fehlpaarungen: Falsche UVs oder nicht unterstützte Dateitypen führen zu unsichtbaren oder fehlerhaften Texturen.
- Skalierungsprobleme: Importierte Modelle erscheinen oft zu groß oder zu klein. Ich überprüfe die Skalierung immer frühzeitig.
- Fehlende Abhängigkeiten: Das Vergessen von Texturen oder Materialien führt zu unvollständigen Assets.
Checkliste:
- Geometrie vereinfachen und Vertex-Anzahl überprüfen.
- Sicherstellen, dass Texturen eine Zweierpotenz-Größe haben und im PNG/JPG-Format vorliegen.
- Testen Sie den Import mit einem kleinen Muster vor dem vollständigen Batch.
Vorbereitung Ihres 3D-Modells für Minecraft
Best Practices für die Modelloptimierung
Ich habe die Erfahrung gemacht, dass optimierte Modelle zuverlässiger importiert werden und im Spiel eine bessere Performance erbringen. Ich strebe niedrige Polygonanzahlen an – Hunderte, nicht Tausende von Polygonen. Ich entferne unnötige Details und verschmelze überlappende Meshes. Die Segmentierungs- und Retopologie-Tools von Tripo helfen mir, dies zu automatisieren, aber ich überprüfe die Ergebnisse immer noch einmal selbst.
Optimierungsschritte:
- High-Poly-Modelle dezimieren oder retopologisieren.
- Versteckte oder interne Polygone (Faces) entfernen.
- Meshes nach Möglichkeit kombinieren.
Überlegungen zu Retopologie und Texturen
Die Retopologie stellt sicher, dass die Geometrie Ihres Modells spielbereit ist. Für Texturen bevorzugt Minecraft einfache, kachelbare Bilder. Ich halte Texturen klein (normalerweise 16x16 bis 128x128 Pixel), um dem Stil von Minecraft zu entsprechen, und überprüfe UVs immer auf Verzerrungen oder Fehlausrichtungen.
Tipps:
- Verwenden Sie überschneidungsfreie UVs für ein sauberes Textur-Mapping.
- Bleiben Sie bei PNG- oder JPG-Formaten.
- Backen Sie komplexe Materialien bei Bedarf in flache Texturen.
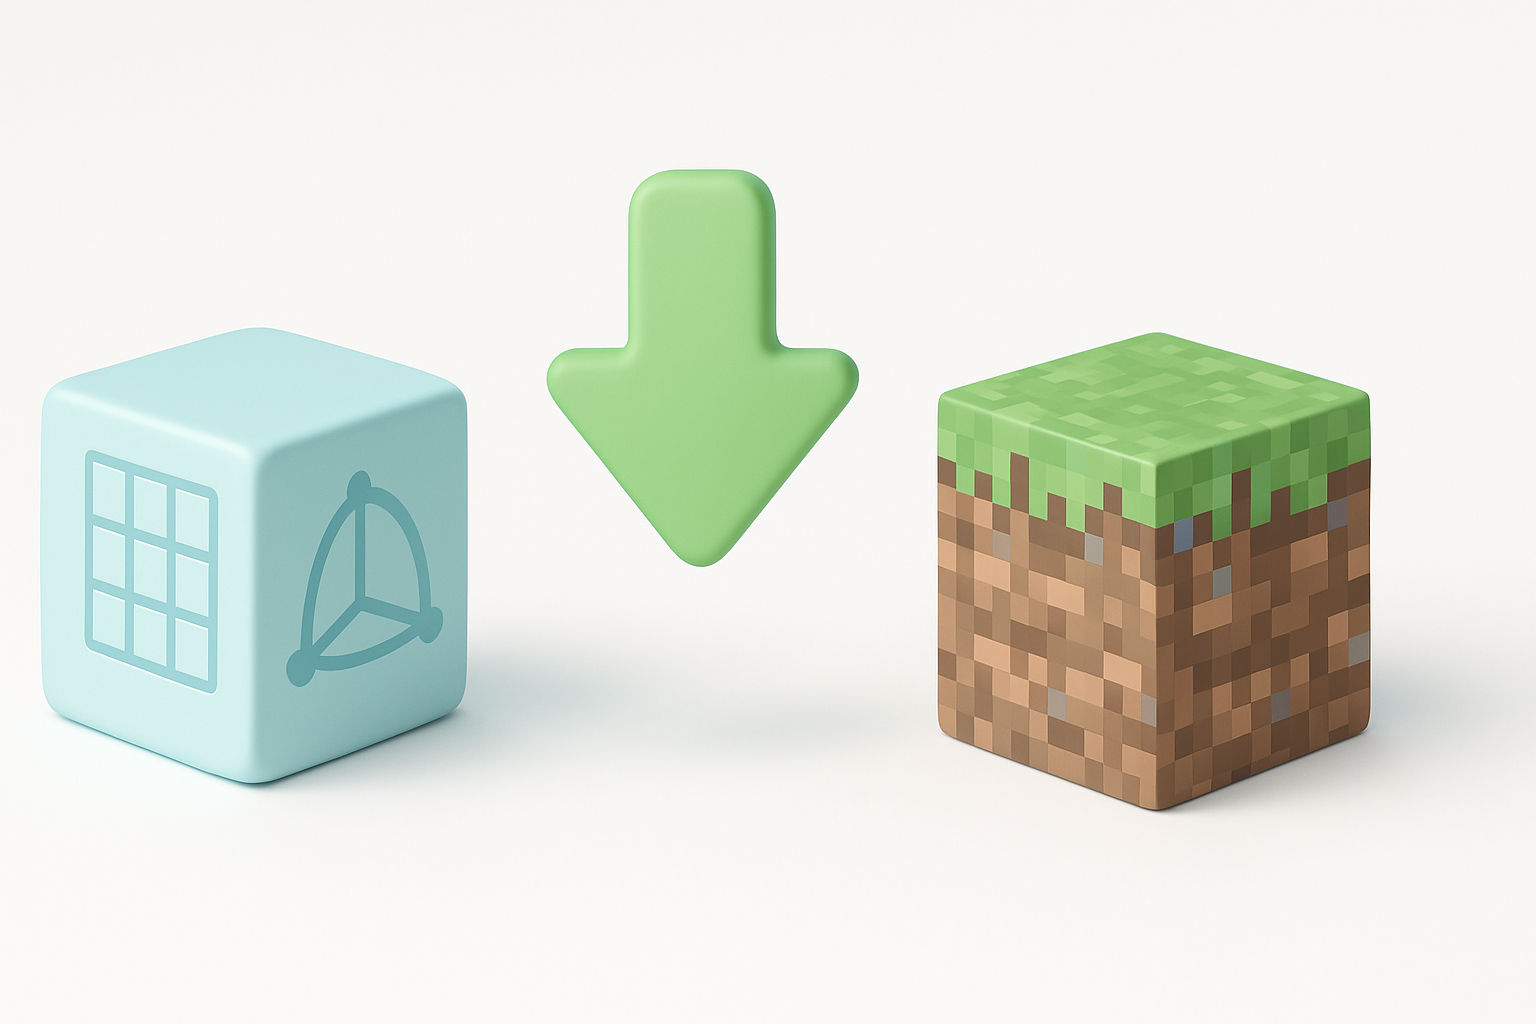
Konvertieren von 3D-Modellen in Minecraft-kompatible Formate
Empfohlene Dateitypen und Tools
Minecraft-Modding-Tools akzeptieren häufig die Formate OBJ, FBX oder JSON. Ich exportiere normalerweise als OBJ für statische Modelle; für komplexere Assets erfordern einige Workflows die Konvertierung in das JSON-Blockmodellformat von Minecraft. Tripo gibt Standardformate aus, die in externen Tools weiterverarbeitet werden können.
Von mir verwendete Tools:
- Blender (zum Bearbeiten/Exportieren)
- Blockbench (für die Minecraft-JSON-Konvertierung)
- Tripo (für schnelle Modellgenerierung und -vorbereitung)
Schritt-für-Schritt-Konvertierungs-Workflow
- Aus 3D-Software exportieren: Wählen Sie OBJ oder FBX mit eingebetteten Texturen.
- In Blockbench öffnen: Importieren Sie das Modell, überprüfen Sie die Skalierung und die Texturen.
- In Minecraft-JSON konvertieren: Verwenden Sie die Exportfunktion von Blockbench.
- Im Spiel testen: Platzieren Sie das Modell in einer Testwelt, um Aussehen und Performance zu überprüfen.
Pro-Tipp: Behalten Sie immer Sicherungskopien Ihrer Original- und konvertierten Dateien.
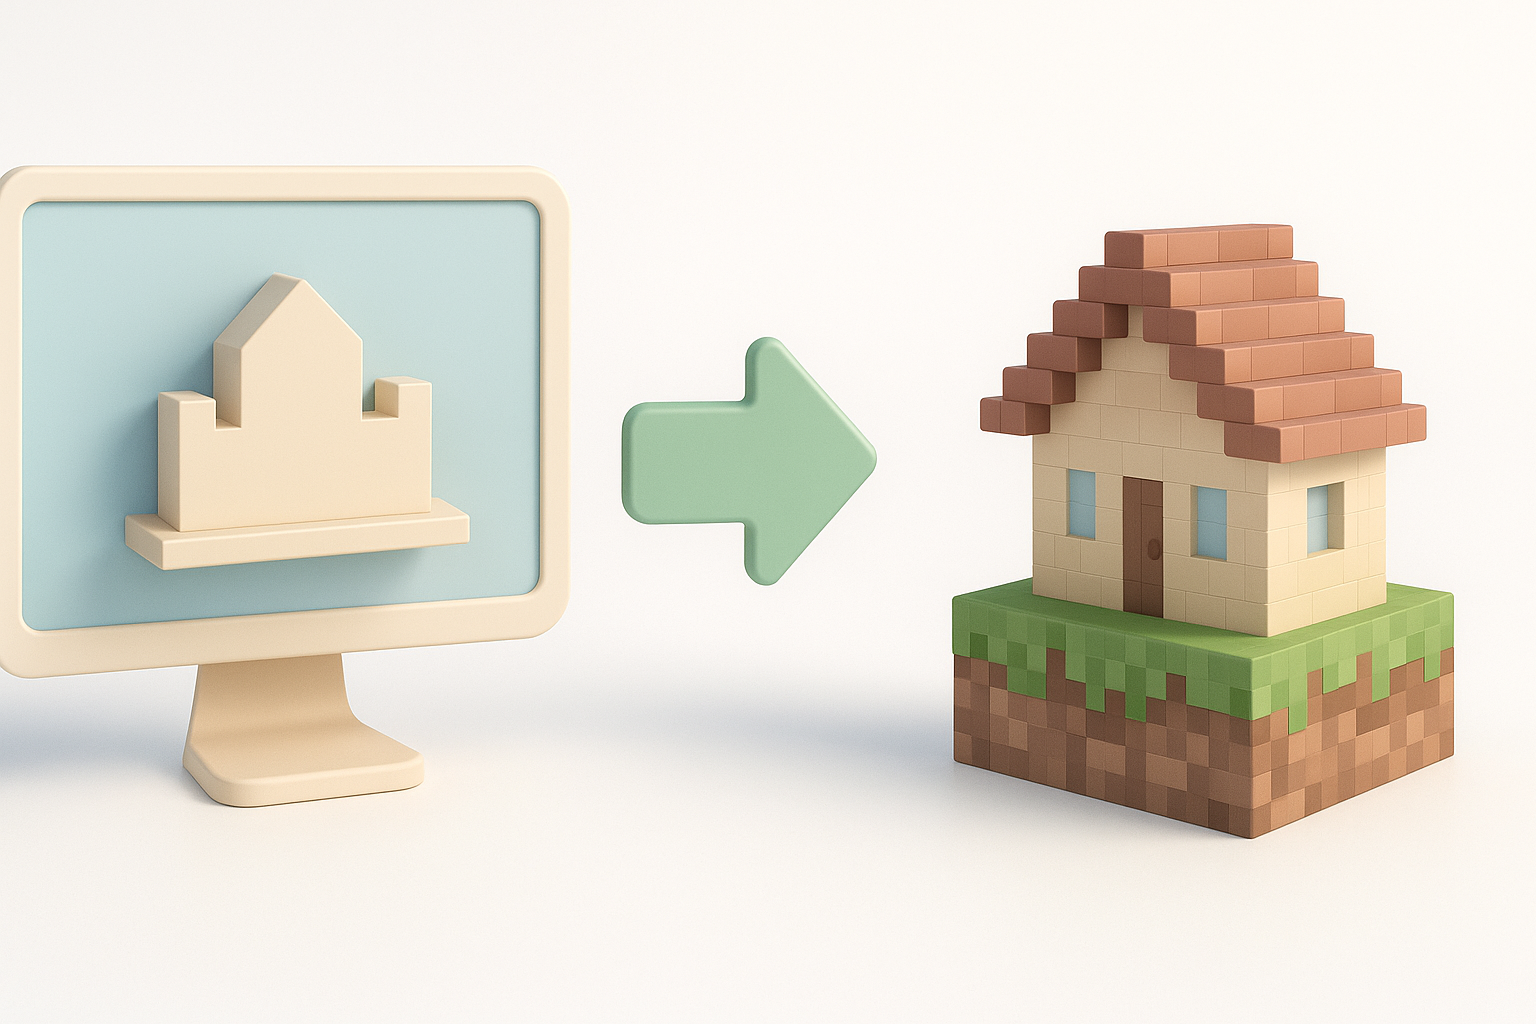
Modelle in Minecraft importieren: Methoden und Tools
Verwendung von Drittanbieter-Importern und Plugins
Ich verlasse mich bei den meisten Importen auf Tools von Drittanbietern. Blockbench ist meine erste Wahl für das Konvertieren und Vorbereiten von Modellen. Einige Modding-Frameworks unterstützen auch den direkten Import von OBJ- oder JSON-Dateien.
Schritte:
- Modell in Blockbench importieren.
- Texturen zuweisen oder anpassen.
- Als Minecraft-kompatible Datei exportieren.
- Platzieren Sie die Datei im entsprechenden Resource Pack- oder Mod-Ordner.
Manuelle Importtechniken und Tipps
Wenn Tools fehlschlagen oder ich mehr Kontrolle benötige, bearbeite ich JSON-Dateien oder Resource Packs manuell. Dies ist zeitaufwändiger, aber manchmal notwendig für benutzerdefiniertes Verhalten oder fortgeschrittene Modelle.
Manueller Workflow:
- Modell-JSON manuell bearbeiten für benutzerdefinierte Block-/Item-Formen.
- Texturen in der Resource-Pack-Struktur manuell zuweisen.
- Die
pack.mcmetavon Minecraft aktualisieren, um die Erkennung zu gewährleisten.
Fehlerquelle: Tippfehler in JSON oder fehlende Textur-Referenzen sind eine häufige Fehlerquelle.
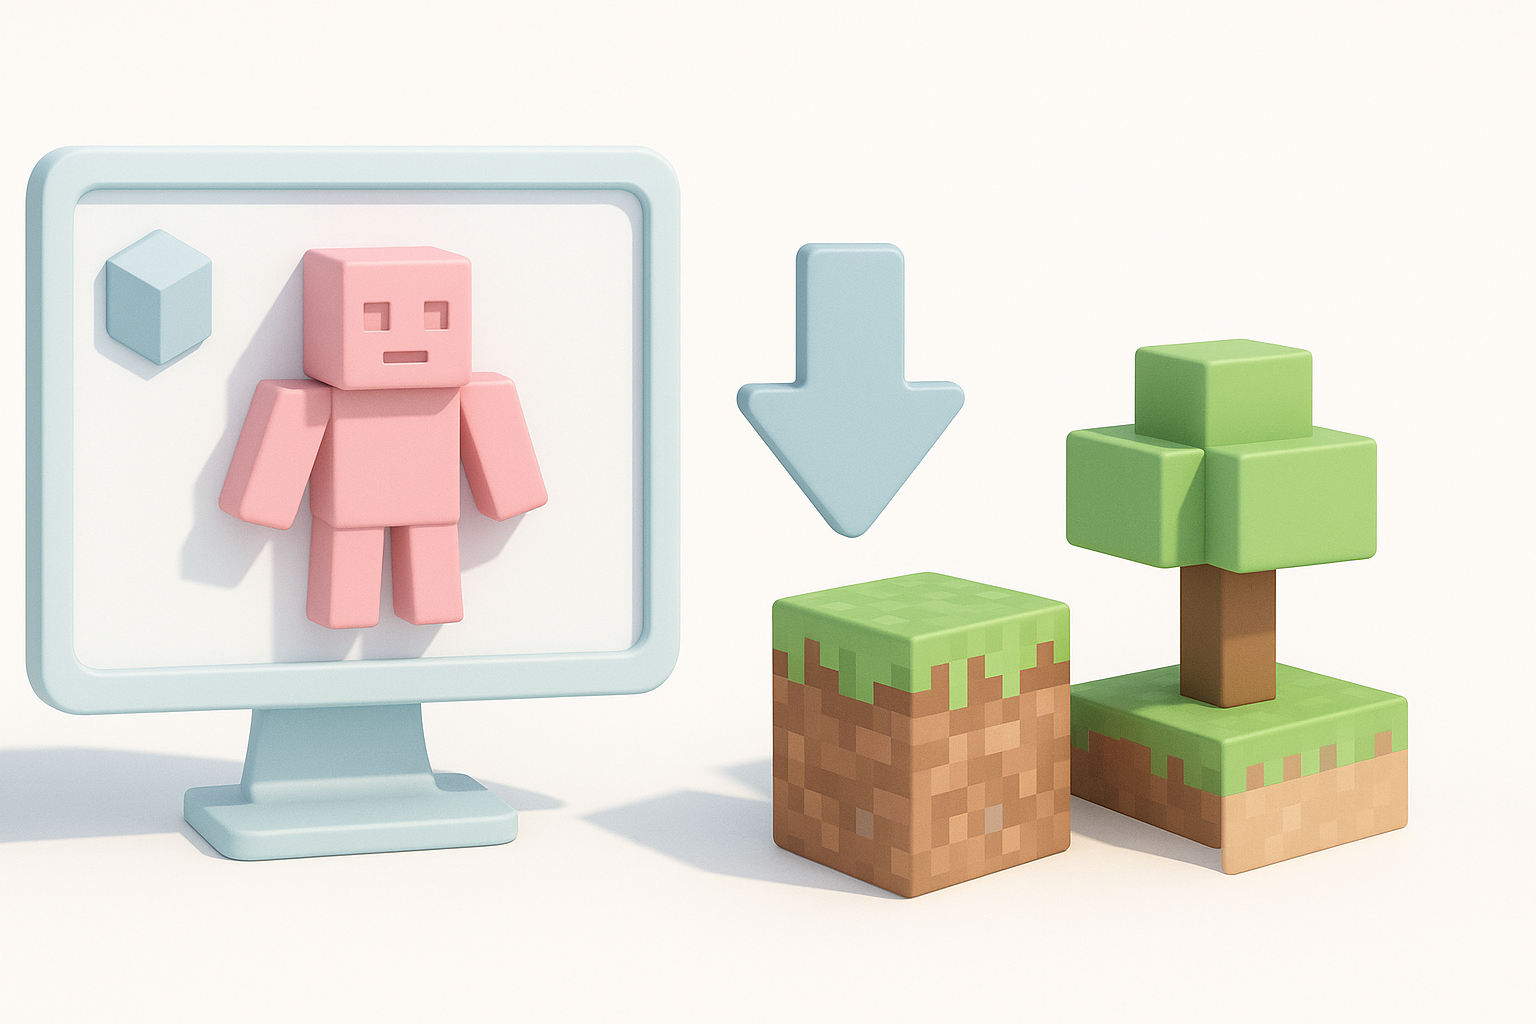
Fallstudie: Mein Workflow mit KI-gestützten 3D-Tools
Wie ich Tripo für die schnelle Modellgenerierung nutze
Mit Tripo kann ich Basismodelle aus Text-Prompts oder Skizzen generieren, die ich dann für Minecraft verfeinere. Ich nutze die Segmentierungs- und Retopologiefunktionen, um die Geometrie schnell zu vereinfachen, und exportiere sie dann als OBJ.
Mein Prozess:
- Modell in Tripo aus einem Prompt oder Bild generieren.
- Integrierte Retopologie für Low-Poly-Ausgabe nutzen.
- Exportieren und für die Minecraft-Vorbereitung in Blockbench laden.
Integration von KI-generierten Assets in Minecraft
Nach dem Export aus Tripo importiere ich die OBJ-Datei in Blockbench, passe die Skalierung an und überprüfe die Texturen. Die KI-generierten Modelle erfordern oft kleinere Anpassungen (z. B. das Neuzuweisen von Texturen oder das Beheben von UVs), aber der Geschwindigkeitsvorteil ist erheblich.
Checkliste:
- Auf zusätzliche Vertices oder versteckte Polygone prüfen.
- Texturausrichtung und -auflösung überprüfen.
- Den Import vor der breiten Nutzung in einer Sandbox-Welt testen.
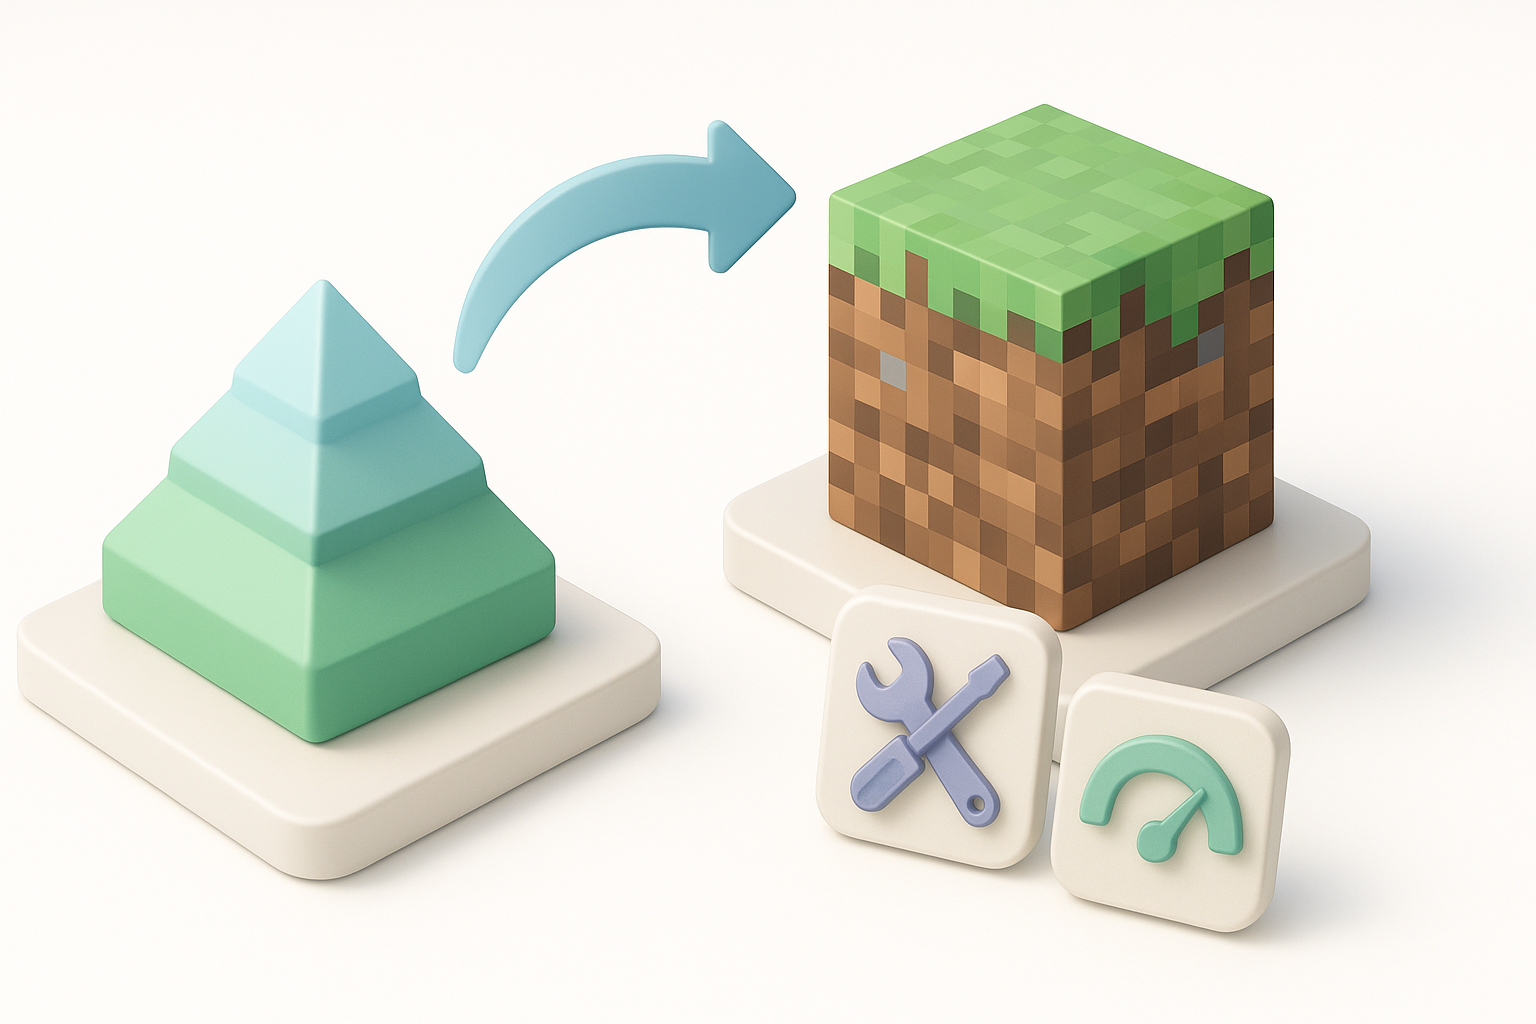
Fehlerbehebung und Optimierungstipps
Behebung häufiger Importfehler
Die meisten Importfehler, die mir auffallen, resultieren aus:
- Fehlende Texturen: Dateipfade und Formate nochmals überprüfen.
- Skalierungsabweichungen: Skalierungstools von Blockbench nutzen.
- Geometriefehler: Erneut aus Tripo oder Blender exportieren und auf saubere Topologie achten.
Schnelle Lösungen:
- Texturen in Blockbench neu zuweisen.
- Die „Clean Up“-Funktionen von Blender für Mesh-Probleme nutzen.
- Modell vereinfachen, falls Ruckler auftreten.
Verbesserung von Performance und visueller Qualität
Um Minecraft flüssig am Laufen zu halten, halte ich Modelle einfach und Texturen klein. Ich teste Modelle auch im Spiel auf Beleuchtungs- und Schattenartefakte.
Performance-Tipps:
- Modellkomplexität begrenzen.
- Mipmaps für Texturen verwenden, sofern unterstützt.
- Transparenz vermeiden, außer wenn notwendig.
Vergleich der Minecraft-Import-Workflows
KI-basierte vs. manuelle Methoden
Meiner Erfahrung nach sind KI-basierte Workflows (wie mit Tripo) viel schneller bei der anfänglichen Modellerstellung und -optimierung. Manuelle Methoden bieten mehr Kontrolle für die Feinabstimmung und benutzerdefinierte Verhaltensweisen, sind jedoch langsamer und fehleranfälliger.
Vergleich:
- KI-basiert: Schnell, ideal für Prototypen, erfordert manuelle Prüfungen.
- Manuell: Präzise, besser für komplexe Mods, erfordert mehr Zeit und Fachwissen.
Den richtigen Ansatz für Ihr Projekt wählen
Für schnelle Bauten oder Prototypen empfehle ich KI-Tools, um Zeit zu sparen. Für ausgereifte Mods oder benutzerdefinierte Mechaniken sind manuelle Workflows (oder ein hybrider Ansatz) am besten.
Entscheidungshilfe:
- Nutzen Sie KI-Tools für Geschwindigkeit und Iteration.
- Wechseln Sie für den Feinschliff oder fortgeschrittene Funktionen zu manuellen Methoden.
- Testen Sie Importe immer im Spiel, bevor Sie sie veröffentlichen oder teilen.
Zusammenfassung:
Das Importieren von 3D-Modellen in Minecraft ist mit dem richtigen Workflow und den passenden Tools einfacher denn je. KI-gestützte Plattformen wie Tripo können die Asset-Erstellung beschleunigen, aber eine sorgfältige Optimierung, Formatkonvertierung und Tests sind der Schlüssel zu erfolgreichen Importen. Mit diesen Schritten kann jeder seine Minecraft-Welten effizient und zuverlässig mit benutzerdefinierten 3D-Modellen erweitern.
