How to Retopo an AI Character Model for Animation

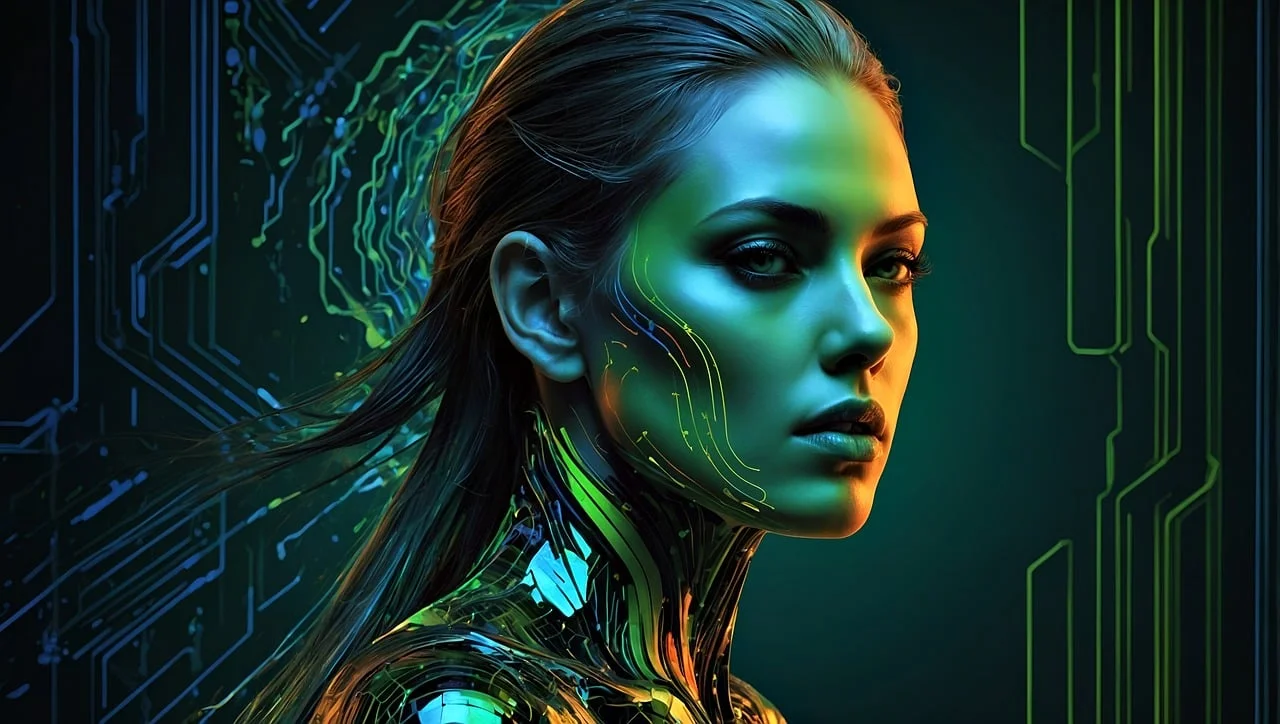
Ever spend hours generating the perfect AI character, only to watch it crumble into a mess of polygons the moment you try to animate it? You're not alone. While ai 3d model generator free generators have revolutionized character creation, they often produce meshes that look great but bend like broken origami. The solution? Retopo AI character model workflows that transform your high-poly masterpiece into an animation-ready asset, especially after using a 2d from image to 3d model process with the best best ai 3d model generator generator.
What is Retopology and Why Your AI Character Needs It
Retopology is the process of rebuilding a 3D model's mesh structure with clean, organized geometry optimized for animation. Think of it as giving your character a proper skeleton beneath its skin. AI-generated models, while visually impressive, typically suffer from:
- Chaotic polygon distribution with no regard for joint deformation
- Excessive polygon counts that slow down animation software
- Missing edge loops around critical areas like elbows, knees, and facial features
- Triangulated meshes that create unpredictable deformations
Without proper retopology, your character might look perfect in a T-pose but transform into a nightmare when you bend its arm. That's where modern AI-driven retopo workflow solutions come in, offering both speed and precision for animation-ready results.
Method 1: Lightning-Fast AI Retopology with Tripo Studio
Why Tripo Studio Changes the Game
Tripo Studio retopology represents a paradigm shift in character optimization. Launched in May 2025 as the world's first AI-native 3D workspace, it transforms the traditionally tedious retopology process into a matter of seconds. Here's what sets it apart:
Step-by-Step Tripo Studio Retopology
Step 1: Import Your AI Character
Navigate to Tripo Studio and upload your high-poly character model. The platform supports all major formats including FBX, OBJ, and GLB from any image to 3D generation source.
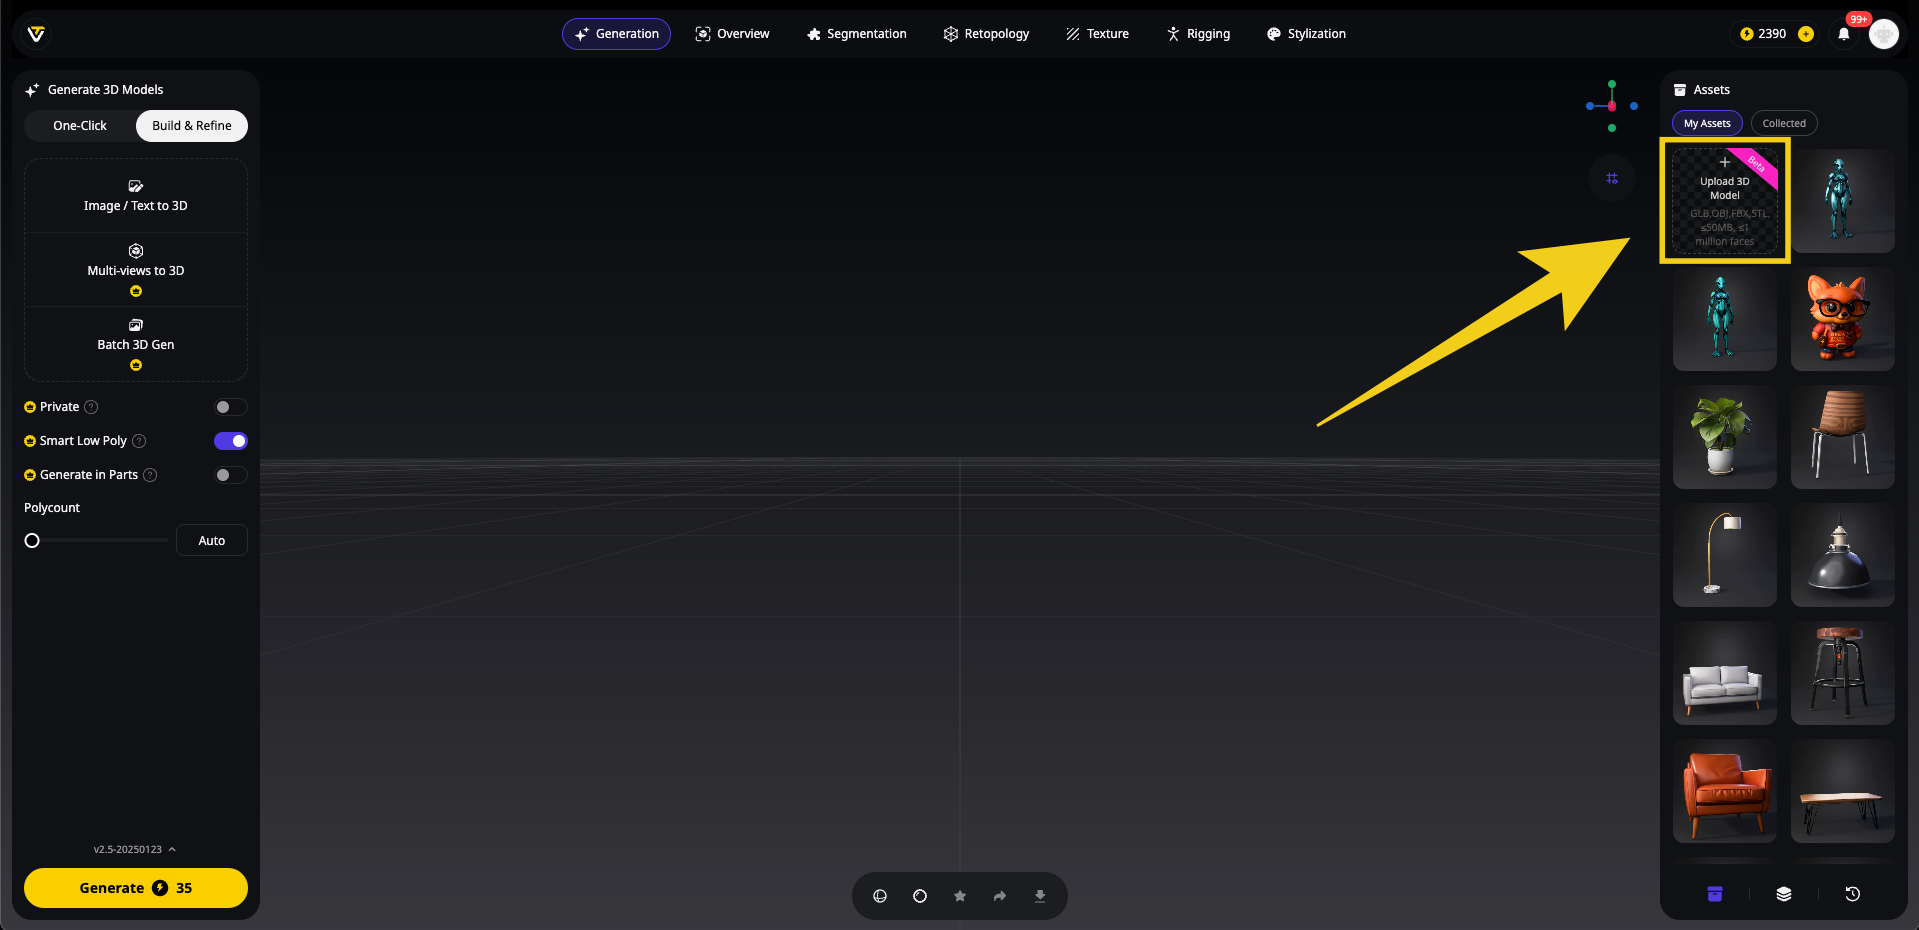
Step 2: Access the Retopology Tab
Click the "Retopology" tab in the left panel. You'll see three main options, with "Smart Low Poly" being Tripo's intelligent optimization feature designed specifically for animation-ready models.
Step 3: Choose Your Retopology Mode
Tripo Studio retopology offers two distinct workflows:
Option A: Smart Low Poly (Enabled)
- Toggle ON for automatic, AI-driven optimization
- Perfect for game assets and real-time applications
- Maximum polycount: 5,000 polygons
- Ideal for mobile games, AR/VR experiences
Option B: Standard Retopology (Smart Low Poly OFF)
- More granular control over polygon distribution
- Maximum polycount: 50,000 polygons
- Suited for high-detail characters in PC/console games or film
Step 4: Configure Topology Settings
- Topology Style: Choose between quads (smooth deformation) or triangles (optimized performance)
- Polycount:
- With Smart Low Poly ON: Slide up to 5,000 polygons or select "Auto" for AI-optimized distribution
- With Smart Low Poly OFF: Slide anywhere from 1,000 to 50,000 polygons based on your project needs
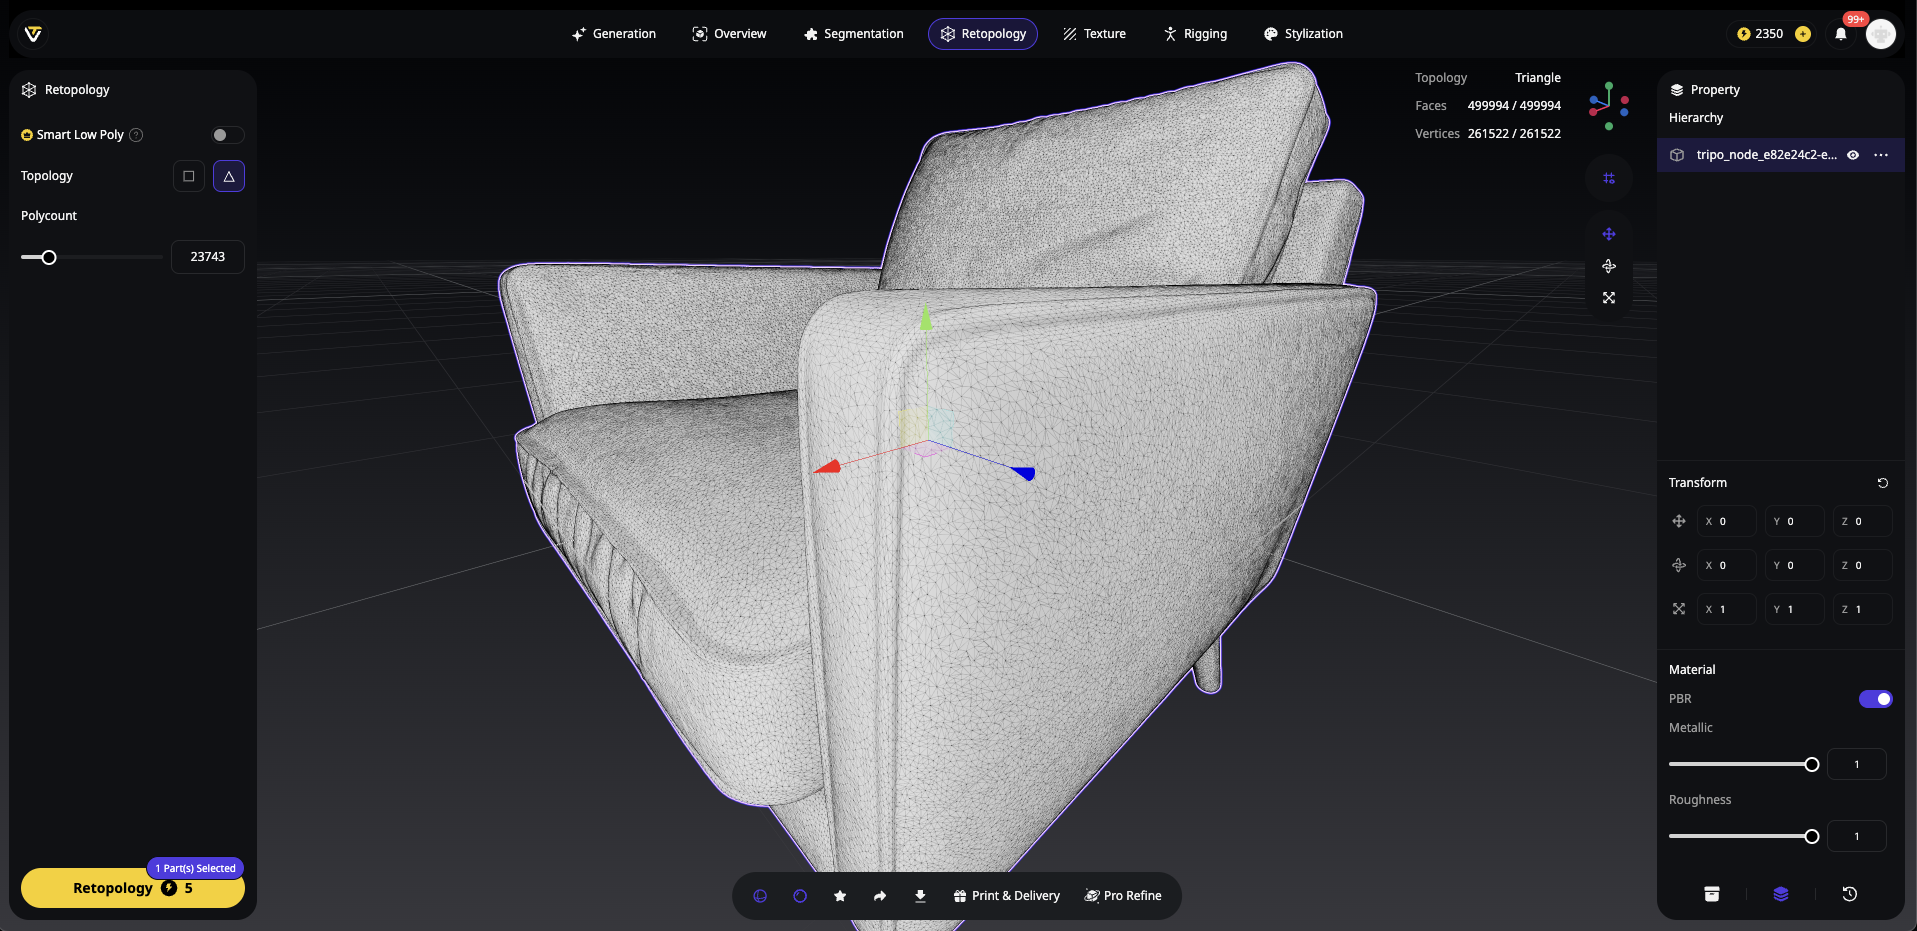
Step 5: Generate and Review
Hit "Retopologize" and watch Algorithm 2.5 work its magic. In 8-10 seconds, you'll have a professionally retopologized model. The Smart Low Poly option ensures optimal edge flow around joints while maintaining the lowest possible polygon count for maximum performance.
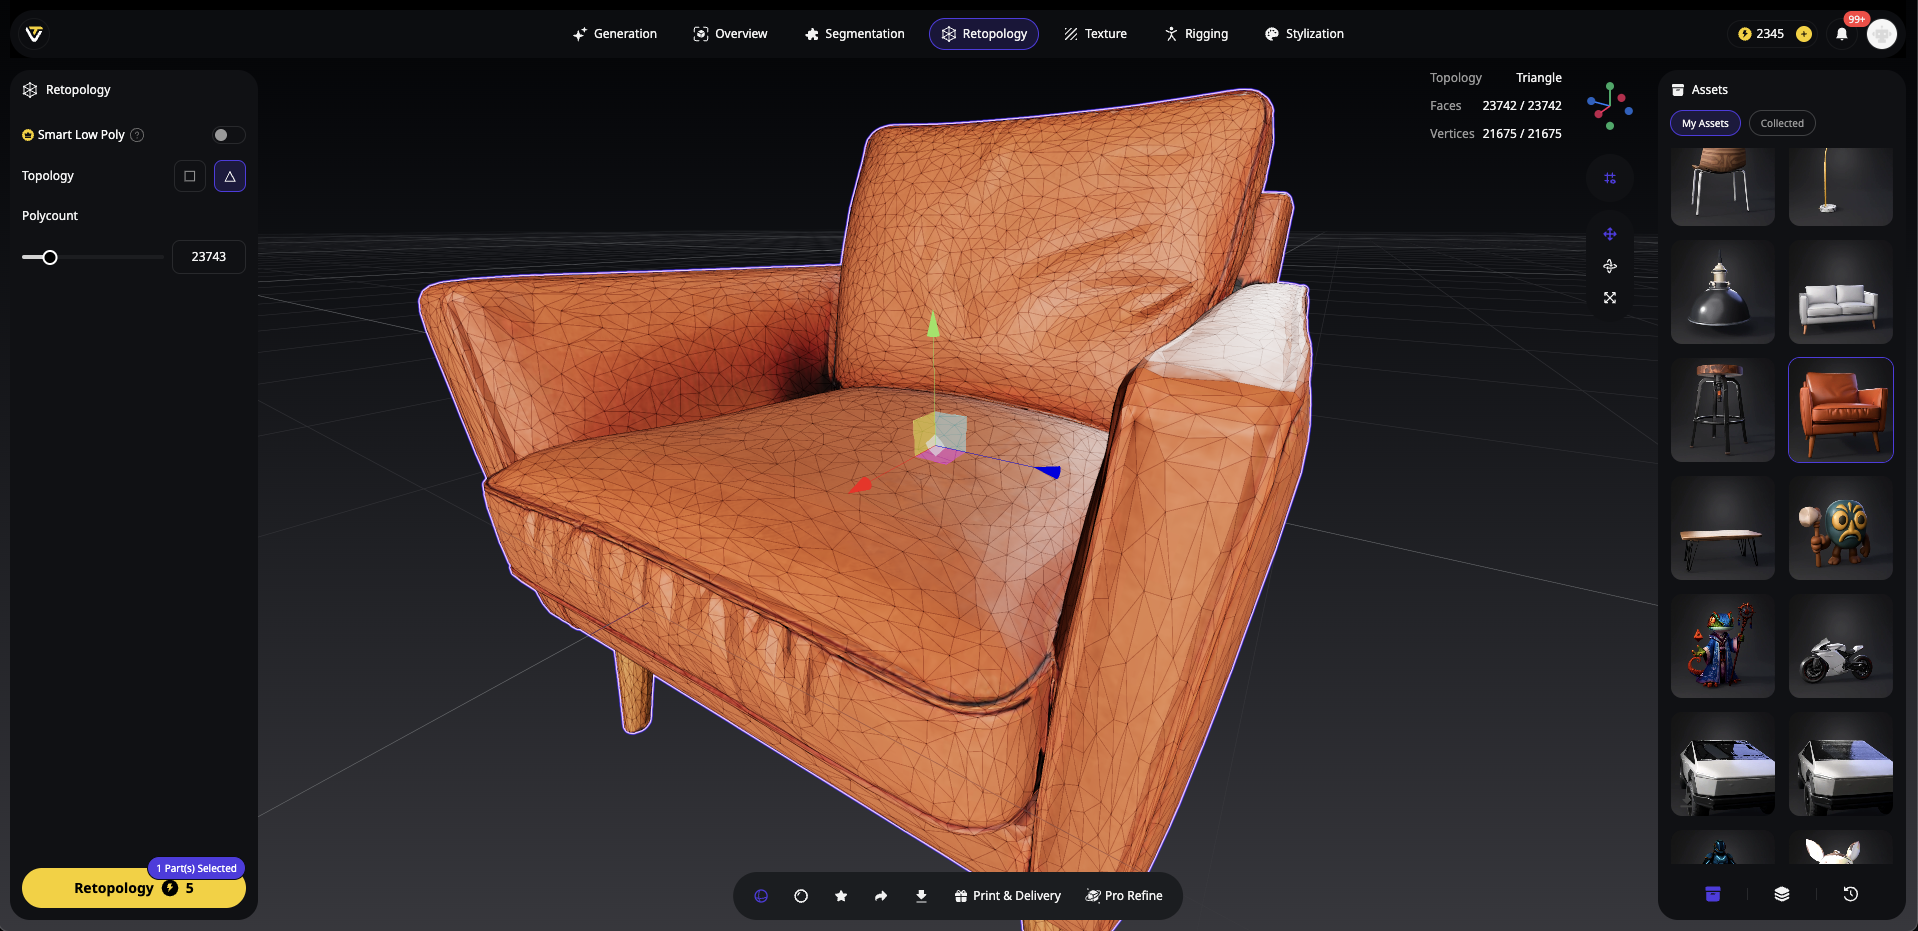
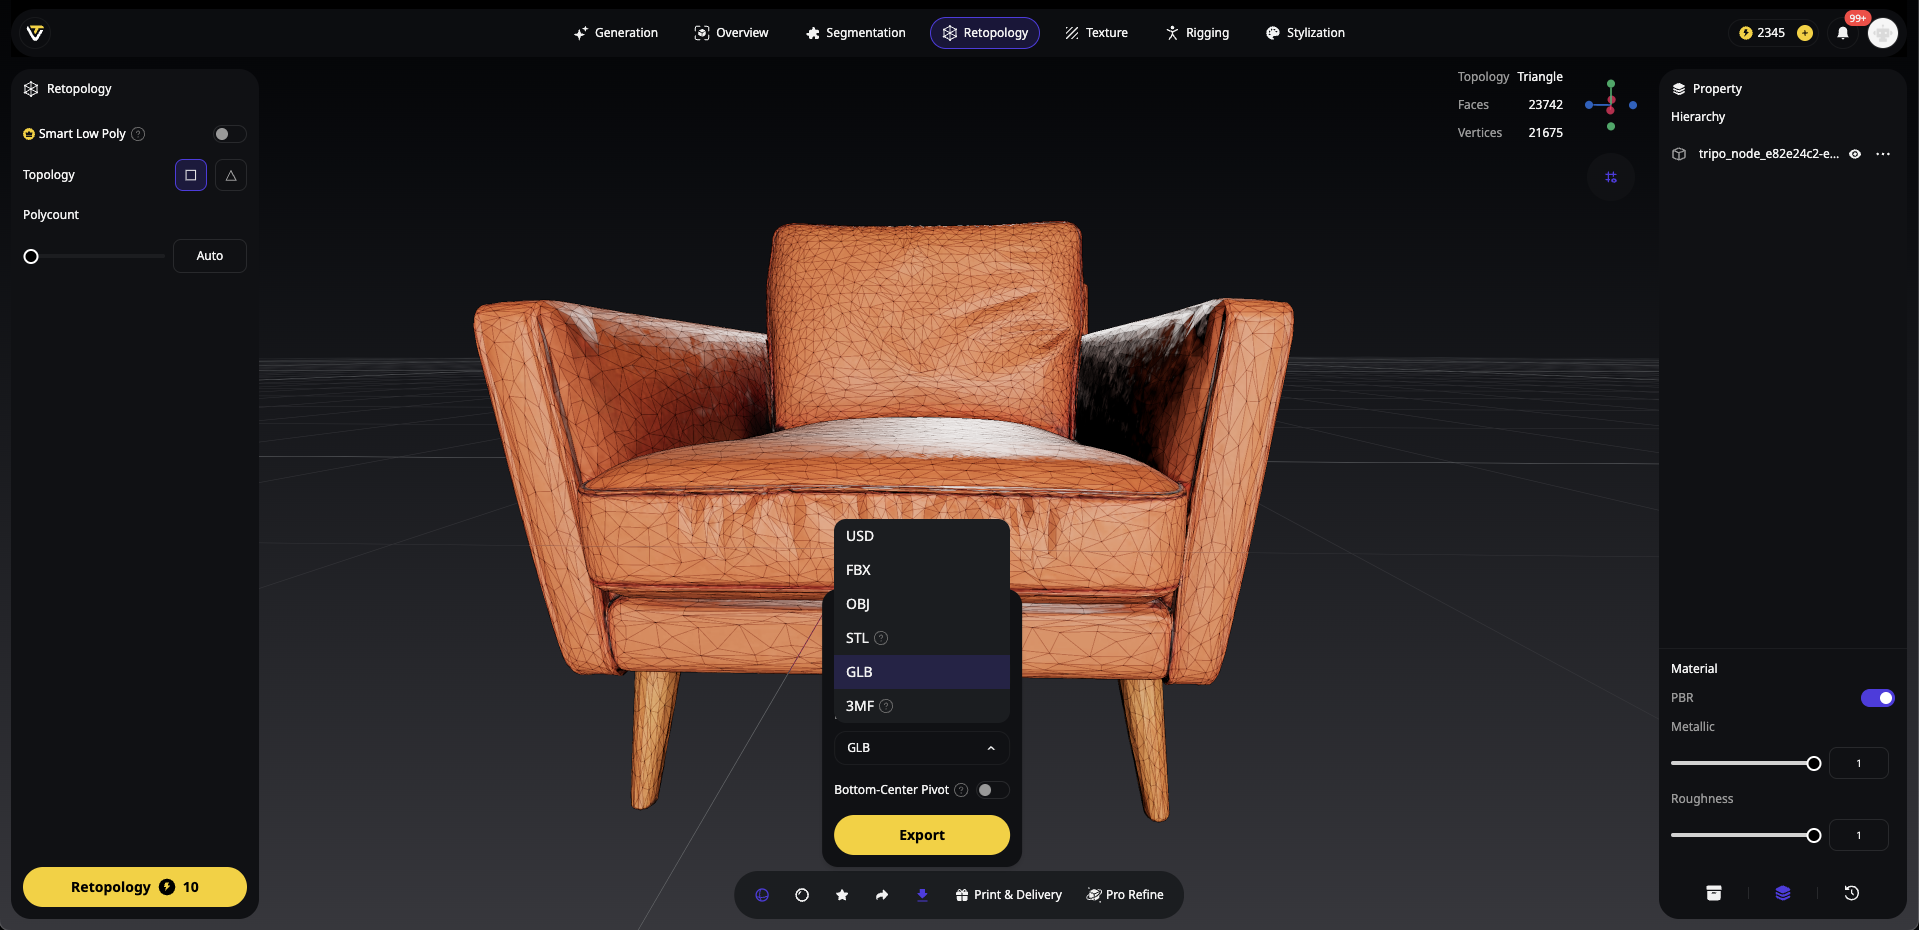
Step 6: Export Animation-Ready Model
Export your optimized character with baked normal maps in your preferred format. The model is now ready for rigging in Maya, Blender, or direct upload to Mixamo.
Advantages of the AI-Driven Approach
Speed: Complete character mesh optimization in under a minute
Consistency: AI ensures even polygon distribution across all deformation areas
Accessibility: No need to master complex retopology tools or techniques
Integration: Direct export to animation pipelines with proper naming conventions
When AI Retopology Falls Short
While Tripo Studio retopology excels for most use cases, some scenarios benefit from manual refinement:
Ultra-specific edge loop requirements for facial animation
Non-standard character proportions or anatomy
Integration with proprietary rigging systems
Method 2: Auto-Retopology with Blender Add-on
Leverage the free Q Remeshify Blender add-on to generate clean, animation-ready topology in seconds.
1. Install Q Remeshify
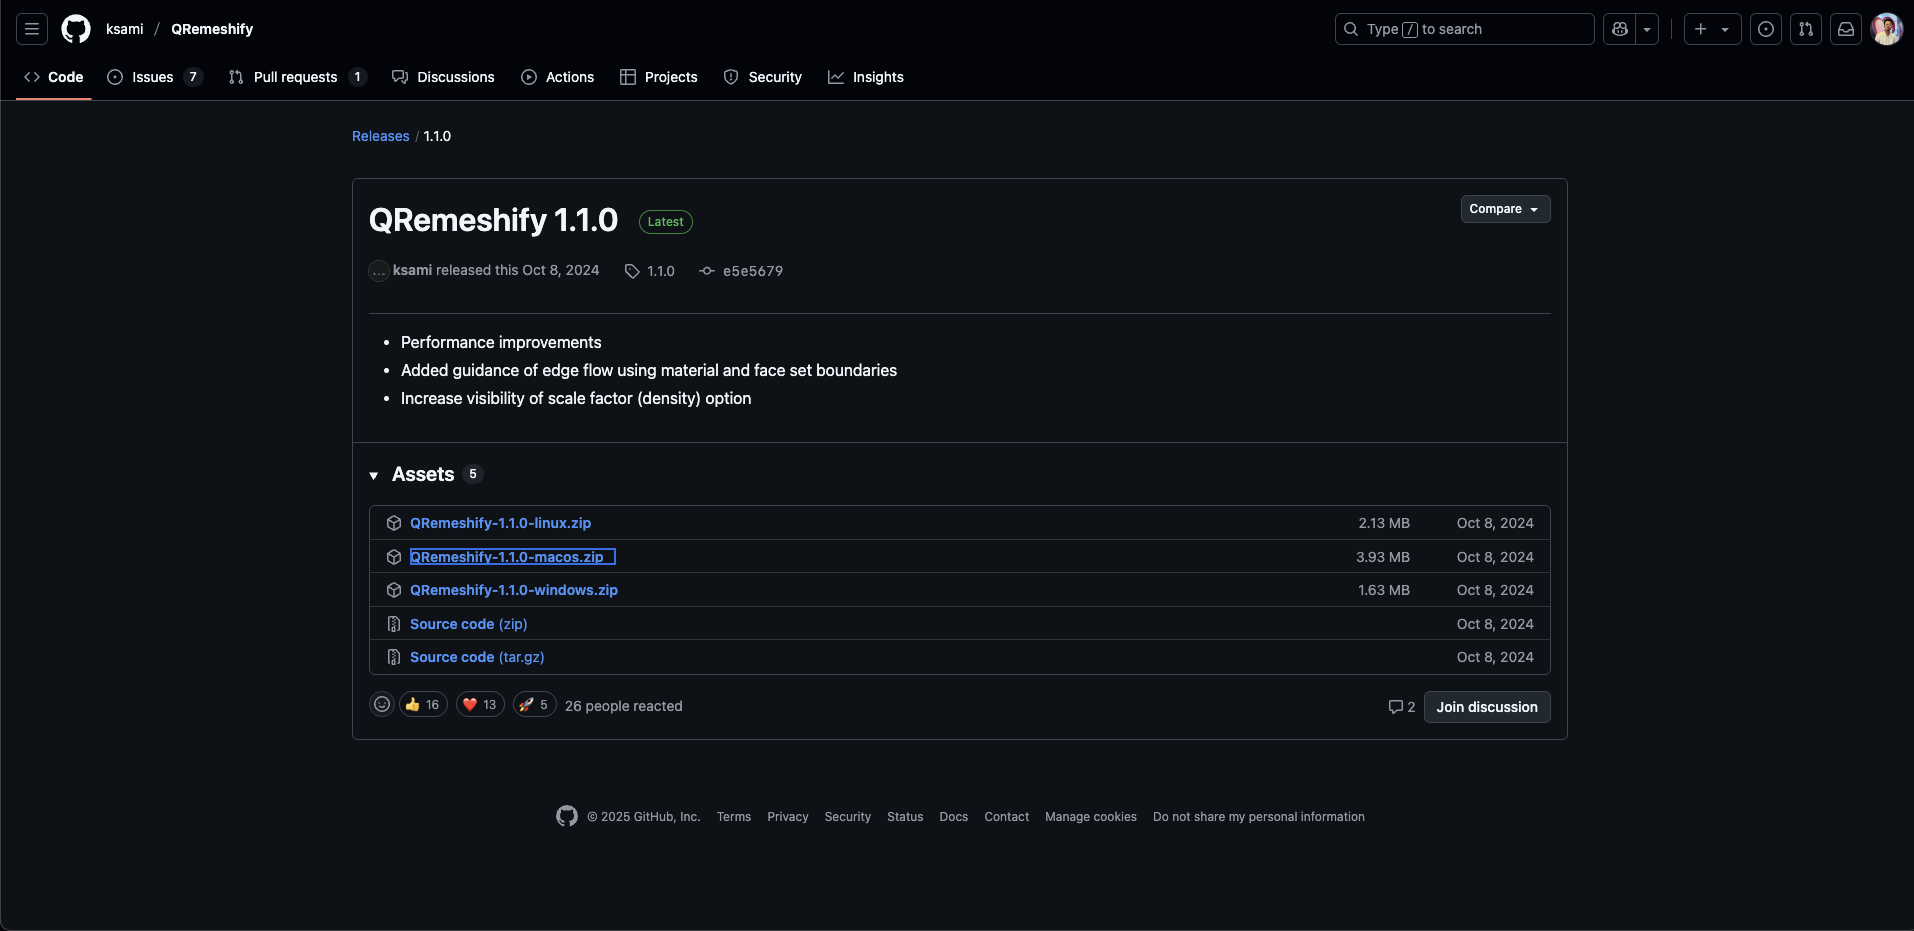
- Download the latest Q Remeshify ZIP from GitHub.
- In Blender, go to Edit → Preferences → Add-ons → Install, select the ZIP, then enable Q Remeshify.
2. Prepare Your High-Poly Sculpt
- Open your sculpted model; ensure it’s a single object with applied transforms (Ctrl A → All Transforms).
3. Configure Add-on Settings
- Open the sidebar (N key) and find Q Remeshify.
- Set Sharp Detect Angle (e.g., 30° for soft forms, 60° for hard edges).
- Enable X Symmetry for mirrored models.
- Adjust Density (start at 2 for moderate detail).
- Leave advanced options at the default.
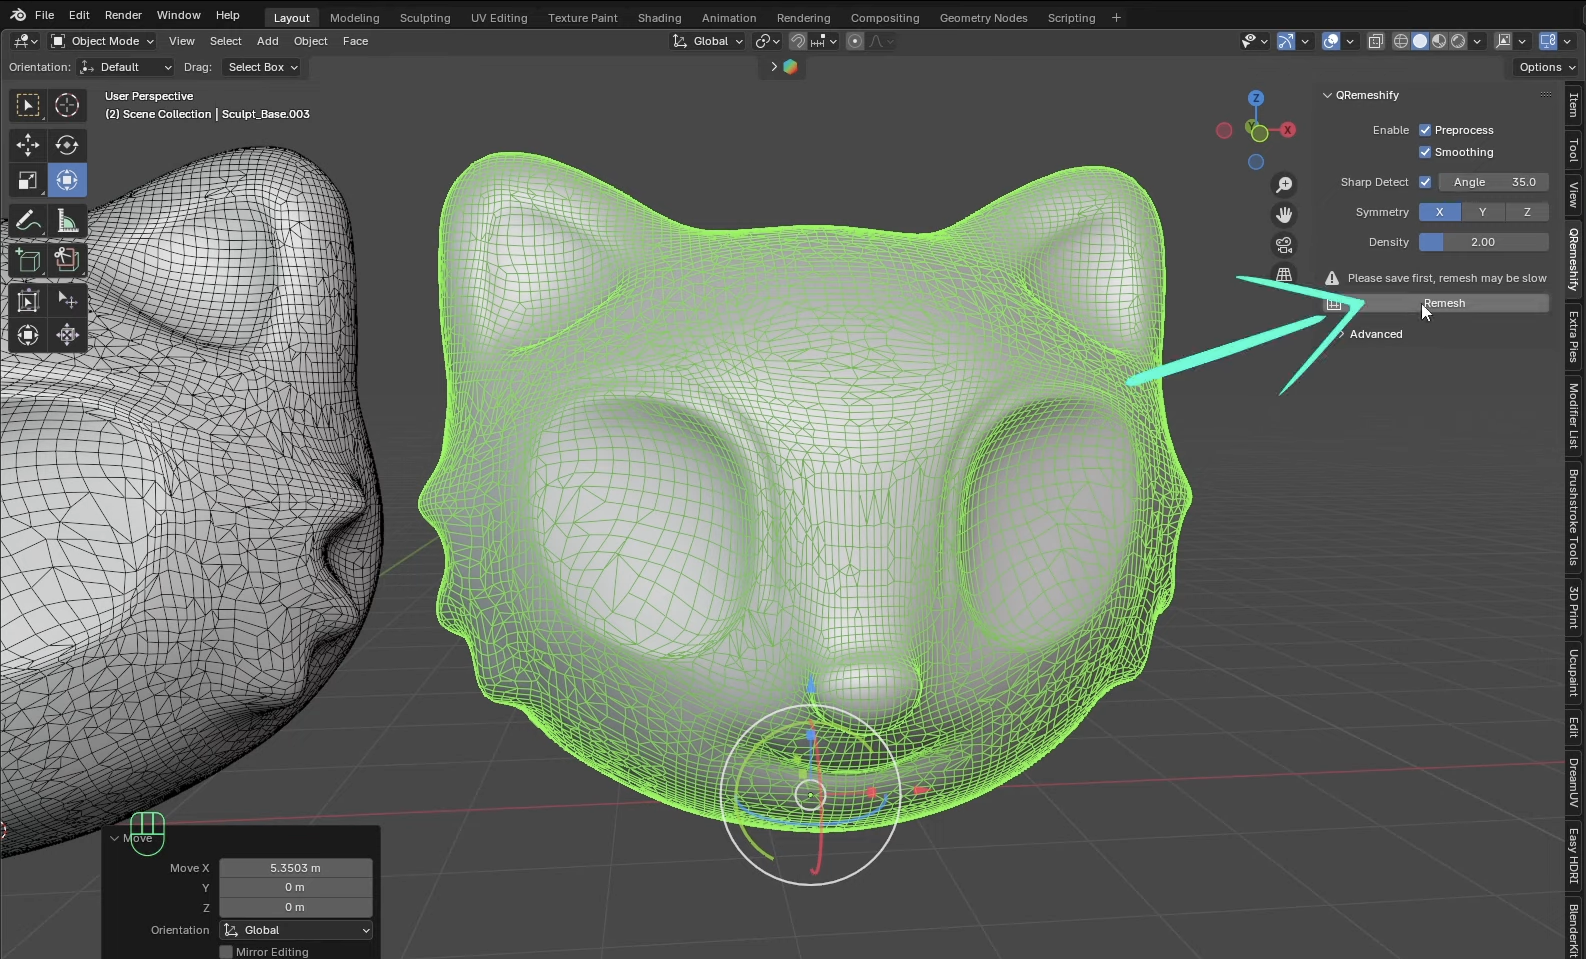
4. Execute Auto-Retopo
- Duplicate the model for before-and-after comparison.
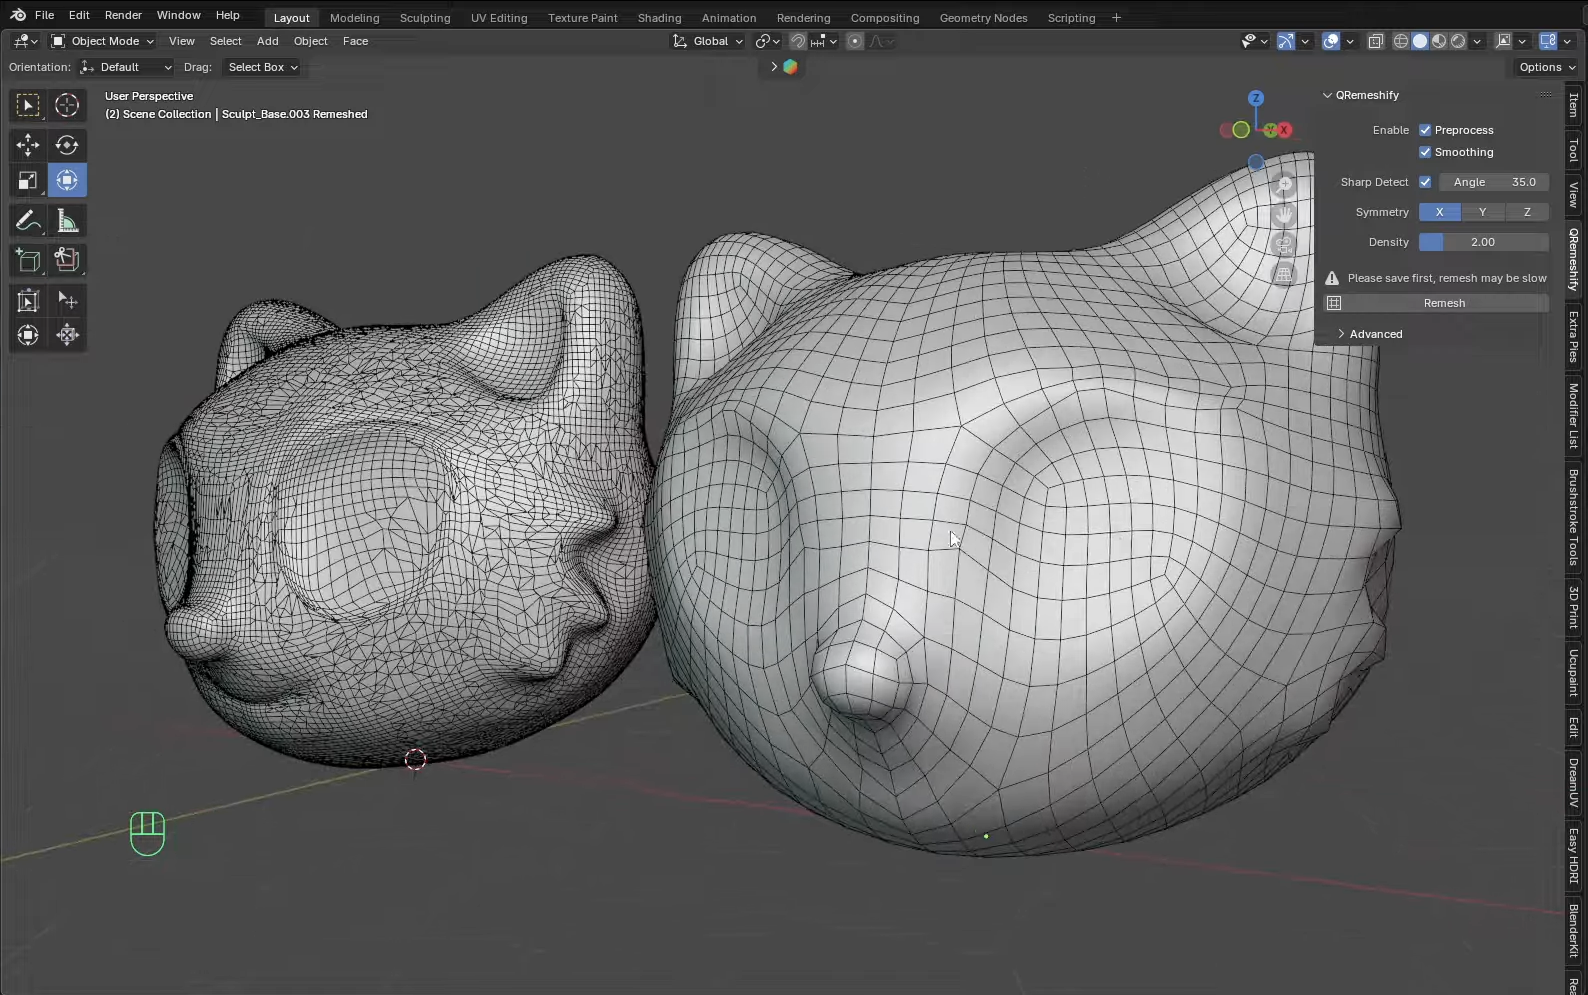
- Select the duplicate and click Remsh.
- Wait for the process to finish; you’ll see a new quad mesh with clean loops.
5. Refine Your Topology
- In Sculpt Mode, use the Relax Light brush (strength 1) to smooth edge flow.
- Apply Shift+Smooth for additional polish.
- If loop placement needs adjustment, tweak Sharp Detect Angle or Density and re-remesh.
6. Compare to Blender’s Built-Ins
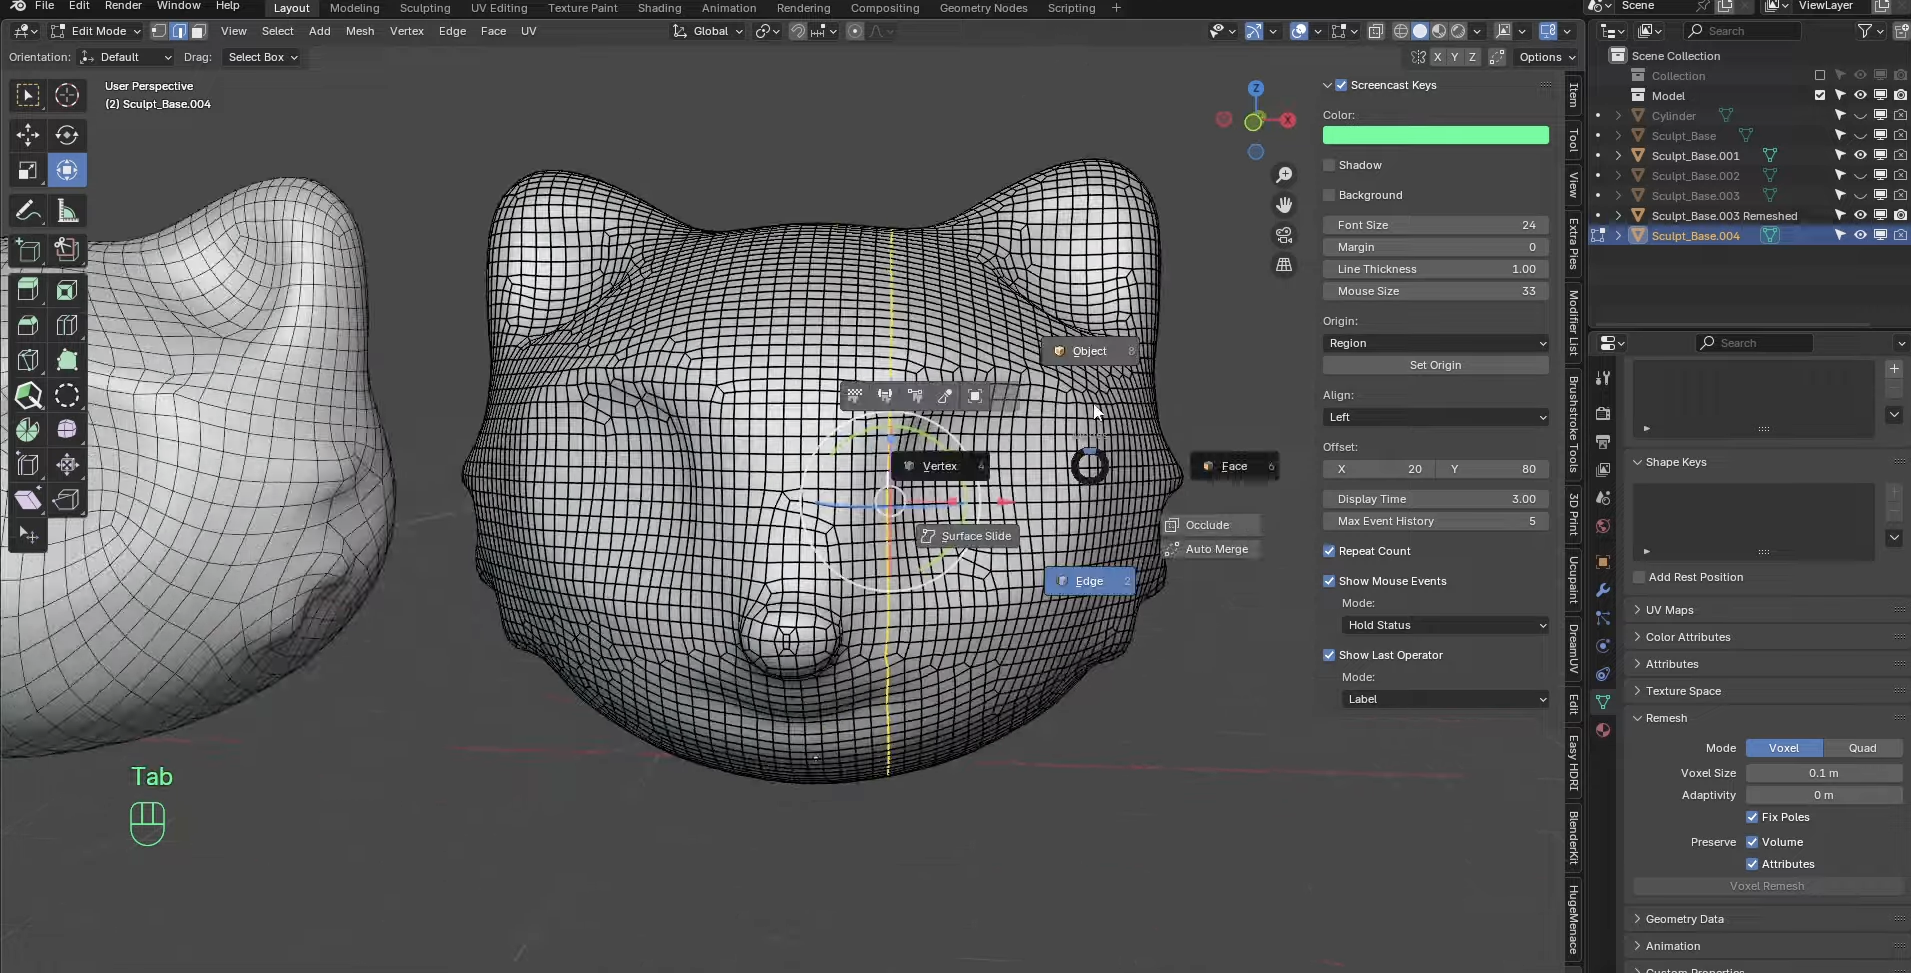
- Voxel Remesh produces uniform grids but lacks deformation-friendly loops.
- Quadriflow Remesh yields quads but often with chaotic loops.
- Q Remeshify excels by creating quad layouts that follow anatomy, ideal for animation and baking.
7. Pro Tips
- Mark Sharp Edges (Ctrl E → Mark Sharp) beforehand to preserve defined creases.
- For complex shapes, apply a Sharp Remesh Modifier set to “Sharp” before running Q Remeshify.
- After remeshing, use a Subdivision Surface (viewport level 1) to preview deformations.
- Always inspect in Edit Mode by selecting loops around joints to ensure continuous flow.
This add-on cuts traditional retopology time dramatically, giving you an optimized, deformation-ready mesh with minimal manual effort.
Building Animation-Ready Topology
Critical Edge Loop Placement:
- Shoulders: 3 concentric loops for full rotation range
- Elbows/Knees: 5 loops with denser concentration at bend points
- Facial Features: Circular loops around eyes and mouth for expressions
- Spine: Vertical loops following natural curvature
Pro Tips for Clean Flow:
- Maintain quad-based geometry (4-sided polygons)
- Keep polygon size consistent across deformation areas
- Add supporting loops 1-2 edges away from main joints
- Test deformation with temporary armatures
Hybrid Workflow: Best of Both Worlds
The most efficient animation-ready topology often combines both methods:
- Use Tripo Studio retopology for initial optimization
- Export to Blender/Maya for targeted manual refinement
- Focus manual work only on problem areas identified during test poses
This approach typically reduces total retopology time from 6 hours to under 45 minutes while maintaining professional quality.
Best Practices for Animation-Ready Character Models
Polygon Budget Guidelines
Edge Flow Principles
Follow Muscle Groups: Edge loops should mimic underlying anatomy
- Circular loops around joints
- Longitudinal loops along limbs
- Radial loops from joints to extremities
Density Distribution:
- High density: Joint areas, facial features
- Medium density: Large muscle groups
- Low density: Static areas like back of head
Testing Your Retopology
Before finalizing, stress-test your retopo AI character model:
- Extreme Poses: Bend joints to maximum angles
- Facial Expressions: If applicable, test all blend shapes
- Cloth Simulation: Ensure topology supports clothing dynamics
- Performance Check: Monitor frame rates in target engine
Common Retopology Mistakes to Avoid
- Ignoring Joint Loops: Causes "candy wrapper" effect during rotation
- Uneven Distribution: Creates stretching artifacts
- Triangle Clusters: Unpredictable deformation in animated areas
- Spiral Topology: Causes twisting during limb rotation
- Insufficient Resolution: Loss of important character details
Integrating Retopologized Models into Production
Rigging Preparation
Your animation-ready topology should include:
- Consistent naming convention (L_arm_01, R_leg_02)
- Separated mesh parts for modular rigging
- Clean UV maps for texture application
- Vertex groups for weight painting
Export Settings for Major Platforms
Unity:
- Format: FBX 2020
- Scale: 1 unit = 1 meter
- Smoothing: Import normals
Unreal Engine:
- Format: FBX or GLTF 2.0
- Tangent Space: MikkTSpace
- LODs: Auto-generate from base mesh
The Future of AI-Powered Retopology
As AI 3D model generators evolve, we're seeing revolutionary developments:
- Predictive Topology: AI anticipating animation needs during initial generation
- Real-time Optimization: Dynamic retopology adjusting to animation requirements
- Style-Specific Presets: Automatic topology for different animation styles
Tripo Studio leads this innovation with Algorithm 2.5, which already incorporates animation-aware mesh generation, reducing the need for extensive retopology.
Conclusion: Choose Your Retopology Path
Whether you leverage Tripo Studio retopology for instant results or dive into manual refinement for ultimate control, the key is understanding your project's needs. For 90% of character animation projects, the AI-driven retopo workflow delivers professional results in a fraction of the time.
The days of spending entire weekends retopologizing a single character are over. With tools like Tripo Studio, you can focus on what matters most – bringing your characters to life through animation.
Ready to revolutionize your character pipeline? Experience the future of character mesh optimization with Tripo Studio today. Join over 2 million creators who've already discovered how AI transforms tedious technical work into creative possibilities!
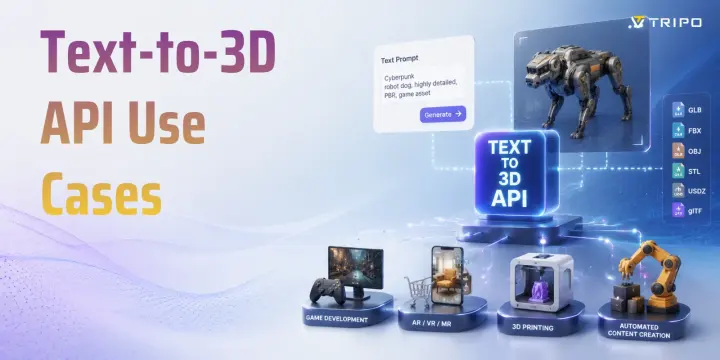
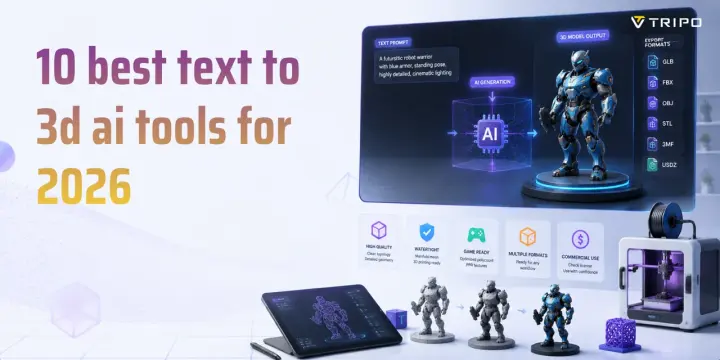
You May Also Like: More About Image to 3D Model
Master the art of AI-generated 3D models with Tripo3D. This guide provides step-by-step instructions on setup, model exporting, and troubleshooting, helping you streamline and enhance your 3D workflow.
Discover how Tripo, the AI-driven 3D model generator, transforms your photos into highly detailed 3D models effortlessly.
Explore how AI technology transforms a simple image into a detailed 3D model. Learn about the tools, techniques, and industries that benefit from this fascinating process.