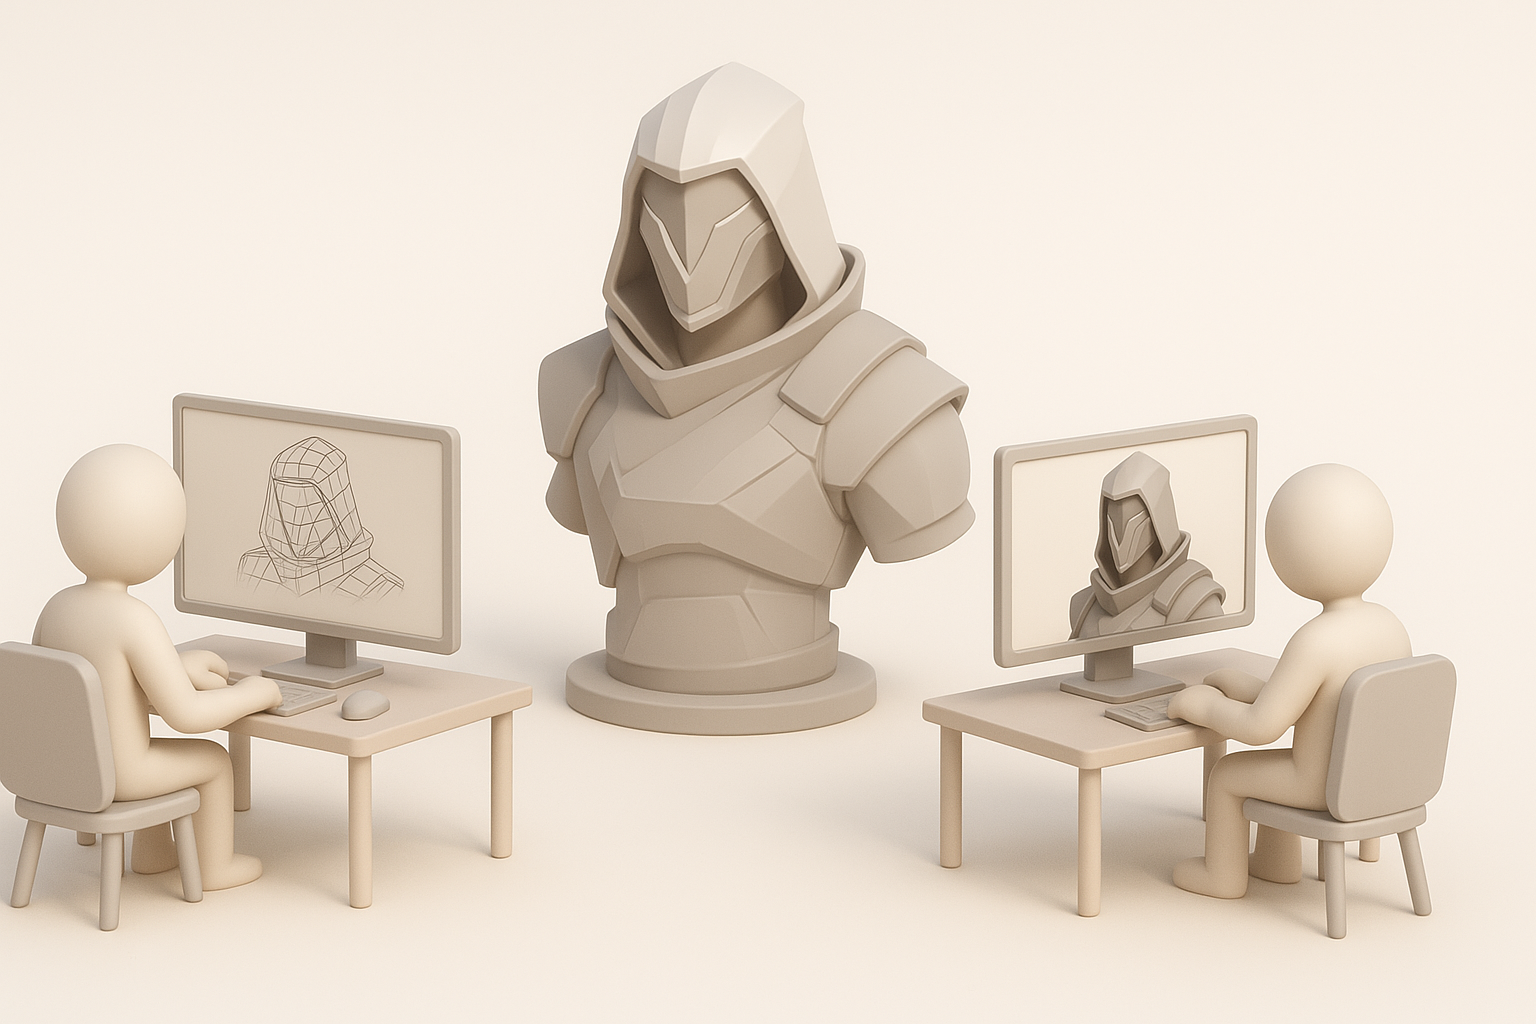
Creating Valorant 3D Models: Expert Workflow & Best Practices
Creating Valorant-style 3D models is all about combining stylized design with technical precision. In my experience, the fastest route to production-ready assets is a hybrid workflow—leveraging AI-powered tools for speed, while applying manual polish for quality. This guide breaks down my expert process: reference gathering, efficient modeling, smart topology, and using tools like Tripo AI to streamline everything from texturing to animation. Whether you’re building for games, XR, or cinematic projects, these best practices will help you create assets that are both visually striking and engine-ready.
Key takeaways:
- Start with strong references and a clear plan to match Valorant’s stylized look.
- Use AI-driven platforms like Tripo AI to accelerate modeling and texturing.
- Optimize topology and UVs for smooth engine integration and performance.
- Manual touch-ups remain essential for polish and style fidelity.
- Export, rig, and animate with game engine requirements in mind.
- Troubleshoot common issues early to avoid downstream headaches.
Overview: Valorant 3D Models and Their Uses
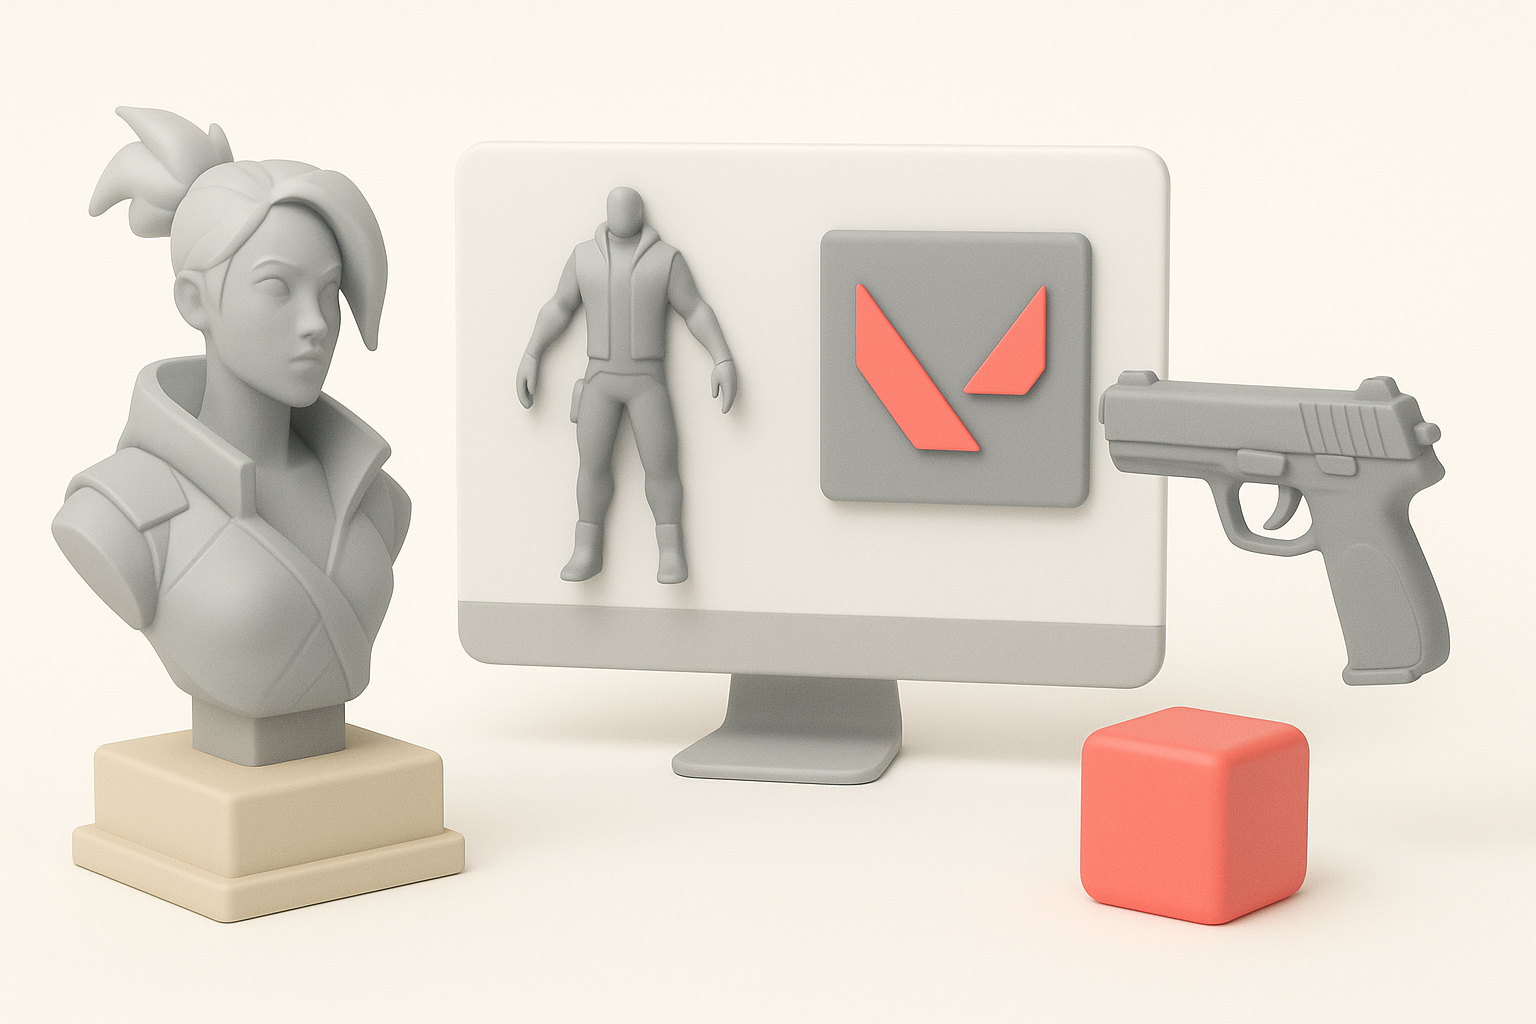
What Makes Valorant Models Unique
Valorant’s art direction blends stylized realism with bold shapes and clean silhouettes. In my workflow, I prioritize exaggerated proportions, clear color blocking, and minimal surface noise. The key is to capture personality and readability from a distance, which is crucial for competitive gameplay.
Checklist for Valorant style:
- Strong silhouettes
- Simplified, readable textures
- Distinct color palettes and material separation
Common Applications in Games and XR
I’ve used Valorant-style models in multiple contexts: FPS games, VR/AR prototypes, and cinematic shorts. Their clarity and optimized geometry make them ideal for real-time applications, where performance and visual feedback are critical.
Typical use cases:
- Playable characters and weapons in games
- Cinematic renders for marketing
- XR avatars and interactive experiences
My Step-by-Step Workflow for Valorant 3D Model Creation
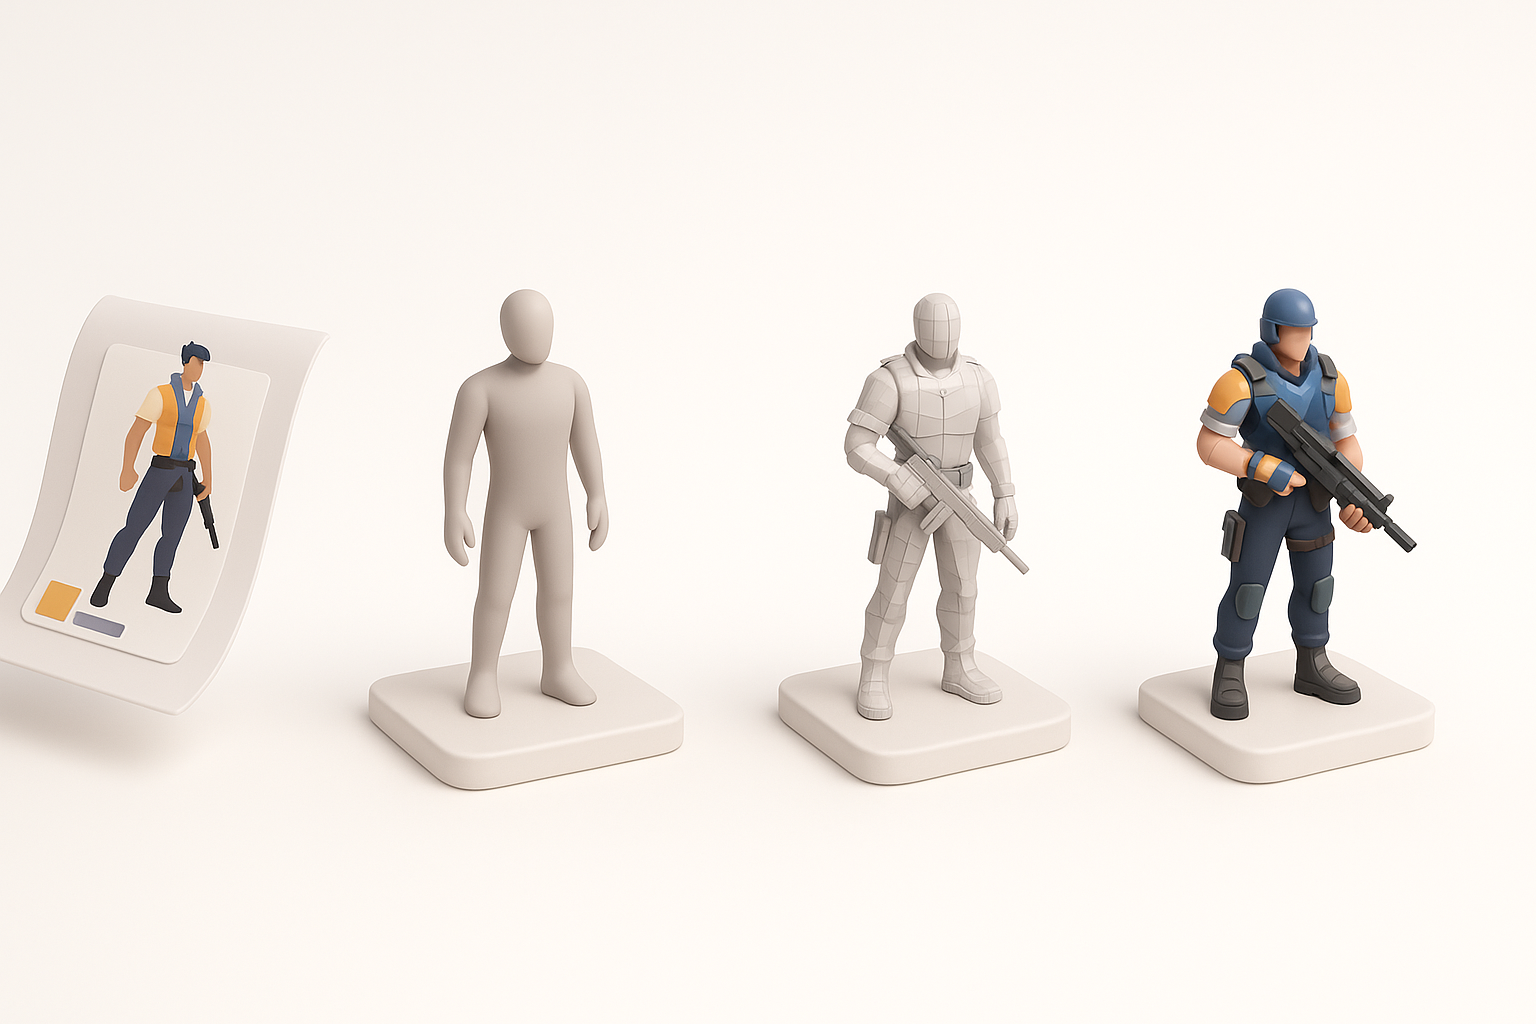
Gathering References and Planning
I always begin with a thorough reference board—official art, fan concepts, and in-game screenshots. This helps me lock down proportions, surface details, and color schemes before modeling.
My planning steps:
- Collect reference images (front, side, back).
- Annotate key features and color zones.
- Sketch rough silhouettes or blockouts.
Choosing the Right Tools and Platforms
For Valorant assets, I combine DCCs (like Blender or Maya) with AI-powered tools such as Tripo AI. The latter accelerates base mesh creation, segmentation, and even auto-texturing, which lets me focus on higher-level design.
Tool selection tips:
- Use AI tools for rapid prototyping and base mesh generation.
- Switch to manual tools for sculpting and detail work.
- Ensure your pipeline supports common export formats (FBX, OBJ).
Best Practices for High-Quality Valorant 3D Assets
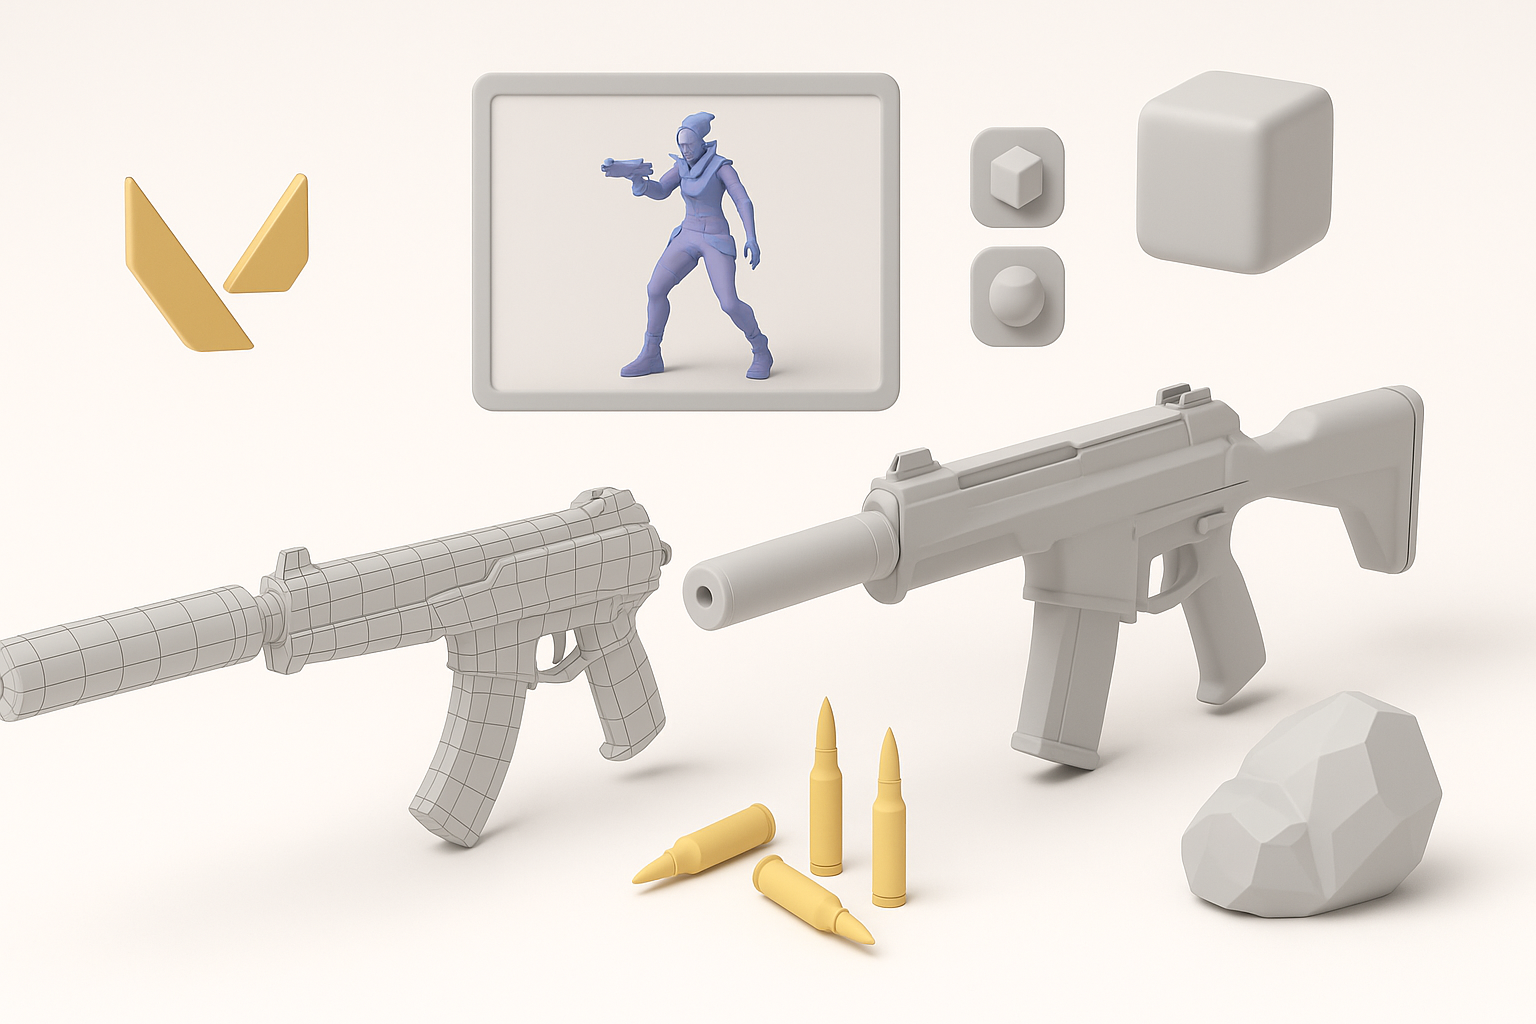
Optimizing Topology and UVs
Clean topology is non-negotiable for animation and real-time use. I typically use quad-based meshes, with edge loops supporting deformation areas (like joints). Tripo AI’s auto-retopology gives me a solid starting point, but I always inspect and tweak manually.
Optimization checklist:
- Keep polycount within engine budgets.
- Lay out UVs with minimal seams and efficient packing.
- Bake normal maps for detail without excess geometry.
Texturing and Material Tips
Valorant assets rely on hand-painted or stylized PBR textures. I use AI-assisted texture generation for base passes, then refine in Substance Painter or Photoshop to ensure color accuracy and material separation.
Texturing best practices:
- Block in flat colors first, then add gradients and subtle wear.
- Use masks for clean material transitions.
- Preview in engine to catch lighting or color issues early.
Streamlining Production with AI-Powered Tools

How I Integrate AI in My Workflow
I use AI tools like Tripo AI for fast prototyping—generating base meshes from sketches or text prompts, segmenting parts, and auto-UV unwrapping. This shaves hours off the early stages, especially for iterative design.
Integration steps:
- Feed sketches or descriptions into the AI platform.
- Review and edit the generated mesh for style fidelity.
- Export to DCC for further refinement.
Benefits and Limitations of AI-Driven 3D Creation
The main advantage is speed—AI tools handle repetitive tasks and let me iterate quickly. However, I’ve found they sometimes miss subtle style cues or over-simplify complex forms. Manual intervention is still required for hero assets.
Pitfalls to avoid:
- Over-reliance on auto-generated results
- Skipping manual cleanup (topology, UVs)
- Ignoring style consistency with the Valorant universe
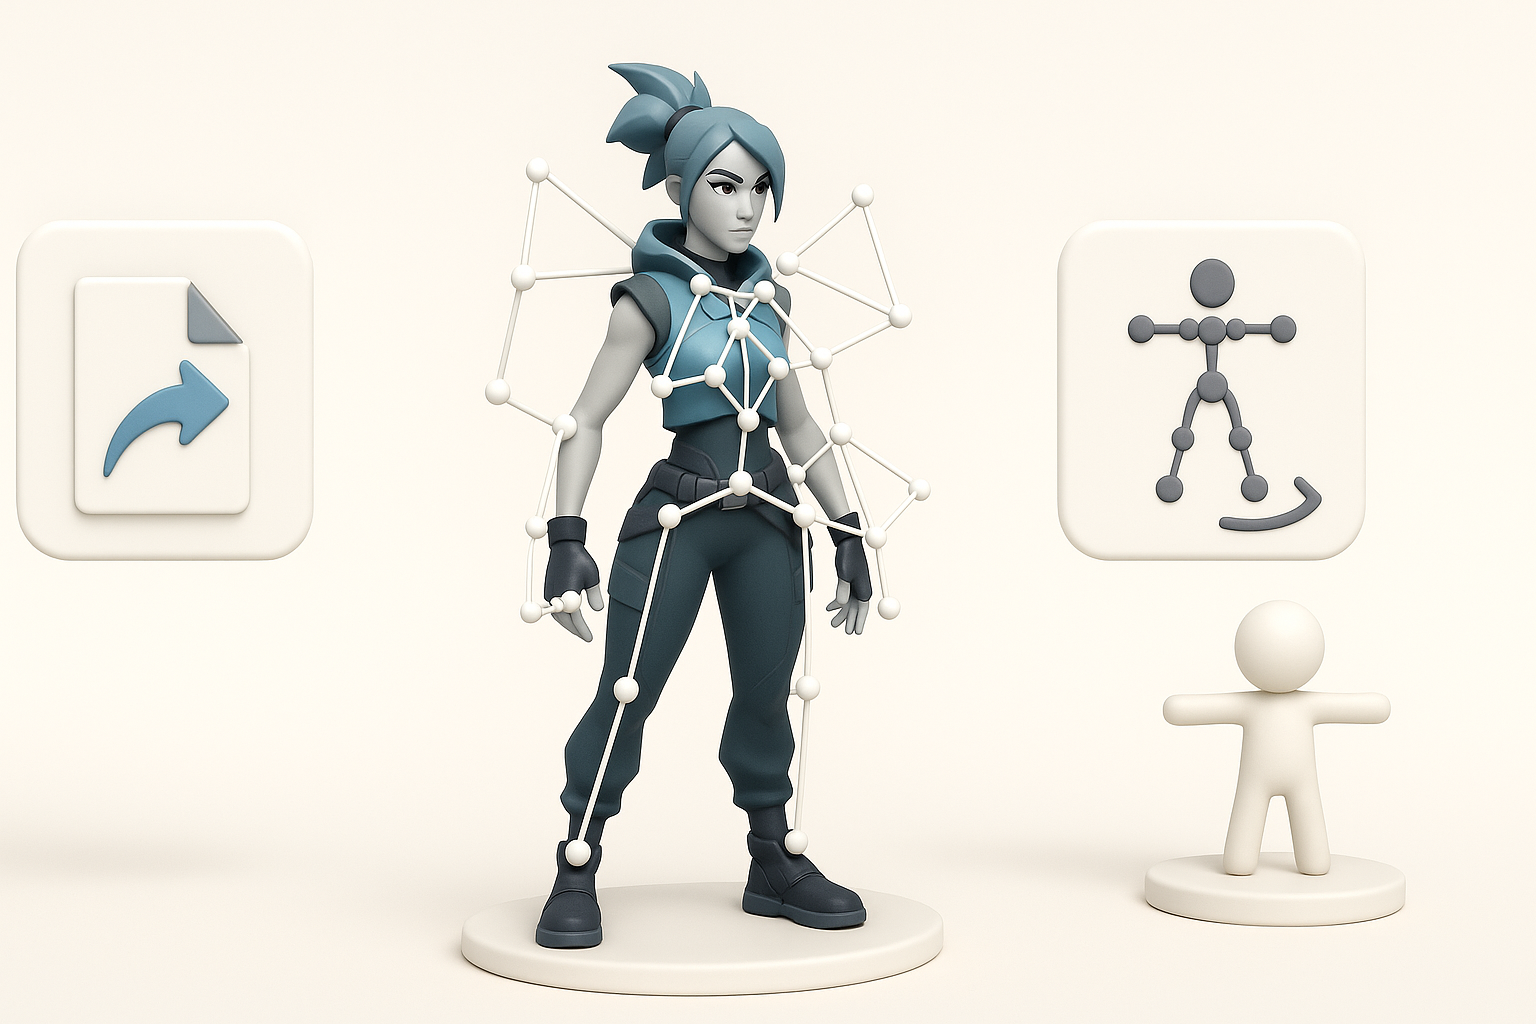
Exporting, Rigging, and Animating Valorant Models
Preparing Models for Game Engines
I always check scale, orientation, and naming conventions before export. Tripo AI’s export presets help ensure compatibility, but I verify everything in the target engine (e.g., Unreal or Unity).
Export checklist:
- Apply transformations (scale, rotation).
- Check material assignments and texture paths.
- Test import in-engine for errors.
Rigging and Animation Essentials
For rigging, I use auto-rigging tools for bipedal characters, then manually adjust weights for clean deformations. Animation cycles (idle, run, shoot) must be snappy and readable, matching Valorant’s style.
Rigging tips:
- Place joints for natural movement.
- Test with simple animations before finalizing.
- Use animation blueprints for modularity in-engine.
Comparing Manual and AI-Assisted Valorant 3D Modeling
Speed and Quality Differences
AI tools drastically cut down initial modeling and texturing time—what used to take hours can now be done in minutes. However, manually crafted assets still win on nuance and polish, especially for signature characters or weapons.
When to use which:
- AI for rapid prototyping, background props, or quick iterations.
- Manual for hero assets, animation-critical models, or final passes.
When to Use Each Approach
I typically blend both: start with AI for speed, then refine manually for quality. This hybrid approach delivers the best of both worlds—fast iteration without sacrificing style or technical standards.
Troubleshooting and Lessons Learned
Common Challenges I’ve Faced
- Inconsistent style: AI tools sometimes drift from the intended look.
- Topology issues: Auto-generated meshes may have stray triangles or poor edge flow.
- Export errors: Mismatched scales or missing textures.
My Solutions and Pro Tips
- Always review and touch up AI-generated results.
- Maintain a reference board for style checkpoints.
- Build a QA checklist for exports (naming, scale, textures).
- Use version control to track changes and revert if needed.
By integrating AI tools like Tripo AI with manual artistry, I’ve consistently delivered high-quality Valorant-style 3D assets—fast and reliably. Stick to these best practices, and you’ll avoid common pitfalls while maximizing both creativity and efficiency.