Creating and Using Team Fortress 2 3D Models: Expert Workflow
Working with Team Fortress 2 (TF2) 3D models has become a staple in my pipeline for game mods, fan animations, and asset prototyping. Over the years, I’ve refined a workflow that balances quality, efficiency, and legal safety—whether I’m sourcing existing models, optimizing meshes, or leveraging AI tools for rapid iteration. This guide distills my hands-on process, highlighting best practices for preparing, editing, and animating TF2 models, and when to use AI-assisted methods to accelerate production. If you’re a 3D artist, game developer, or hobbyist aiming for professional results with TF2 assets, this article is for you.
Key Takeaways
- Reliable sourcing and legal awareness are crucial when working with TF2 models.
- Mesh cleanup, retopology, and UV mapping are essential for quality and performance.
- AI platforms can dramatically speed up prototyping and asset creation.
- Manual workflows offer more control, while AI tools excel in rapid iteration.
- Proper export settings and collaboration platforms streamline sharing and teamwork.
Overview of Team Fortress 2 3D Models
What Makes TF2 Models Unique
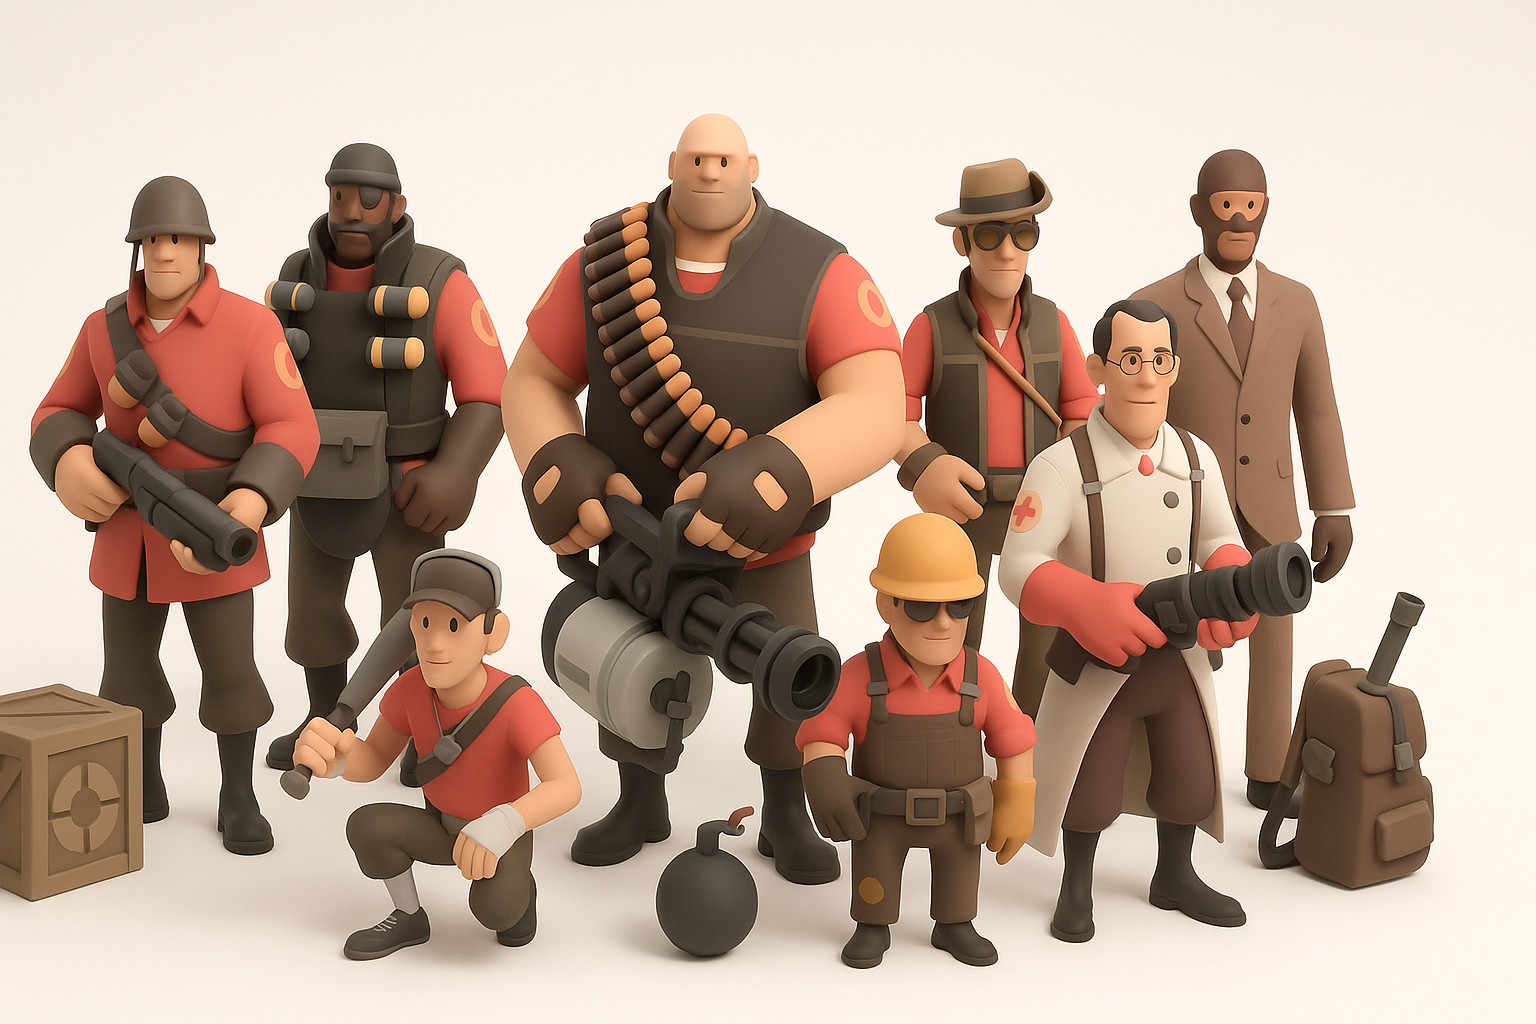
TF2 models are instantly recognizable due to their stylized, cartoon-inspired proportions and exaggerated silhouettes. In my experience, their hand-painted textures and clean geometry make them both approachable for beginners and flexible for advanced workflows. The models are optimized for real-time performance, which is a big plus when integrating into modern engines or animation pipelines.
Common Uses in Games and Animation
I’ve used TF2 models for a range of projects: source engine mods, machinima, VR experiments, and even as placeholders in indie games. Their modular design (separate heads, hats, weapons) makes them ideal for customization and quick iteration. They’re also popular in community-driven animation tools, where their expressive rigs and facial flexes shine.
How I Source and Prepare TF2 3D Models
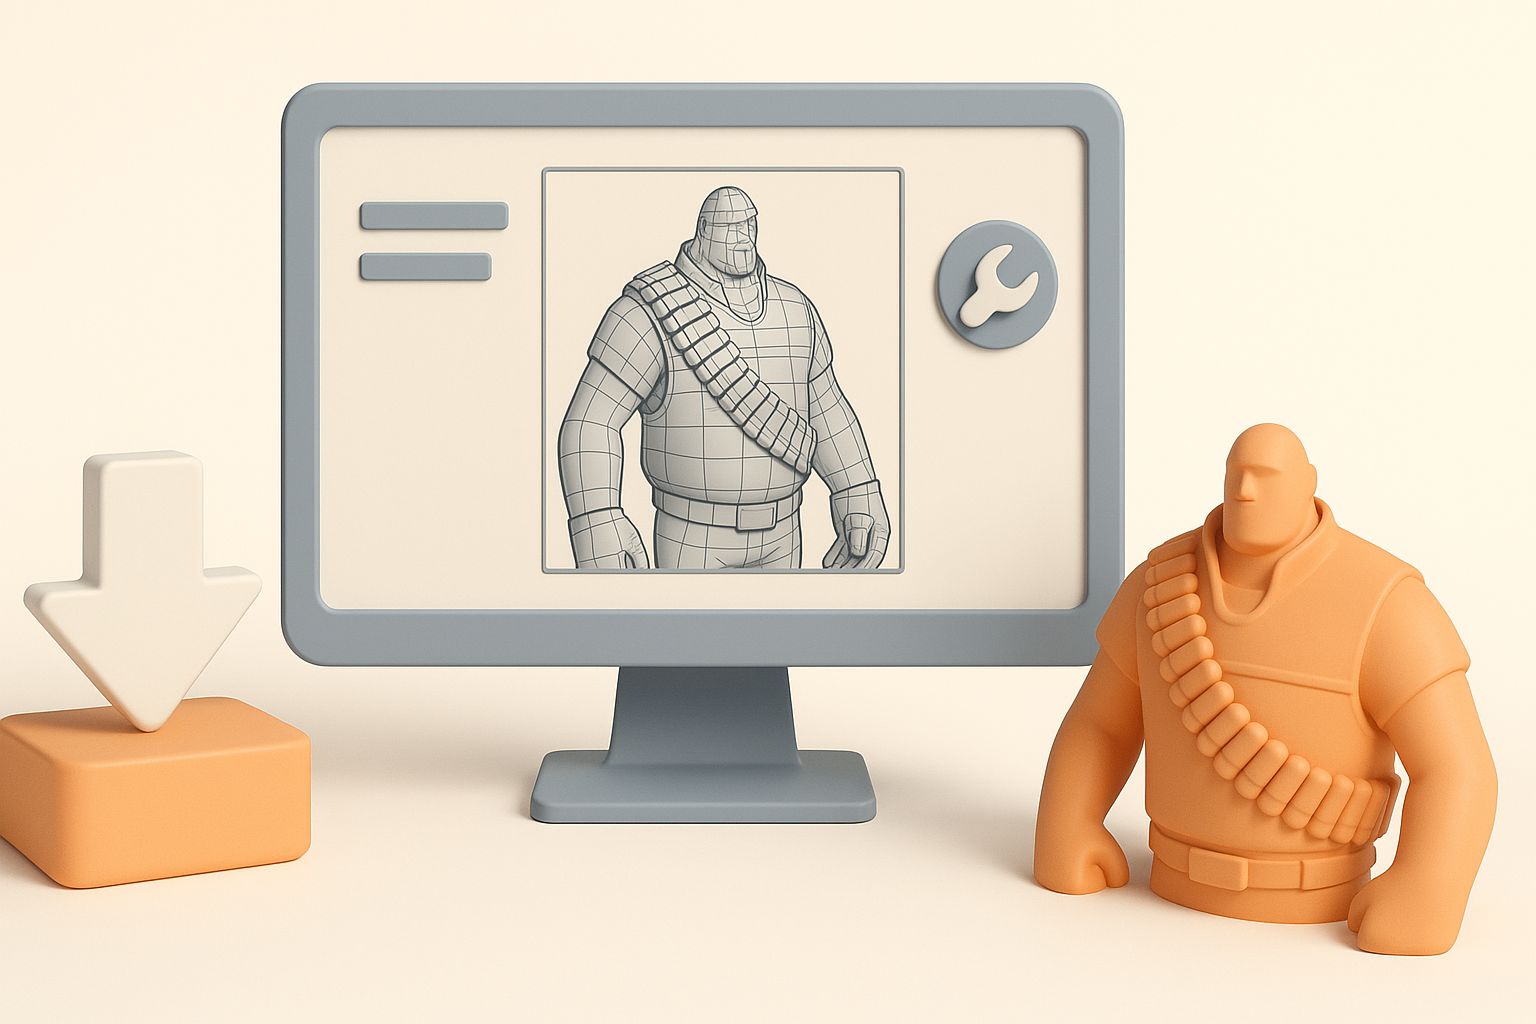
Finding Reliable Model Resources
When I need TF2 models, I start with reputable community repositories and official SDKs. These sources offer models in formats compatible with most 3D tools. I avoid random downloads from unofficial sites, as those often have missing textures or broken rigs.
Checklist for sourcing:
- Use official SDKs or trusted modding communities.
- Check for correct file formats (e.g., SMD, DMX, FBX).
- Verify model integrity (no missing textures or corrupted meshes).
Legal and Ethical Considerations
Respecting Valve’s licensing is non-negotiable in my workflow. I always review the terms of use for any asset, especially for commercial or public projects. For personal or educational use, TF2 models are usually fair game, but redistribution or monetization can cross legal lines.
Pitfalls to avoid:
- Never sell or redistribute original TF2 assets.
- Always credit original creators when using community-made models.
- Double-check usage rights before publishing or sharing work.
Best Practices for Editing and Optimizing TF2 Models
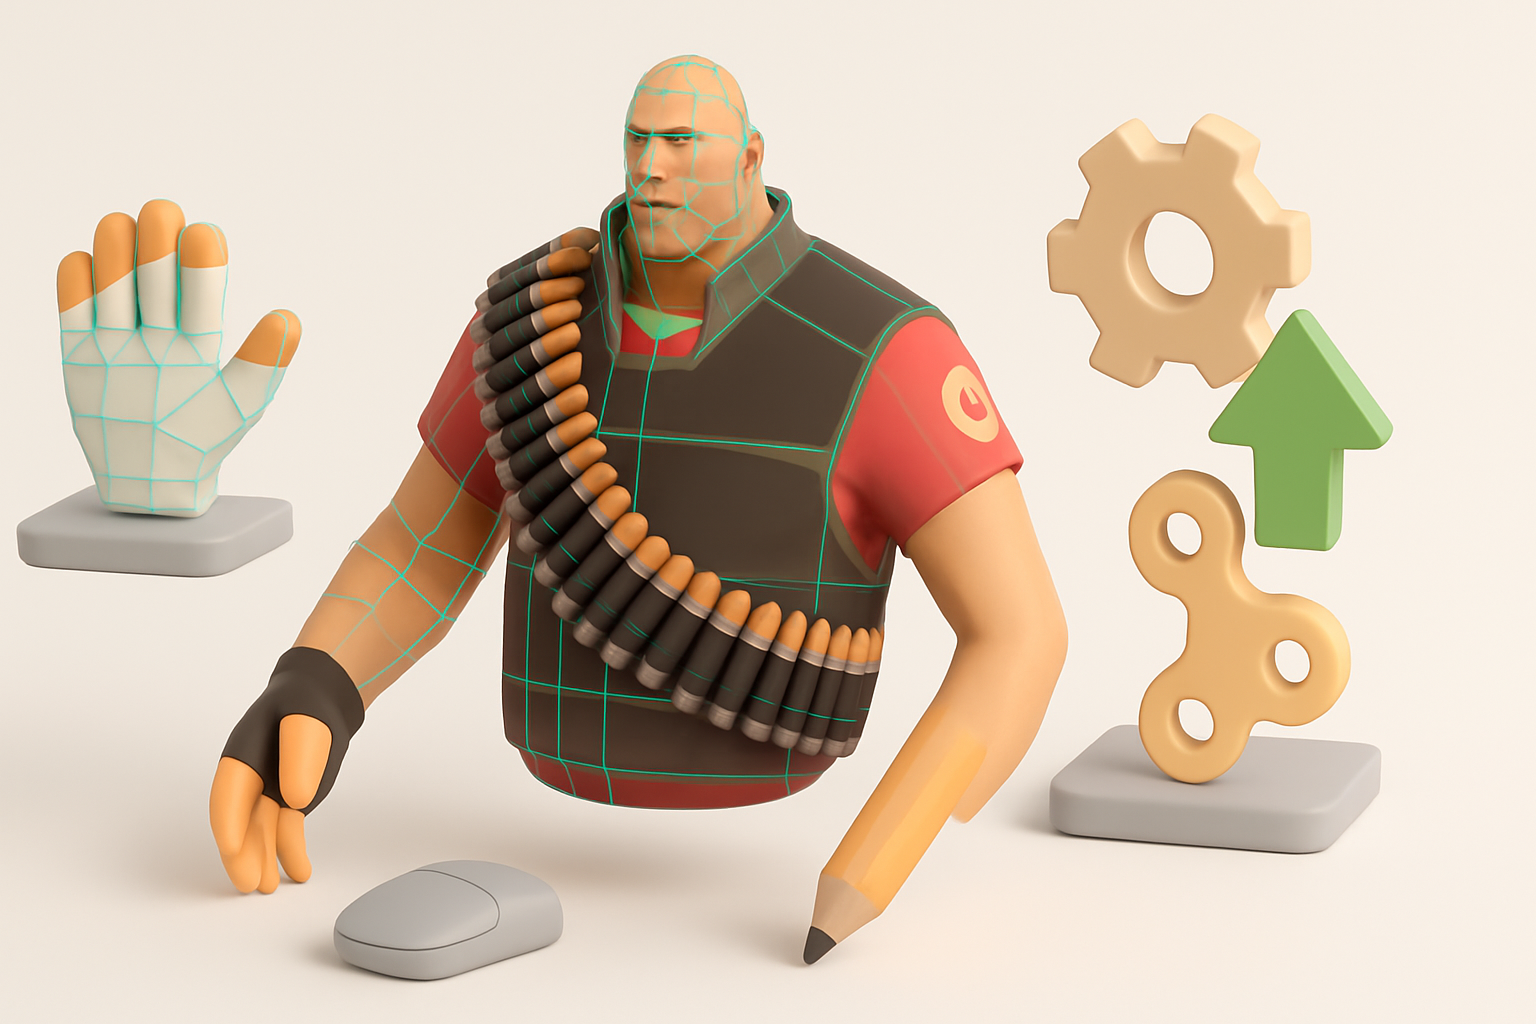
Retopology and Mesh Cleanup Tips
Even though TF2 models are game-ready, I often find minor issues: stray vertices, non-manifold edges, or outdated topology. My first step is to inspect the mesh and use retopology tools if I plan to animate or further modify the model.
My mesh cleanup process:
- Remove unused vertices and faces.
- Merge overlapping geometry.
- Use retopology tools (manual or AI-assisted) for animation-ready topology.
Efficient Texturing and UV Mapping
TF2’s hand-painted style relies on efficient UV layouts and texture atlases. When editing or creating new parts, I maintain consistent texel density and avoid overlapping UVs unless necessary for mirroring.
UV mapping tips:
- Align new UV islands with existing ones for seamless integration.
- Use texture baking for new props or accessories.
- Keep texture resolution consistent with original assets (typically 512–1024px).
My Workflow: Importing, Rigging, and Animating TF2 Models
Importing into 3D Software
I import TF2 models into my preferred 3D package, usually via FBX or DMX. I check scale and orientation immediately, as mismatches are common. For quick iteration, I rely on import presets tailored for game assets.
Import checklist:
- Verify scale (match to engine or animation scene).
- Check bone and mesh hierarchy.
- Fix any flipped normals or missing materials.
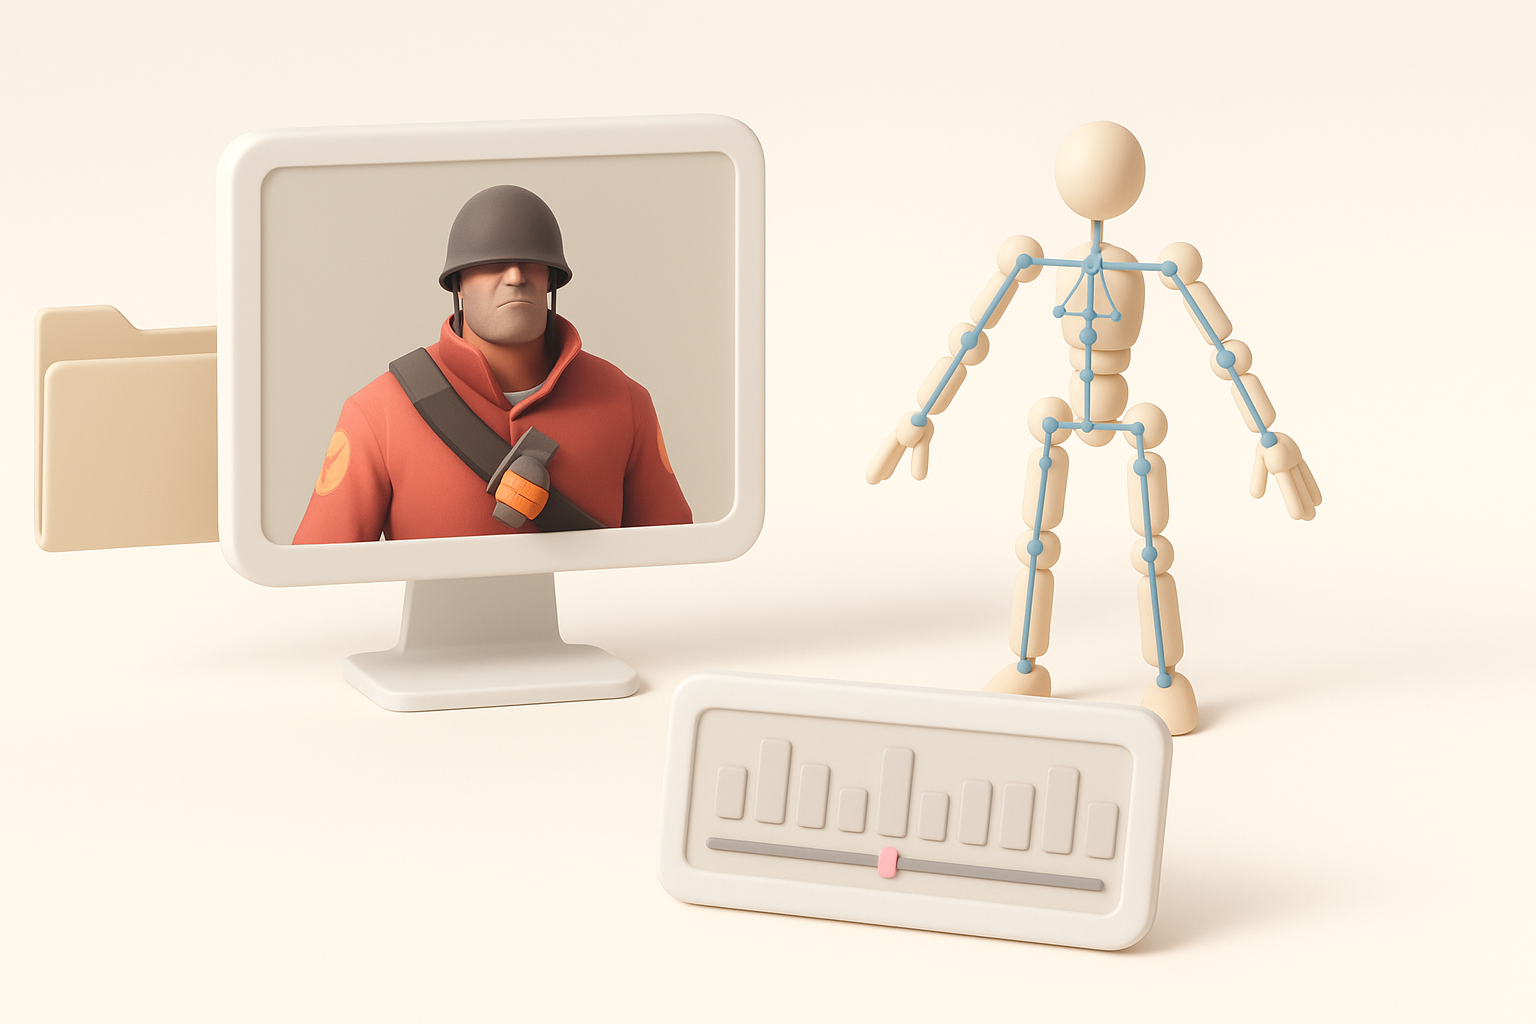
Rigging and Animation Techniques
Most TF2 models come with basic skeletons, but I often need to refine weights or add custom bones for advanced animation. I use automated skinning tools for speed, then tweak weight painting manually for clean deformations. For facial animation, I leverage blendshapes or flex controllers, which are a hallmark of TF2’s expressiveness.
Rigging tips:
- Reuse existing skeletons when possible for compatibility.
- Add IK/FK controls for smoother animation.
- Test deformations with extreme poses before animating.
Leveraging AI Tools for TF2 Model Creation
How I Use AI Platforms for Rapid Prototyping
AI-powered 3D platforms have transformed how quickly I can prototype new TF2-style assets. When I need a custom prop or character variant, I input a text prompt or sketch, then refine the output in my 3D software. Tools like Tripo AI allow me to generate base meshes and even apply stylized textures that match TF2’s aesthetic.
Rapid prototyping workflow:
- Describe the asset (e.g., “TF2-style wrench with cartoon proportions”).
- Generate base mesh and texture.
- Import for further tweaking and integration.
Integrating AI-Generated Assets into Pipelines
Once I have an AI-generated asset, I clean up the mesh, align UVs, and ensure consistency with existing TF2 models. I’ve found that AI outputs often need touch-ups, especially for animation or game integration.
Integration steps:
- Retopologize if needed for animation.
- Match texture style and resolution.
- Test in engine or animation tool for compatibility.
Comparison: Manual vs. AI-Assisted TF2 Model Creation
Speed and Quality Differences
In my experience, AI-assisted workflows slash prototyping time—what used to take hours can now be done in minutes. However, manual modeling still wins for precision, custom topology, and unique details. AI tools are improving, but they sometimes introduce artifacts or inconsistent styles that require manual correction.
Summary:
- AI: Fast, great for base meshes, needs cleanup.
- Manual: Slower, but higher fidelity and control.
When to Choose Each Approach
I reach for AI when I need quick concepts, background assets, or to brainstorm variations. For hero assets, animation-critical models, or anything requiring fine detail, I stick with manual methods or use AI outputs as a starting point.
Decision checklist:
- Need speed? Use AI.
- Need precision or animation-ready assets? Go manual or hybrid.
Tips for Exporting and Sharing TF2 3D Models
Export Settings and File Formats
When exporting, I use formats compatible with target engines or tools (FBX for Unity/Unreal, DMX/SMD for Source). I always bake animations and double-check texture paths. Compressing textures and meshes helps with file size if sharing online.
Export checklist:
- Choose correct file format for target platform.
- Bake animations and materials.
- Compress files for sharing.
Showcasing and Collaborating Online
I showcase my TF2 models on portfolio sites and collaborate through cloud platforms or version control systems. Clear file naming and documentation are crucial—especially when working with teams or open-source projects.
Collaboration tips:
- Use descriptive filenames and folders.
- Include a readme with credits and usage notes.
- Share via trusted platforms (e.g., cloud drives, version control).
By following this workflow, I consistently produce high-quality, animation-ready TF2 models—whether starting from scratch, editing existing assets, or leveraging the latest AI tools. The key is balancing speed and quality while respecting legal boundaries and maintaining a clean, collaborative pipeline.