SketchUp 3D Modeling: Expert Workflows and Best Practices
As someone who’s worked extensively with SketchUp for architectural, product, and concept design, I know how important efficient workflows and the right tool choices are. This article shares my proven approaches for getting the most out of SketchUp—covering everything from foundational setup to integrating AI-powered platforms for model enhancement. If you’re looking to streamline your 3D modeling process, avoid common pitfalls, and achieve professional results, these insights are for you.
Key takeaways:
- Mastering SketchUp’s interface and core tools is essential for efficiency.
- Planning and reference import are critical for accurate modeling.
- Effective texturing and lighting elevate model realism.
- AI and automation can dramatically speed up and improve your workflow.
- Optimization and troubleshooting prevent performance issues down the line.
- Knowing when to use SketchUp—and when to reach for other tools—saves time.
Getting Started with SketchUp 3D Modeling
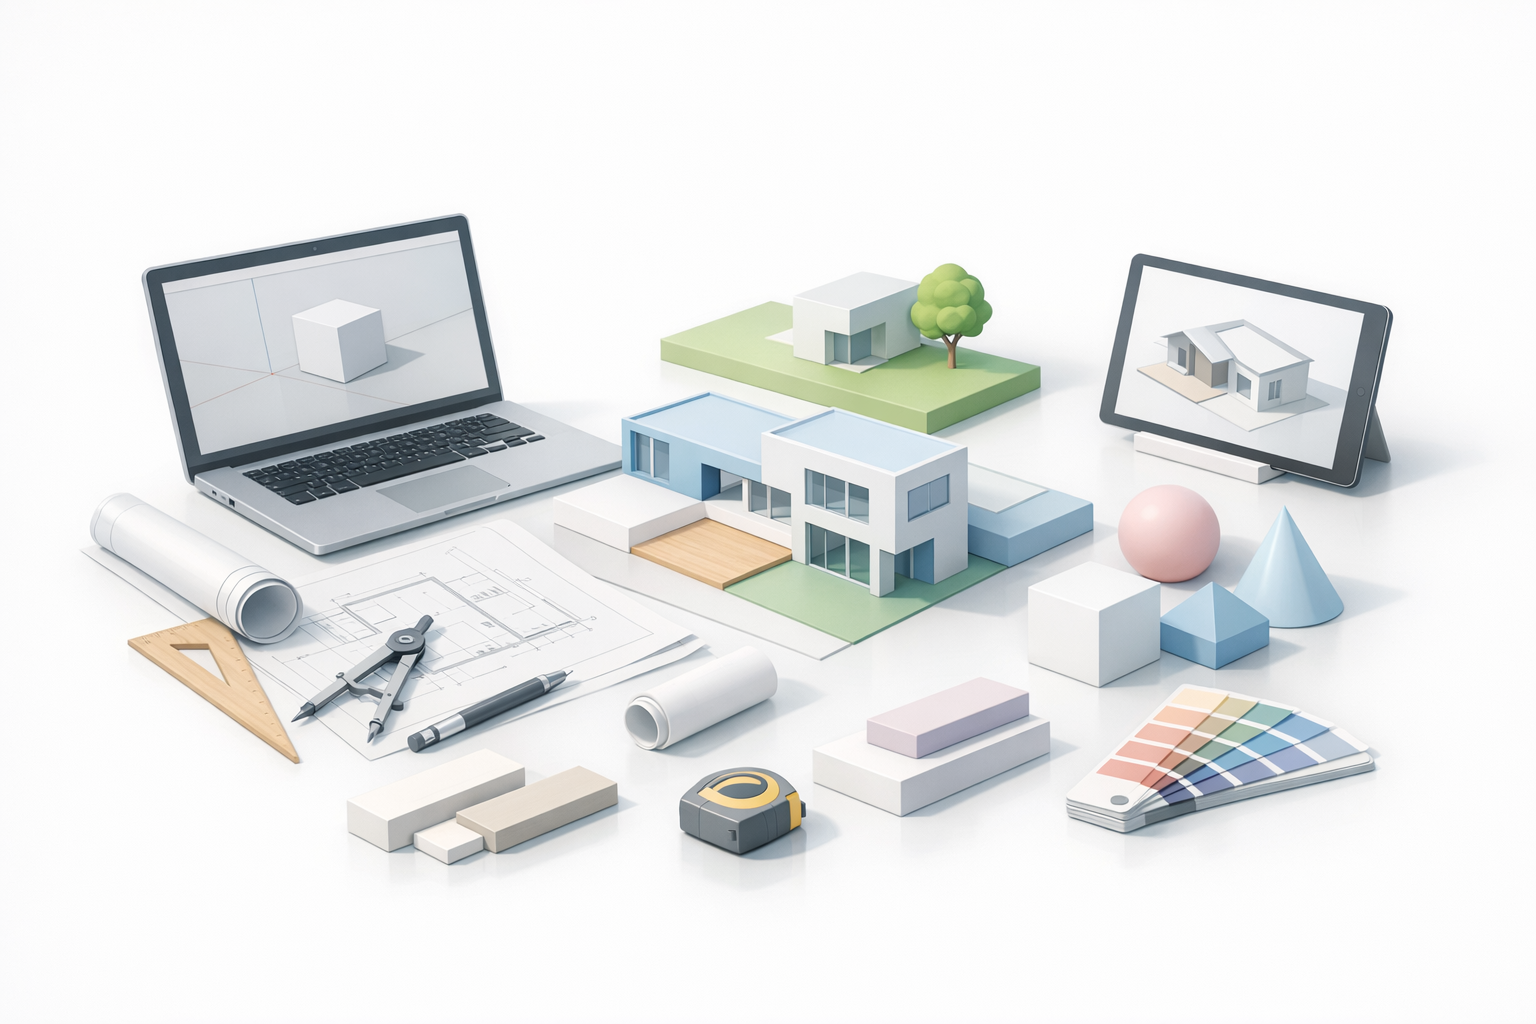
Essential Tools and Interface Overview
In my experience, getting comfortable with SketchUp’s interface pays huge dividends. The toolbar is customizable, but I always keep these tools front and center: Select, Move, Push/Pull, Rectangle, Tape Measure, and Orbit. The Outliner and Layers/Tags help organize complex models, so I enable them early.
Quick setup checklist:
- Familiarize yourself with the default workspace.
- Set up keyboard shortcuts for frequent actions (e.g., ‘M’ for Move, ‘P’ for Push/Pull).
- Use the Outliner to keep track of groups and components.
- Organize elements with Tags for easy visibility control.
Setting Up Your First Project
Before modeling, I always define my units (Window > Model Info > Units) and set up scenes for key views. Saving a template with preferred settings saves time on future projects.
My typical setup steps:
- Set project units (meters, millimeters, etc.).
- Import reference images or plans as guides.
- Create layers/tags for major building elements (e.g., walls, furniture).
- Save the setup as a template for reuse.
My Step-by-Step SketchUp Modeling Workflow

Importing References and Planning
I find that starting with solid references—site plans, elevations, or even quick sketches—prevents rework. I import these as images or PDFs and scale them using the Tape Measure tool.
Steps I follow:
- Import reference images via File > Import.
- Scale references accurately using a known dimension.
- Lock reference layers to avoid accidental edits.
- Sketch a rough outline before diving into details.
Building and Refining Geometry
I always model with groups and components to keep geometry clean and editable. Push/Pull is my go-to for creating volume, but I frequently use Follow Me and Offset for more complex shapes.
My geometry workflow:
- Draw base shapes with Rectangle or Line tools.
- Use Push/Pull for extrusion.
- Group related geometry immediately to prevent merging.
- Refine with Scale, Move, and Rotate.
- Convert repeating elements into components for easy updates.
Texturing, Materials, and Rendering Techniques
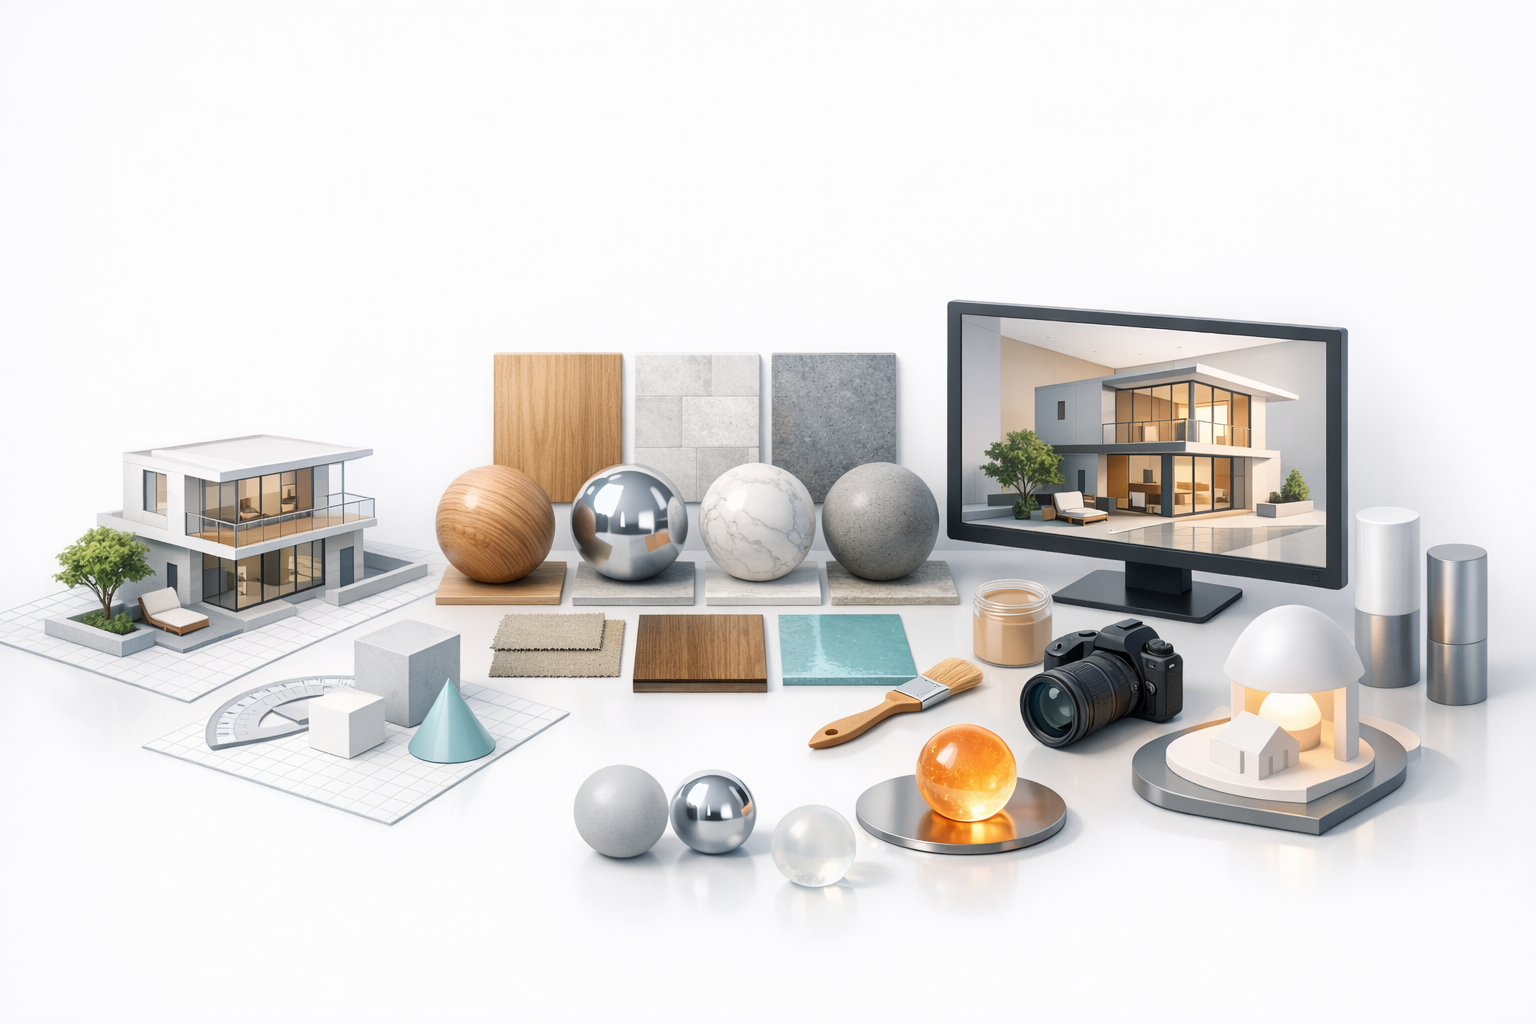
Applying Materials Effectively
Applying textures early helps with visualization, but I make sure to use high-resolution, tileable images for realism. I edit materials in the Materials panel and use the Paint Bucket tool for application.
Material tips:
- Use consistent naming for materials.
- Keep material count minimal for performance.
- Adjust texture scale and orientation for realism.
- Save custom material libraries for reuse.
Lighting and Rendering Tips
Native SketchUp lighting is basic, so I often use external renderers for photorealistic results. I set up sun position and shadows for context, then export to rendering engines or use AI-powered tools for fast, high-quality outputs.
Lighting workflow:
- Set geographic location (Window > Model Info > Geo-location).
- Adjust time of day for natural shadows.
- Place simple light objects if supported by your renderer.
- Use batch rendering for multiple scenes.
Integrating AI and Advanced Tools in SketchUp

Using AI-Powered Platforms for Model Enhancement
AI platforms have become integral to my workflow for tasks like retopology, auto-texturing, and even generating 3D assets from sketches or images. I often export models from SketchUp and enhance them using AI tools—especially for tasks that would be tedious or time-consuming manually.
How I integrate AI:
- Export geometry (OBJ, FBX) for AI-powered retopology or texturing.
- Use AI to generate base models from concept art, then refine in SketchUp.
- Leverage AI segmentation for complex scenes to speed up organization.
Streamlining Workflow with Automation
Automation plugins and scripts help eliminate repetitive tasks. I use extensions for batch renaming, component replacement, and automatic cleanup. AI-driven automation can further accelerate tasks like UV unwrapping or animation setup.
My automation practices:
- Use batch tools for repetitive geometry or material tasks.
- Automate scene exports and documentation.
- Integrate AI platforms for rapid prototyping and asset generation.
Best Practices, Troubleshooting, and Optimization

Common Pitfalls and How I Avoid Them
Early on, I’d often run into messy geometry or bloated files. Now, I always group geometry, purge unused components, and avoid overusing high-poly assets.
Common issues I sidestep:
- Overlapping faces: Group everything as you go.
- File bloat: Regularly purge unused materials/components.
- Unorganized outliner: Name and tag everything clearly.
Optimizing Models for Performance
For large projects, performance can tank if you’re not careful. I optimize by minimizing high-poly imports, using proxies for heavy objects, and simplifying geometry when possible.
Optimization checklist:
- Replace complex models with low-poly or proxy versions.
- Merge coplanar faces and clean up stray edges.
- Purge unused resources (Window > Model Info > Statistics > Purge Unused).
- Use layers/tags to control visibility and speed up navigation.
Comparing SketchUp with Other 3D Modeling Methods
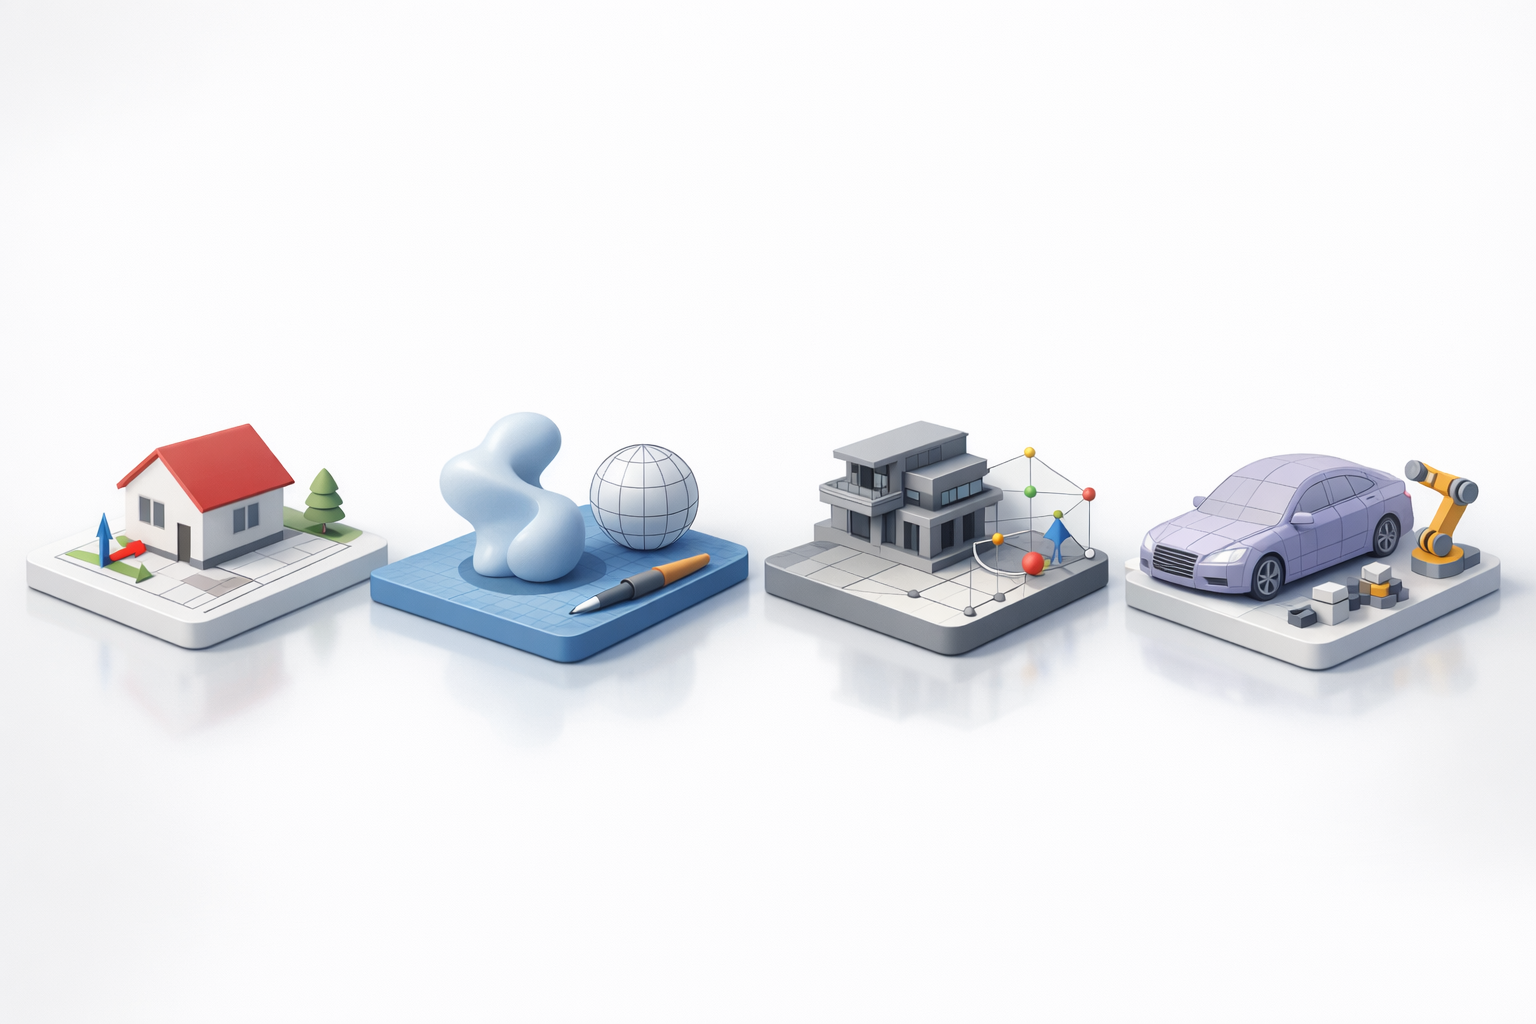
Strengths and Limitations Based on My Experience
SketchUp excels at rapid concepting and architectural modeling, thanks to its intuitive interface and strong library support. However, it has limitations with organic modeling, detailed sculpting, and advanced rendering compared to other platforms.
Strengths:
- Quick learning curve and fast prototyping.
- Excellent for architectural and interior visualization.
- Large extension and asset ecosystem.
Limitations:
- Lacks advanced sculpting and UV tools.
- Native rendering is basic—external tools often required.
- Can struggle with very large or complex scenes.
When to Use Alternative Tools
If I need advanced sculpting, animation, or high-end rendering, I switch to specialized platforms. For projects requiring AI-driven asset generation or highly automated workflows, integrating AI solutions alongside SketchUp is my preferred approach.
When to consider alternatives:
- Organic modeling (characters, creatures)
- Detailed animation or rigging
- Photorealistic rendering without external plugins
- Large-scale scenes with complex data management
By applying these expert workflows and leveraging the latest AI tools, I consistently deliver efficient, high-quality 3D models in SketchUp—while knowing when to switch gears for more specialized tasks.