Creating and Using Planet Zoo 3D Models: Expert Workflow Guide
If you want to create or use 3D models in Planet Zoo, you need assets that aren’t just visually appealing but also compatible and optimized for real-time environments. Over years of hands-on work, I’ve honed a workflow that combines manual artistry, technical rigor, and selective use of AI-powered tools to streamline the entire process—from concept to in-game testing. This guide distills what actually works for efficient, production-ready asset creation, and is intended for 3D artists, modders, and technical designers aiming for top-quality results in Planet Zoo.
Key takeaways
- Focus on model formats, topology, and texture standards for Planet Zoo compatibility.
- Use a clear workflow: concept, modeling, texturing, rigging, and optimization.
- AI tools like Tripo can dramatically speed up asset generation, but manual refinement is often needed.
- Realistic UV mapping and rigging are crucial for believable animal and environment models.
- Always test and troubleshoot models in-game to catch issues early.
- Choose manual or AI-assisted approaches based on project needs and deadlines.
Understanding Planet Zoo 3D Model Requirements
Key features and formats for compatibility
Planet Zoo relies on specific formats and conventions for 3D models. In my experience, models must be exported as FBX or OBJ, with clean, game-ready topology and PBR (Physically Based Rendering) texture maps—typically Albedo, Normal, Roughness, and sometimes Specular or AO. Polygon counts should be optimized for real-time performance; I target 10–30k tris for animals and 5–15k for environment props.
Checklist:
- Export as FBX/OBJ
- PBR textures (2k–4k for animals, 1k–2k for props)
- Clean, quads-based topology
- Proper scale and orientation (match in-game units)
- Single mesh per asset unless modularity is required
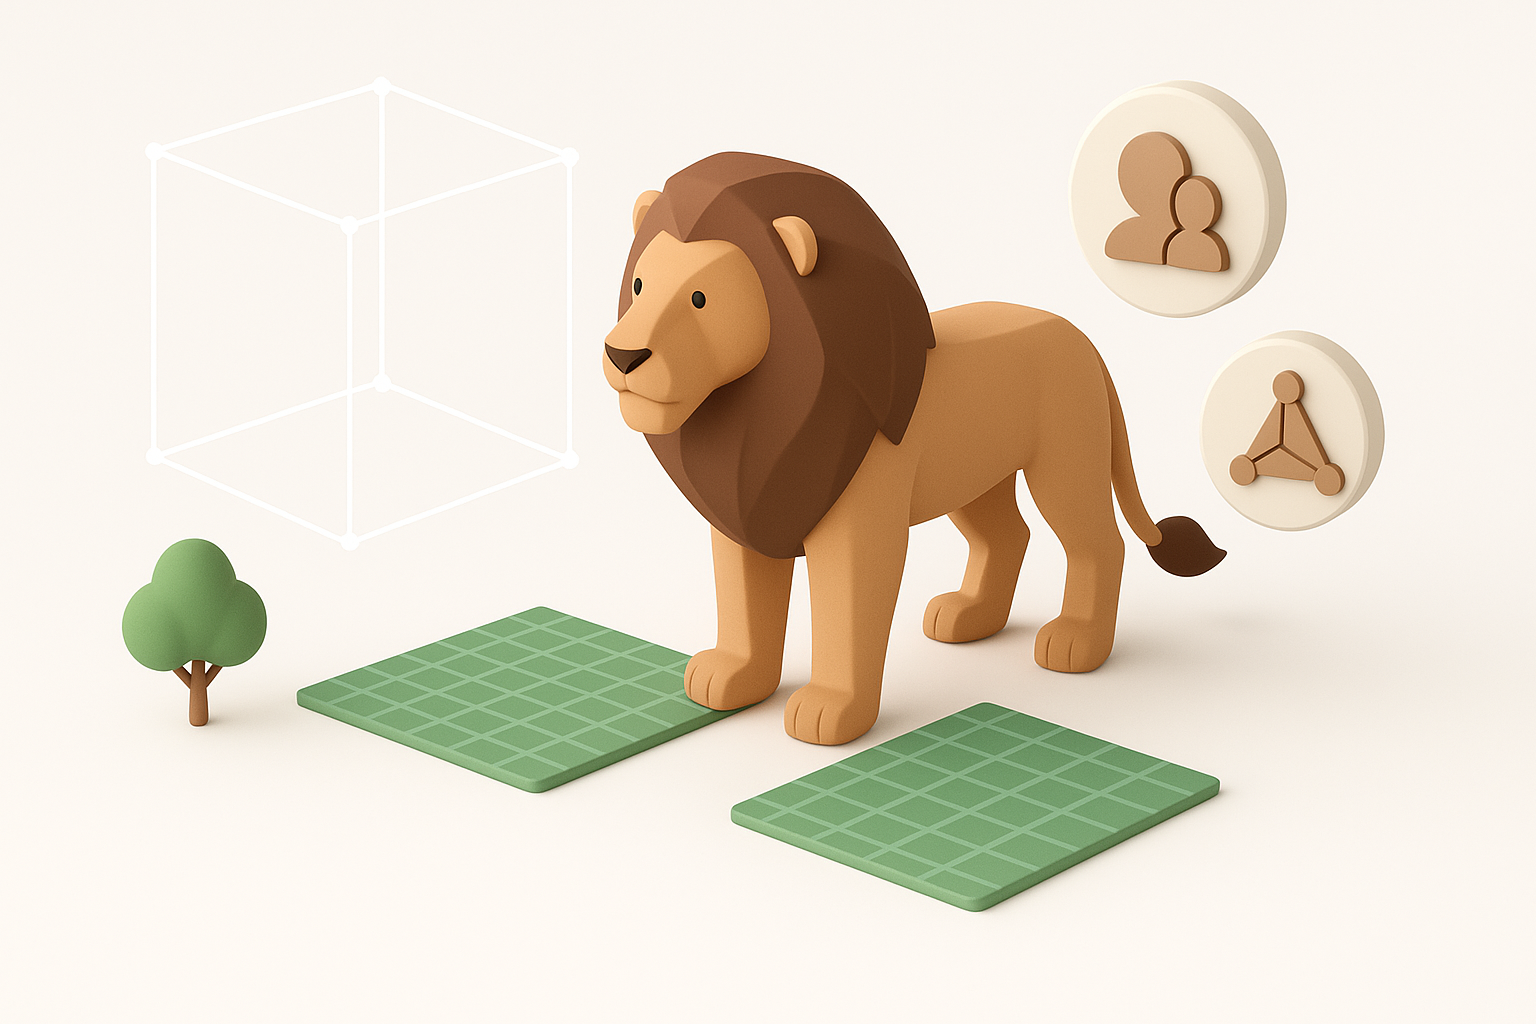
What I look for in high-quality animal and environment assets
High-quality models balance detail with efficiency. For animals, I focus on anatomical accuracy, expressive topology for animation, and seamless UVs. For environments, modularity and tileable textures are key. I always check for:
- Naturalistic forms and proportions
- Edge flow that supports deformation
- No visible seams or stretching on UVs
- Efficient use of texture space
My Workflow for Creating Planet Zoo 3D Models
Step-by-step process from concept to finished model
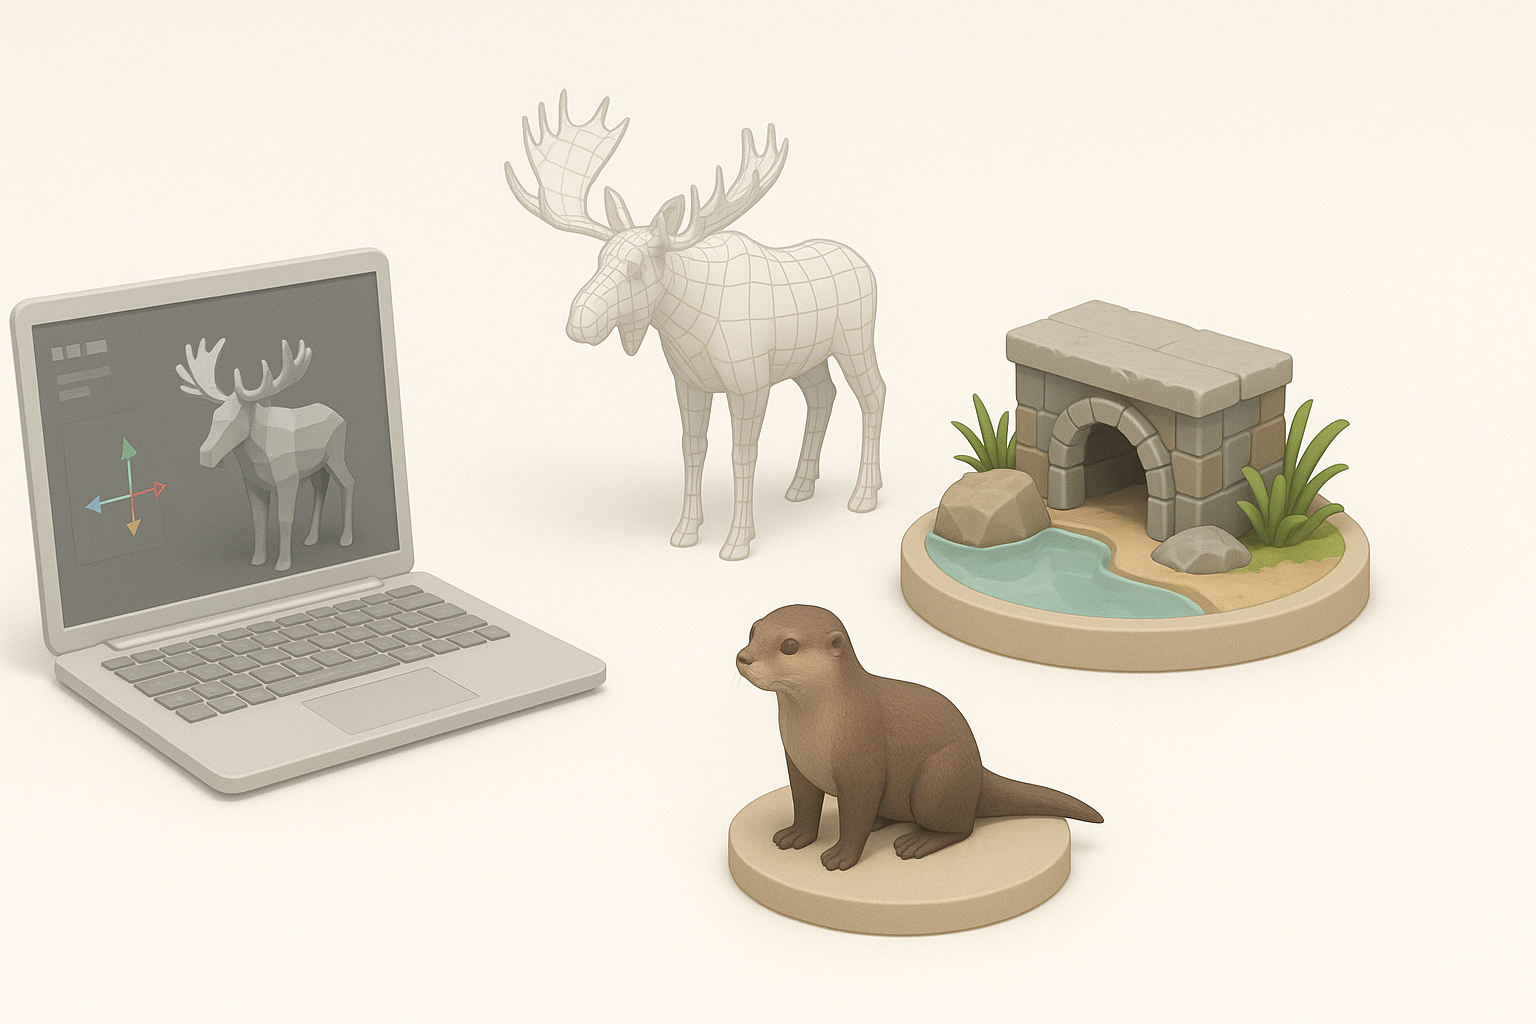
- Concept and References: I gather real-world references or sketches. For animals, I study anatomy and movement; for props, I look for modularity.
- Blocking and Modeling: I start with a low-poly blockout, refining shapes before adding detail. I use subdivision modeling for smooth surfaces.
- AI Assistance: For quick ideation or base meshes, I often use Tripo AI. It’s especially useful for generating variations or starting points, but I always refine manually.
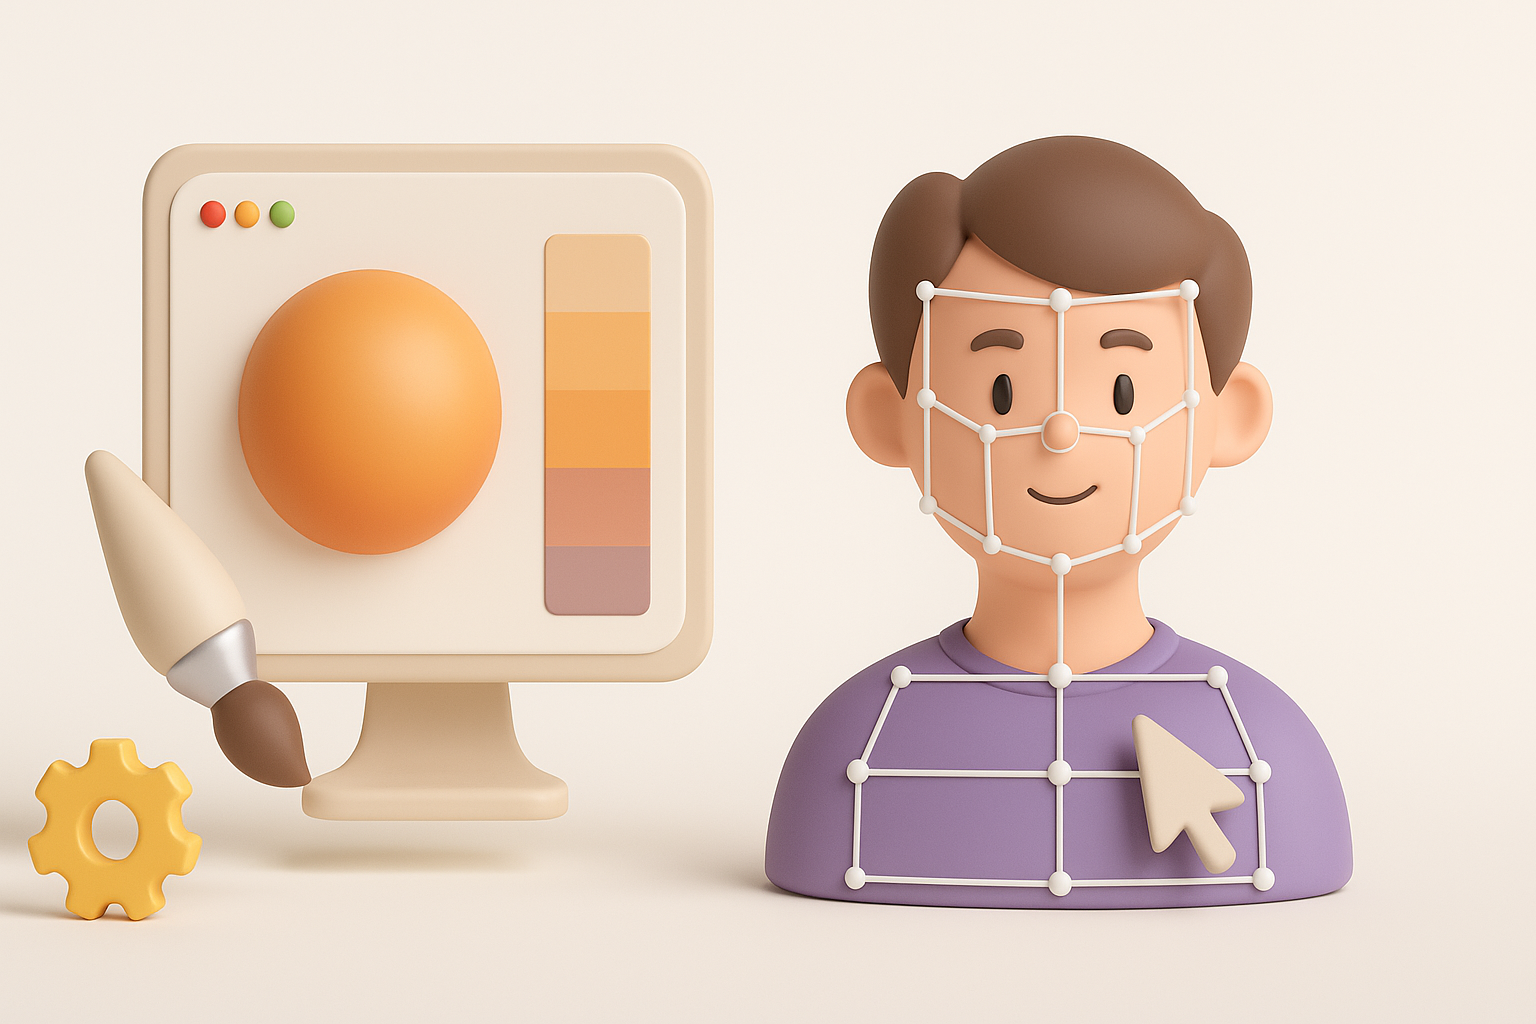
- UV Unwrapping: I create efficient, distortion-free UVs. Good UVs are essential for detailed, realistic texturing.
- Texturing: I paint PBR textures in Substance Painter or similar tools, focusing on realistic materials and color variation.
- Rigging (for animals): I add skeletons and skin weights for animation.
- Optimization: I decimate unnecessary geometry and bake details to normal maps.
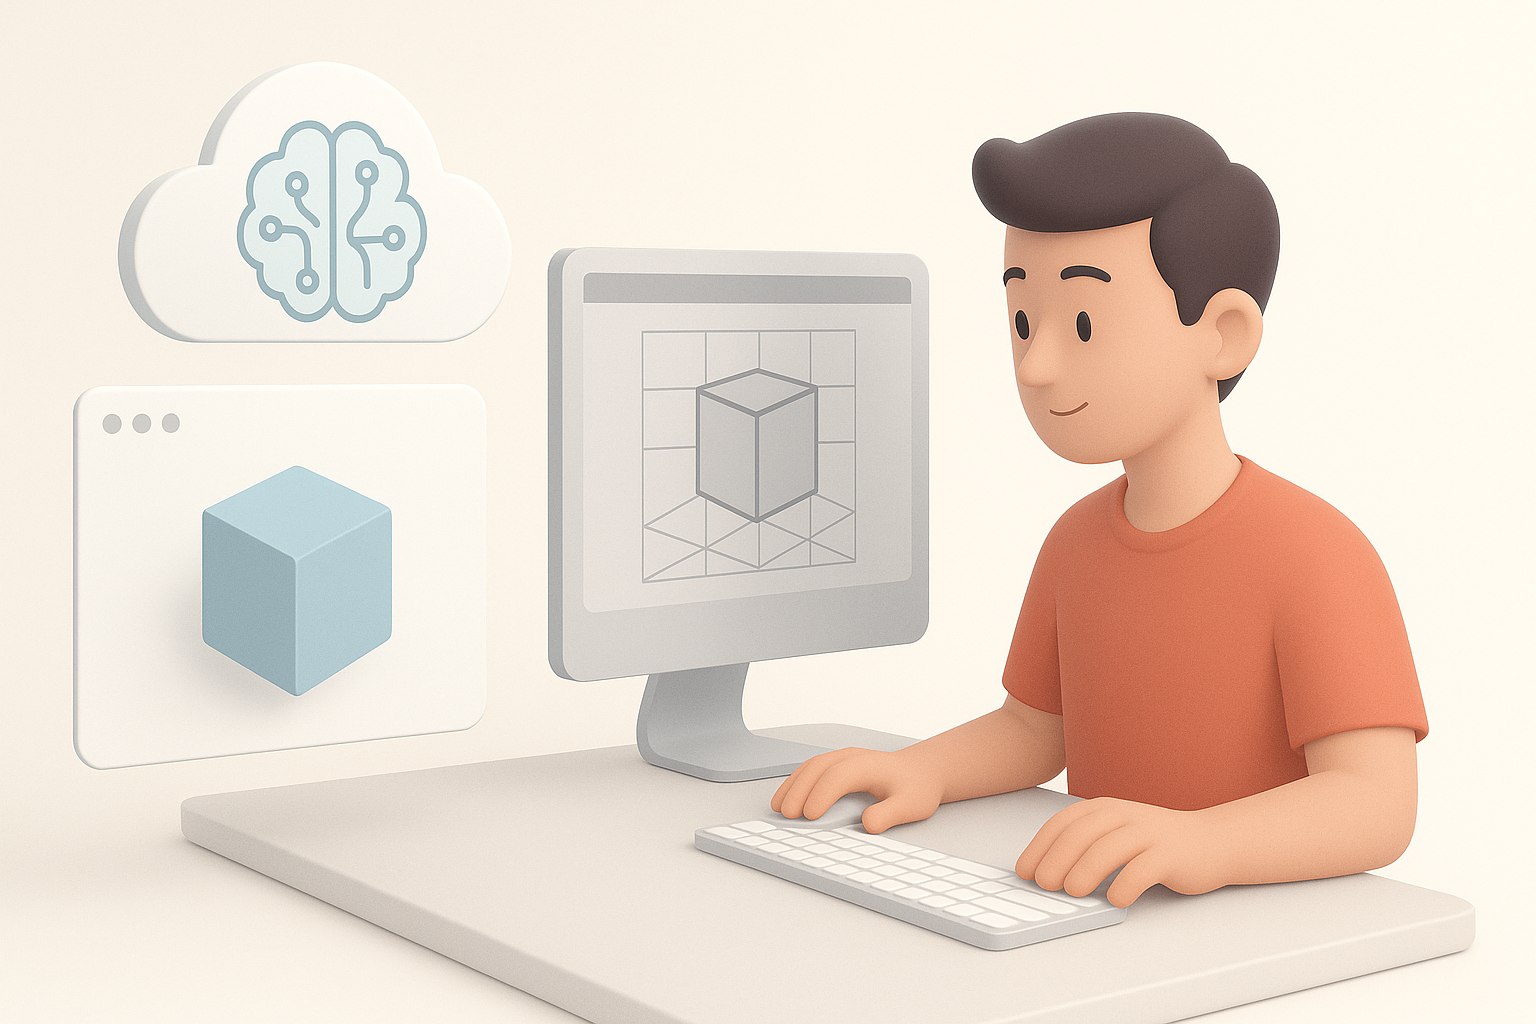
- Export and Test: I export in the correct format, import into Planet Zoo, and test for issues.
Tips for efficient modeling, texturing, and optimization
- Start simple; refine only after silhouette and proportions are right.
- Use symmetry and instancing to speed up modeling.
- Pack UVs tightly to maximize texture resolution.
- Bake high-poly details into normal maps for performance.
- Regularly check your model in a real-time viewer to catch issues early.
Best Practices for Texturing and Rigging
How I approach realistic textures and UV mapping
Realism starts with good UVs. I avoid stretching and keep seams in less visible areas. For animals, I use multi-tile UVs if supported, and always bake ambient occlusion for depth. I create texture variations to avoid repetition, especially for fur or scales.
Mini-checklist:
- Unwrap UVs with minimal stretching
- Align fur or scale patterns with flow of geometry
- Use high-res references for detail
- Layer dirt, wear, or color variation for believability
Rigging techniques for smooth animation in zoo environments
Rigging animals for Planet Zoo requires careful placement of joints and clean skin weights. I use reference skeletons, and test deformations with simple animations before finalizing. For props with moving parts, I set up pivots and constraints as needed.
Pitfalls to avoid:
- Overcomplicating rigs (keep them efficient)
- Ignoring secondary motion (tails, ears)
- Forgetting to test with in-game animations
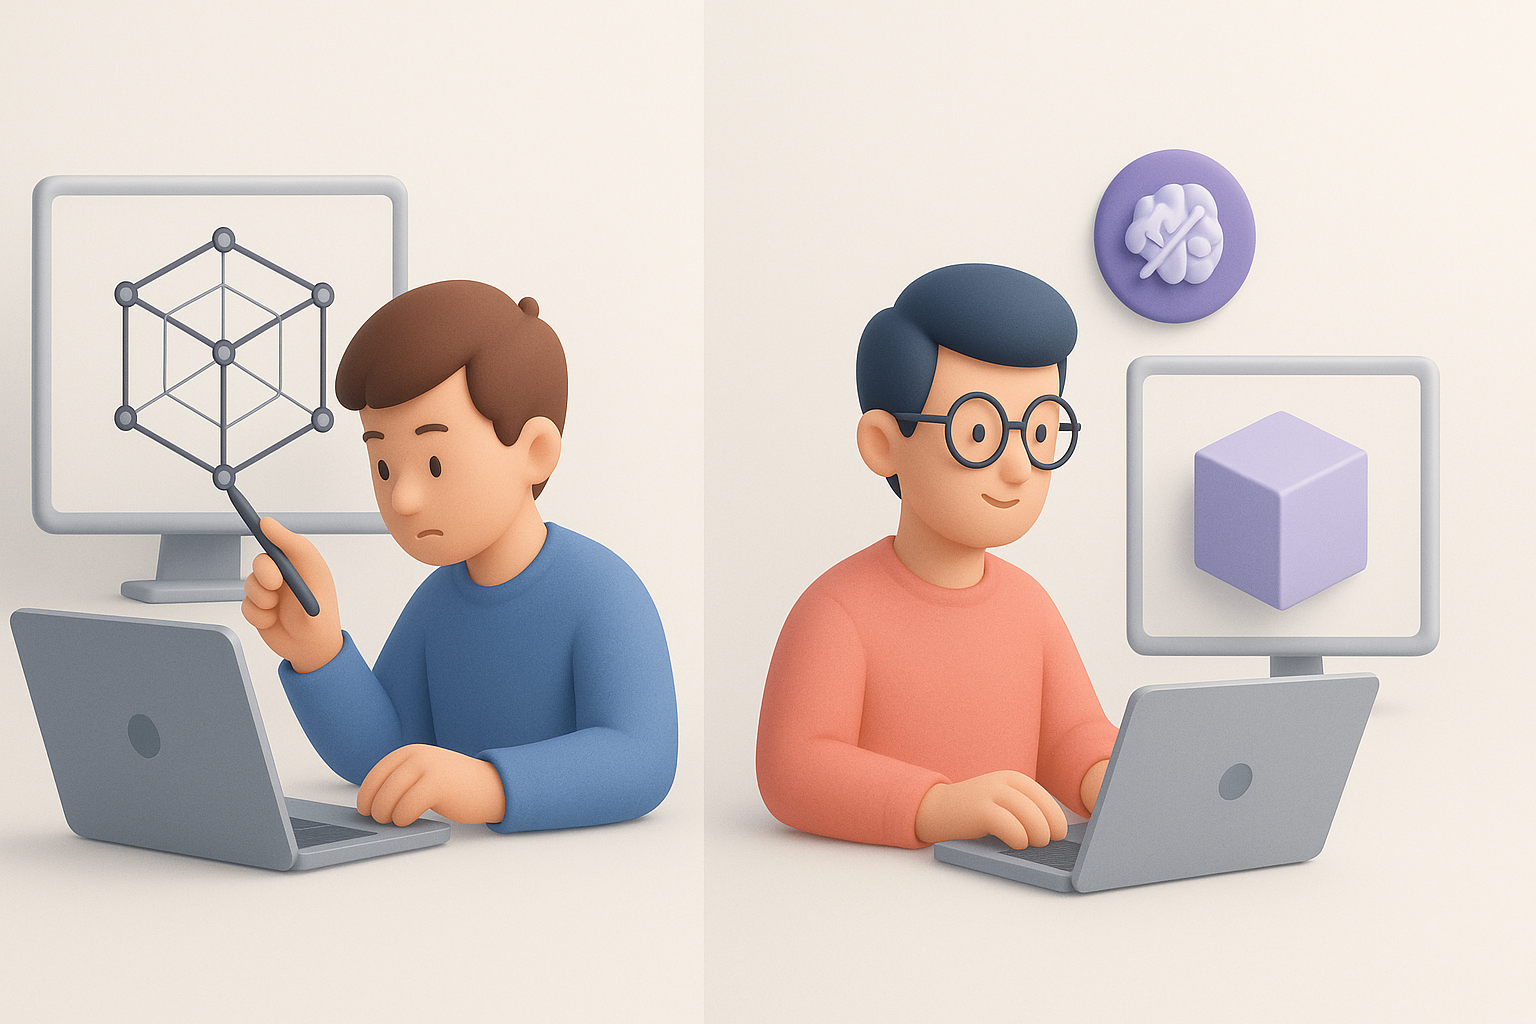
Using AI Tools to Accelerate 3D Model Creation
Integrating AI-powered platforms into my workflow
AI-powered tools like Tripo have become a regular part of my workflow for rapid prototyping and base mesh generation. I typically use them to:
- Generate animal or prop base meshes from text or image prompts
- Quickly iterate on variations for client feedback
- Segment and retopologize scanned or AI-generated meshes
I always import the AI-generated base into my main 3D software for manual cleanup, UV unwrapping, and detail sculpting.
What I’ve learned about balancing automation and manual control
AI can save hours, but it rarely produces production-ready results on its own. I’ve found the best approach is to use AI for the repetitive or time-consuming base work, then apply manual expertise for polish and problem-solving.
Tips:
- Use AI for ideation, not final assets
- Always check and fix topology and UVs
- Don’t skip manual optimization—AI outputs can be dense or messy
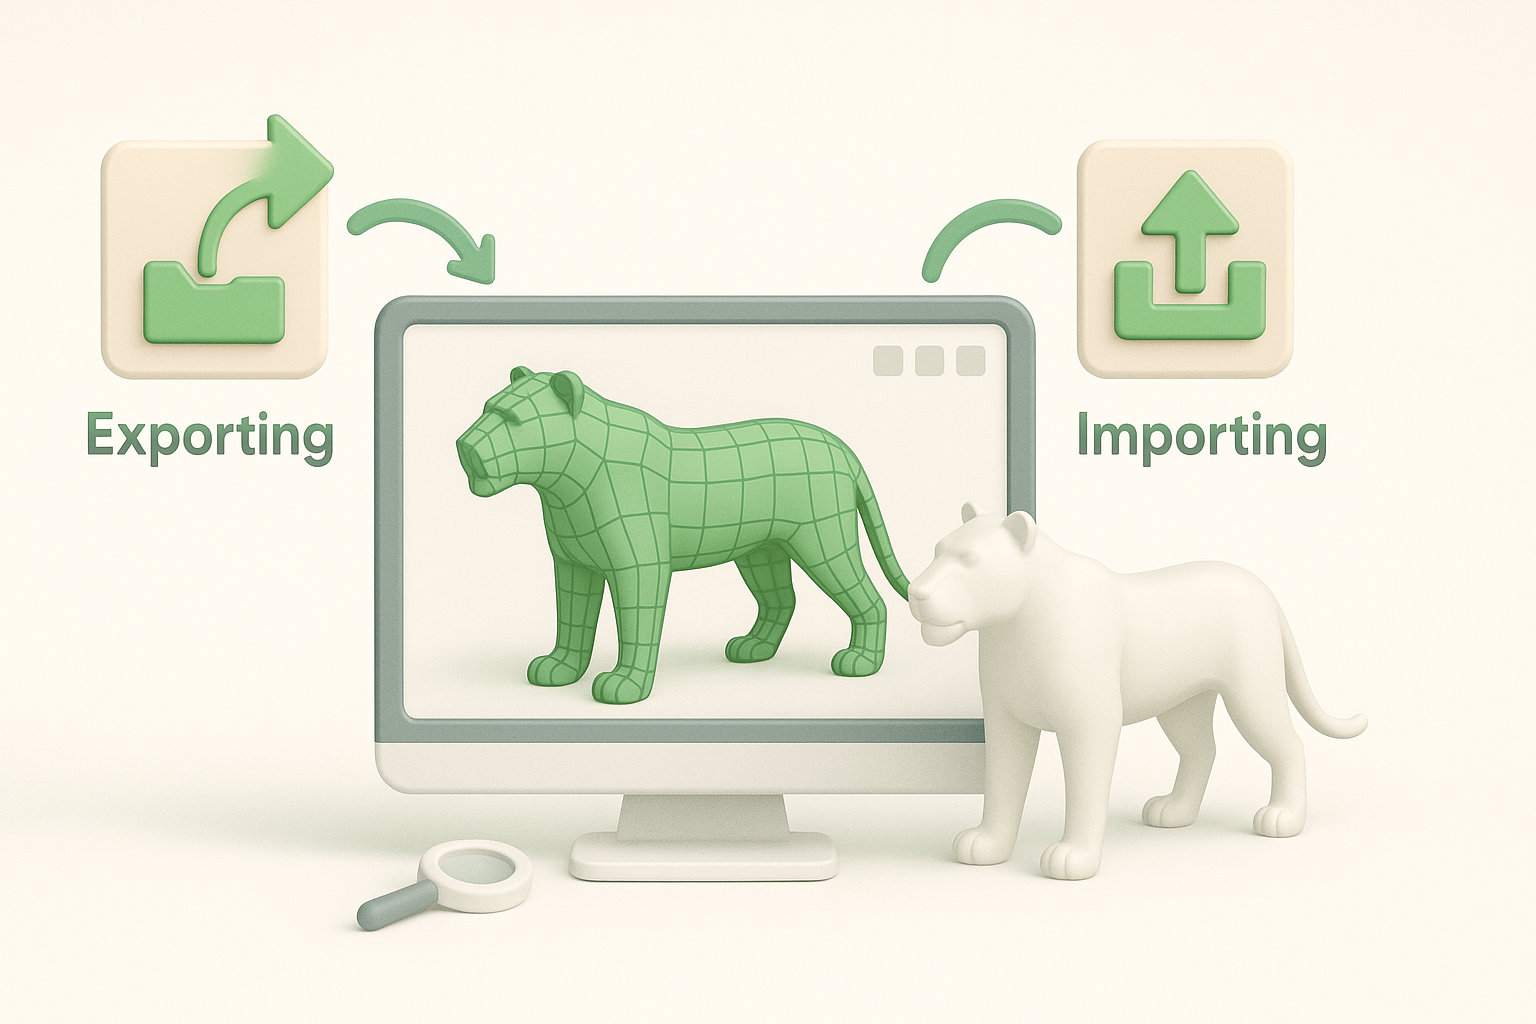
Exporting, Importing, and Testing Models in Planet Zoo
Preparing models for seamless integration
Before exporting, I:
- Freeze transforms and apply scale
- Ensure correct naming conventions
- Check for non-manifold geometry or loose vertices
- Export with embedded textures if possible
Troubleshooting common import and compatibility issues
Common issues I’ve encountered include:
- Incorrect scale or orientation (fix in 3D software)
- Texture paths not linking (embed or relink in-game)
- Animation glitches (check bone hierarchy and weights)
- Excessive polycount causing lag (simplify mesh, bake details)
Troubleshooting steps:
- Test import with a simple placeholder first
- Check logs for import errors
- Use in-game debug tools to inspect mesh and textures
Comparing Manual and AI-Assisted 3D Model Creation
Pros and cons from my hands-on experience
Manual modeling:
- Pros: Full artistic control, predictable results, ideal for unique or hero assets
- Cons: Time-consuming, repetitive for similar assets
AI-assisted modeling:
- Pros: Rapid prototyping, great for variations and base meshes, speeds up bulk asset creation
- Cons: Requires manual cleanup, sometimes unpredictable, not always game-ready
When to choose each approach for best results
I choose manual methods for signature animals or showcase environments where quality is paramount. For background props, repetitive assets, or early-stage concepts, AI-assisted workflows save time and let me focus on creative refinement.
My rule of thumb: Use AI to accelerate, but rely on manual skills for polish and integration.
By combining structured workflows, realistic texturing and rigging, and the selective use of AI tools like Tripo, I consistently deliver Planet Zoo assets that are both beautiful and technically robust. Whether you’re a solo creator or part of a larger team, these practices will help you create models that stand out and perform in-game.
