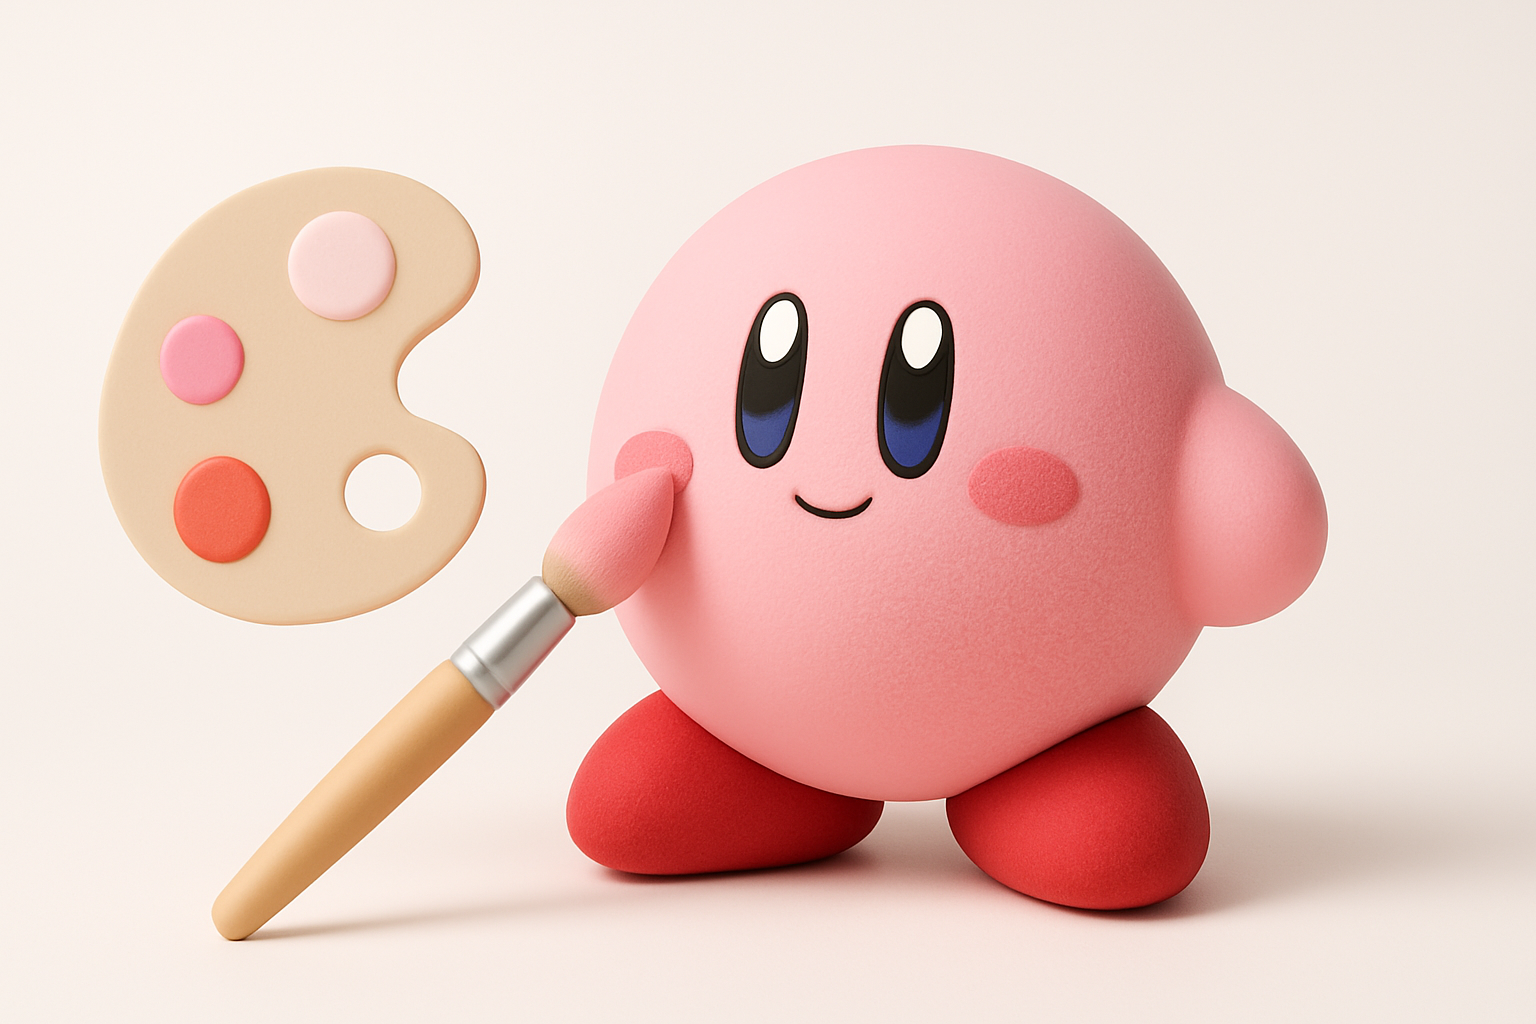
How to Create a Kirby 3D Model: Expert Workflow & Tips
Creating a 3D model of Kirby—a deceptively simple yet iconic character—requires a blend of solid fundamentals and smart workflow choices. In my experience, the key is to plan ahead, leverage the right tools (including AI-powered platforms like Tripo when appropriate), and stay vigilant about details like topology and texturing. Whether you're a beginner aiming for your first production-ready asset or a seasoned artist optimizing for games or XR, this guide distills my hands-on process into actionable steps and practical advice.
Key takeaways:
- Start with clear references and solid planning for accuracy and efficiency.
- Use AI-powered tools to speed up repetitive tasks, but keep manual control for creative details.
- Prioritize clean topology and efficient UVs for a production-ready model.
- Rigging and basic animations are straightforward for simple characters like Kirby.
- Export settings and optimization are crucial for real-time or XR deployment.
Getting Started: Planning Your Kirby 3D Model

Reference Gathering and Concept Art
Before opening any 3D software, I always collect a robust set of references. Kirby's design is simple, but subtle differences in shape or expression can make or break the likeness.
- Gather multiple angles: Official art, game sprites, and fan models.
- Sketch or annotate: Even a quick overpaint or sketch helps clarify proportions.
- Note key features: Pay attention to the eyes, blush, and feet placement.
Checklist:
- Front, side, and 3/4 views
- Color palette samples
- Notes on pose and expression
Choosing the Right 3D Creation Tools
For a project like Kirby, I choose tools based on speed, flexibility, and output needs. Tripo AI has become my go-to for rapid prototyping, especially when I want to generate base meshes or iterate on stylized characters quickly.
- AI-powered platforms: Great for generating a starting point from sketches or text prompts.
- Traditional DCCs (Digital Content Creation tools): Essential for hands-on sculpting, precise retopology, and animation.
Tip: I often start with an AI-generated base, then refine in my preferred modeling suite for maximum control.
Step-by-Step: My Process for Modeling Kirby

Blocking Out Kirby’s Basic Shapes
I always begin with simple geometry—Kirby is essentially a sphere with attached limbs.
- Start with primitives: Sphere for the body, squashed spheres for arms and feet.
- Position limbs: Use references to get the "floaty" look right.
- Merge or keep separate: Depending on rigging needs, I sometimes keep arms/feet as separate objects.
Steps:
- Create sphere for body.
- Add arms/feet as separate meshes.
- Block in facial features as placeholder geometry.
Refining Details and Proportions
Once the basic shapes are in place, I refine the silhouette and proportions.
- Adjust scale and spacing: Kirby’s cuteness depends on correct proportions—arms are low, feet wide apart.
- Sculpt subtle curves: I use soft sculpting brushes to round out intersections and smooth transitions.
- Facial features: Eyes and blush are usually texture-based, but I sometimes model them for extra depth.
Pitfall: Overcomplicating the mesh—Kirby should stay simple for best results and easy rigging.
Texturing and Coloring Kirby for a Polished Look
UV Mapping and Texture Painting
UVs are straightforward for Kirby, but I always ensure minimal stretching, especially around the face.
- Auto-unwrap or manual seams: For simple characters, auto-unwrap is often sufficient.
- Texture resolution: I use 1K or 2K maps—enough for clean gradients and details.
- Paint facial features: I hand-paint eyes, mouth, and blush in my 2D editor or directly in 3D paint mode.
Checklist:
- Clean, minimal UV seams
- Face features aligned and symmetrical
- Color swatches match references
Applying Materials and Shaders
Kirby’s iconic look relies on soft, vibrant materials.
- Base color: Flat, bright pink with subtle shading.
- Specular/roughness: I tweak these for a soft, almost matte finish.
- Subsurface scattering: Sometimes I add a hint for extra softness, especially for close-up renders.
Tip: Keep materials simple for real-time use, but experiment with shaders for stylized renders.
Rigging and Animating Your Kirby Model

Setting Up a Simple Rig
Kirby’s rigging is beginner-friendly but benefits from careful joint placement.
- Minimal bones: One for the body, one each for arms and feet.
- Deformation: Use soft weights for smooth, blobby movement.
- Facial rig: For basic expressions, I use blendshapes or simple bone-driven controls.
Steps:
- Place bones at limb attachment points.
- Weight-paint for smooth deformations.
- Test with basic poses.
Animating Basic Kirby Movements
Kirby’s movements are playful and exaggerated.
- Idle and walk cycles: Exaggerate squash and stretch for “bouncy” feel.
- Facial animation: Simple eye blinks and mouth shapes go a long way.
- Export as FBX or glTF: For game engines or XR, I bake animations and test in the target environment.
Pitfall: Overcomplicating the rig—Kirby doesn’t need fingers or complex face controls.
Exporting, Optimization, and Production-Ready Tips

Retopology and Mesh Cleanup
Clean topology is crucial for both animation and real-time performance.
- Retopology tools: I use automatic tools for initial passes, then manually tweak for edge flow.
- Polycount: I aim for 2–5k tris for games, higher for offline renders.
- Mesh checks: Remove stray verts, non-manifold edges, and ensure watertight geometry.
Checklist:
- Even, quad-based topology
- No unnecessary edge loops
- Optimized UVs and textures
Export Settings for Games and XR
Exporting correctly saves time down the line.
- Format: FBX or glTF for most engines.
- Scale and orientation: Match your target platform’s requirements.
- Texture packing: Use efficient formats (PNG, JPEG) and pack maps if needed.
Tip: Always test the exported model in your target engine before final delivery.
Comparing AI-Powered and Manual 3D Workflows
When to Use AI Tools for Kirby Models
AI-powered tools like Tripo are a game-changer for rapid iteration.
- Fast prototyping: Generate base meshes or variants from text or sketches.
- Batch processing: Useful for generating multiple poses or expressions.
- Limitations: For highly stylized or precise requirements, manual touch-ups are still necessary.
My advice: Use AI for the heavy lifting, but don’t skip manual cleanup and refinement.
My Experience: Speed vs. Creative Control
In my workflow, AI tools save hours on repetitive tasks, but I always take over for final tweaks.
- Speed: Initial blocking, retopology, and even basic texturing are much faster.
- Control: Fine details, stylization, and animation still benefit from hands-on work.
- Best results: Combine both approaches—let AI handle what it does best, then polish manually.
Best Practices and Lessons Learned

Common Pitfalls and How I Avoid Them
Over the years, I’ve run into a few recurring issues:
- Messy topology: Leads to bad deformations—always retopo and check weights.
- Texture stretching: Caused by lazy UVs—always check in 3D view.
- Export mismatches: Test scale and orientation early, not after rigging.
Checklist:
- Consistent scale across assets
- Clean, non-overlapping UVs
- Animation tests in-engine
Tips for Consistent Quality in 3D Character Models
To ensure every Kirby model meets production standards, I stick to a few habits:
- Review against references: Consistency is key for stylized characters.
- Iterate with feedback: Quick test renders or engine previews catch issues early.
- Document settings: Record export, shader, and rigging settings for future projects.
Final thought: The best results come from combining smart tools, solid fundamentals, and a willingness to iterate. Kirby may look simple, but attention to detail and workflow discipline make all the difference.