Creating a High-Quality Jinx 3D Model: Expert Workflow & Tips
скачать 3d модели для chicken gun
Creating a production-ready Jinx 3D model requires a blend of artistic vision, technical skill, and the right tools. Over years of working on stylized character models, I’ve honed a workflow that balances manual craftsmanship with the speed of AI-powered solutions like Tripo. This guide breaks down my full process—from reference gathering to rigging and export—highlighting practical tips, best practices, and lessons learned. Whether you’re a game artist, animator, or XR developer, you’ll find actionable advice to streamline your own Jinx projects.
Key takeaways
- Start with strong references and a clear plan for topology and style.
- Block out forms before diving into details; always check proportions early.
- Use efficient UV and texturing workflows to achieve a stylized look.
- Rigging for expressiveness is crucial for character appeal.
- AI tools like Tripo can accelerate prototyping and iteration.
- Optimize meshes and exports for your target platform from the start.
Overview: Jinx 3D Model Creation Process
Key steps from concept to final asset
My workflow always begins with a clear concept phase, followed by structured steps:
- Reference gathering – Collecting visual guides for accuracy.
- Planning – Deciding on topology, proportions, and style.
- Modeling – Blocking out, then refining the mesh.
- Texturing – UV unwrapping and painting stylized textures.
- Rigging – Preparing the model for animation.
- Optimization and export – Ensuring the asset is game/XR ready.
A checklist helps me avoid missing critical steps, especially when deadlines are tight.
Essential tools and software I use
I rely on a mix of industry-standard and AI-driven tools:
- Modeling & sculpting: Blender or Maya for base mesh and details.
- Texturing: Substance Painter or similar for painting.
- Rigging: Blender, Maya, and custom scripts.
- AI assistance: Tripo for rapid prototyping, segmentation, and retopology.
- Export: FBX or GLTF, tailored for the target engine (Unity, Unreal, XR).
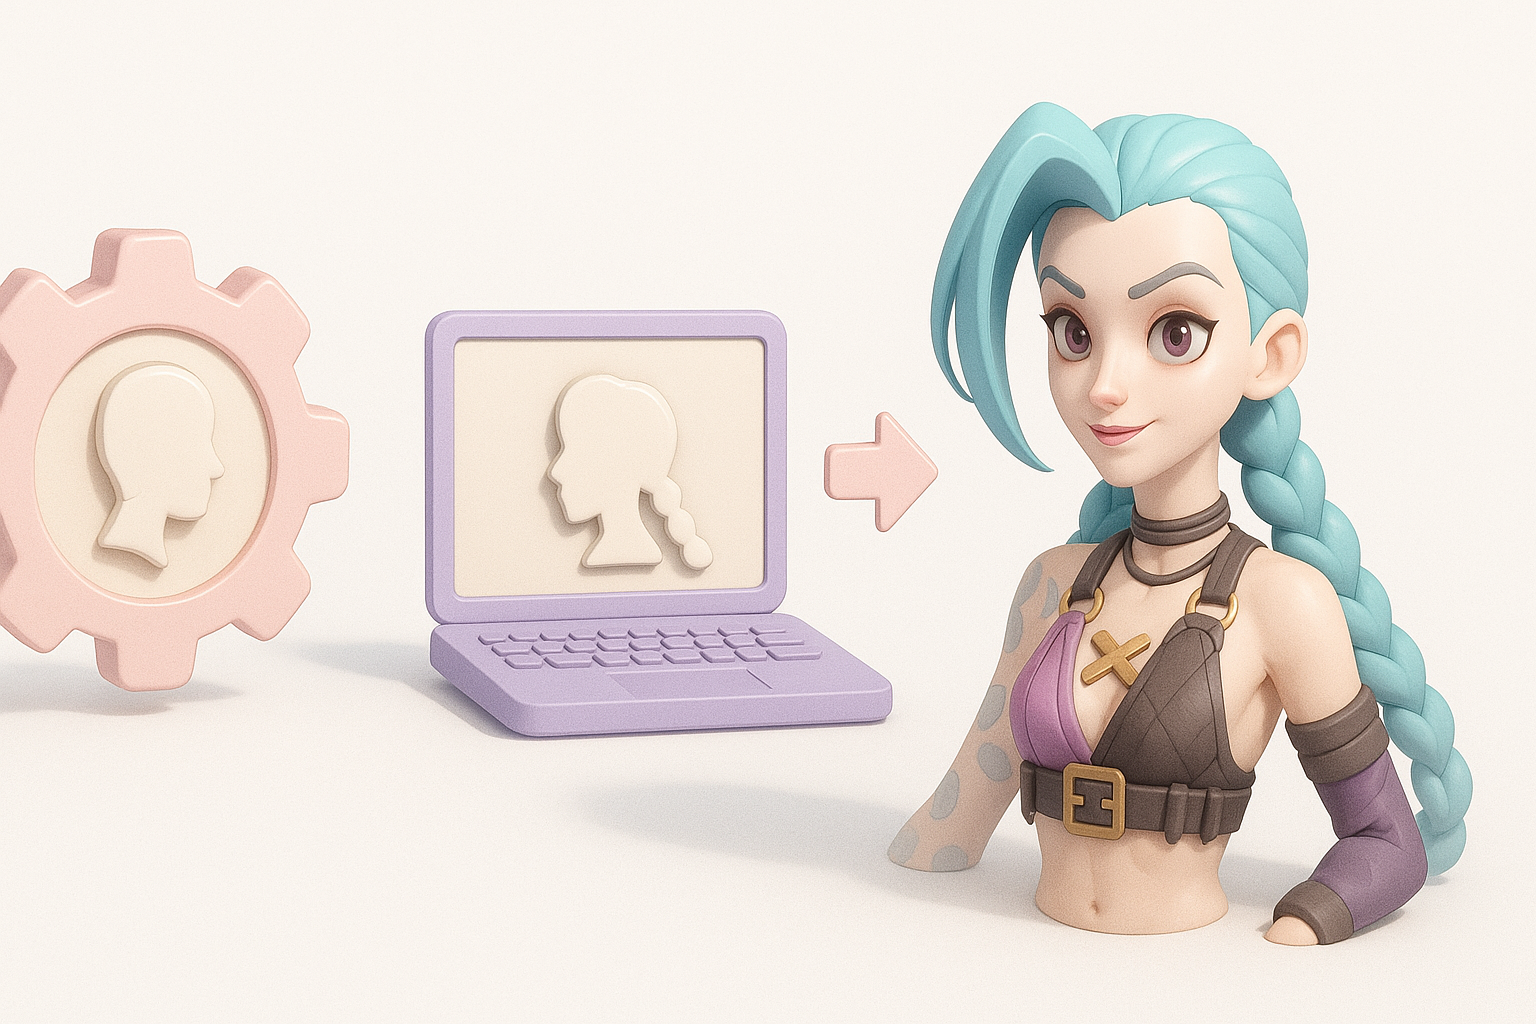
Gathering References and Planning the Model

Finding accurate Jinx references
Accurate references are non-negotiable for character fidelity. I typically:
- Gather official game art, cinematics, and in-game screenshots.
- Look for high-res fan art and cosplay for alternative angles.
- Organize images into mood boards (PureRef is handy for this).
Tip: Focus on front, side, and 3/4 views for modeling accuracy.
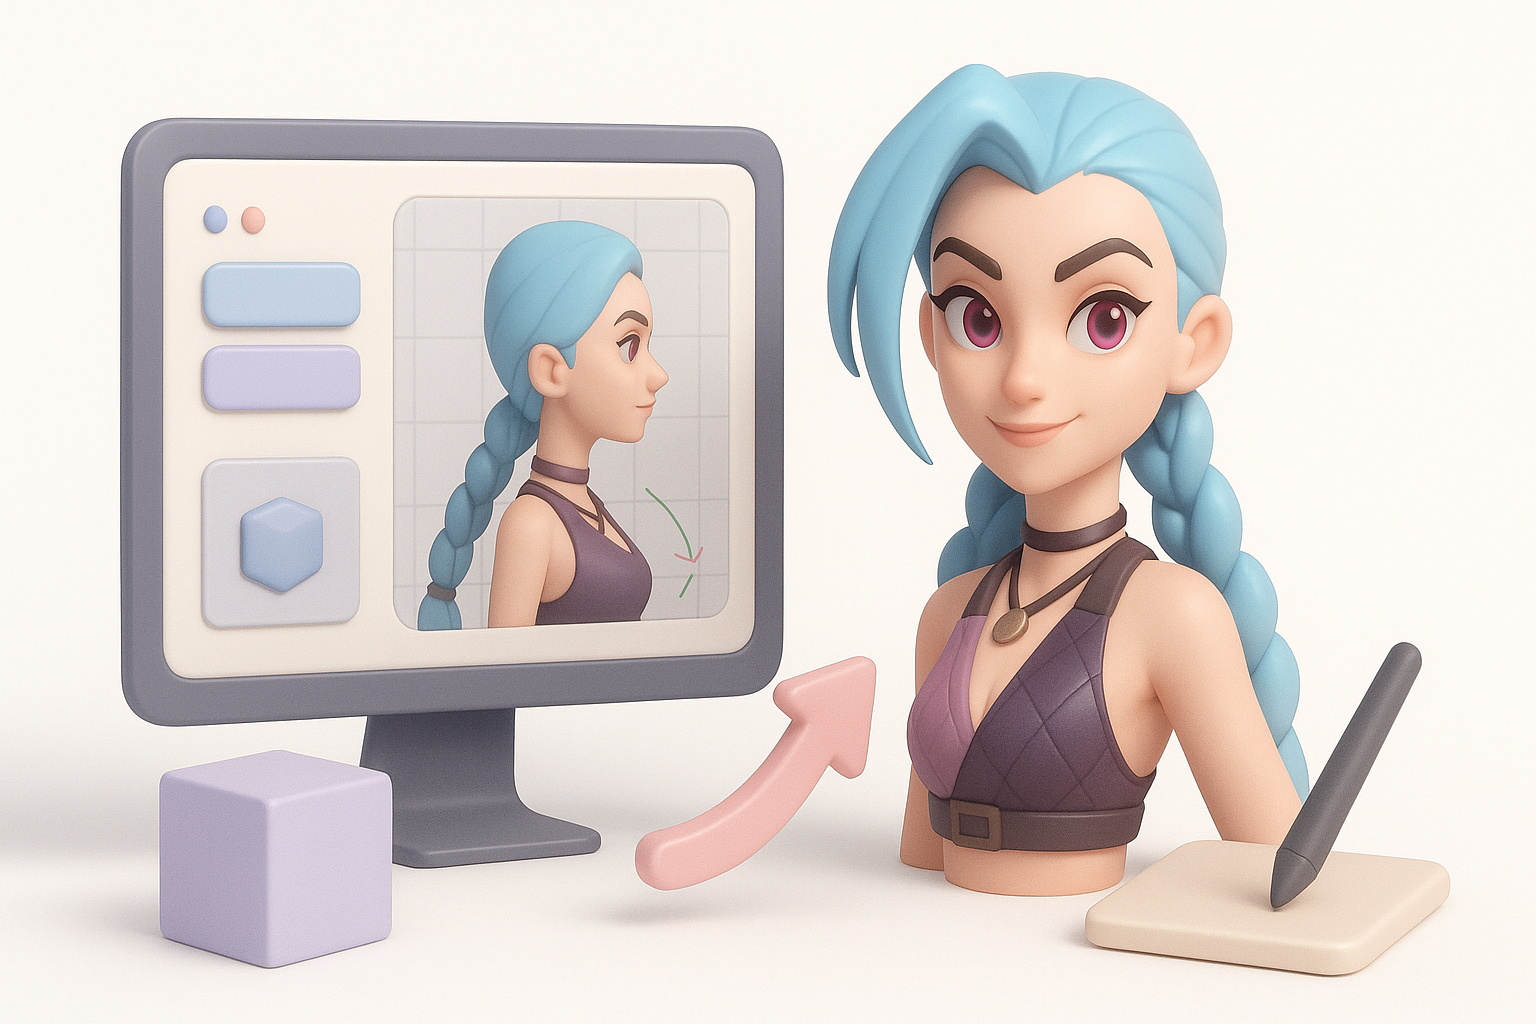
Planning topology and proportions
Before opening any 3D software, I map out:
- Key anatomical landmarks and stylized exaggerations.
- Edge flow for facial expressions and joint deformation.
- Polycount targets based on platform (game, film, XR).
Checklist:
- Block in silhouette first.
- Plan denser topology in expressive areas (face, hands).
- Keep proportions consistent with reference.
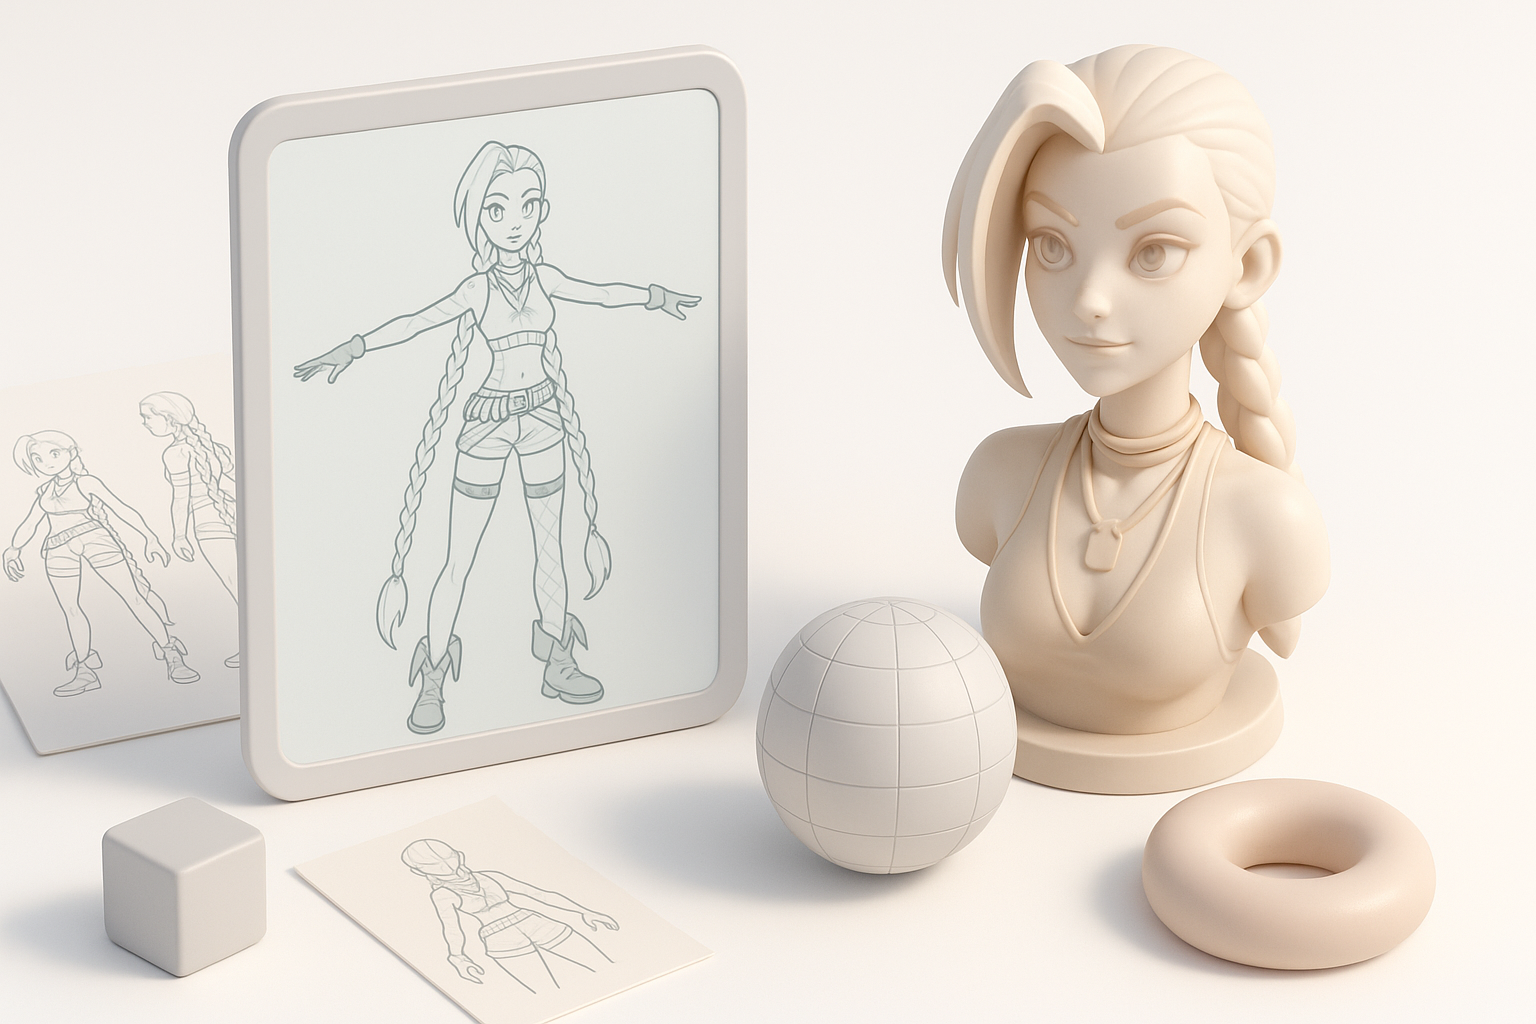
Modeling Techniques for Jinx
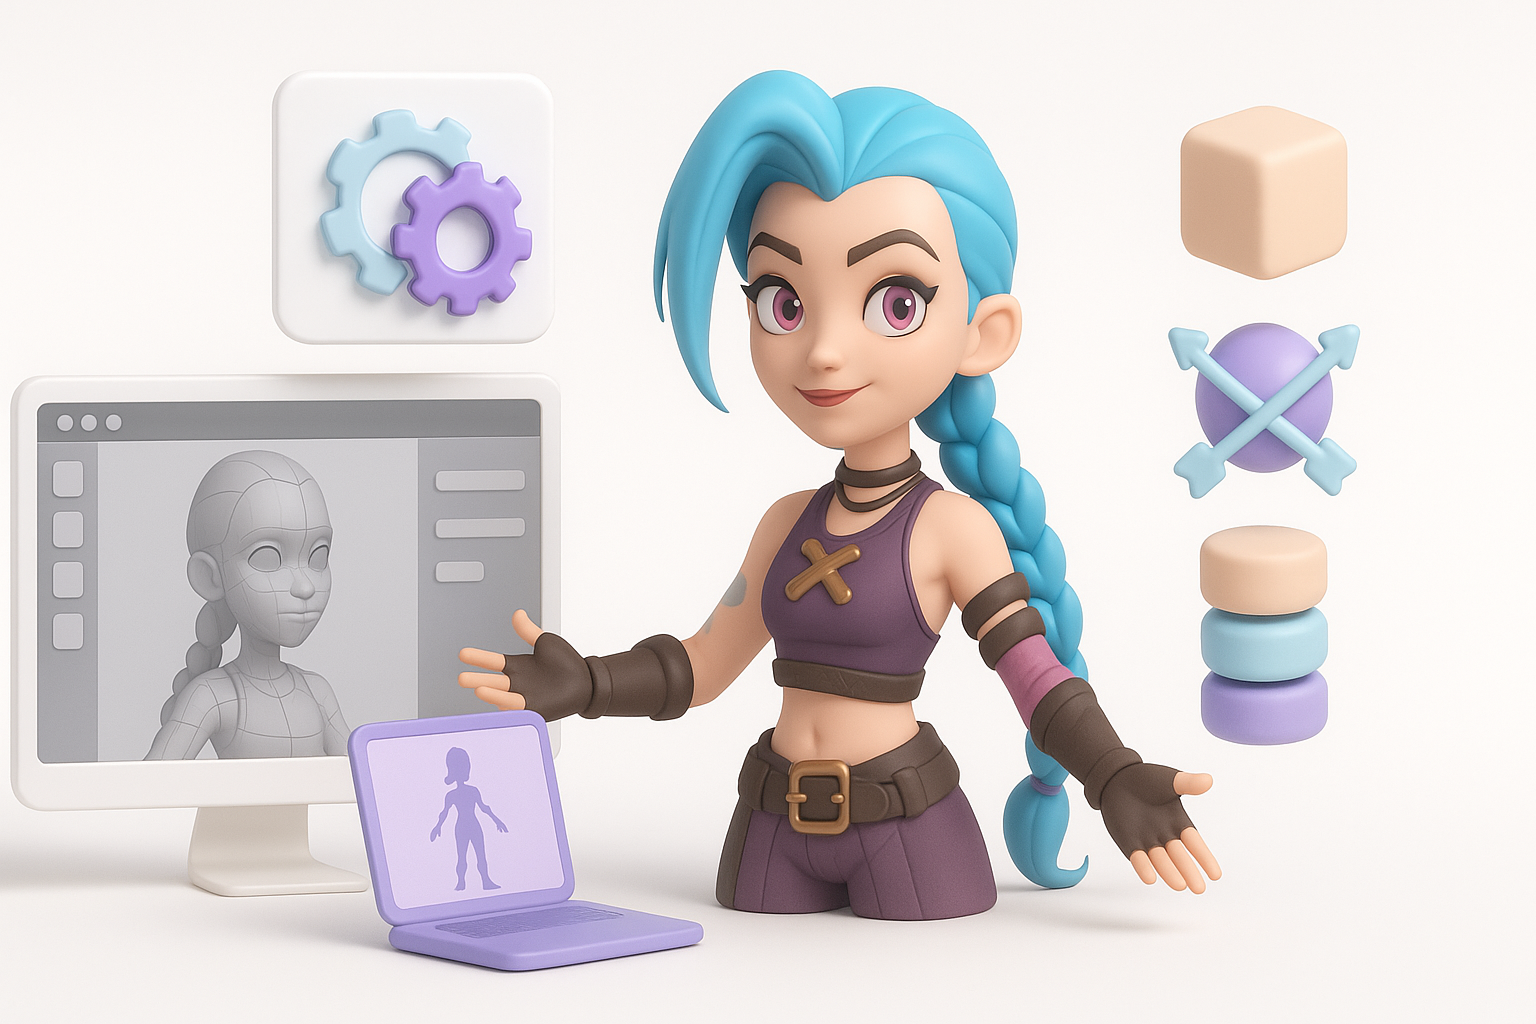
Blocking out the base mesh
I always start simple:
- Use primitives (cubes, spheres) to block major forms.
- Adjust proportions early—don’t get lost in details.
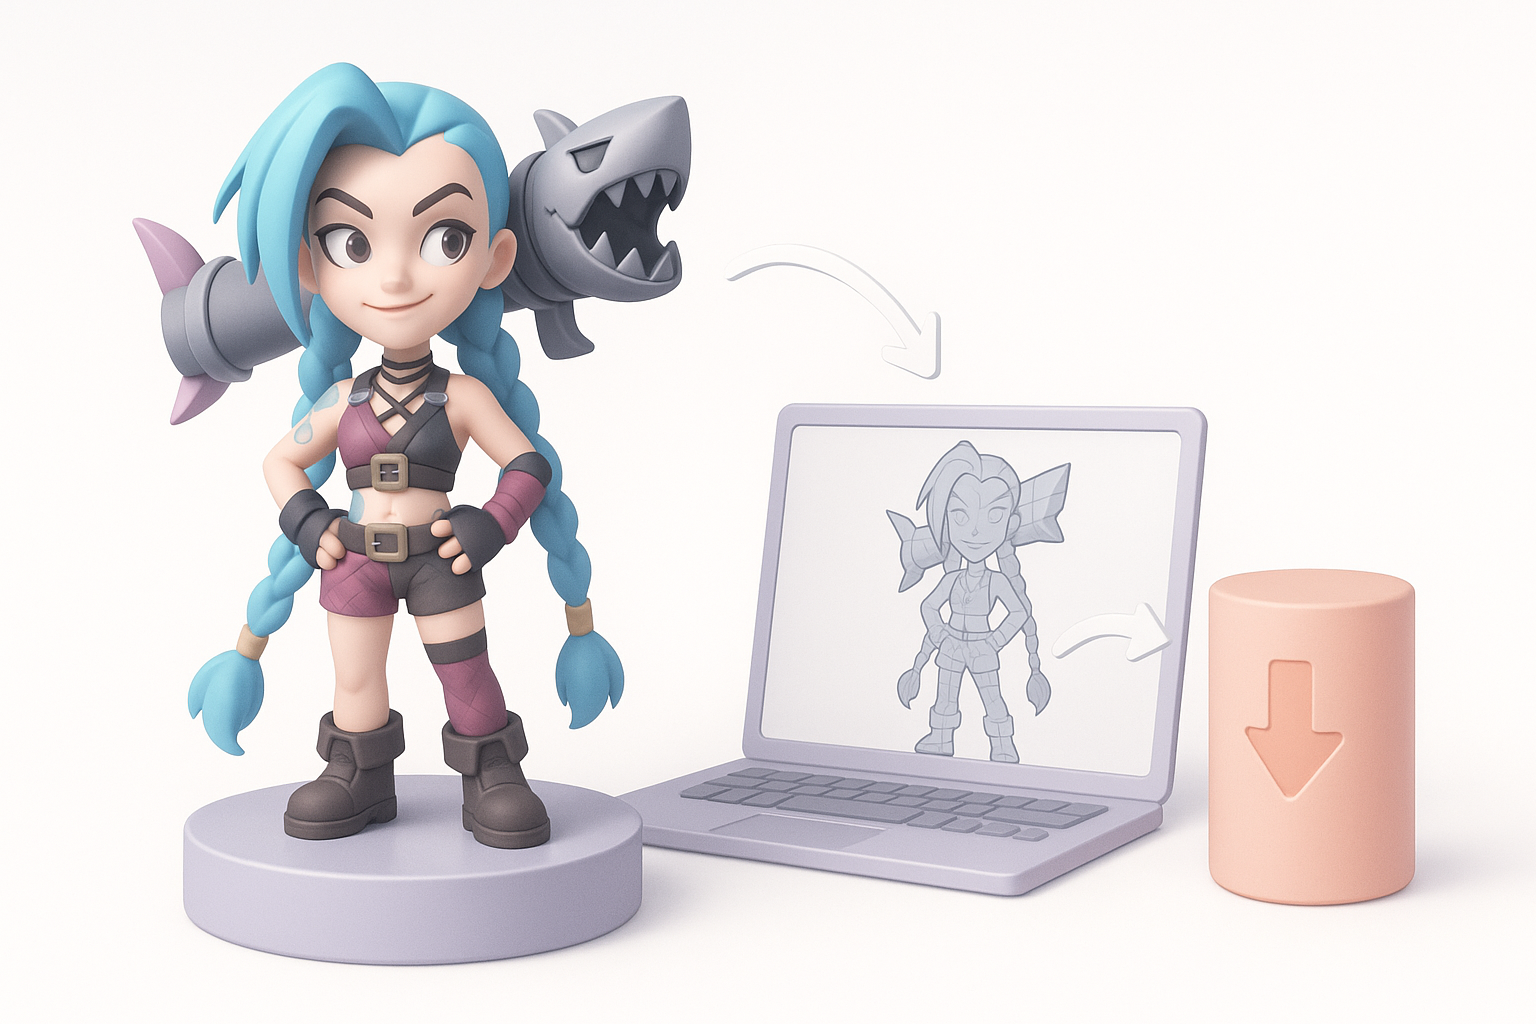
- If using Tripo, I’ll generate a quick base from references or sketches to accelerate this phase.
Pitfall: Skipping the blockout leads to proportion issues that are hard to fix later.
Adding details and refining shapes
Once the base is solid:
- Sculpt or model secondary forms (clothing folds, hair clumps).
- Add tertiary details like straps, belts, or facial features.
- Regularly check the silhouette and compare with reference.
Tips:
- Work in passes: broad to fine.
- Use symmetry, but break it for realism.
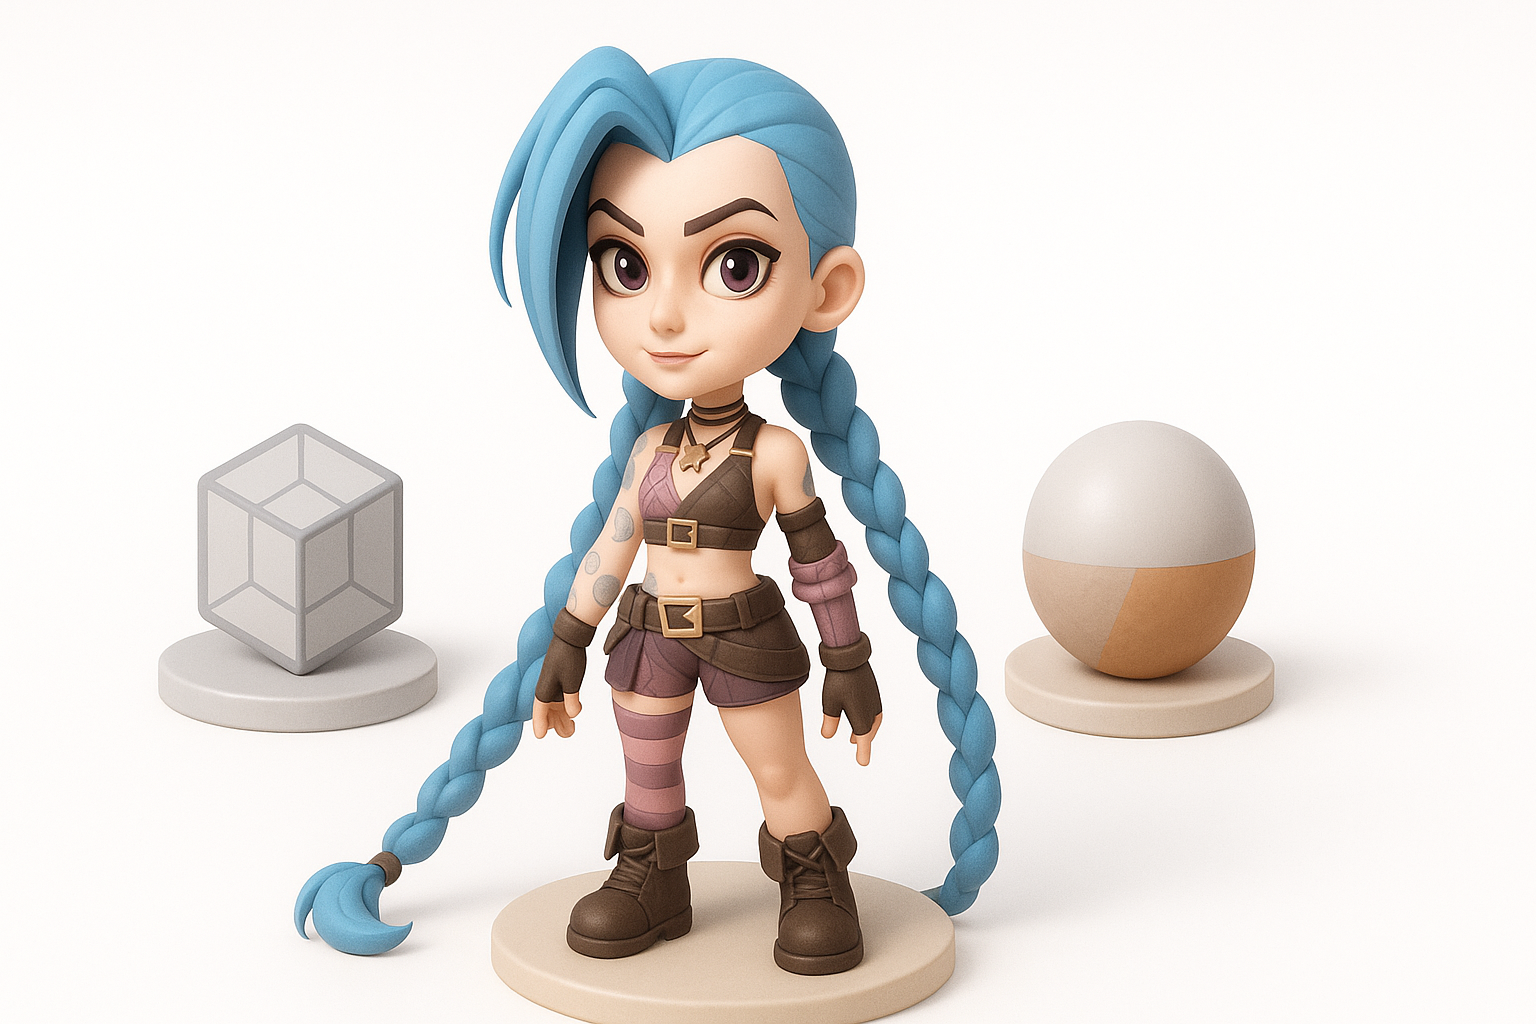
Texturing and Materials: Bringing Jinx to Life
UV unwrapping best practices
Clean UVs are the foundation for good textures:
- Minimize seams in visible areas.
- Pack UV islands efficiently to maximize texture resolution.
- Use consistent texel density.
Checklist:
- Test UVs with a checker pattern.
- Avoid stretching, especially on the face.
Painting and applying stylized textures
For Jinx’s iconic look:
- Hand-paint base colors and gradients for a stylized effect.
- Layer in highlights and shadows to enhance form.
- Use masks for details like tattoos or makeup.
Tip: I prefer painting in Substance Painter, then tweaking in Photoshop for final touches.
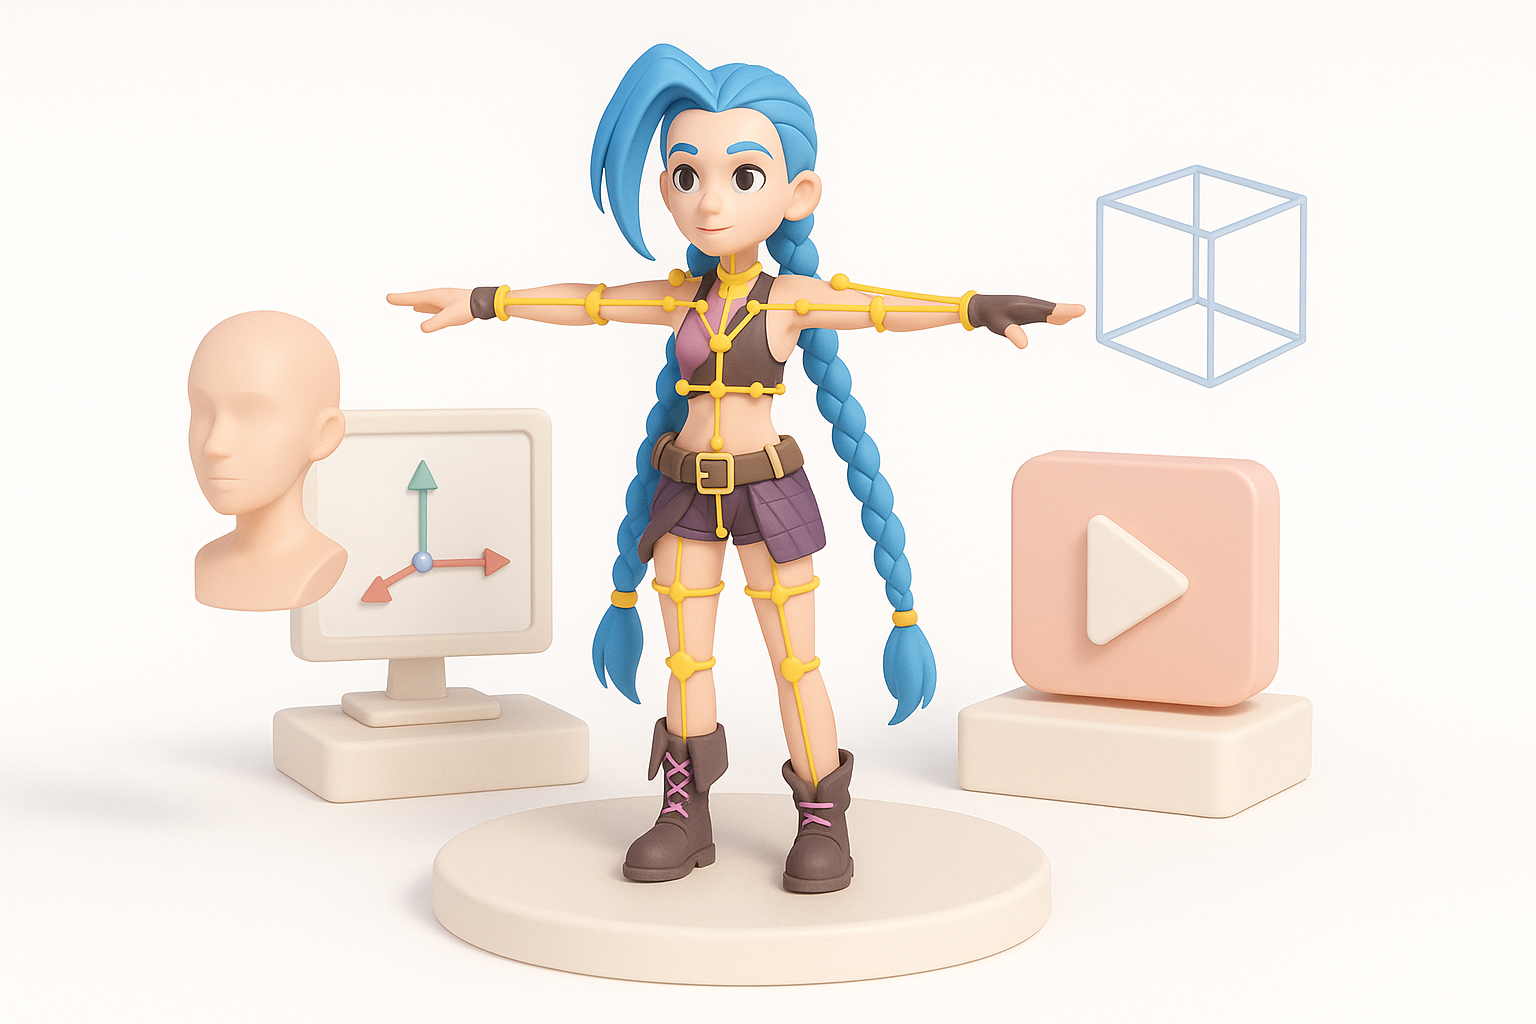
Rigging and Animation Preparation
Setting up a clean rig for Jinx
A clean rig is essential for expressive animation:
- Build a simple, logical bone hierarchy.
- Add control rigs for face and hands.
- Test basic poses early.
If I’m short on time, I’ll use Tripo’s auto-rigging as a starting point and refine manually.
Tips for expressive animation controls
- Add extra controls for hair, accessories, and facial features.
- Use shape keys/blendshapes for key expressions.
- Keep the rig lightweight for real-time use.
Pitfall: Overly complex rigs can slow down animators—keep it as simple as possible.
Optimizing and Exporting the 3D Model
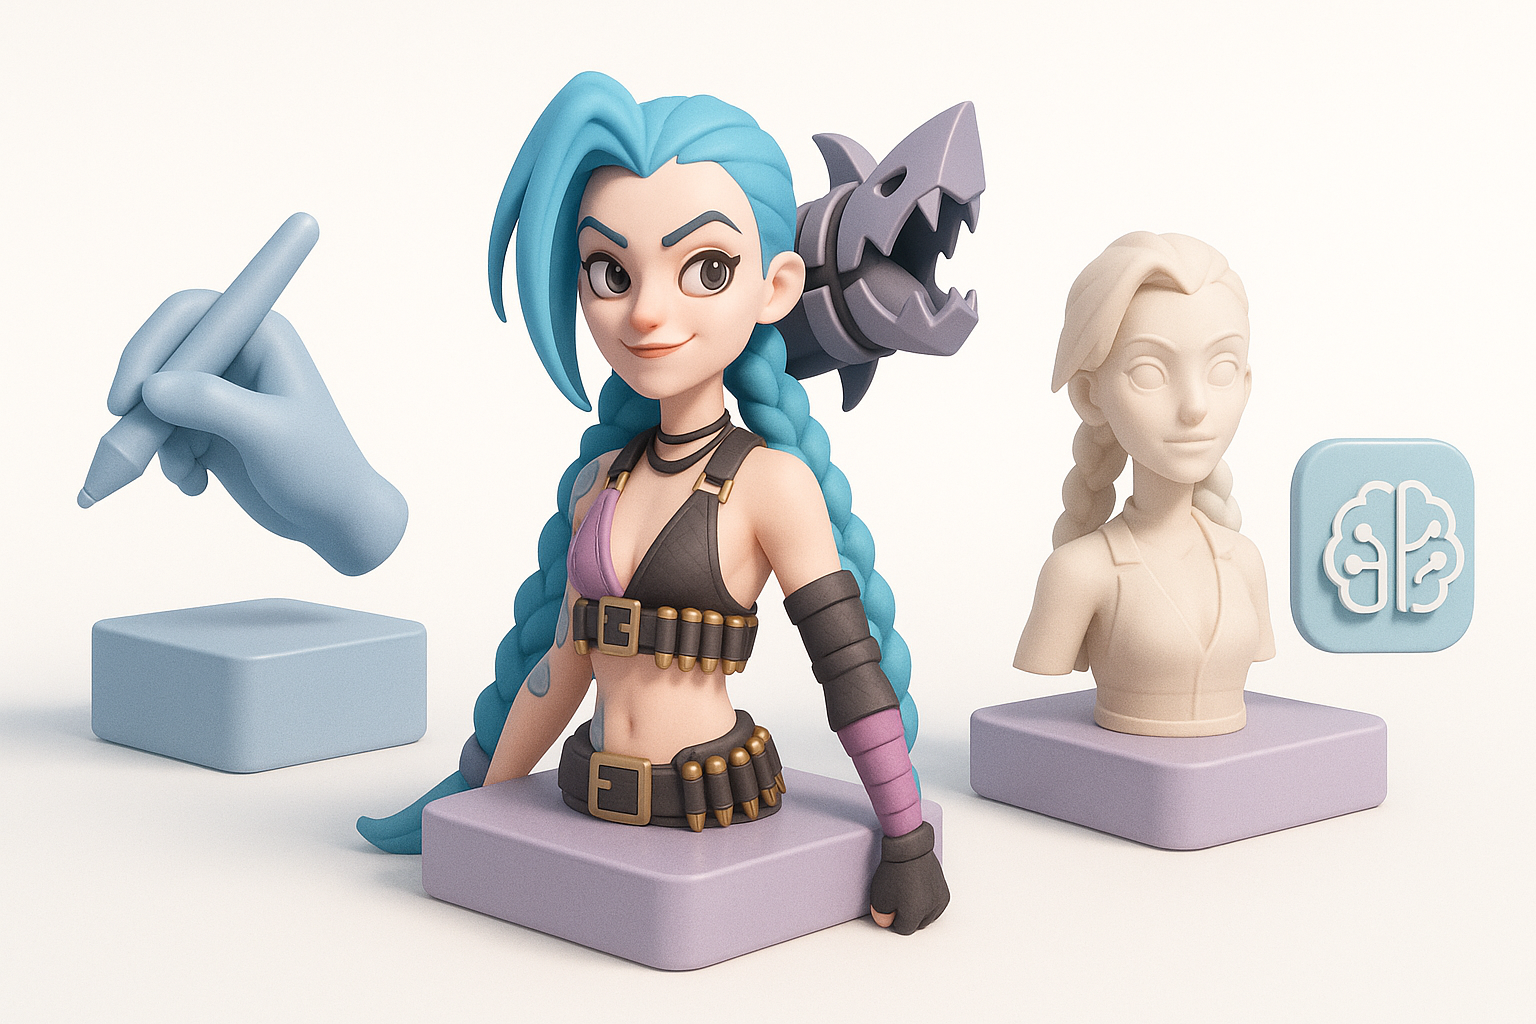
Retopology and mesh optimization
For production assets:
- Retopologize for clean edge flow and animation-friendly geometry.
- Remove unnecessary loops and optimize polycount.
- Use Tripo’s intelligent retopology to accelerate this step, then tweak as needed.
Checklist:
- Check for non-manifold edges.
- Ensure all normals are facing outward.
Export settings for games and XR
Export settings vary by platform:
- Use FBX or GLTF for most engines.
- Bake textures and normal maps for performance.
- Verify scale and orientation before export.
Tip: Test imports in the target engine as early as possible to catch issues.
AI-Powered Workflows: Speeding Up Jinx Model Creation
How I use Tripo for rapid prototyping
Tripo is a game-changer for quick iterations:
- Generate base meshes from text or sketches in seconds.
- Use AI-driven segmentation to separate clothing and accessories.
- Automatically retopologize and unwrap UVs to save hours.
This lets me focus energy on creative refinement rather than repetitive setup.
Integrating AI tools with traditional workflows
- I use AI for the initial pass, then refine manually for quality.
- Combine AI texturing with hand-painting for a human touch.
- Always review and adjust AI-generated assets—automation isn’t perfect.
Pitfall: Relying solely on AI can result in generic or off-model results. Always personalize.
Best Practices and Lessons Learned
What I’ve learned from past Jinx projects
- Early planning pays off—don’t rush reference or topology setup.
- Frequent feedback loops (self or team) catch issues early.
- Save iterations—version control is your friend.
Common pitfalls and how to avoid them
- Proportion drift: Regularly overlay your model on reference images.
- Texture seams: Always test textures in-engine.
- Over-detailing: Focus on what will be visible in the final context.
Comparing Manual and AI-Assisted 3D Modeling
Strengths and limitations of each approach
- Manual modeling: Maximum control and customization, but time-consuming.
- AI-assisted workflows: Speed and convenience for prototyping and repetitive tasks, but may require manual cleanup.
Tip: Use AI for repetitive or technical steps, manual work for creative and polish phases.
When to choose AI-powered solutions
- Tight deadlines or rapid prototyping needs.
- When you need to generate multiple variations quickly.
- For non-hero assets or background elements where speed trumps perfection.
By blending traditional craftsmanship with modern AI tools, I can deliver high-quality, production-ready Jinx 3D models faster and with fewer headaches. The key is knowing when to leverage automation and when to rely on hands-on skill.