Creating Jailbreak Roblox 3D Models: Expert Workflow & Tips
Creating Jailbreak-style Roblox 3D models efficiently requires a clear understanding of the platform’s requirements, smart use of AI-powered tools, and a focus on game-ready optimization. In my experience, blending rapid AI prototyping with hands-on adjustments delivers the best balance between speed and quality. This guide is for artists, developers, and designers looking to streamline their Jailbreak asset pipeline—whether you’re solo or part of a team. Below, I’ll detail my workflow, highlight optimization strategies, and share lessons learned to help you avoid common pitfalls.
Key Takeaways
- Know Roblox’s technical and style requirements before starting any 3D asset.
- Use AI-powered platforms for rapid prototyping, but always manually refine for game-readiness.
- Optimize meshes and textures early to prevent performance issues.
- Export settings must match Roblox’s import standards for seamless integration.
- Balancing AI and manual workflows gives you flexibility and quality control.
- Avoid common mistakes like over-detailing or missing scale references.
Understanding Jailbreak Roblox 3D Model Requirements
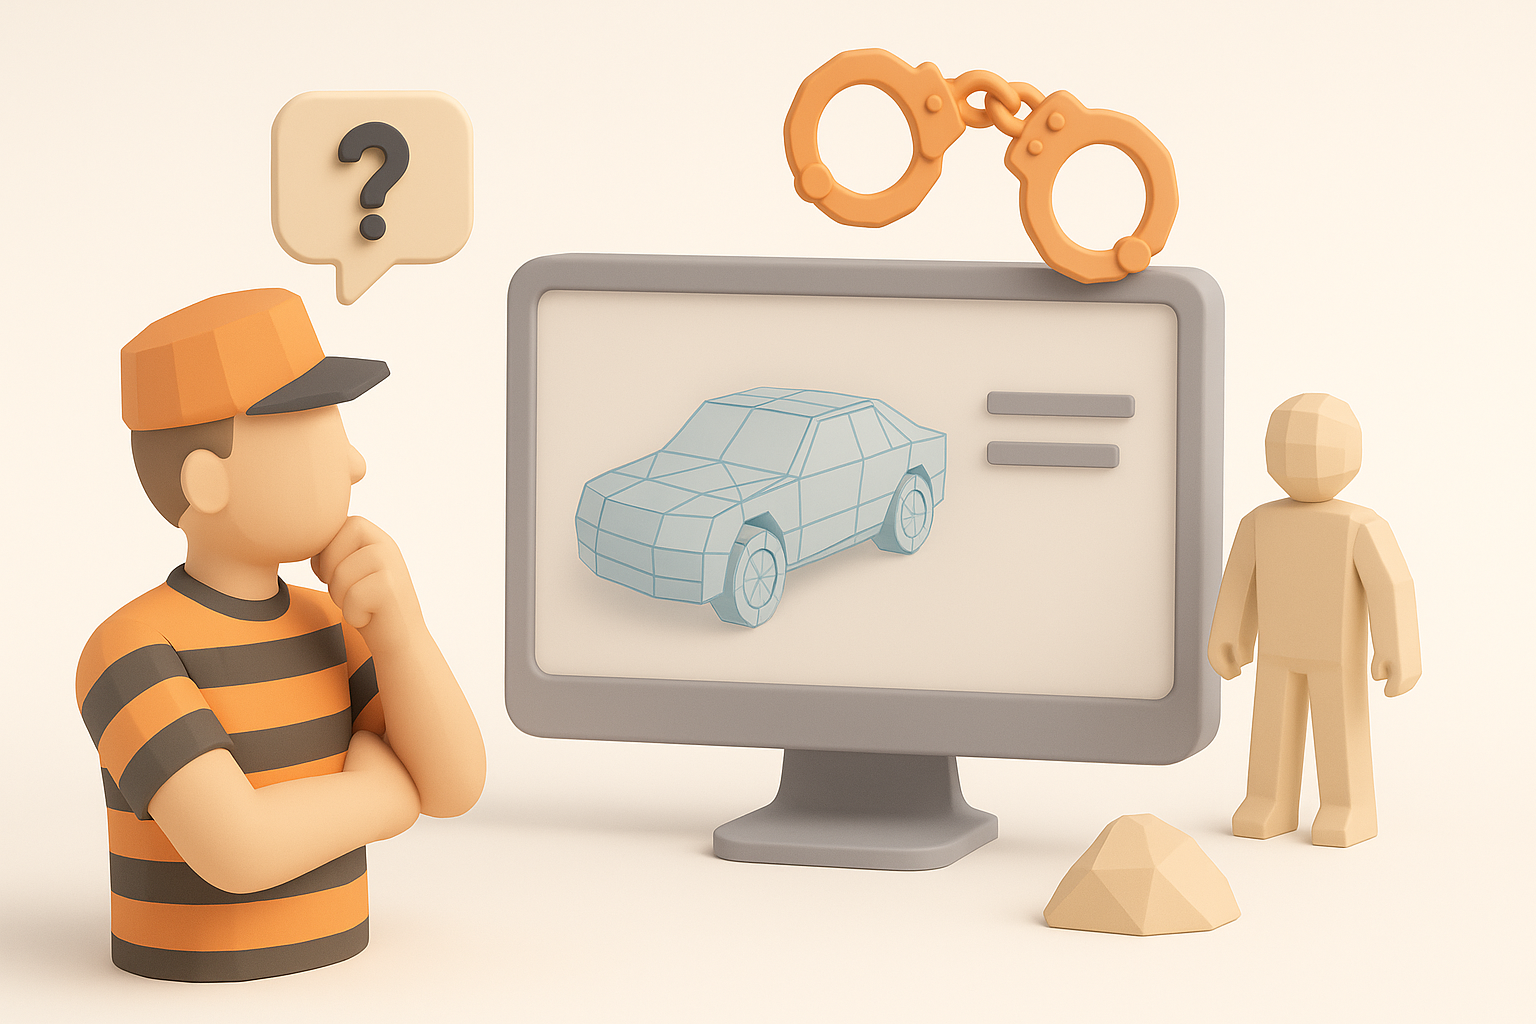
Key Features of Jailbreak-Themed Assets
Jailbreak assets have a recognizable, stylized look—clean geometry, readable textures, and a focus on gameplay clarity. When I create models for this style, I prioritize:
- Simple, bold shapes (vehicles, buildings, props)
- Clear color palettes and minimal visual noise
- Functional details that support gameplay (e.g., doors, wheels, interactable parts)
Before modeling, I break down the asset’s gameplay role and visual hierarchy. This helps me avoid unnecessary detail and keeps the model performant.
Platform Guidelines and Compatibility
Roblox has strict guidelines for mesh complexity, texture sizes, and file formats. From experience, these are the essentials:
- Mesh: Preferably under 10k triangles for props; even lower for background assets.
- Textures: 256x256 or 512x512, compressed and power-of-two dimensions.
- File format: .FBX or .OBJ for mesh imports; PNG for textures.
- Scale: Roblox uses studs; I always check the asset’s size in the Roblox Studio viewport before final export.
I keep a checklist of these requirements to avoid rework and import errors.
My Workflow for Designing Jailbreak 3D Models
Concepting and Reference Gathering
Every project starts with a strong concept. For Jailbreak, I gather references from:
- In-game screenshots and official artwork
- Community asset showcases
- Real-world objects for inspiration
I sketch quick thumbnails or blockouts to establish proportions and silhouette. This step is crucial—solid references prevent wasted time later on.
Choosing the Right Tools for Fast Iteration
For fast iteration, I rely on AI-powered 3D generators like Tripo AI. These platforms let me go from text prompts or rough sketches to a usable 3D base in seconds. My typical toolset:
- Tripo AI for initial mesh generation from text or image input
- Blender or Roblox Studio for manual tweaks and export prep
- Photoshop or Substance Painter for quick texture edits
I choose tools based on the asset’s complexity and my target turnaround time.
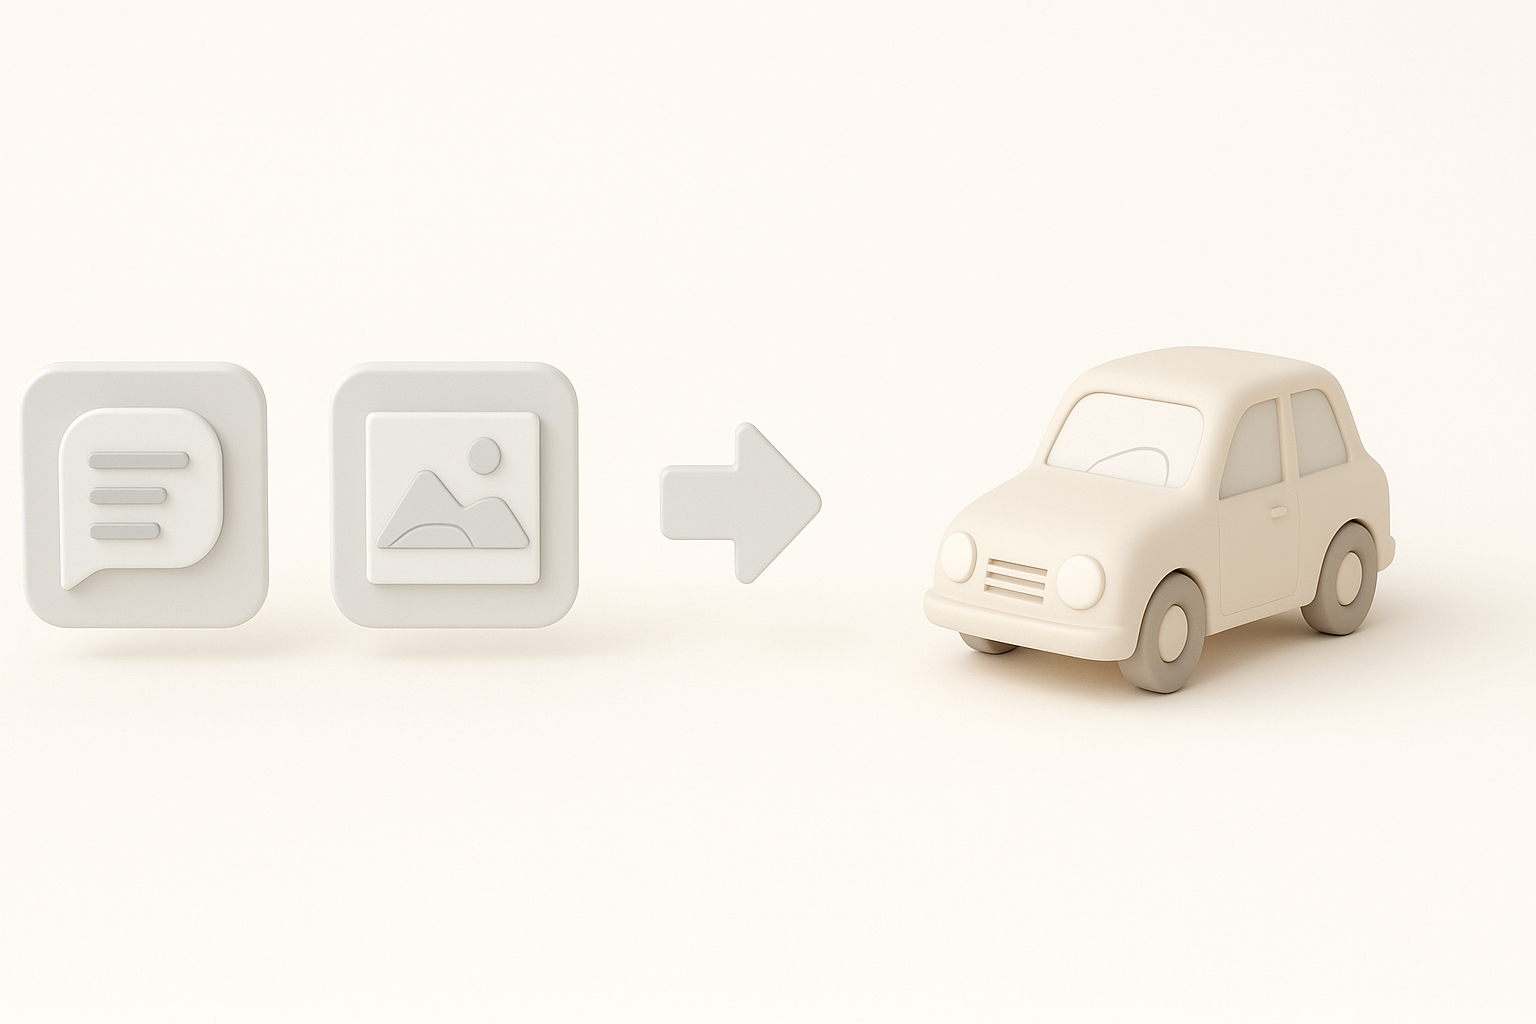
Step-by-Step: Generating 3D Models from Text, Images, or Sketches

Using AI Platforms for Rapid Prototyping
AI platforms have changed my workflow dramatically. Here’s how I approach rapid prototyping:
- Input a clear text prompt or upload a sketch/image to Tripo AI.
- Review the generated preview—check silhouette and main features.
- Download the mesh and texture for further refinement.
Tips:
- Be specific in your prompts (e.g., “low-poly police car, blue and white, Jailbreak style”).
- Iterate quickly—adjust prompts if the first output isn’t close enough.
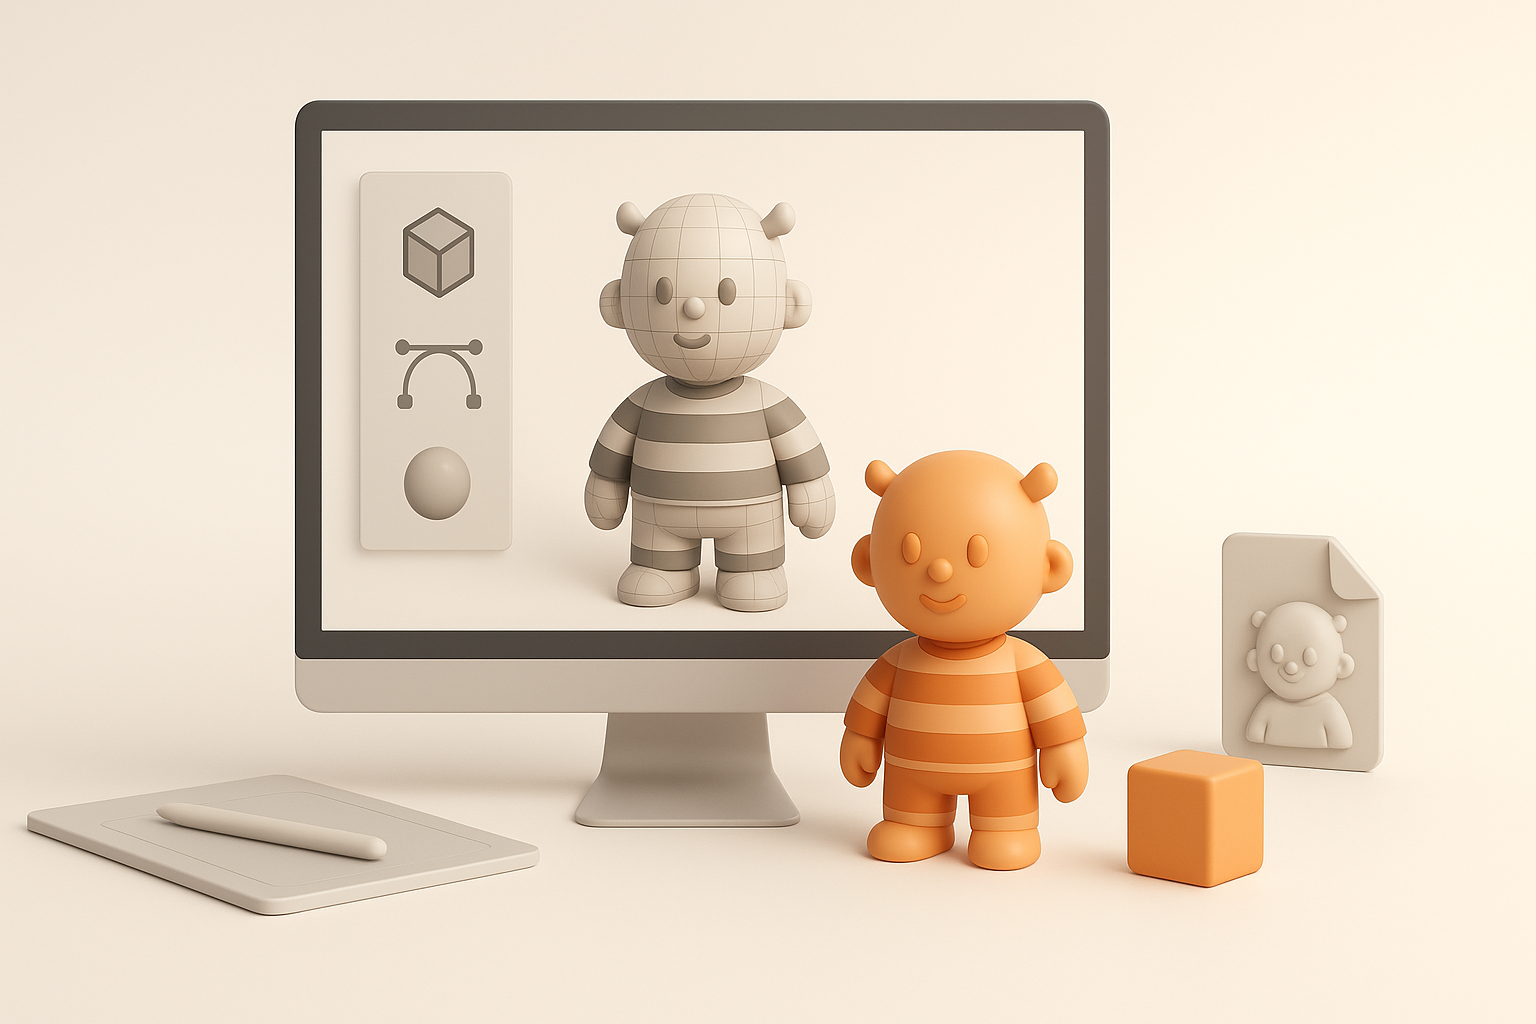
Manual Adjustments for Game-Ready Assets
AI-generated models almost always need manual cleanup. My typical process:
- Import the mesh into Blender for retopology and UV adjustments.
- Fix any non-manifold geometry, overlapping UVs, or mesh artifacts.
- Refine proportions and add missing gameplay details.
- Export and test the asset in Roblox Studio for scale and collisions.
Checklist:
- Clean topology (no ngons, minimal tris)
- Proper UV unwrap
- Scaled to Roblox units
Best Practices for Optimization and Export
Retopology and Texture Workflow
Optimizing for Roblox is non-negotiable. I always:
- Use auto-retopology tools for clean, low-poly meshes.
- Limit texture maps to diffuse/albedo only (Roblox doesn’t support advanced PBR).
- Compress texture sizes and bake details where possible.
This keeps assets performant, especially for multiplayer environments.
Export Settings for Roblox Integration
Export settings can make or break your workflow. My standard export checklist:
- Mesh: Export as .FBX with triangulated faces, no animations unless needed.
- Textures: Export as PNG, power-of-two, and double-check UV seams.
- Naming: Use clear, consistent file names for easy asset management.
- Test: Import into Roblox Studio and verify appearance, scale, and collisions.
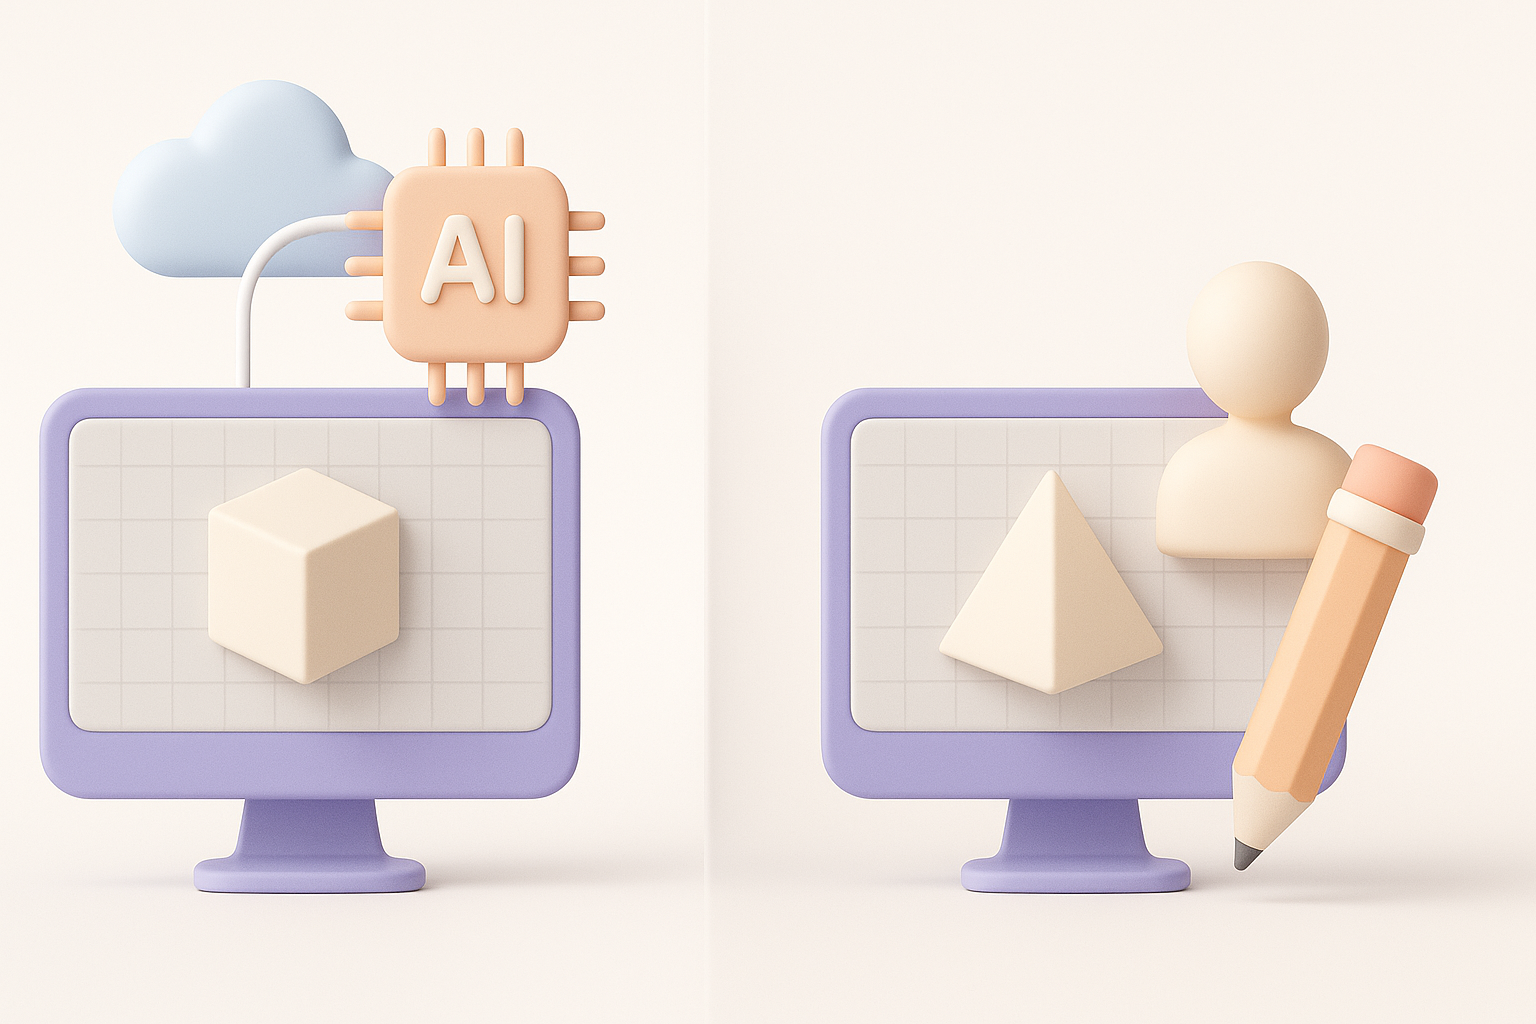
Comparing AI-Powered and Traditional 3D Creation Methods
Speed, Quality, and Flexibility Insights
In my experience:
- AI tools like Tripo AI are unbeatable for speed—great for concepting, quick variants, or rapid iteration.
- Traditional modeling (Blender, Maya, etc.) offers more control and higher fidelity for hero assets.
- Combining both gives the best of both worlds: AI for base mesh, manual for polish.
When to Use Each Approach
- Use AI for background props, quick iterations, or when you need to generate multiple concepts fast.
- Use manual modeling for main gameplay assets, unique items, or when you need precise control over topology and UVs.
My rule: If it needs to be unique or highly optimized, I finish by hand.
What I’ve Learned: Tips for Efficient Jailbreak Asset Creation
Common Pitfalls and How to Avoid Them
- Over-detailing: Jailbreak assets should be simple. Too much detail hurts performance and visual clarity.
- Ignoring scale: Always verify scale in Roblox Studio before finalizing.
- Forgetting platform limits: Stay within triangle and texture limits to avoid import errors.
Maximizing Creativity with AI Tools
- Use AI platforms to break creative blocks—generate multiple variants and pick the best.
- Don’t rely solely on AI; always refine and test in-engine.
- Save your best prompts and settings for future projects to speed up iteration.
By following this workflow, I consistently deliver Jailbreak-compatible Roblox assets quickly and efficiently—without sacrificing creativity or quality.