Creating and Optimizing an HGU-55 3D Model: Expert Workflow
Creating a high-quality HGU-55 helmet 3D model requires a blend of solid reference gathering, technical modeling skills, and smart use of AI-powered tools. In my workflow, I focus on accuracy, efficient topology, and production-ready assets—whether for games, XR, or film. Leveraging platforms like Tripo AI has dramatically accelerated my process, especially for tasks like segmentation and retopology. This guide is for 3D artists, technical directors, and anyone aiming to deliver polished, realistic helmet models with fewer headaches.
Key takeaways
- Reference quality is critical—skimping here leads to avoidable mistakes.
- Blocking and segmentation set the foundation for clean topology and easy texturing.
- AI tools can automate tedious steps, but manual checks are essential for accuracy.
- Export settings must match your target engine or pipeline to avoid rework.
- Constantly review and optimize: small tweaks can make or break realism.
Understanding the HGU-55 Helmet and Its 3D Modeling Challenges
Key features and reference gathering
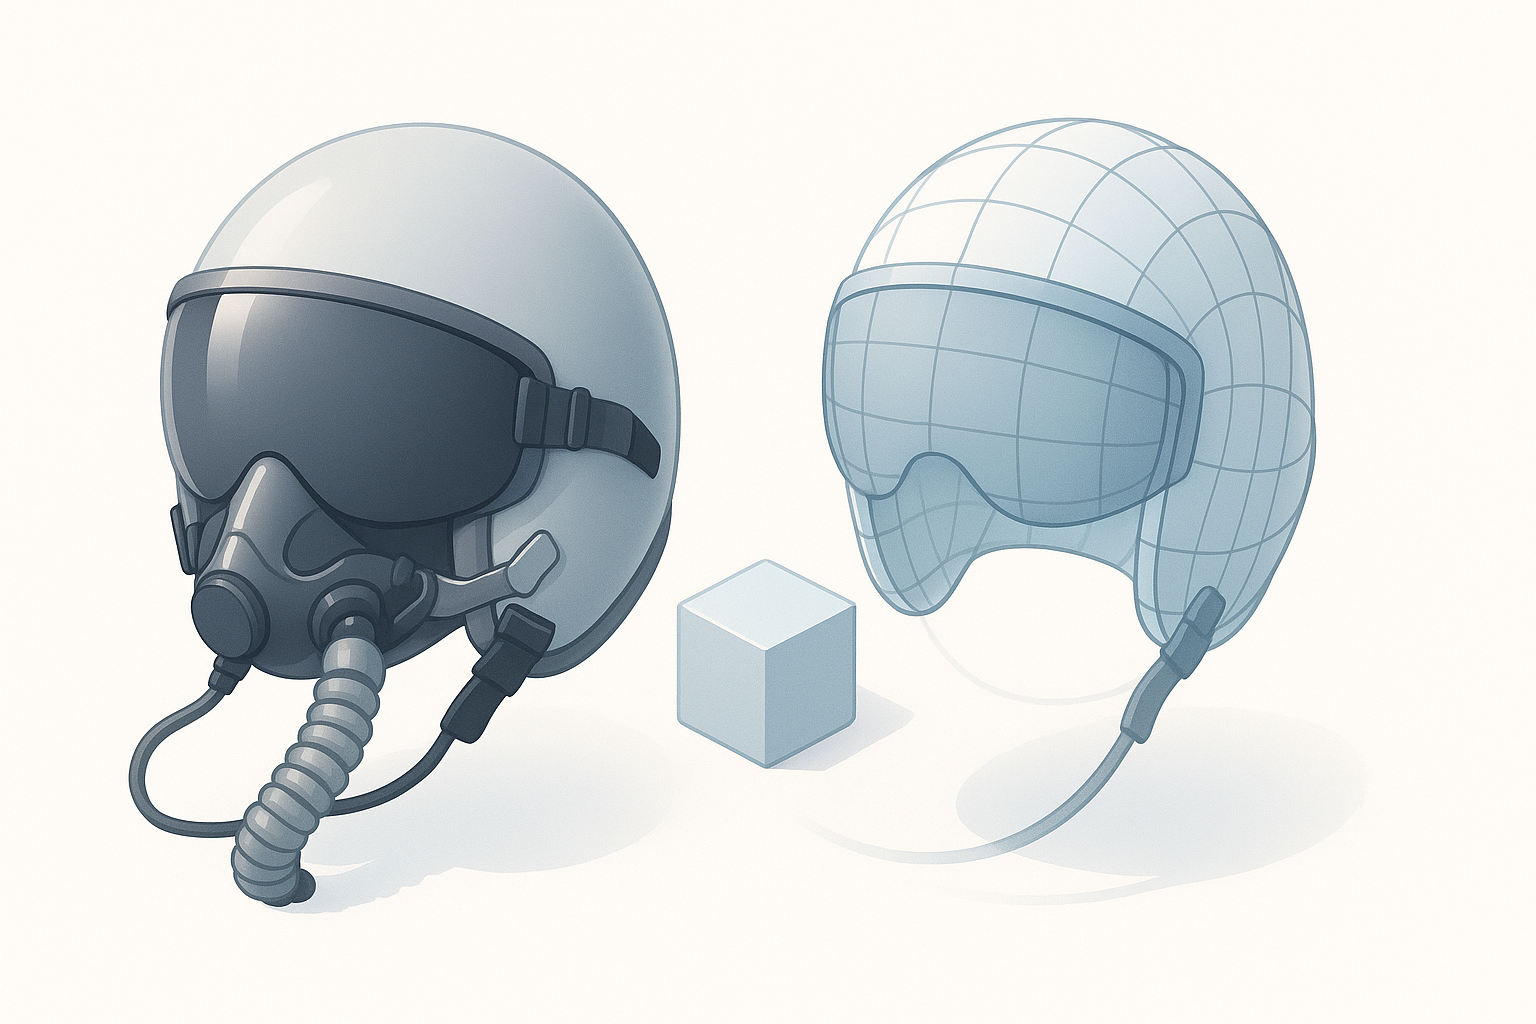
The HGU-55 helmet is iconic in aviation, with distinctive curves, visors, and attachment points. In my experience, getting the silhouette and proportions right is non-negotiable. I always start by gathering high-res photos, blueprints, and, if possible, photogrammetry scans. I organize references by angle (front, side, top) and detail shots (straps, visors, connectors).
My reference checklist:
- Orthographic images (front, side, top)
- Close-ups of hardware and fastenings
- Texture and wear detail references
- Manufacturer specs or blueprints
Common modeling pitfalls and how I avoid them
A frequent pitfall is underestimating the helmet’s subtle curves or over-simplifying geometry. Early on, I struggled with lumpy surfaces and mismatched proportions, which are hard to fix later. Now, I always:
- Use image planes in my 3D app for accurate blocking
- Check proportions from multiple angles
- Avoid adding fine details before the base shape is locked
Pitfall tip: Don’t skip reference alignment—tiny errors compound as you progress.
Step-by-Step Workflow: My Process for Building an HGU-55 3D Model
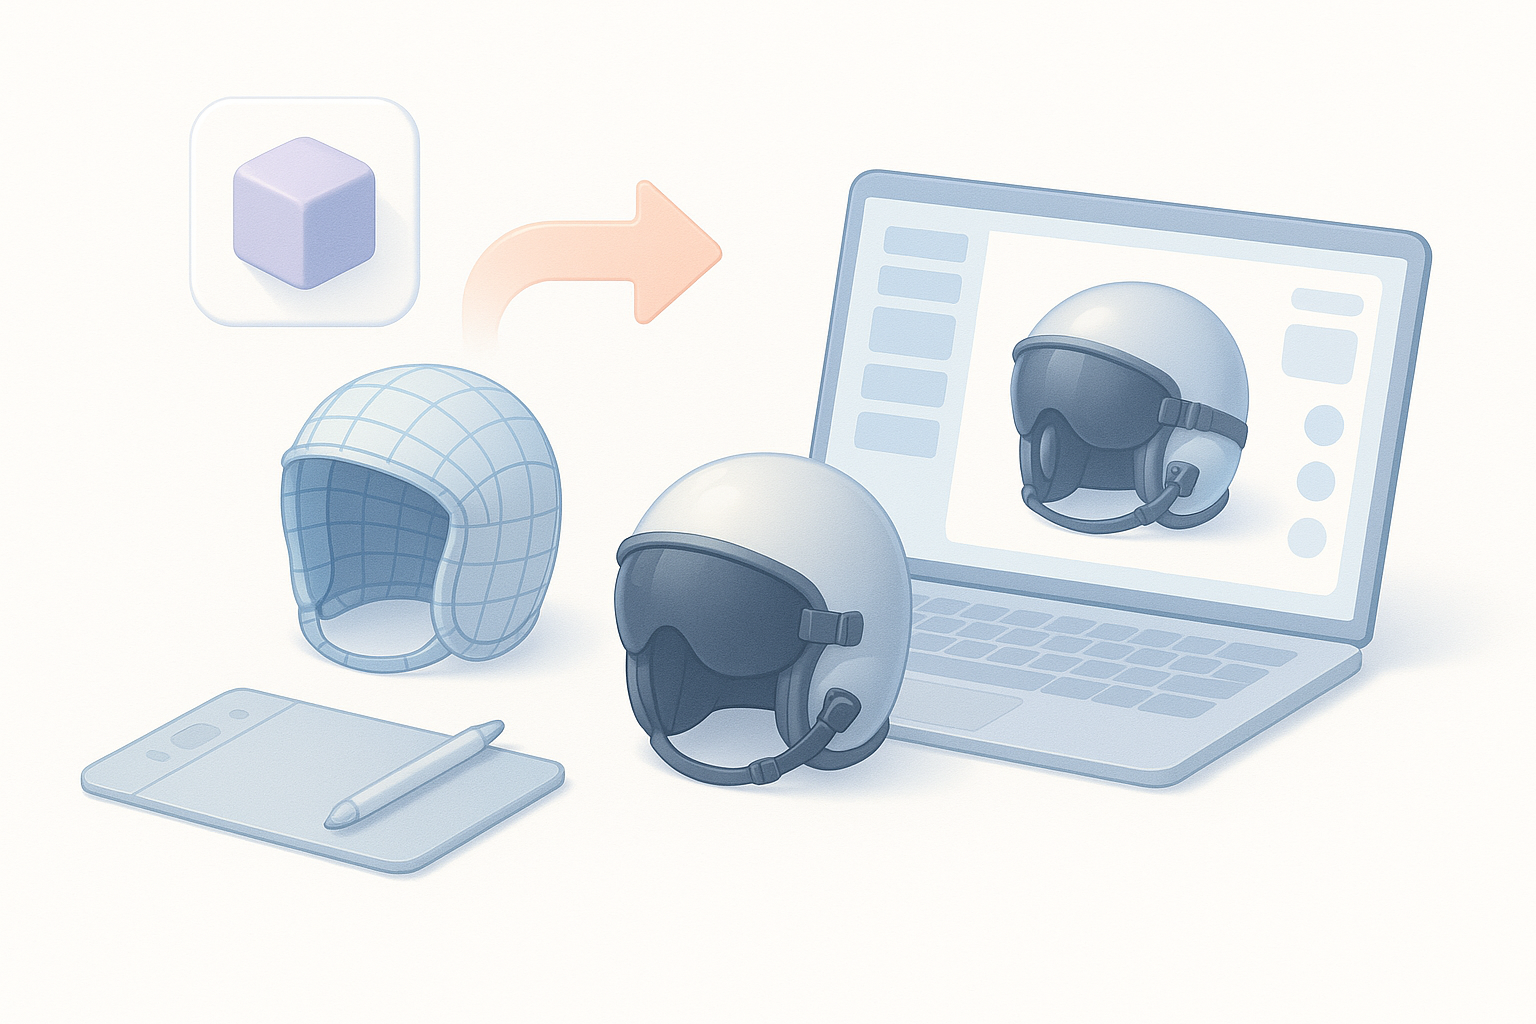
Blocking out the base shape efficiently
I start with primitive shapes (spheres, cylinders) and quickly rough out the helmet’s main form. The goal is to capture the overall volume, not details.
My blocking steps:
- Align reference images in the viewport.
- Use a single low-poly sphere for the helmet dome.
- Extrude or add geometry for visors and attachments.
- Regularly check silhouette against references.
I use Tripo AI at this stage to suggest base meshes or auto-segment parts, which saves time and helps avoid topology headaches later.
Detailing, segmentation, and topology best practices
Once the base is solid, I move to segmentation—separating the helmet shell, visors, straps, and hardware. Clean segmentation means easier texturing and animation later.
Best practices I follow:
- Keep edge loops clean around moving parts (e.g., visors)
- Use quad-based topology for predictable deformation
- Rely on Tripo’s retopology tools for quick, production-ready meshes
- Double-check normals and smoothing groups
Tip: Don’t be afraid to redo segments if you spot errors early. It’s faster than fixing them after UVs or textures are applied.
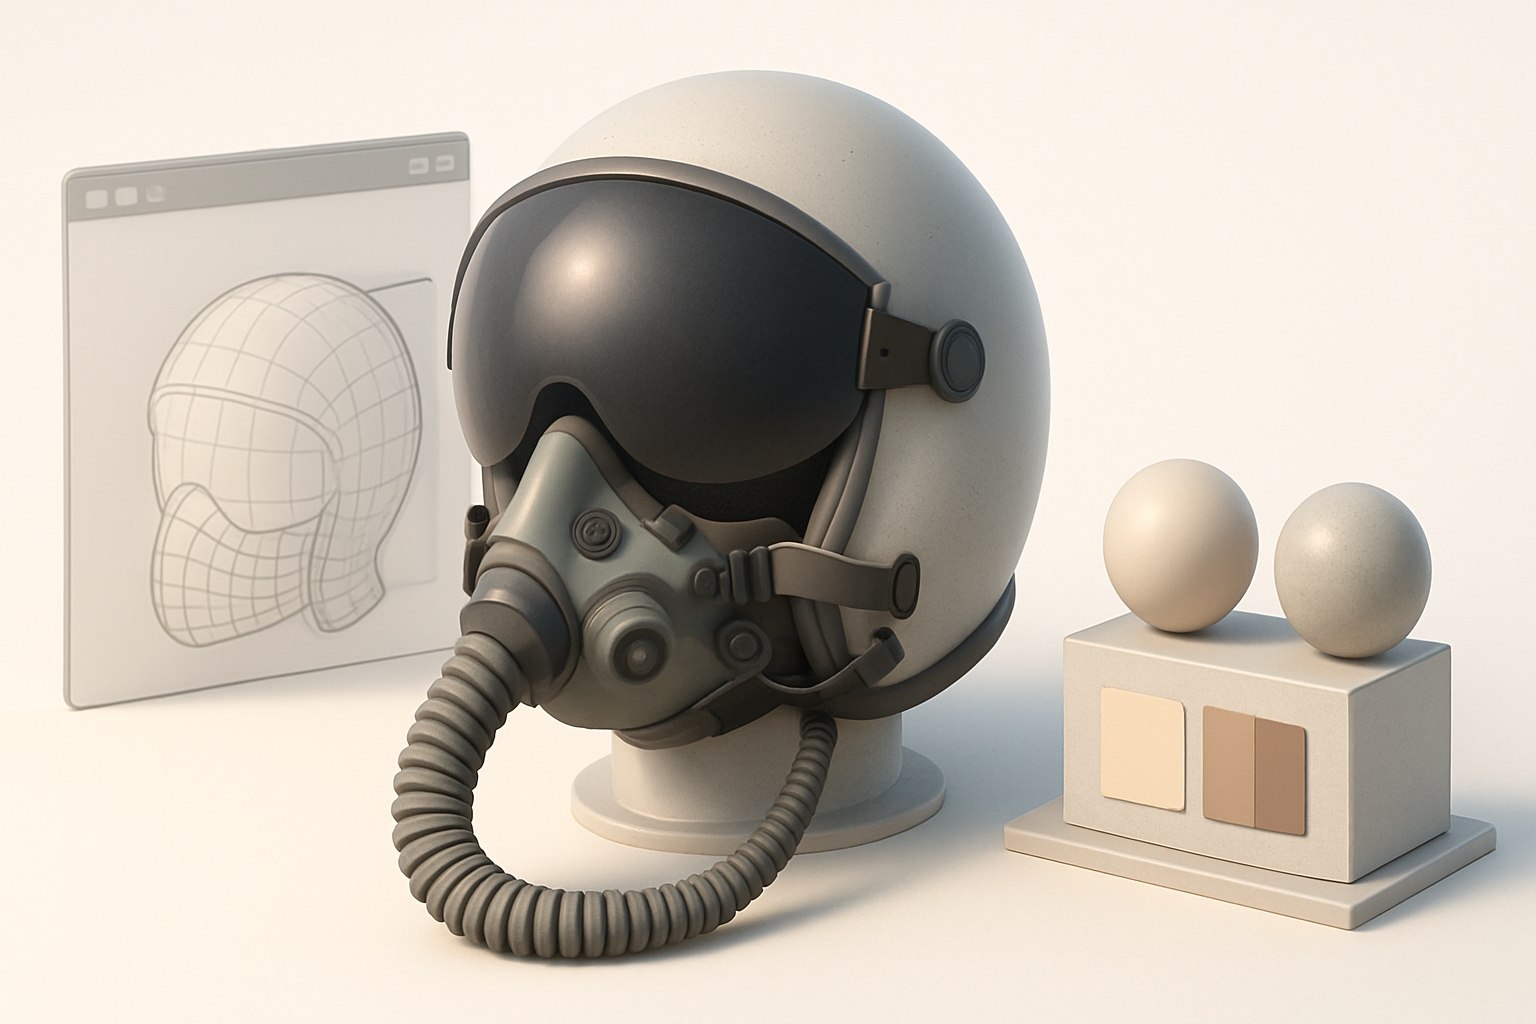
Texturing and Material Creation for Realism

Choosing and applying accurate textures
Accurate texturing makes or breaks helmet realism. I prefer to bake high-res details into normal maps, then layer photo-sourced and hand-painted textures.
Texture workflow:
- Bake AO, curvature, and normal maps from a high-poly version
- Use PBR materials: metalness for hardware, roughness for shell
- Source real-world photos for surface imperfections
Tripo’s auto-unwrap and texturing features can jumpstart this process, but I always tweak maps manually for authenticity.
Tips for achieving authentic surface details
To avoid the “CGI look,” I add subtle wear, fingerprints, and edge scuffs. I use masks for dirt and decals, and vary roughness and specular values.
Checklist for realism:
- Micro-scratches and edge wear on high-contact areas
- Subtle color variation in the shell paint
- Decals and stencils placed per references
- Imperfect glossiness—avoid uniform surfaces
Rigging, Animation, and Export Considerations

Preparing the model for animation or XR use
If the helmet needs to be animated (e.g., visor movement) or used in XR, I make sure pivot points and segmentation are clean. I add basic bones or control objects for moving parts.
Rigging tips:
- Separate moving parts (visors, straps) as distinct objects
- Place pivots at real-world hinge points
- Test movement in the viewport before export
Export settings and compatibility tips
Exporting for different engines (Unreal, Unity, custom XR) means matching their requirements. I usually:
- Export FBX with embedded textures
- Check scale and orientation (metric, Y-up/Z-up as needed)
- Use triangulated meshes if required by the engine
- Verify UVs and material assignments
Tip: Always test the exported model in the target environment—minor issues (normals, scale) often show up here.
Leveraging AI-Powered Tools for Faster, Higher-Quality Results
How I integrate Tripo AI into my workflow
I use Tripo AI for rapid prototyping, segmentation, and retopology. For the HGU-55, I can input reference images or sketches, and Tripo generates a base mesh that’s often 80% of the way there. Its auto-segmentation is especially useful for complex hardware parts.
My integration steps:
- Import reference or concept art into Tripo
- Use AI to generate base geometry and segment parts
- Refine topology and details manually as needed
Comparing AI-driven and manual modeling approaches
AI tools accelerate the repetitive, technical parts—blocking, segmentation, and retopology. However, manual intervention is still essential for creative decisions and fine-tuning. I find the best results come from blending both: let AI handle the grunt work, but always review, tweak, and polish by hand.
Pitfall: Relying solely on AI can lead to generic or off-proportion models. Always validate against your references.
Best Practices and Lessons Learned from Real Projects
What I wish I knew before starting
- Reference depth matters: More angles and detail shots save time later.
- Topology discipline pays off: Clean edge flow avoids headaches in rigging and animation.
- Don’t rush segmentation: It affects every downstream step, from UVs to animation.
Troubleshooting and optimization tips
- Normals issues: Check and fix flipped or inconsistent normals before texturing.
- UV stretching: Use checker maps to spot and fix early.
- Performance: Optimize polycount and texture resolution for your target platform.
- Export bugs: Test in the final engine or viewer before calling the project done.
Final tip: Iterative review—both in the 3D app and in the target environment—catches issues early and leads to a much more polished final HGU-55 helmet model.