Creating and Using Halo Infinite 3D Models: Expert Workflow
Working with Halo Infinite 3D models is a rewarding but technically demanding process, especially if you want assets that are both visually accurate and game-ready. Over the years, I’ve refined a workflow that balances legal sourcing, technical optimization, and creative flexibility—whether I’m prepping assets for a game, XR experience, or cinematic. This guide is for 3D artists, developers, and hobbyists who want to efficiently source, optimize, and integrate Halo Infinite models using a mix of manual and AI-powered tools (like Tripo). Expect actionable tips, workflow breakdowns, and hard-earned lessons from real projects.
Key takeaways

- Always verify legal permissions before using Halo Infinite assets, especially for commercial projects.
- Use reputable sources and AI-powered tools to accelerate model prep and enhance quality.
- Retopology and segmentation are essential for performance and compatibility across engines.
- Proper texturing and material setup make a huge difference in visual fidelity.
- Rigging and animation require engine-specific considerations—test early and often.
- Troubleshoot common issues (normals, UVs, polycount) before final integration.
Overview of Halo Infinite 3D Models
What Makes Halo Infinite Models Unique
Halo Infinite models stand out for their high detail, sci-fi design language, and optimized geometry tailored to modern game engines. I’ve found that these assets often include advanced shaders, modular components, and complex materials—making them versatile but sometimes challenging to adapt for non-native projects. The attention to detail in both hard-surface (weapons, vehicles) and organic (characters, creatures) models is notable, requiring careful handling during import and optimization.
Common Use Cases in Games and XR
In my experience, Halo Infinite 3D models are most commonly used for:
- Fan projects and mods: Custom maps, machinima, and gameplay mods.
- XR demos: Immersive VR/AR scenes that leverage iconic assets.
- Prototyping: Rapid environment or character prototyping for sci-fi games.
- Education: Teaching 3D workflows using familiar, high-quality assets.
The main pitfall is overestimating how “plug-and-play” these models are; most require significant prep before they’re usable in new environments.
How I Source and Prepare Halo Infinite 3D Models
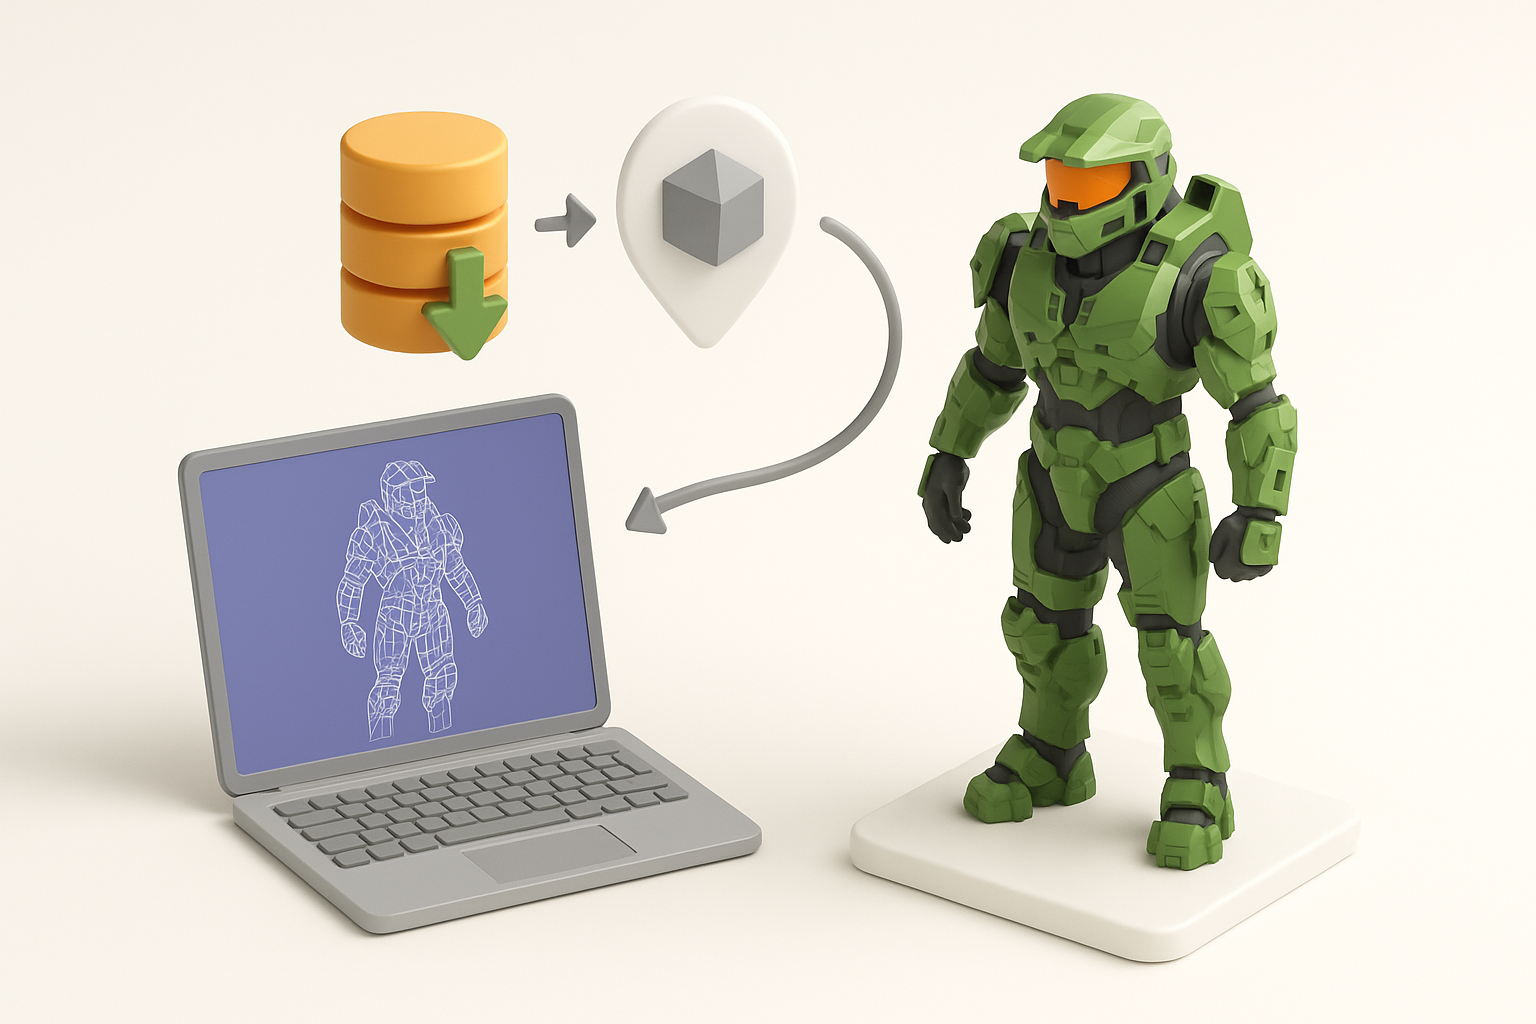
Finding Reliable Model Sources
I always start by identifying reputable sources—official developer releases, community asset packs, or licensed marketplaces. I avoid random downloads or rips from unofficial sites, as these often come with incomplete assets or legal risks.
Sourcing checklist:
- Check for official or licensed distribution.
- Verify file formats (FBX, OBJ, GLTF preferred).
- Inspect sample assets for completeness (textures, LODs, naming conventions).
Legal and Ethical Considerations
Even for personal or educational projects, I make sure to respect copyright and licensing restrictions. Using assets without permission, especially for commercial work, can lead to takedowns or legal trouble.
Best practices:
- Read the asset’s license—look for explicit permissions and restrictions.
- Attribute creators when required.
- For commercial use, obtain written permission or use assets marked as royalty-free.
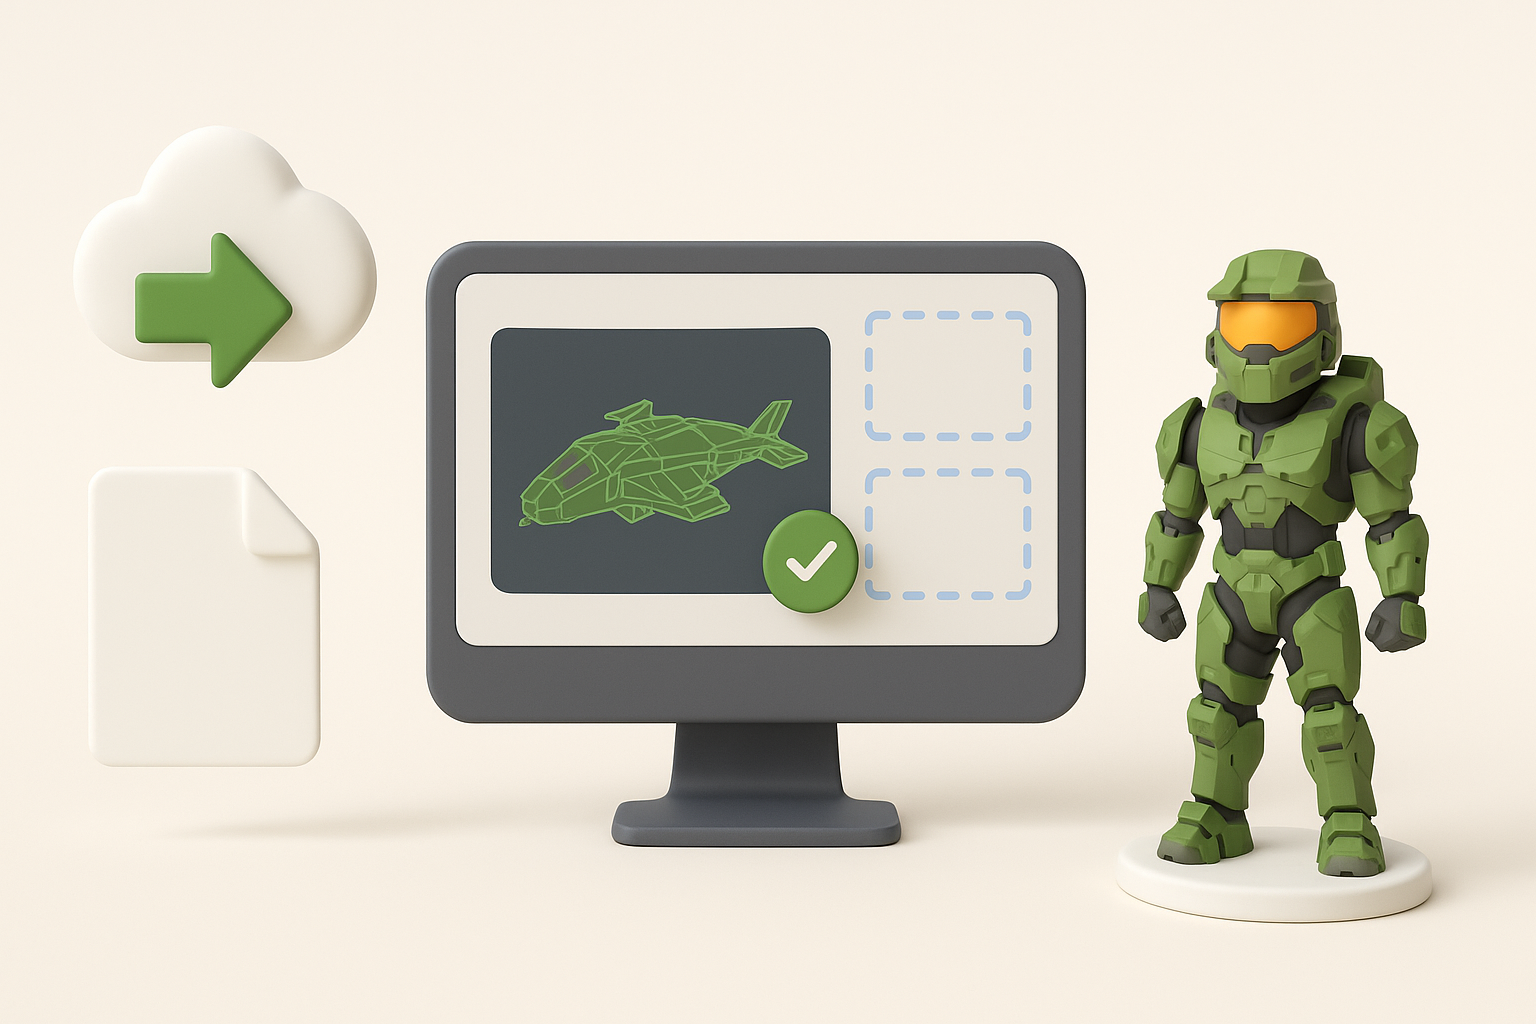
My Workflow: Importing and Optimizing Halo Infinite Assets

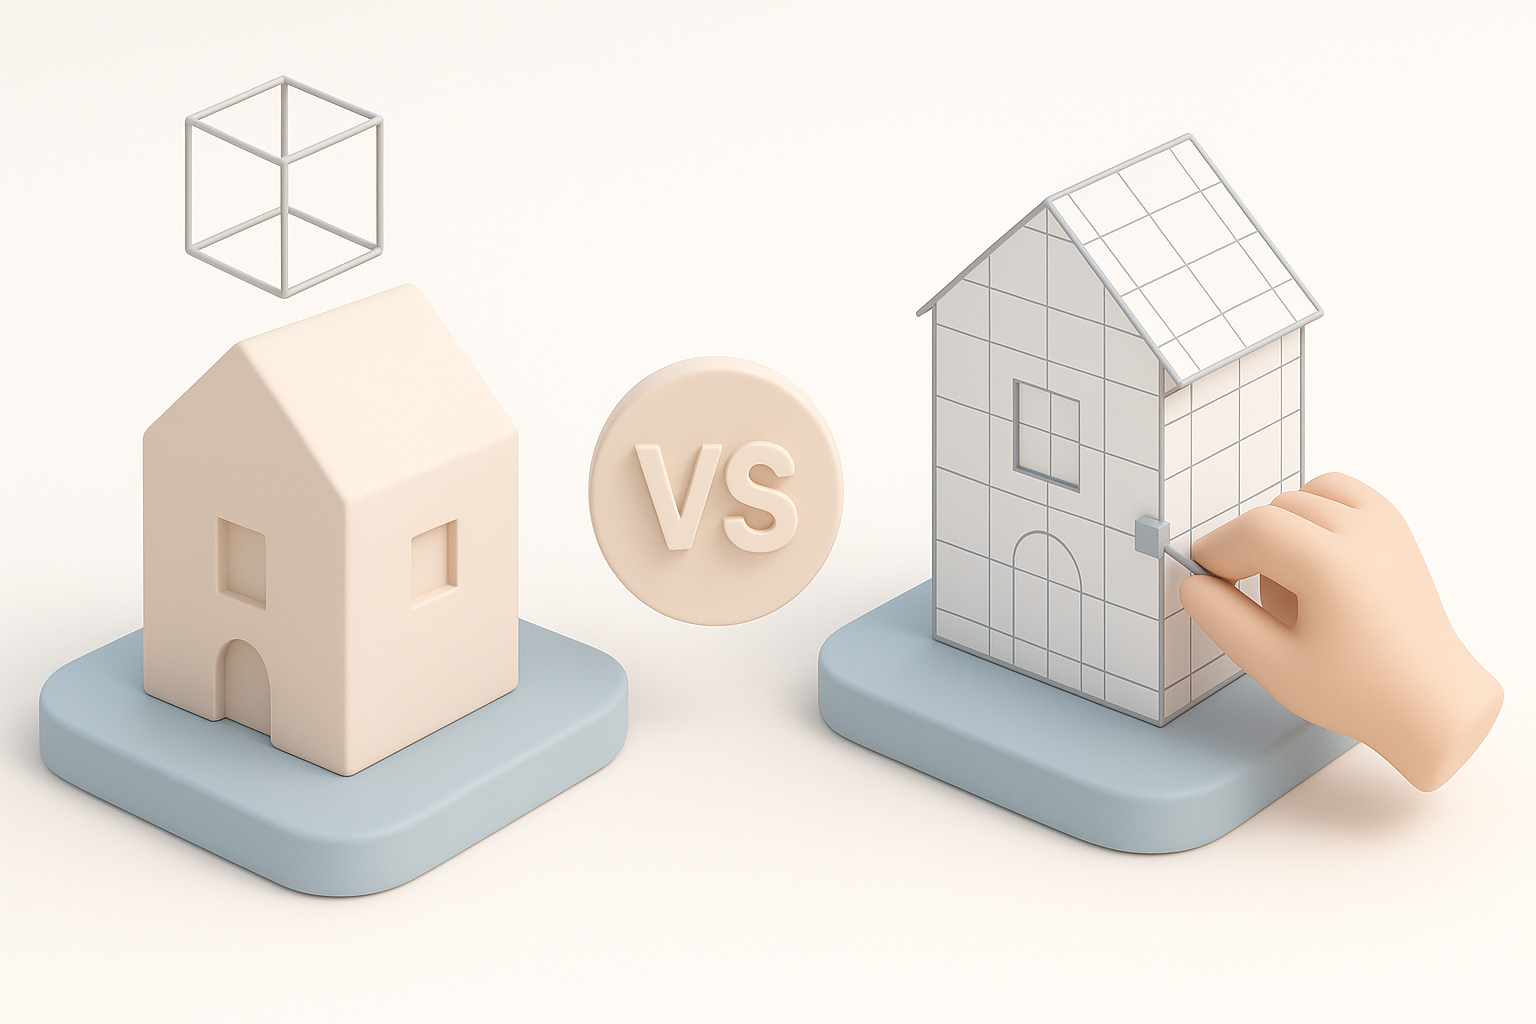
Retopology and Segmentation Best Practices
Most Halo Infinite models are optimized, but not always for your target pipeline. I use tools like Tripo to automate segmentation and retopology, especially when adapting assets for real-time engines or XR.
My steps:
- Import the model to inspect polycount and topology.
- Use automated retopology for high-poly assets, then manually tweak edge flow if needed.
- Segment complex models (e.g., weapons with moving parts) into logical components for easier rigging and animation.
Pitfall: Skipping retopology can result in performance issues or shading artifacts in-engine.
Texturing and Material Setup Tips
Textures often need conversion or re-baking to match your rendering pipeline. I rely on AI tools to generate missing maps or upscale low-res textures, but always check results manually.
What I do:
- Standardize texture naming and formats (PNG, TGA, etc.).
- Use PBR workflows for consistency across engines.
- Adjust materials for your target renderer—tweak metallic, roughness, and normal maps as needed.
Tip: Preview materials under different lighting conditions to catch issues early.
Rigging, Animation, and Integration
Rigging for Game Engines and XR
Rigging Halo Infinite assets can be straightforward if the model is clean, but mismatched skeletons or pivot points often require manual adjustment. I use auto-rigging features in tools like Tripo for basic setups, then refine weights and bone hierarchies in my DCC.
Rigging steps:
- Align the model’s orientation and scale to your engine’s standards.
- Use auto-rigging for quick results, but always inspect and adjust skin weights.
- Export with compatible skeletons for your target engine (Unity, Unreal, etc.).
Animation Techniques I Use
For animation, I rely on both baked animations and procedural techniques. When using AI-generated rigs, I test with simple motion cycles first to ensure deformations look natural.
Animation workflow:
- Import test animations (walk, idle, attack) to check rig integrity.
- Use animation layers for complex actions (blending, additive motions).
- For XR, optimize animation curves and reduce keyframes for performance.
Pitfall: Ignoring root motion or inconsistent rig scaling can break in-game animations.
Comparing AI-Powered and Manual 3D Model Creation
When I Use AI Tools Like Tripo
I turn to AI tools like Tripo when I need to quickly generate or adapt 3D models from 2D concepts, images, or sketches. These tools are especially useful for rapid prototyping or when time is tight.
When AI fits best:
- Speeding up segmentation, retopology, and texturing.
- Filling in missing assets or details.
- Creating variations or LODs automatically.
Pros and Cons of Alternative Methods
AI-powered workflows:
- Pros: Fast, consistent, lowers technical barriers, great for bulk tasks.
- Cons: May require manual cleanup, sometimes less control over fine details.
Manual workflows:
- Pros: Maximum control, better for custom or stylized assets.
- Cons: Time-consuming, requires more expertise, prone to human error.
In practice, I often blend both—using AI for the heavy lifting, then refining manually.
Best Practices and Lessons Learned
Optimizing for Performance and Quality
Performance is critical, especially for games and XR. I always balance visual fidelity with polycount and texture resolution.
Optimization checklist:
- Keep polycount within engine guidelines.
- Use LODs and texture atlases.
- Bake normal and AO maps to enhance detail without extra geometry.
Troubleshooting Common Issues
I’ve encountered and solved many recurring problems:
- Normals facing the wrong way: Recalculate or flip as needed.
- UV overlaps: Use auto-unwrap or manual editing.
- Broken rig hierarchies: Rebuild or rebind bones, check naming conventions.
- Material mismatches: Standardize shaders and check for missing maps.
Tip: Always test in your target engine early—what looks fine in a DCC might break in real-time.
By following this workflow, I consistently achieve high-quality, optimized Halo Infinite 3D assets ready for integration into games, XR, or cinematic projects. The right mix of AI and manual techniques saves time and delivers reliable results, even on tight deadlines.