How to Fix 3D Scan Models: Expert Workflow & Tips
Fixing 3D scan models is a core part of my daily workflow, especially when prepping assets for games, XR, or animation. Most raw scans require significant cleanup—think hole filling, smoothing, retopology, and texture fixes—before they're production-ready. Over the years, I’ve developed a streamlined process that blends manual mesh repair with AI-powered tools like Tripo, letting me move from messy scans to polished, usable models fast. This guide is for artists, developers, and anyone dealing with 3D scans who want reliable, professional results without endless manual labor.
Key takeaways:
- Most 3D scans need cleanup: expect holes, noise, and bad topology.
- Prioritize structural fixes before aesthetics.
- Use a mix of manual and AI-powered tools for efficiency.
- Pay close attention to UVs and textures post-repair.
- Always QA models before export to avoid surprises in-engine.
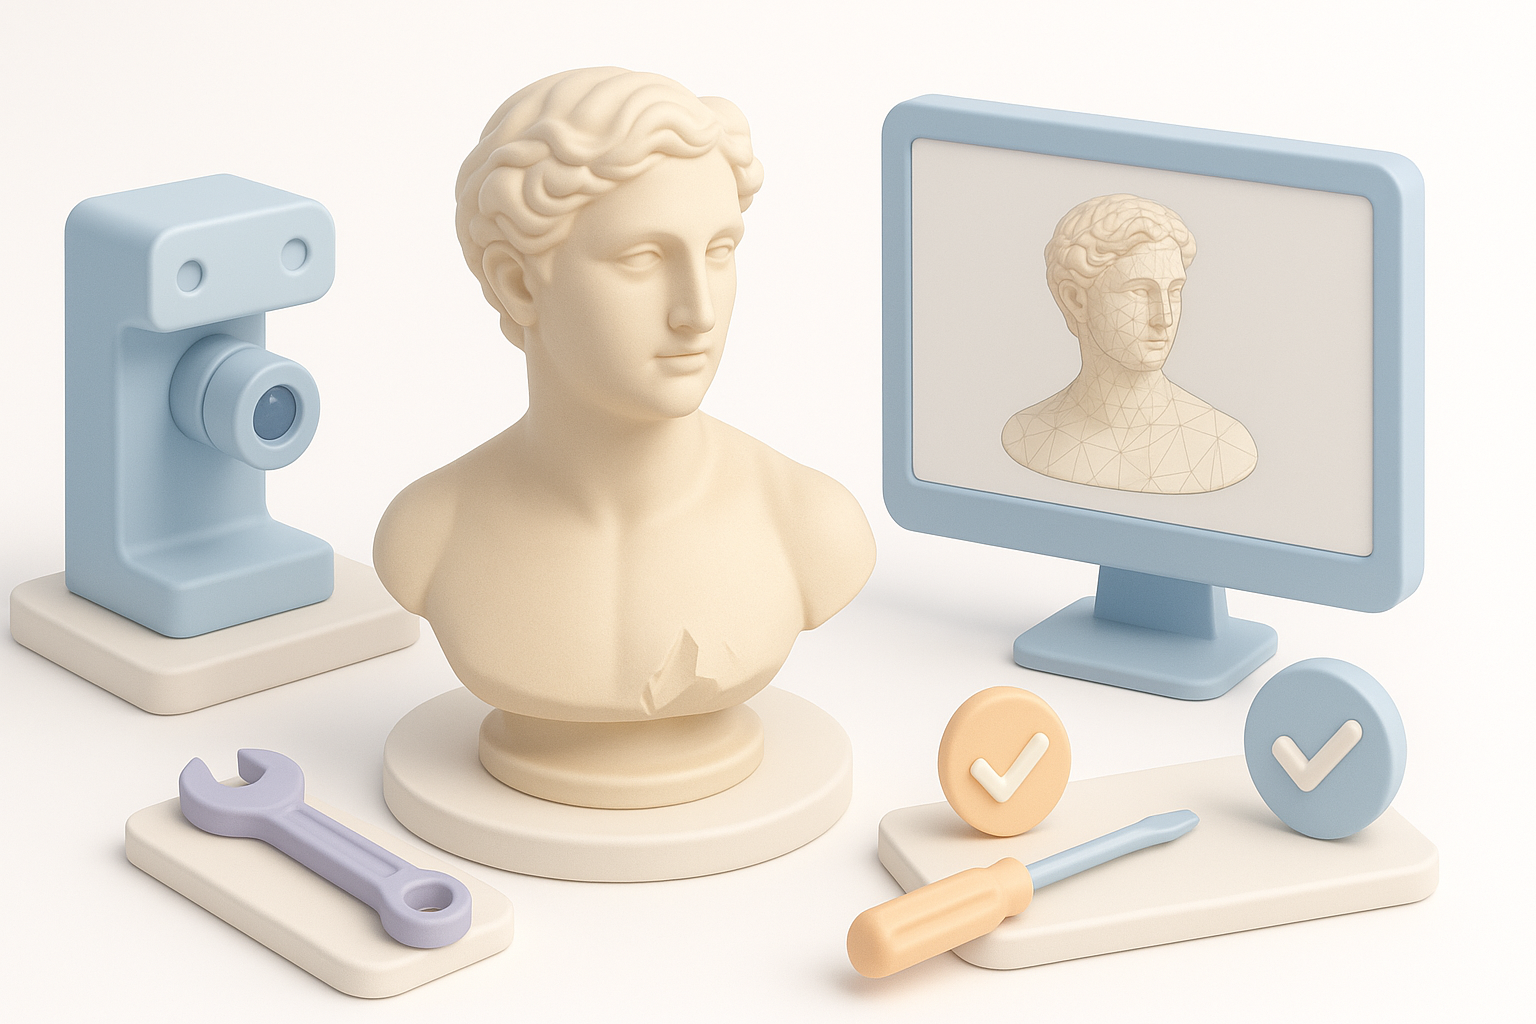
Common Issues with 3D Scan Models

Typical Problems I Encounter in Scanned Meshes
In my experience, raw 3D scans almost always arrive with a few predictable issues:
- Holes and missing geometry: Gaps, especially in occluded or shadowed areas.
- Non-manifold edges or intersecting faces: These break downstream workflows.
- Noisy or uneven surfaces: Scanner artifacts can make surfaces lumpy.
- Messy topology: Triangulated, dense, or inconsistent mesh flow.
- Texture stretching or seams: Especially where geometry is incomplete.
How to Diagnose and Prioritize Fixes
My first step is always a quick visual inspection in a 3D viewer, looking for glaring holes or surface breaks. Next, I run automated mesh checks in my tool of choice (Tripo or others) to flag non-manifold edges and flipped normals. I prioritize:
- Structural integrity: Close holes and fix major geometry breaks first.
- Topology: Clean up dense or messy mesh areas.
- Surface detail: Only smooth or enhance after the structure is sound.
- Textures: Address after geometry is fixed.
Pitfall: Don’t start texturing or detailing before fixing underlying mesh issues—it wastes time and often needs redoing.
Step-by-Step Workflow to Repair 3D Scans
My Go-To Tools and Techniques for Mesh Cleanup
I usually start with a combination of automated and manual steps:
- Automated cleanup: Use Tripo’s mesh analysis to flag and auto-fix common problems.
- Manual inspection: In Blender or similar, I manually select and fill holes, merge stray vertices, and delete unwanted fragments.
- Decimation: Reduce polycount if the scan is overly dense, but preserve detail where needed.
Quick steps:
- Import scan into cleanup tool.
- Run auto cleanup for holes and non-manifold edges.
- Manually check and fix any missed areas.
- Decimate or remesh for manageable polycount.
Best Practices for Filling Holes, Smoothing, and Retopology
- Hole filling: Use automated hole-fill tools, but always check results—sometimes they create flat or stretched patches.
- Smoothing: Apply smoothing brushes sparingly; too much can erase real surface detail.
- Retopology: For animation or games, use retopology tools (manual or AI-driven) to create clean, quad-based meshes.
Mini-checklist:
- Fill all visible holes.
- Remove floating geometry.
- Smooth only as needed.
- Retopologize for clean edge flow.
Optimizing Textures and Materials After Repair
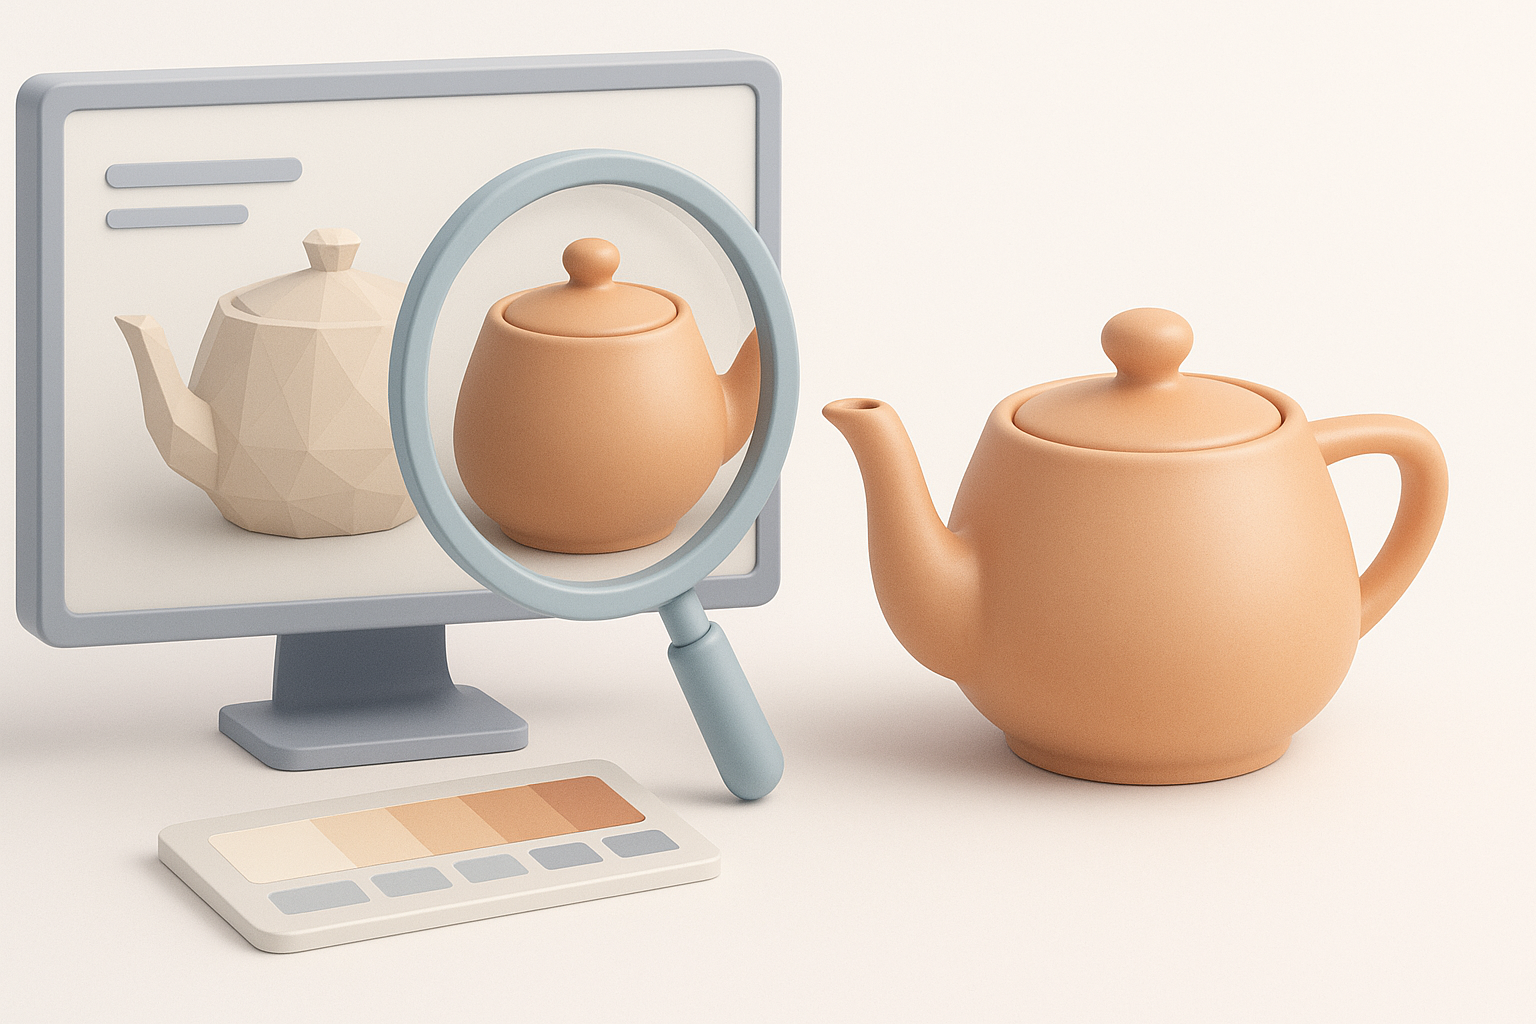
How I Restore and Enhance Surface Detail
After mesh repair, I focus on restoring or improving textures:
- Texture projection: Use the original scan’s textures as a base, projecting them onto the cleaned mesh.
- Detail enhancement: For lost surface detail, I bake normal or displacement maps from the high-res scan to the cleaned mesh.
Tip: Always check for texture misalignments after mesh edits.
Tips for Consistent UV Mapping and Texture Baking
- UV unwrapping: I use AI-assisted or manual unwrapping to avoid stretching and seams.
- Texture baking: Bake high-res details (normals, AO) onto the optimized mesh.
- Consistency: Keep UV islands logical and aligned for easier texturing.
Pitfall: Overlapping UVs or poor seams can ruin baked textures—always inspect the UV layout before baking.
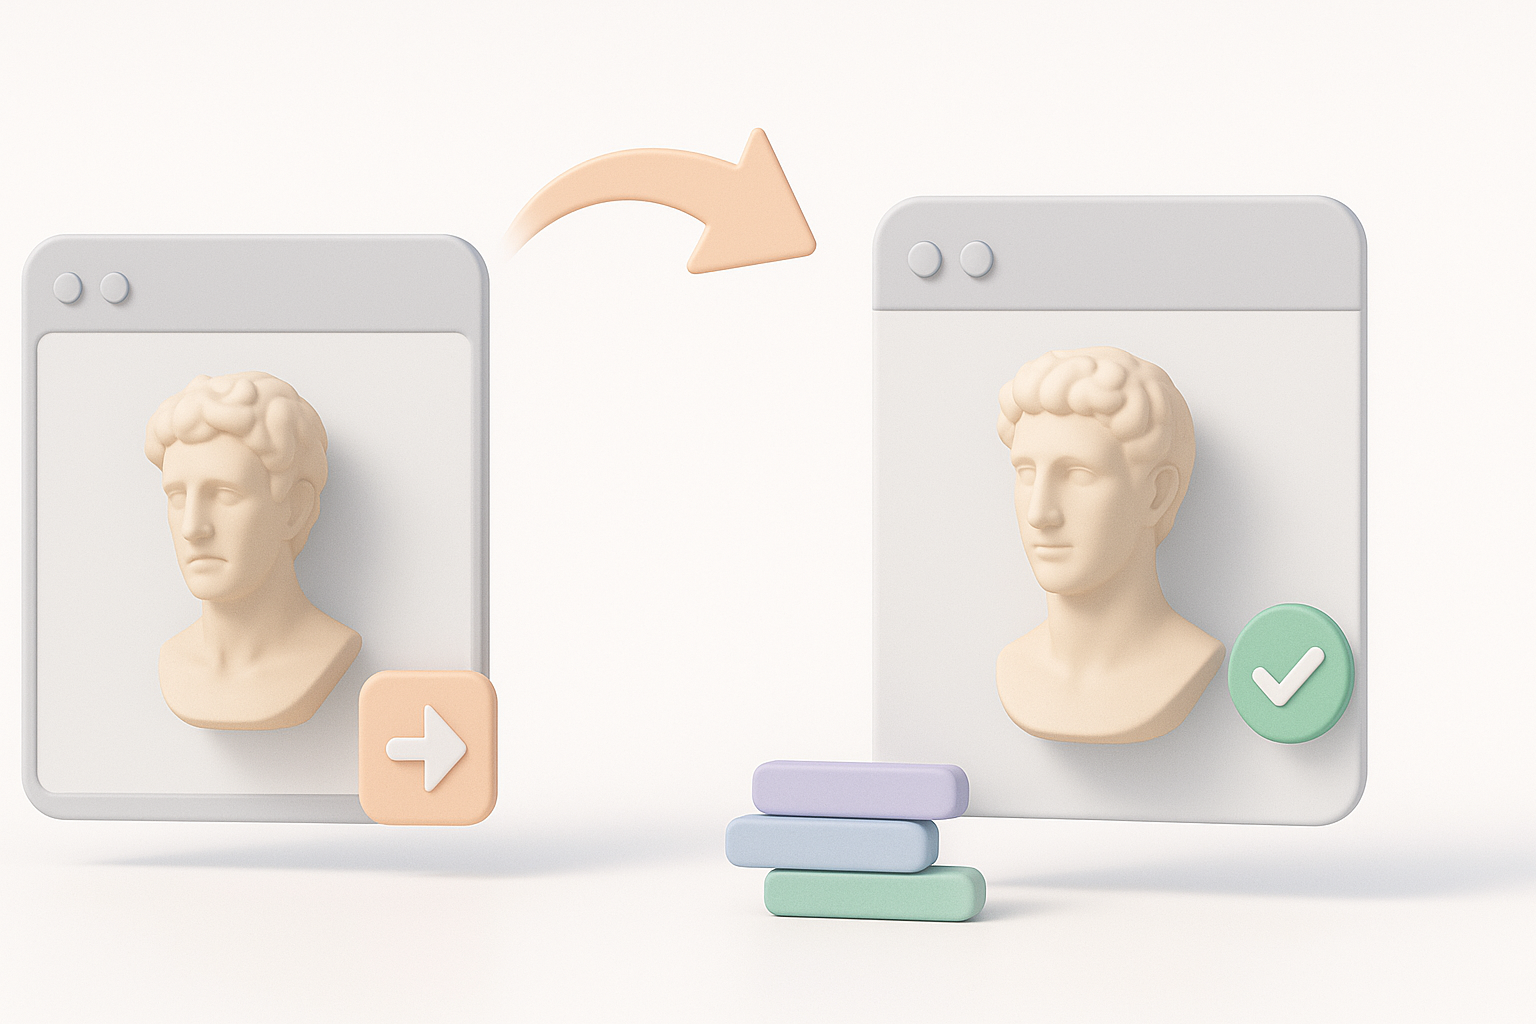
Automation and AI Tools for Faster Fixes

When and How I Use AI-Powered Platforms Like Tripo
I lean on AI-powered platforms when:
- Time is tight and I need bulk repairs.
- The scan is especially complex or noisy.
- I want fast retopology or auto-texturing.
Tripo, for example, handles segmentation, hole filling, and retopology with minimal input, speeding up what would be hours of manual work.
Tip: Always review AI-generated results—automation saves time, but manual tweaks are often needed for high-quality output.
Comparing Manual vs. Automated Repair Workflows
- Manual: More control, better for unique or tricky assets, but slower.
- Automated: Much faster, especially for batch processing, but sometimes less precise.
What I’ve found: The best results often come from combining both—let AI handle the heavy lifting, then refine manually.
Exporting and Integrating Fixed Models
Preparing Models for Game Engines, XR, and Animation
Before export, I:
- Ensure the mesh is watertight and manifold.
- Check polycount and optimize for the target platform.
- Confirm correct scale and orientation.
- Pack all textures and materials.
Export formats: FBX, OBJ, and GLTF are my go-tos for most engines and XR platforms.
My Checklist for Quality Assurance Before Export
- No holes or non-manifold edges
- Clean, consistent topology
- Proper UVs and textures assigned
- Correct scale, pivot, and orientation
- Test import into the target engine or software
Pitfall: Skipping QA leads to time-consuming fixes later—always do a quick import and visual check in your target environment.
By following this workflow, I consistently turn raw 3D scans into production-ready assets—quickly, efficiently, and with minimal headaches.