How I Create a Fisch Roblox 3D Model: Workflow & Tips
Creating a Fisch Roblox 3D model efficiently is all about blending creativity with smart tooling. In my workflow, I rely on AI-powered platforms to speed up concept-to-game asset production, but I never skip the essentials: clean topology, Roblox-ready textures, and proper export settings. Whether you’re a solo creator or part of a small team, this guide covers how I approach Fisch model creation, optimize for Roblox, and avoid common pitfalls. If you want to get game-ready results fast—without sacrificing quality—this article is for you.
Key Takeaways
- Start with clear references and a simple concept to guide modeling.
- Use AI tools like Tripo to generate a base model quickly, then refine manually.
- Prioritize clean topology and Roblox-compatible textures for best performance.
- Rig and animate with simplicity for Roblox’s engine; keep export settings in mind.
- AI accelerates workflow, but manual cleanup and optimization are still essential.
Understanding Fisch Roblox 3D Model Requirements
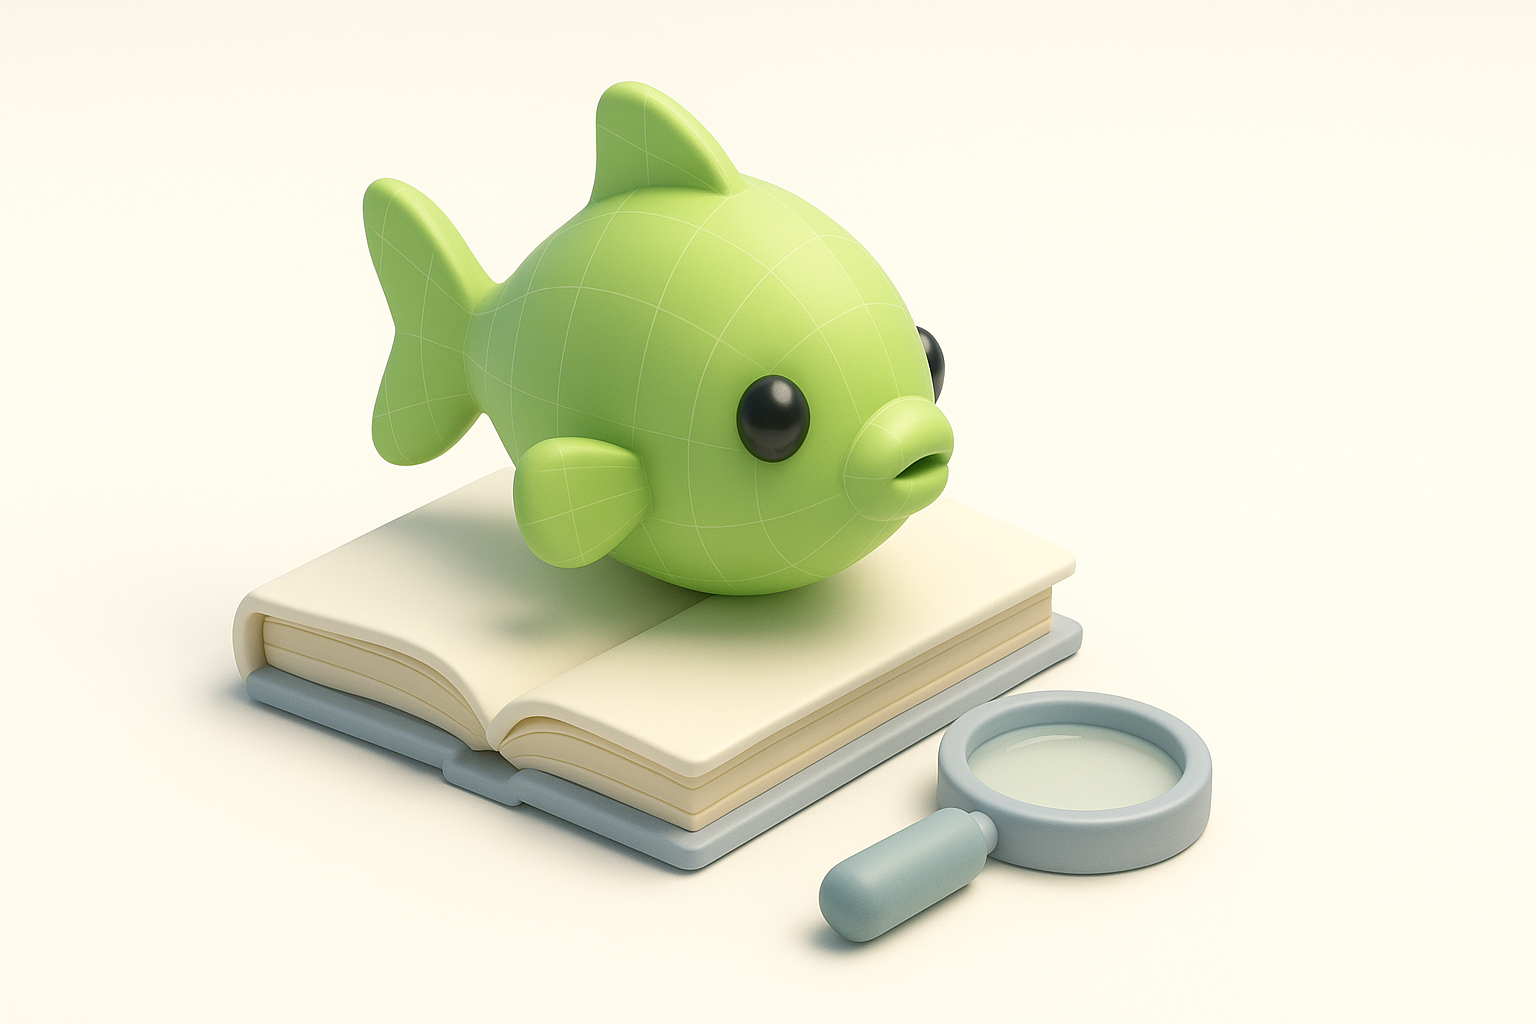
What Makes a Good Roblox Fisch Model
From my experience, a good Fisch model for Roblox is visually clear, low on unnecessary detail, and optimized for the platform’s engine. I focus on:
- Simplicity: Roblox favors models with fewer polygons for performance.
- Distinct Silhouette: The Fisch should be instantly recognizable, even at a distance.
- Texture Efficiency: Use small, tiling textures to minimize memory usage.
Checklist:
- Keep polycount under 5k for small creatures.
- Use 256x256 or 512x512 textures.
- Avoid overlapping UVs unless for mirrored parts.
Common Use Cases and Game Integration
Fisch models are often used as NPCs, pets, or decorative elements in Roblox games. I always consider:
- Animation Needs: Will it swim, idle, or interact?
- Attachment Points: Where will scripts or other parts connect?
- Scale: Match Roblox’s character proportions for consistency.
Pitfalls to Avoid:
- Overcomplicating the rig for simple actions.
- Forgetting to test the model’s scale in Roblox Studio.
Step-by-Step Guide: My Fisch Roblox 3D Modeling Workflow
Concepting and Reference Gathering
I start with a mood board—screenshots, sketches, and real Fisch photos. This step keeps the design focused and cohesive.
My Steps:
- Gather 3–5 reference images.
- Sketch a quick side and top view, even if rough.
- List key features (e.g., fin shape, color patterns).
Tip: Spend 10 minutes upfront here; it saves hours later.
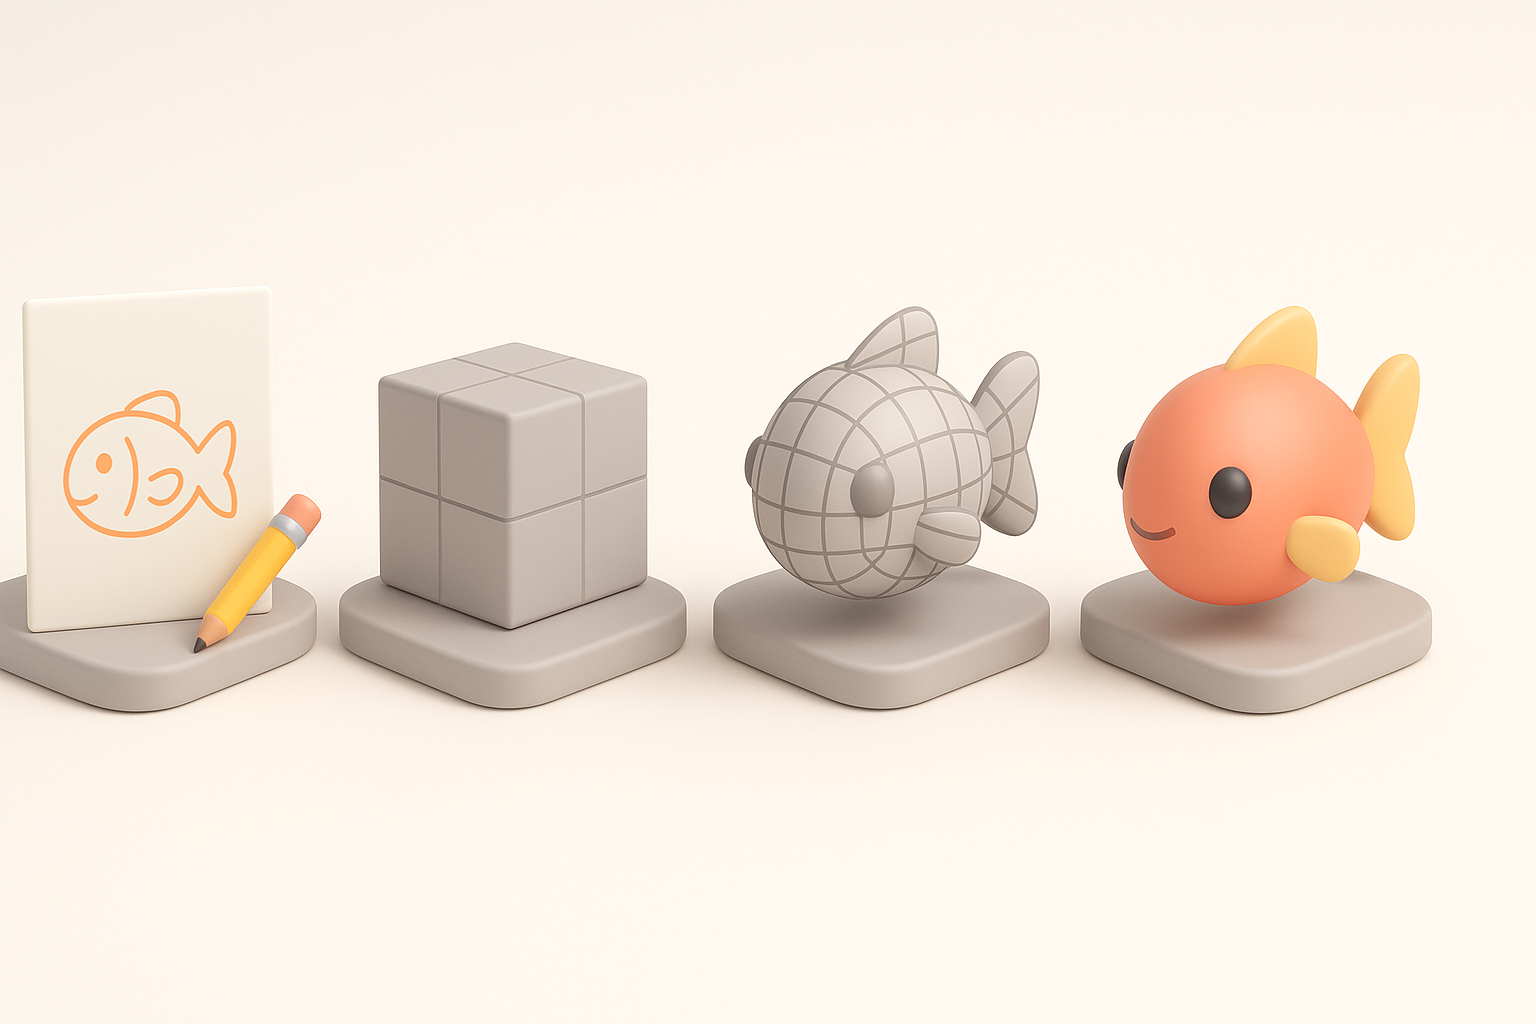
Using AI Tools for Fast Model Generation
I use Tripo for rapid base mesh generation. With a text prompt and a sketch, I get a mesh in seconds, which I then refine.
My Workflow:
- Input reference images and a brief description into Tripo.
- Review the generated mesh—check for major issues.
- Download and import into my DCC (Digital Content Creation) tool for cleanup.
Watch Out For:
- Artifacts around fins or tails—these need manual adjustment.
- Overly dense meshes; plan to decimate or retopologize.
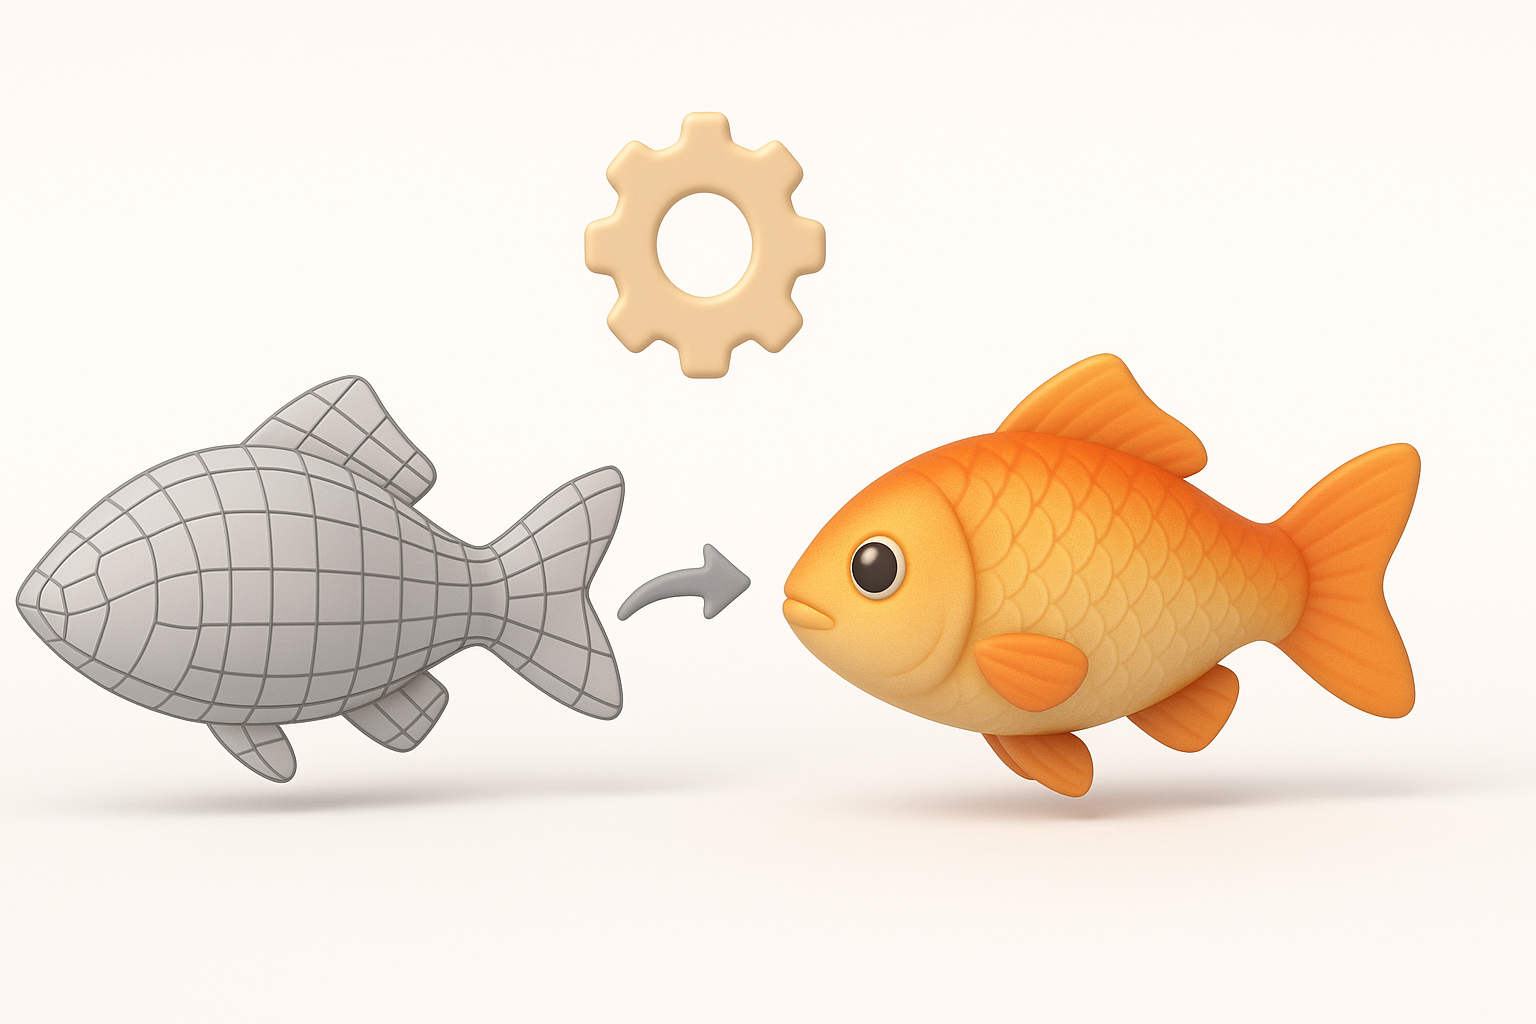
Optimizing and Texturing the Fisch Model
Retopology and Mesh Cleanup Best Practices
Even with a good AI base, I always retopologize for game use. Clean topology prevents animation issues and keeps performance high.
What I Do:
- Use Tripo’s built-in retopology if available, or manual tools for full control.
- Remove stray vertices and non-manifold edges.
- Ensure edge loops align with areas that will deform (e.g., tail, fins).
Checklist:
- All faces are quads or tris.
- No holes or isolated vertices.
- Polycount matches Roblox guidelines.
Texturing Techniques for Roblox Compatibility
Roblox has limits on texture size and format. I bake textures in my DCC, then compress and export as PNG.
Steps:
- Unwrap UVs with minimal seams.
- Paint or bake simple color, AO, and normal maps.
- Export textures at 256x256 or 512x512.
Tips:
- Test textures in Roblox Studio early.
- Avoid transparency unless necessary (may impact performance).
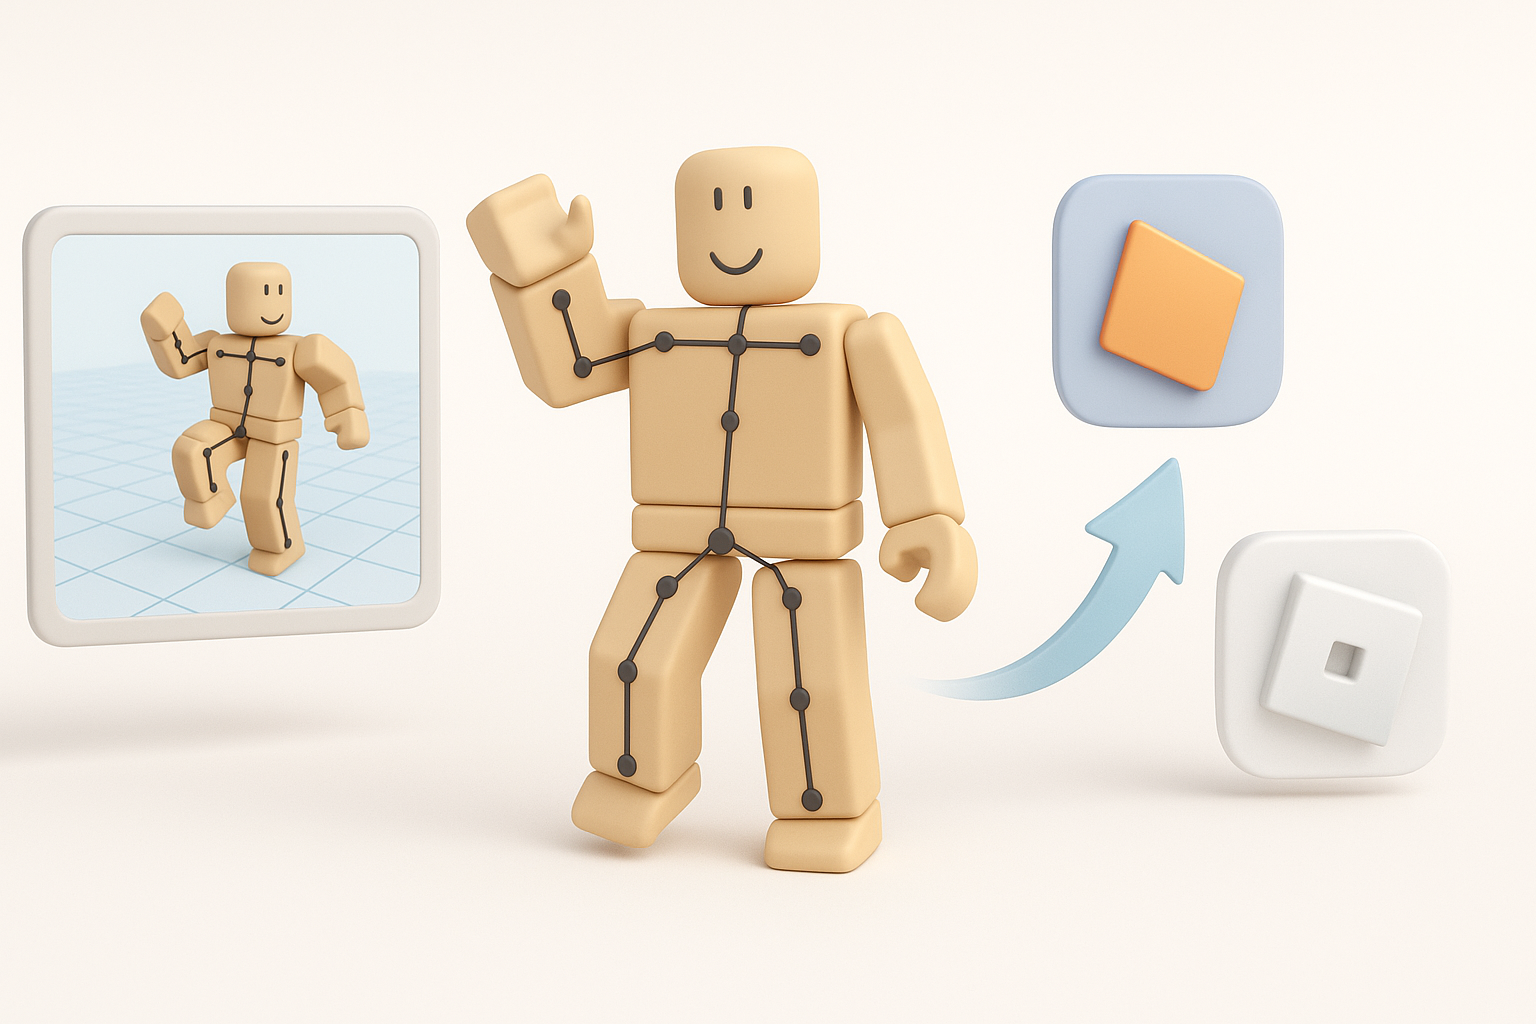
Rigging, Animation, and Exporting for Roblox
Simple Rigging and Animation Tips
For a Fisch, I keep rigs minimal—spine, tail, and fins. I animate idle and swim cycles, previewing in my DCC before export.
My Process:
- Add bones only where movement is needed.
- Use FK for simple motions.
- Create short looped animations: idle, swim, maybe a turn.
Pitfall: Over-rigging complicates import and may cause issues in Roblox.
Export Settings and Uploading to Roblox Studio
Exporting correctly is crucial. I use FBX format with only the necessary animations baked in.
Checklist:
- Export as FBX 2014/2016 for best compatibility.
- Apply all transforms before export.
- Test import in Roblox Studio—check scale, animation, and textures.
Tip: If textures don’t show, re-link them in Roblox Studio’s asset manager.
Comparing AI-Powered and Traditional 3D Workflows
When to Use AI Tools vs. Manual Modeling
AI tools like Tripo are a huge time-saver for base meshes and quick iterations. For stylized or highly custom models, I still rely on manual sculpting and retopology.
My Rule of Thumb:
- Use AI for rapid prototyping and bulk asset generation.
- Go manual for hero assets or when fine detail control is needed.
Watch Out For:
- Don’t skip manual cleanup—AI outputs often need refinement.
Lessons Learned from My Own Projects
Integrating AI into my workflow has doubled my output, but only when I combine it with solid fundamentals: references, cleanup, and optimization.
What I’ve Learned:
- AI accelerates, but doesn’t replace, hands-on expertise.
- Testing in Roblox Studio throughout the process catches problems early.
- Always budget time for final polish—presentation matters.
By following this workflow, I consistently deliver Fisch Roblox 3D models that are efficient, visually appealing, and game-ready—leveraging AI where it helps, but never at the cost of quality.