Creating and Optimizing a Falin Chimera 3D Model: My Workflow
Building a Falin Chimera 3D model requires a blend of creative vision and technical know-how. In my workflow, I rely on a mix of AI-powered tools and hands-on techniques to quickly move from concept to a production-ready asset. This guide shares my step-by-step process, from initial inspiration and modeling to detailed texturing, rigging, and final optimization. Whether you’re a game artist, XR developer, or hobbyist, you’ll find actionable tips and pitfalls to avoid for making complex fantasy creatures efficiently and to a high standard.
Key takeaways
- Start with strong references and clear concepting to guide your entire modeling process.
- Use AI-assisted tools like Tripo to speed up base mesh creation and segmentation, then refine manually as needed.
- Prioritize clean topology and efficient UVs for easier texturing and animation down the line.
- Rigging fantasy creatures demands careful planning around anatomy and movement—test early and iterate.
- Optimize models for your target engine, balancing visual fidelity with performance.
- Choose the right mix of AI and manual methods based on project needs, deadlines, and complexity.
What Is a Falin Chimera 3D Model?
Origins and Design Inspiration
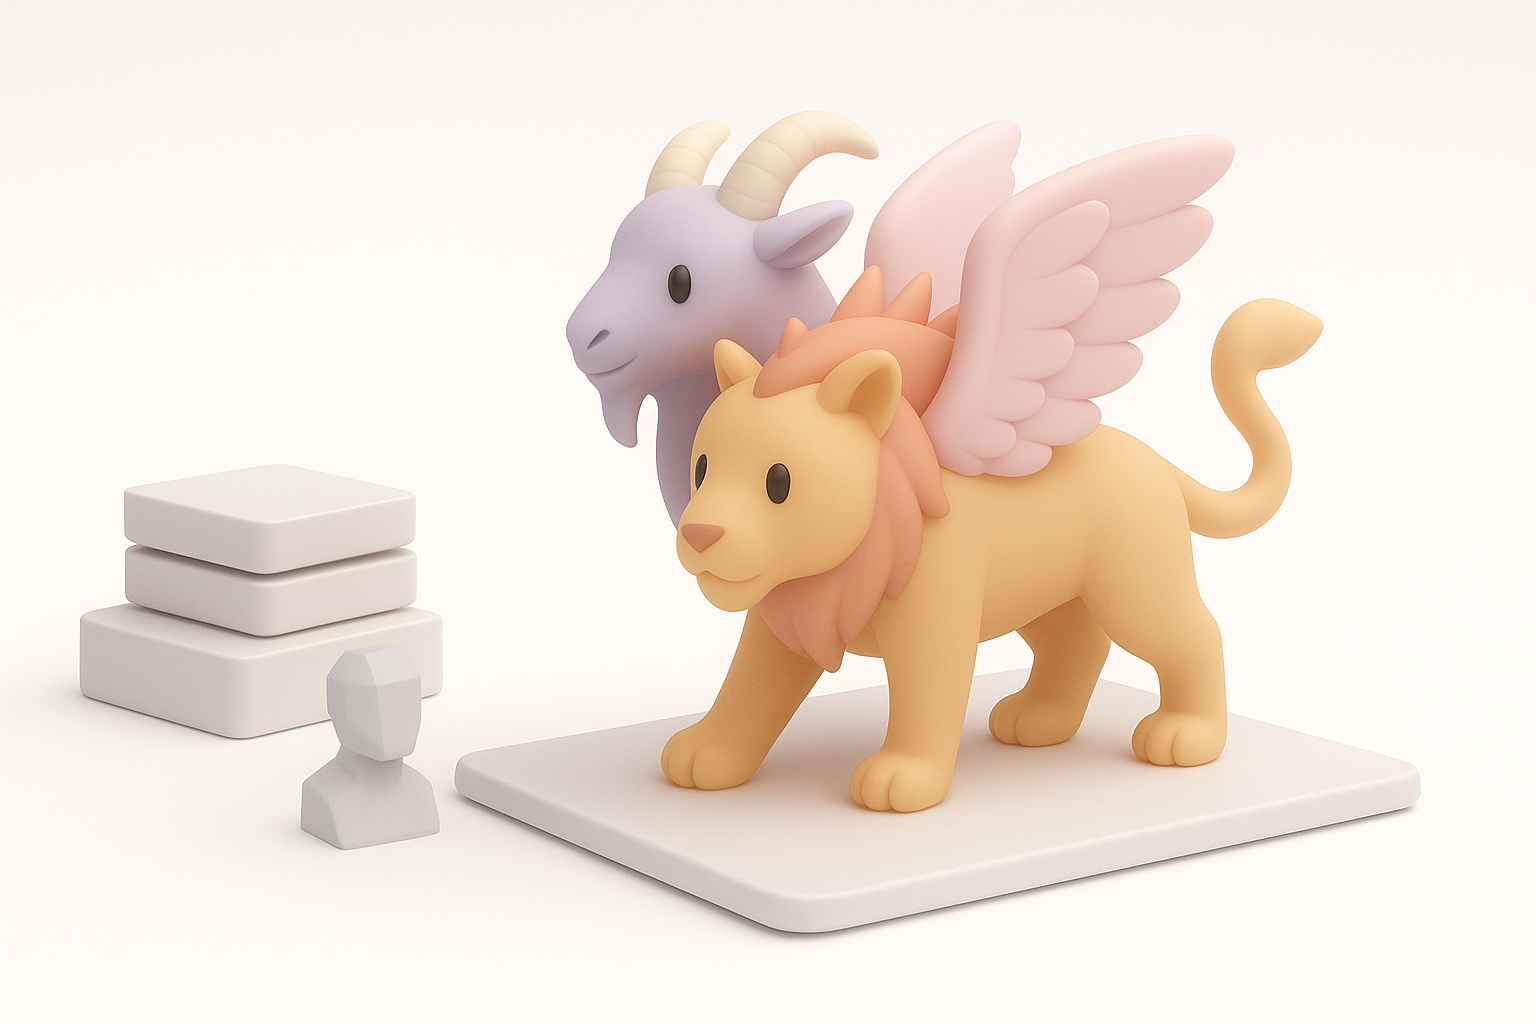
The Falin Chimera is a fantasy creature, usually depicted as a hybrid of multiple animals and mythical features. In my experience, the design often draws from classic mythological chimeras but with unique twists—think mismatched wings, reptilian tails, and exaggerated anatomy. I always start by researching both real-world animal anatomy and fantasy art for inspiration, which grounds the model in believability while keeping it imaginative.
Common Use Cases in 3D Projects
I’ve created Falin Chimeras for a range of projects: game bosses, cinematic creatures, and XR experiences. Their complex forms make them ideal for showcasing advanced modeling, texturing, and rigging skills. They’re also a great testbed for pipeline efficiency, as they push the limits of both creativity and technical execution.
My Step-by-Step Process for Modeling a Falin Chimera
Concepting and Reference Gathering
Before opening any 3D software, I collect visual references—sketches, animal photos, and existing creature designs. I also jot down key features: number of limbs, type of wings, texture details, and color palette. This helps me avoid creative drift and makes communication with collaborators easier.
Checklist:
- Gather 10–20 strong references (real and fantasy)
- Define silhouette and major features
- Sketch a few quick variants for feedback
Blocking Out the Base Mesh
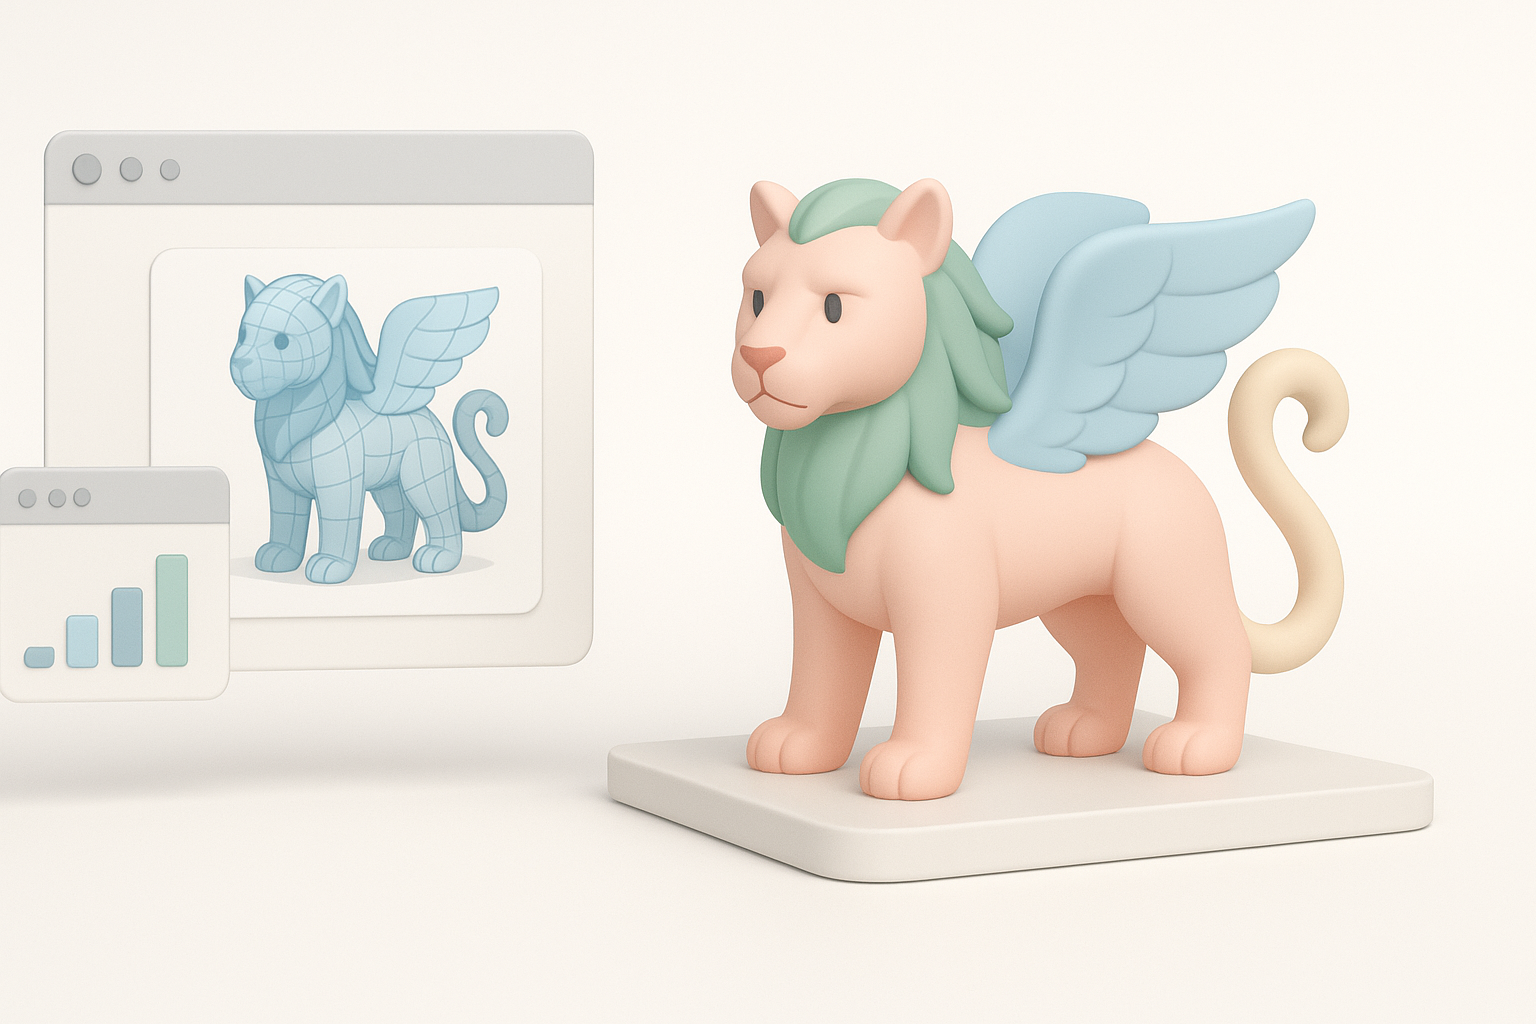
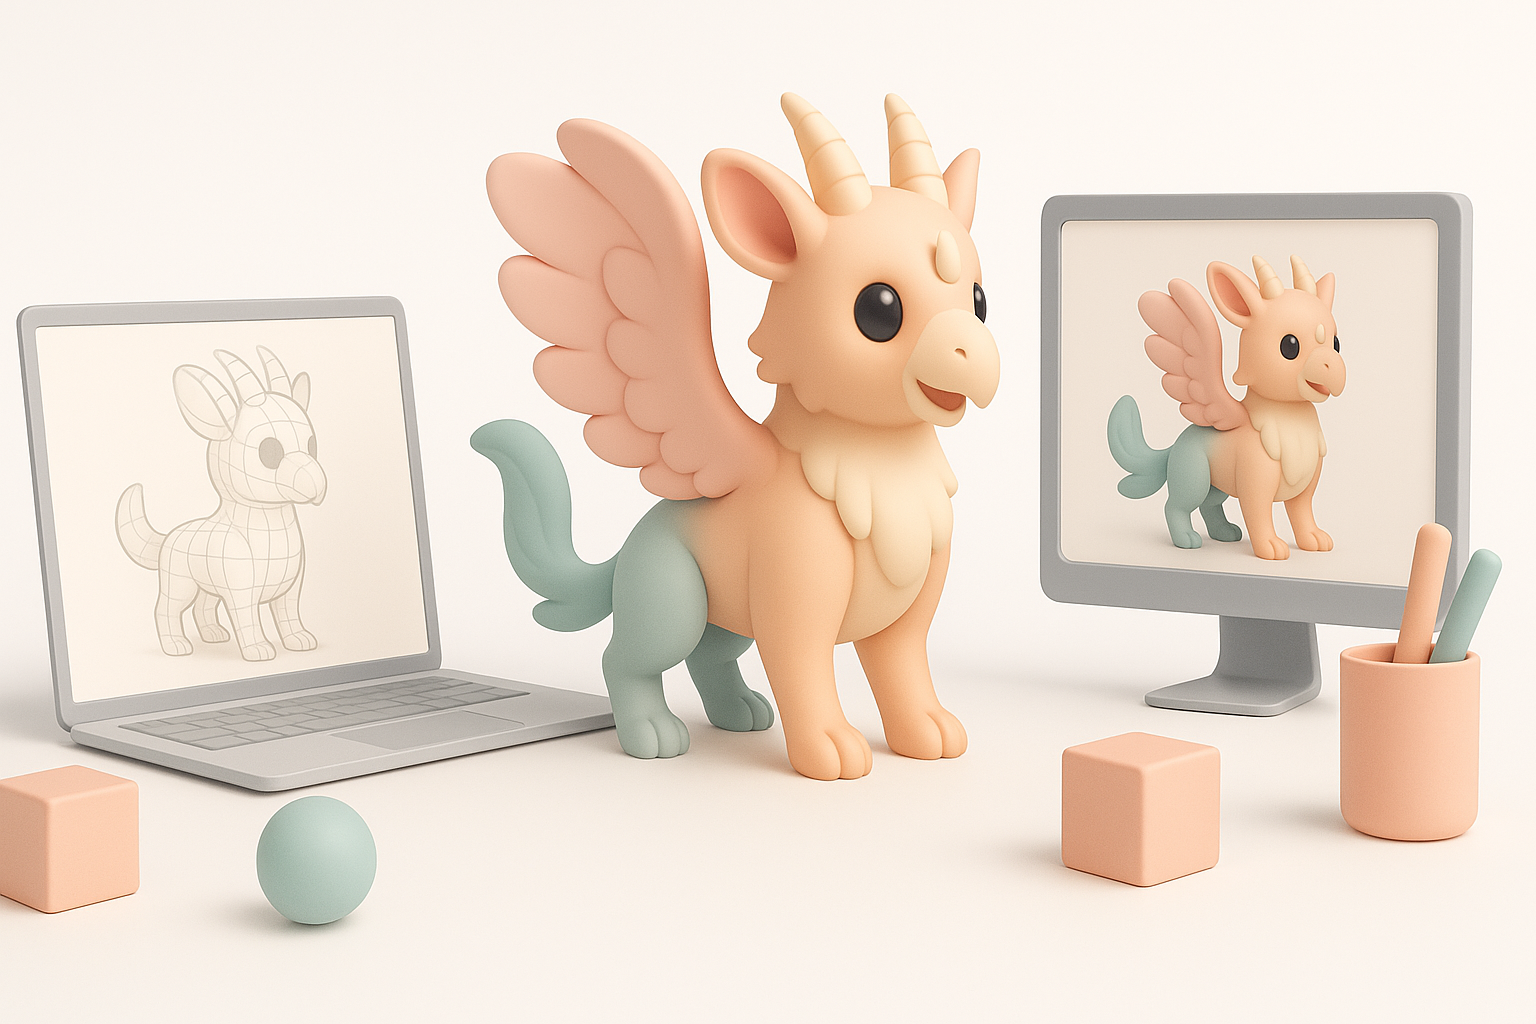
I prefer to block out the base mesh using AI-powered tools like Tripo, which lets me input a text description or sketch and get a solid starting point in seconds. I then jump into manual sculpting to refine proportions and merge forms. This hybrid approach saves hours compared to starting from scratch.
Steps:
- Generate base mesh (AI or manual blockout)
- Check scale and proportions early
- Merge major forms (head, torso, limbs, wings)
- Avoid over-detailing at this stage
Texturing, Retopology, and Detailing Best Practices
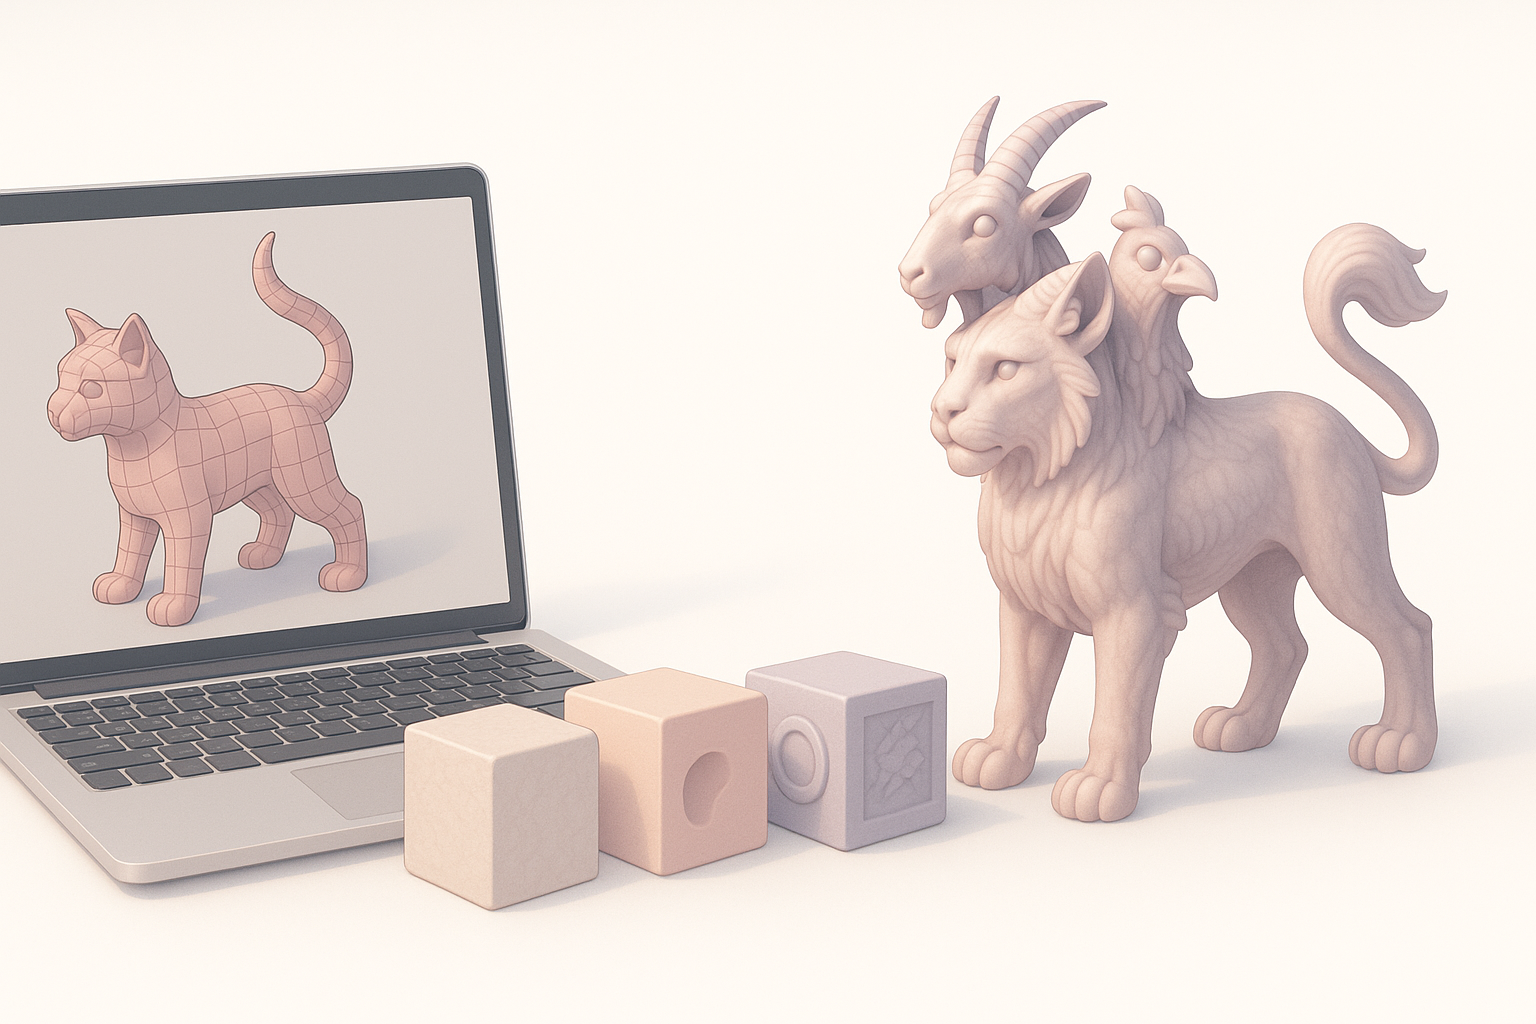
Efficient Retopology Techniques
Clean topology is crucial for animation and texturing. I use automated retopology features in Tripo to get a workable mesh, then manually tweak edge flow around joints and facial features. This keeps deformation smooth and UV unwrapping straightforward.
Pitfall: Don’t rely solely on auto-retopo for complex areas—manual cleanup is almost always needed.
Texturing Approaches for Fantasy Creatures
For texturing, I bake high-resolution details into normal maps and use layered materials for skin, scales, and fur. AI-assisted texturing speeds up base color and pattern generation, but I always hand-paint passes for more control and uniqueness.
Tips:
- Use photo references for believable skin patterns
- Layer procedural and hand-painted details
- Test textures under different lighting early
Rigging and Animating the Falin Chimera
Rigging Strategies for Complex Anatomy
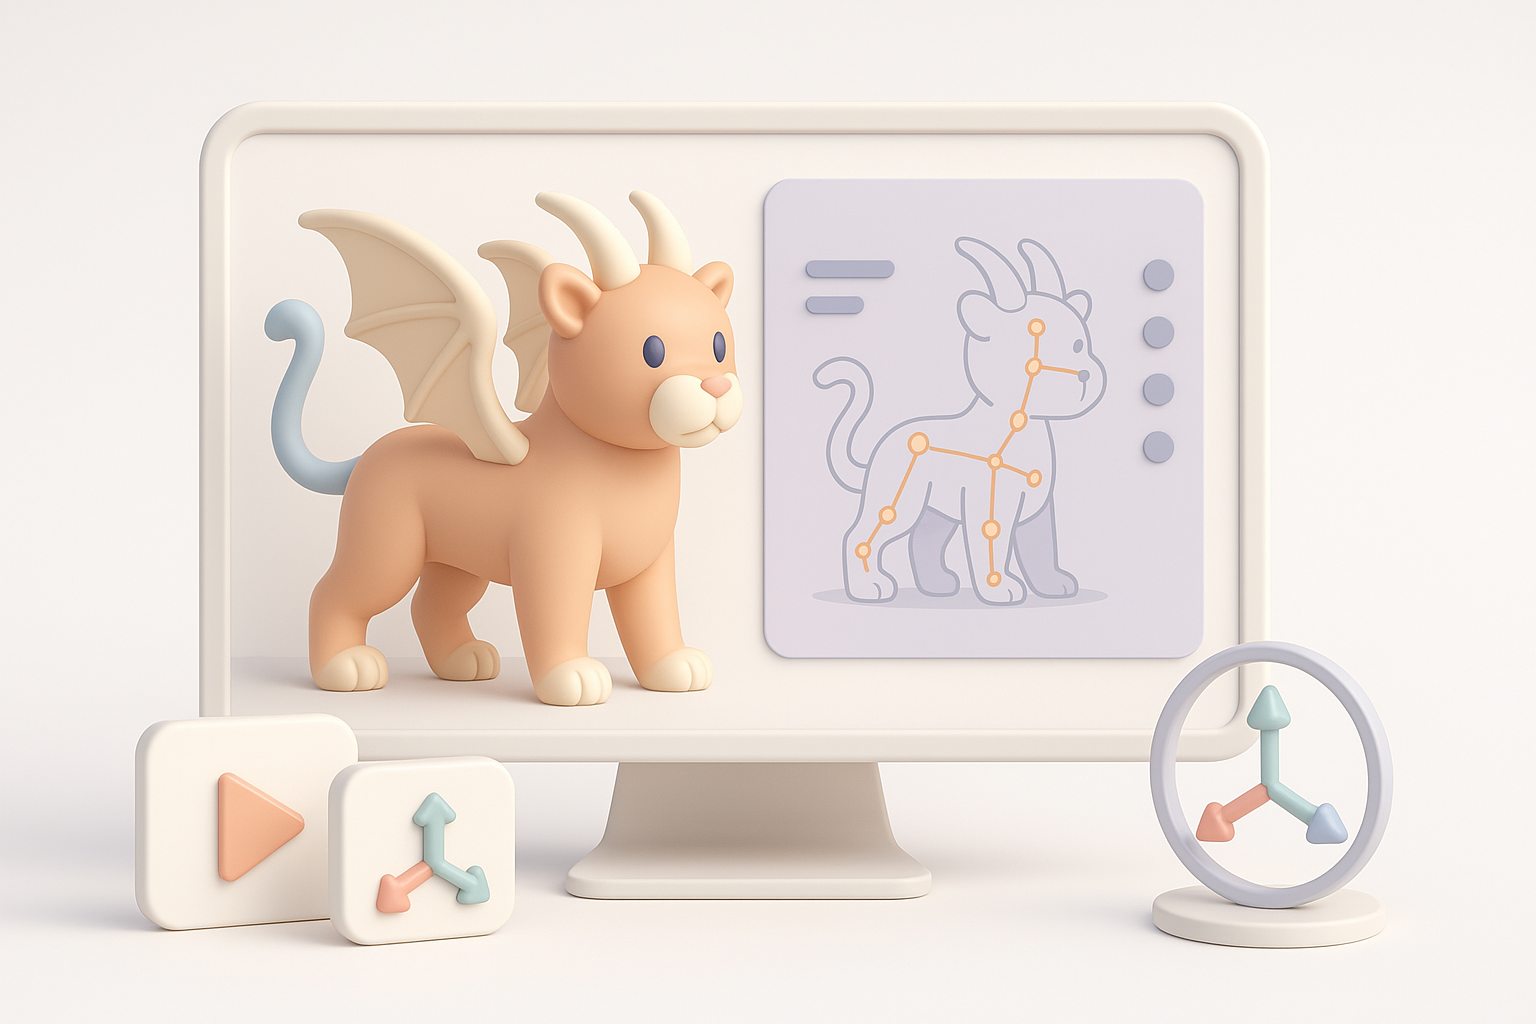
Rigging a chimera means planning for multiple limb types and unusual joints. I build a modular rig—often starting with a generic quadruped or biped, then adding custom bones for wings, tails, and extra features. I test deformations with simple poses before committing to weight painting.
Checklist:
- Map out all moving parts before rigging
- Use IK for legs, FK for wings/tails
- Add control curves for facial expressions if needed
Animation Tips for Realistic Movement
Animating fantasy creatures is about blending real-world motion with imaginative flair. I study animal motion for reference and exaggerate where it fits the character. Short test animations help spot rig issues early.
Tips:
- Block out key poses first
- Use reference videos for natural movement
- Iterate on timing and weight for believability
Exporting, Optimization, and Integration
Preparing the Model for Game Engines
Exporting for real-time engines means strict attention to polycount, texture size, and naming conventions. I use Tripo’s export presets to streamline this, ensuring the model is ready for drag-and-drop integration.
Steps:
- Apply final transforms and freeze scale
- Export with correct axis orientation
- Pack textures efficiently (e.g., use texture atlases)
Optimizing for Performance and Visual Quality
Balancing detail and performance is key. I bake as much detail as possible into normal and occlusion maps, and use LODs for distant views. Testing in-engine is the only way to catch performance issues before they become problems.
Tips:
- Limit texture sizes to what’s necessary
- Use mesh decimation tools for LODs
- Profile performance early and often
Comparing AI-Powered and Traditional 3D Workflows
How I Use Tripo AI for Faster Results
Tripo has become my go-to for rapid prototyping and base mesh generation. It handles segmentation, retopology, and basic texturing, freeing me to focus on creative decisions and polish. This is especially useful for tight deadlines or when exploring multiple concepts quickly.
When to use AI-powered tools:
- Early prototyping
- Generating variations
- Automating repetitive tasks
When to Choose Manual Methods or Other Tools
For hero assets or when maximum control is needed, I still rely on manual sculpting, retopology, and texture painting. Some details—like facial expressions or bespoke materials—are best handled by hand. I also switch to other specialized tools for advanced rigging or simulation tasks.
Pitfall: Over-reliance on automation can result in generic-looking models. Always add a personal touch.
Lessons Learned and Pro Tips from My Experience
Common Pitfalls and How to Avoid Them
- Skipping reference: Leads to inconsistent anatomy and design drift.
- Ignoring topology early: Makes rigging and texturing a nightmare later.
- Over-detailing too soon: Wastes time; always nail proportions first.
- Not testing in-engine: Causes late-stage surprises with scale, orientation, or performance.
My Favorite Resources and Tools
- Anatomy reference sites: Essential for believable creature design.
- AI-powered 3D platforms (like Tripo): For rapid iteration and workflow automation.
- Community forums and Discords: Great for feedback and troubleshooting.
- Texture libraries: Speed up material creation and variation.
By combining AI-powered tools with hands-on techniques, I’ve streamlined my Falin Chimera workflow without sacrificing quality or creativity. The key is knowing when to automate and when to dive in manually—always with a sharp eye on your project’s goals and constraints.