How to Create a Realistic F1 Car 3D Model: Expert Workflow
скачать 3d модели для chicken gun
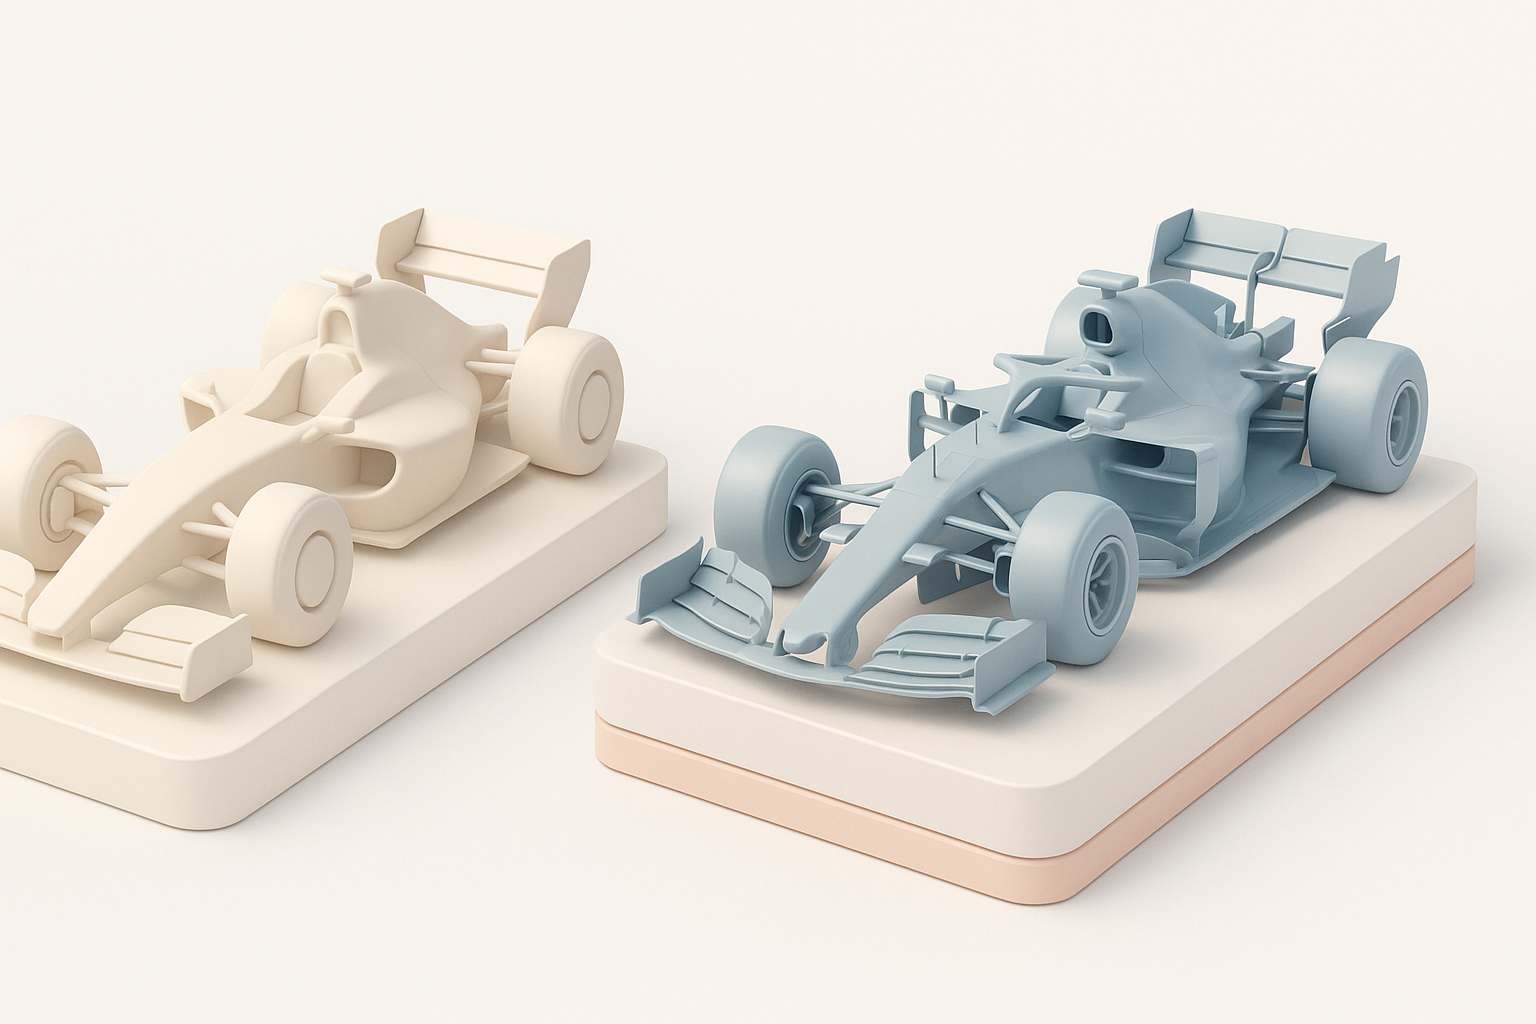
Creating a production-ready F1 car 3D model is a rewarding challenge that demands precision, strong reference gathering, and efficient workflow management. Over years of modeling for games and XR, I’ve learned that realism comes from mastering both the big shapes and the aerodynamic intricacies—while leveraging AI tools to speed up tedious steps. If you’re aiming for high-quality, animated, or game-ready F1 assets, this guide walks through my proven process, from concept to export, including practical tips and pitfalls to avoid.
Key takeaways:
- Reference quality and proportion accuracy are essential for realism.
- Efficient workflows combine manual modeling with AI-powered automation.
- UV mapping and texturing make or break the final look.
- Mesh optimization is critical for animation and real-time use.
- AI tools like Tripo can accelerate segmentation, retopology, and texturing.
- Export settings and presentation matter for sharing or showcasing your model.
Executive Summary and Key Takeaways
What I’ve Learned from F1 Car Modeling
F1 cars are some of the most demanding subjects for hard-surface modeling due to their complex curves, tight tolerances, and distinctive aerodynamic features. In my experience, success hinges on nailing the proportions early and staying organized throughout the process. I always start with clear goals—whether for cinematic renders, real-time games, or AR/XR—and tailor my workflow accordingly.
Quick Tips for Efficient 3D Workflows
- Reference first: Don’t start modeling until you have accurate blueprints and side/top views.
- Block out shapes: Rough in the main forms before adding detail.
- Leverage AI: Use AI-powered tools for segmentation, retopology, and quick texturing.
- Work modularly: Separate components (body, wheels, suspension) for easier edits.
- Iterate: Regularly check proportions and silhouette against references.
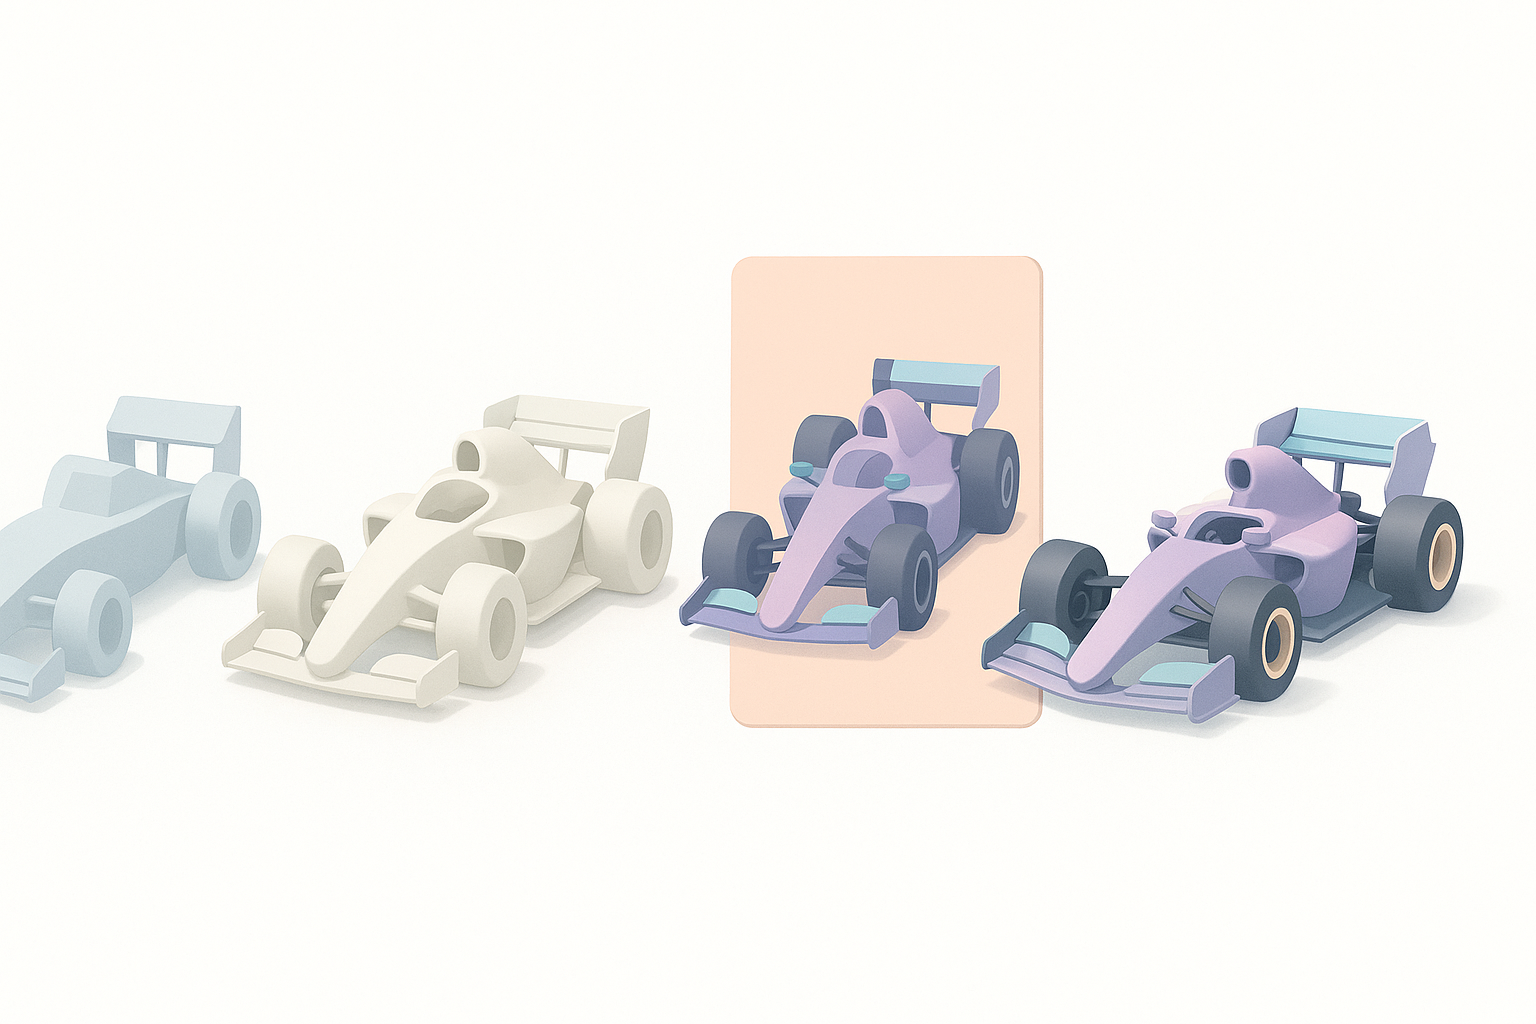
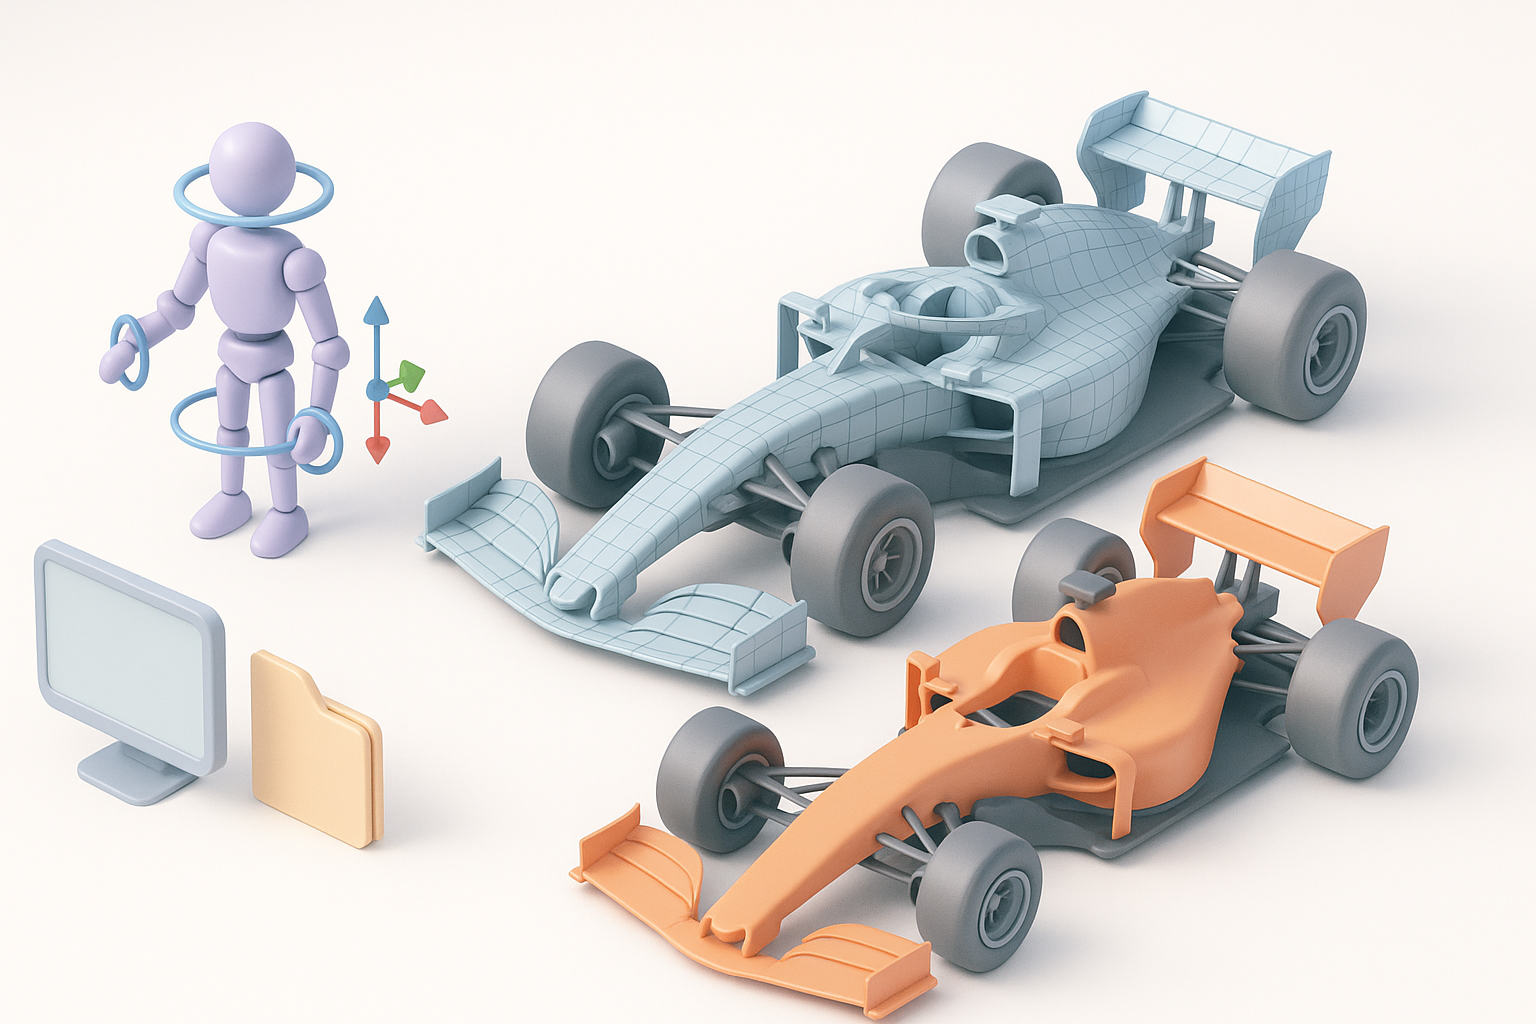
Planning and Reference Gathering for F1 Car Models
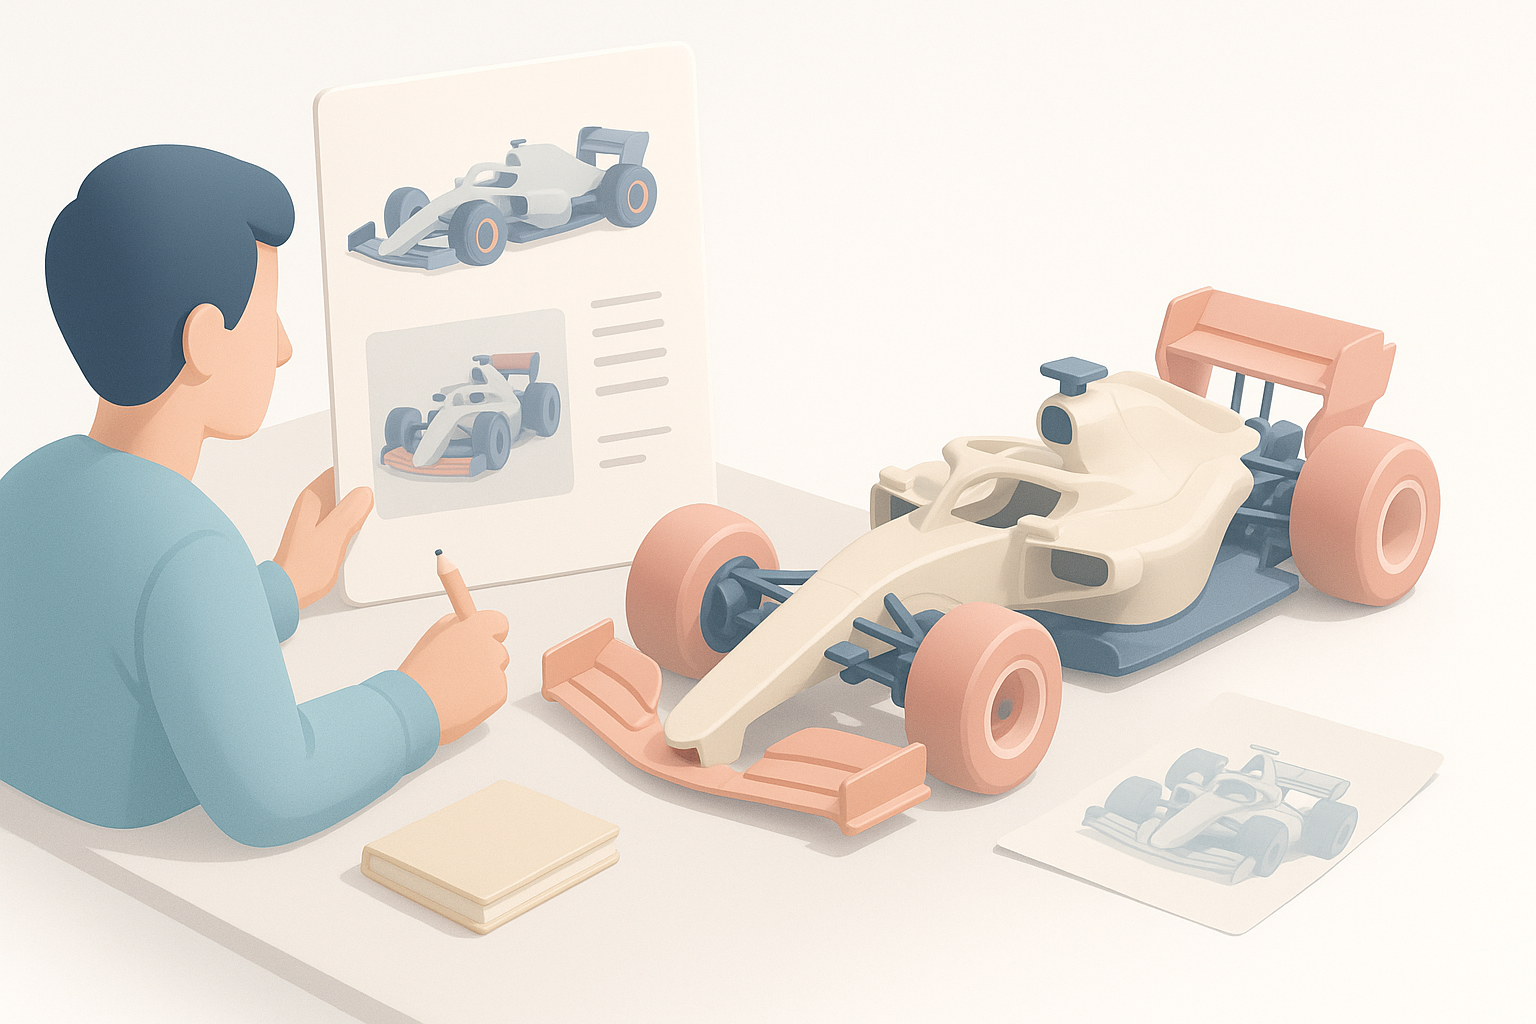
Choosing the Right References and Blueprints
I’ve learned that the quality of your references directly impacts the accuracy of your model. I always hunt for high-resolution blueprints, technical drawings, and orthographic photos—ideally from official sources or enthusiast forums. If I can’t find perfect blueprints, I supplement with multiple angles and video stills.
Checklist:
- Side, top, front, and rear views
- Close-ups of aerodynamic elements (wings, barge boards)
- Color and livery references
- Technical spec sheets for wheelbase, track width, etc.
Understanding F1 Car Proportions and Details
Before diving in, I analyze the key proportions: wheelbase, cockpit placement, wing dimensions, and tire sizes. F1 cars are visually deceptive—small errors in scale or placement can ruin realism. I use image overlays and measurement tools to ensure my blockout matches the references.
Tips:
- Double-check wheel diameter and spacing.
- Pay attention to subtle curves (sidepods, rear bodywork).
- Note sponsor decal positions for later texturing.
Step-by-Step F1 Car 3D Modeling Process
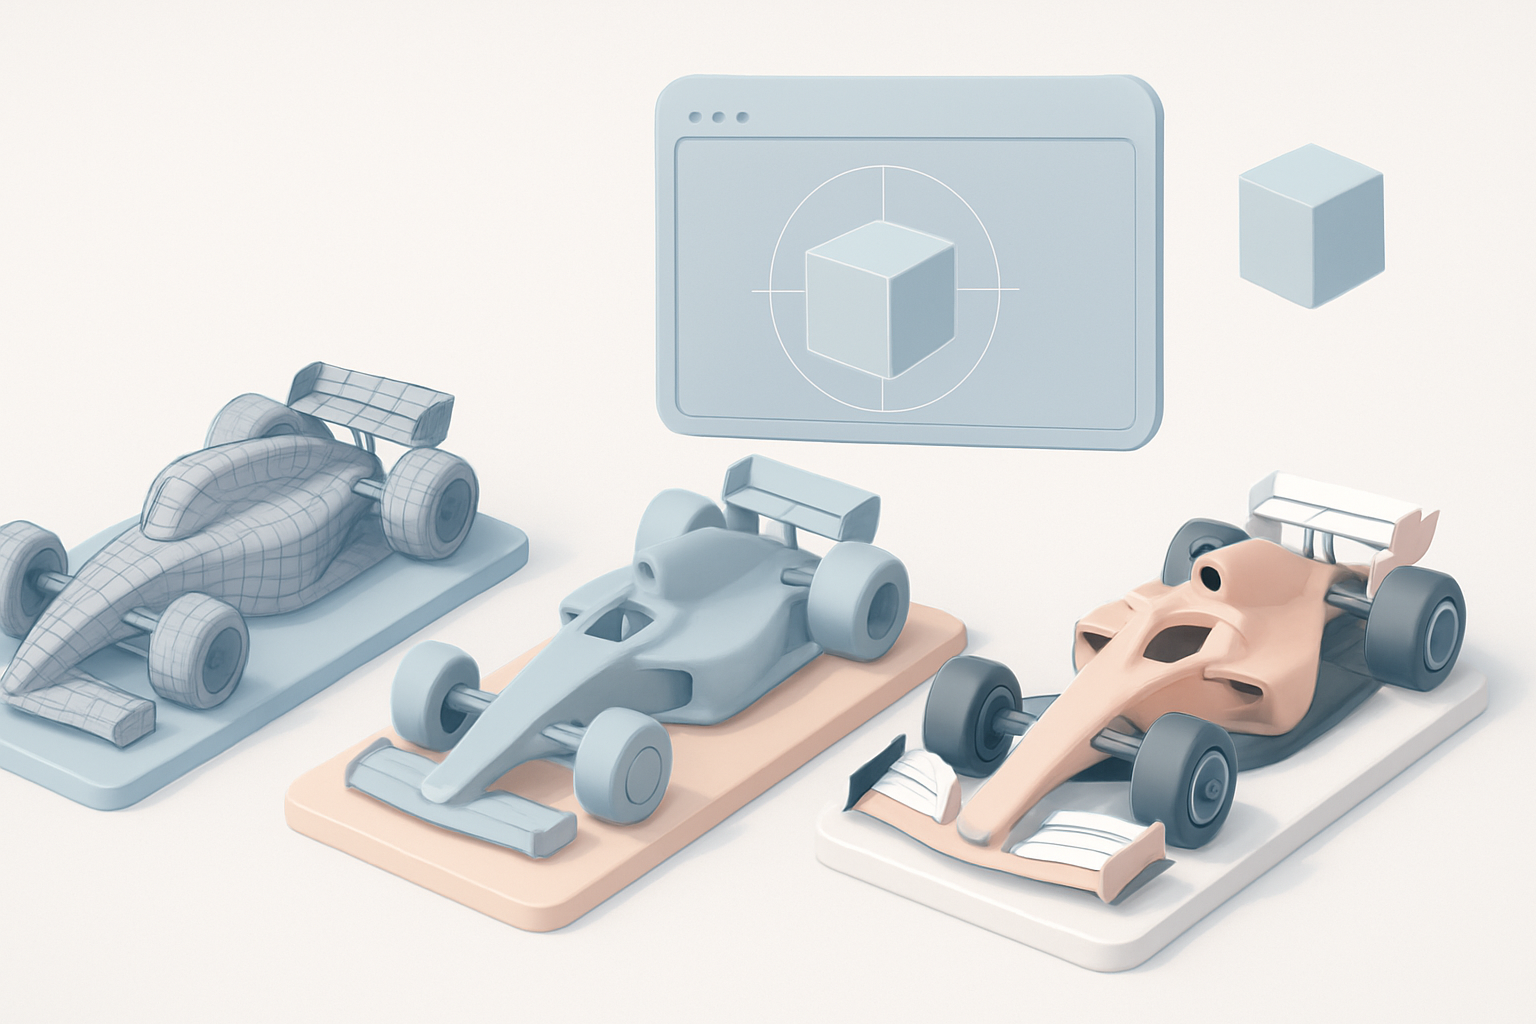
Blocking Out the Main Shapes
I start by blocking out the car’s main body, wings, and wheels using simple geometry. In my workflow, I keep everything in separate objects for easy refinement. The goal is to capture the silhouette and basic proportions without any detail.
Steps:
- Import blueprints into your 3D viewport.
- Model the chassis as a single block, then add wings and wheels.
- Adjust proportions until the blockout matches reference overlays.
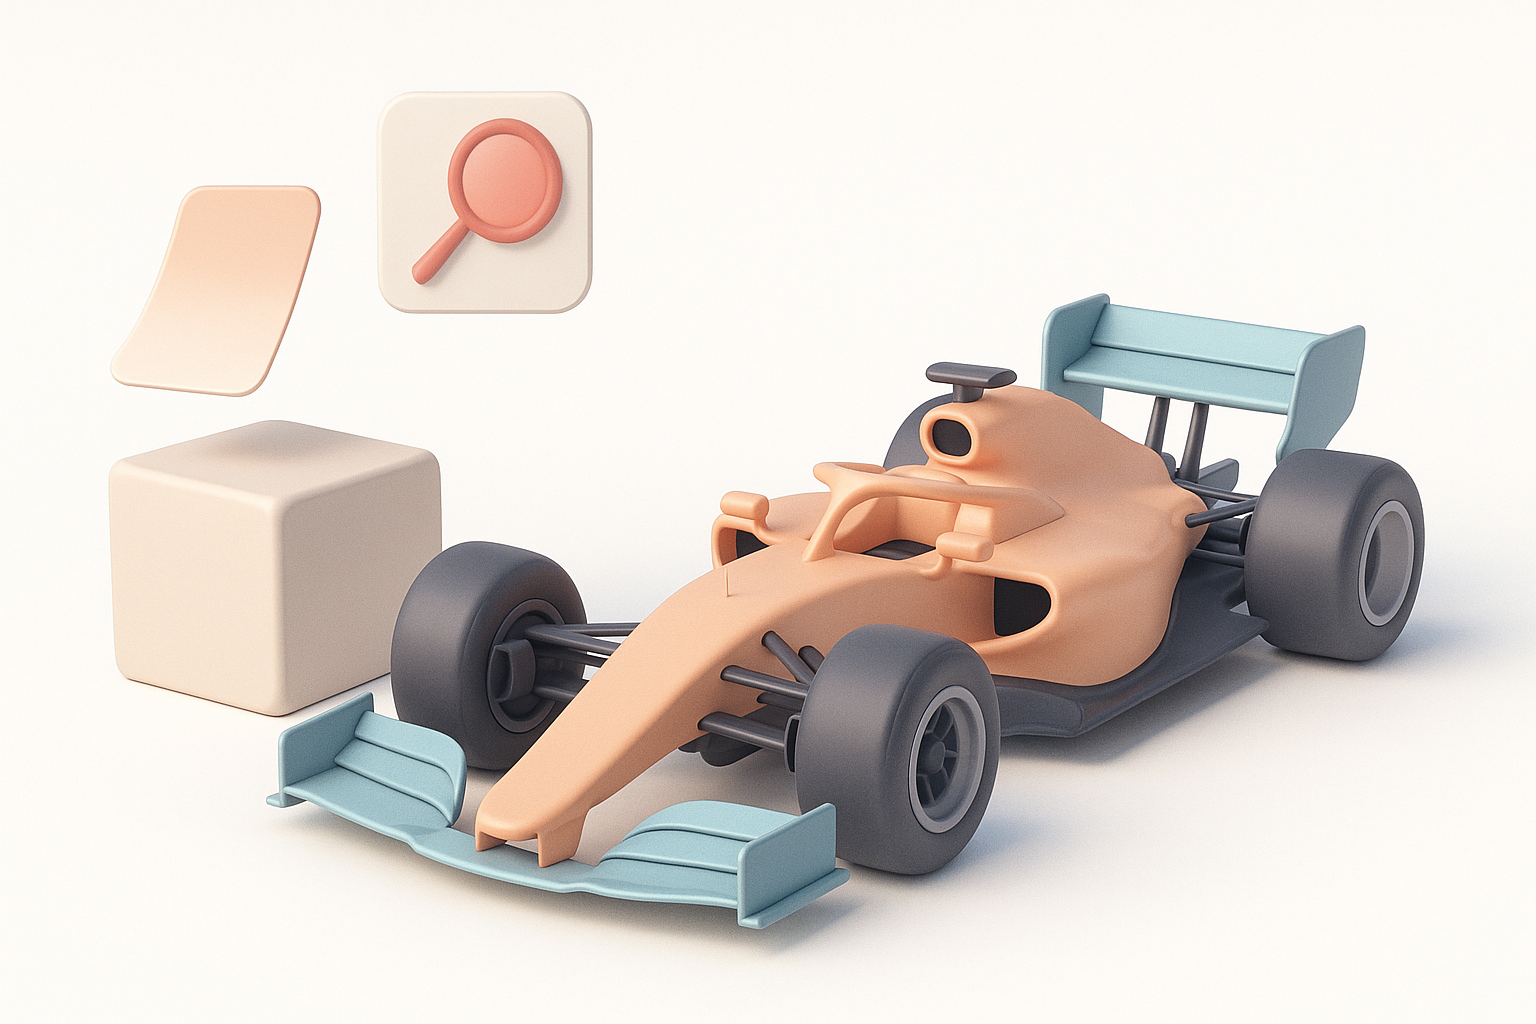
Adding Fine Details and Aerodynamic Elements
Once the blockout feels right, I move on to the intricate parts: air intakes, suspension arms, mirrors, and barge boards. I recommend modeling these as separate objects for flexibility. Aerodynamic surfaces require careful edge flow and smoothing.
Pitfalls:
- Overcomplicating geometry early—keep it simple until the base is solid.
- Neglecting small elements like sensors and antennae.
Texturing and Materials: Achieving Realism
UV Mapping Best Practices for Complex Surfaces
UV mapping F1 cars is tricky due to their complex curves and overlapping surfaces. I usually unwrap the main body and wings separately, ensuring minimal distortion. AI-powered UV tools can help, but I always manually tweak seams on high-visibility areas.
Tips:
- Use checker textures to spot stretching.
- Keep UV islands organized by part (body, wings, tires).
- Allow extra space for decals and sponsor logos.
Applying Decals, Paint, and Carbon Fiber Textures
For realism, I rely on layered materials: base paint, metallic flakes, and carbon fiber overlays. Decals are applied via texture maps or procedural methods. I often use AI tools to generate base textures, then refine them in a painting app.
Checklist:
- High-res decal sheets for sponsors
- Carbon fiber tiling for wings and body panels
- Subtle dirt or wear for used look
Retopology, Rigging, and Animation Considerations
Optimizing Mesh for Animation and Games
If the model is destined for animation or real-time engines, I retopologize to keep polycount reasonable and edge flow clean. AI-powered retopology tools can handle most surfaces, but I manually tweak areas like wheel arches and suspension.
Steps:
- Remove unnecessary edge loops.
- Maintain quads for deformable areas.
- Test mesh with simple animations.
Setting Up Basic Rigging for Wheels and Suspension
Rigging an F1 car involves setting up wheel rotation, suspension articulation, and steering. I use simple bone chains for wheels and constraints for suspension arms. For quick rigging, AI tools can auto-detect logical joints, but manual fine-tuning is essential.
Tips:
- Parent wheels to axle bones.
- Use constraints for steering and suspension movement.
- Test rig with basic animation cycles.
AI-Powered Tools and Workflow Enhancements
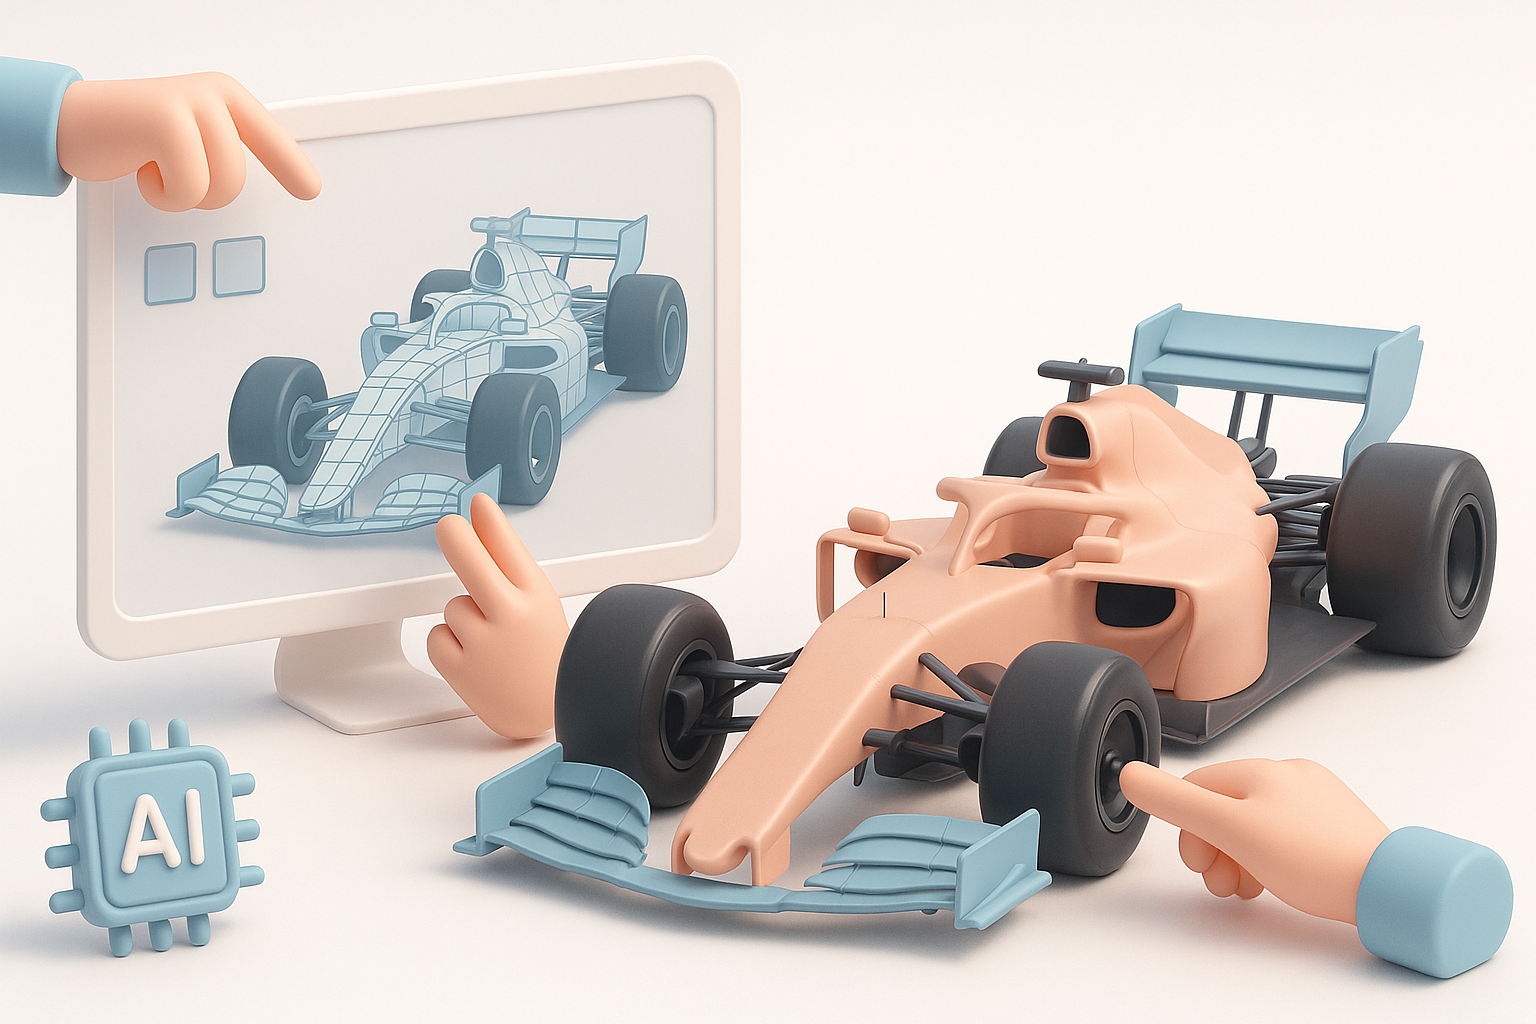
How I Use Tripo for Fast F1 Car Model Generation
In my workflow, I leverage Tripo for rapid segmentation, retopology, and texturing. By inputting reference images or sketches, I can generate a base mesh in seconds, which I then refine manually. This approach cuts hours off the initial modeling phase, especially for complex aerodynamic parts.
Practical steps:
- Input blueprint images or sketches.
- Use Tripo’s segmentation to isolate body, wings, wheels.
- Auto-retopologize, then manually adjust critical areas.
Integrating AI Tools with Traditional 3D Pipelines
I integrate AI outputs with traditional modeling by importing generated meshes into my main software, then refining topology, UVs, and materials. This hybrid workflow keeps creative control while reducing repetitive tasks.
Tips:
- Always check AI-generated geometry for artifacts.
- Blend AI textures with hand-painted details.
- Use AI for base, manual work for polish.
Exporting, Sharing, and Showcasing Your F1 Car Model
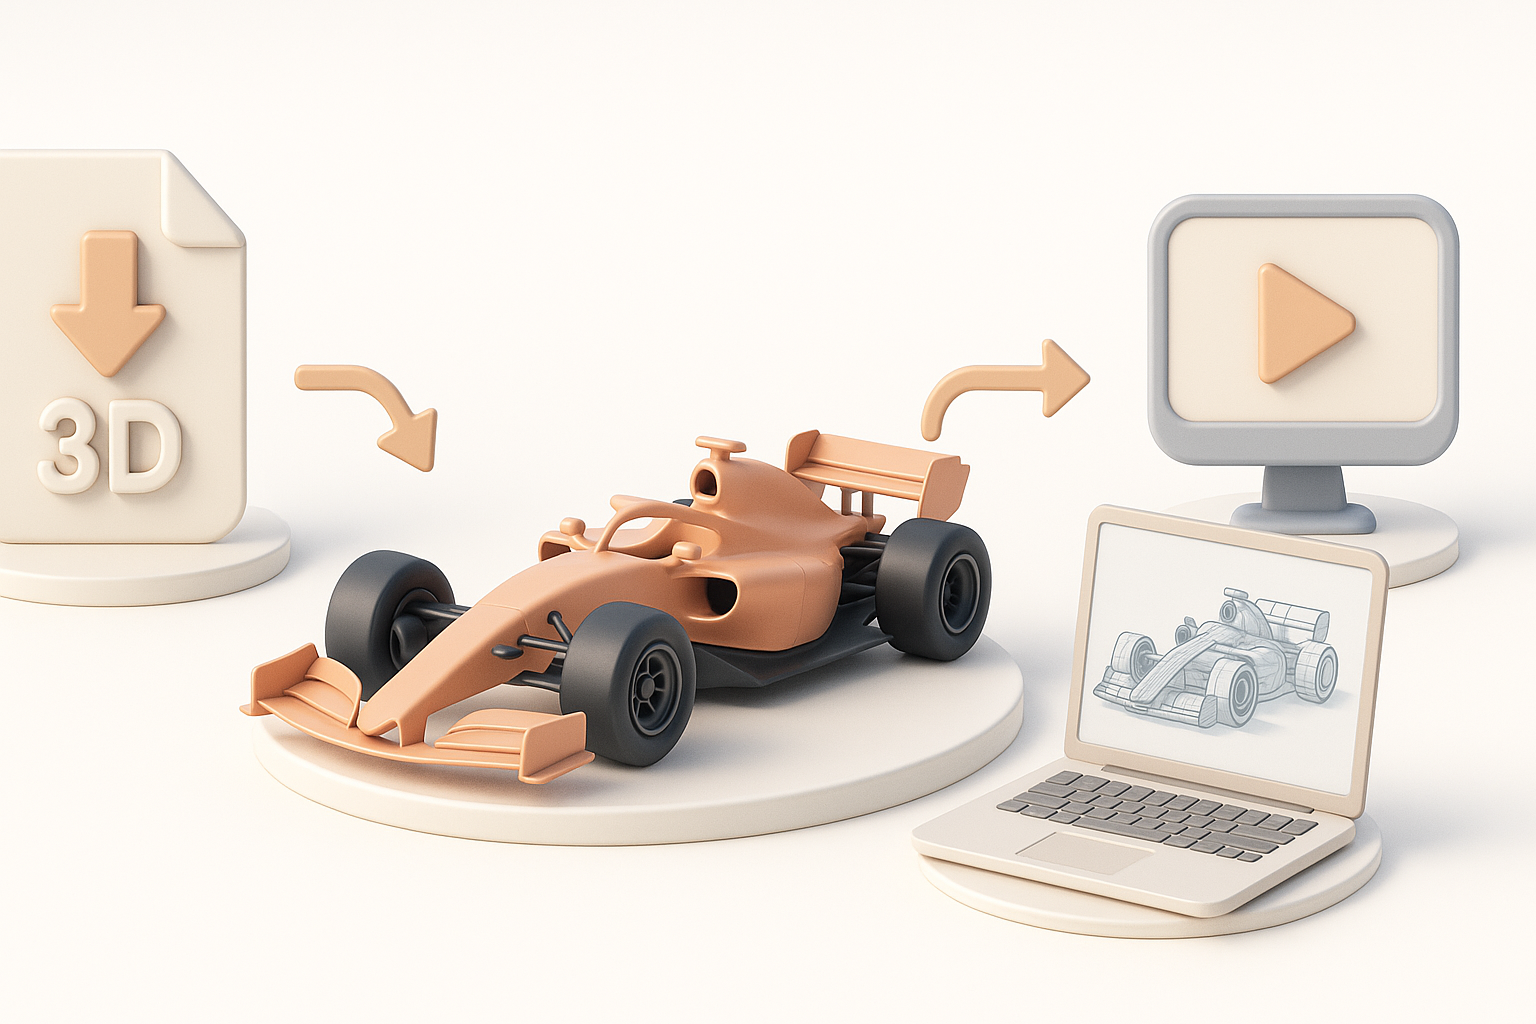
Best Export Settings for Different Platforms
Exporting for games, film, or XR requires different settings. I typically use FBX or GLTF for real-time engines, OBJ for renders. Tripo and similar tools often offer direct export presets.
Checklist:
- Apply scale and unit conversions.
- Bake textures and normal maps.
- Test exports in target engine or viewer.
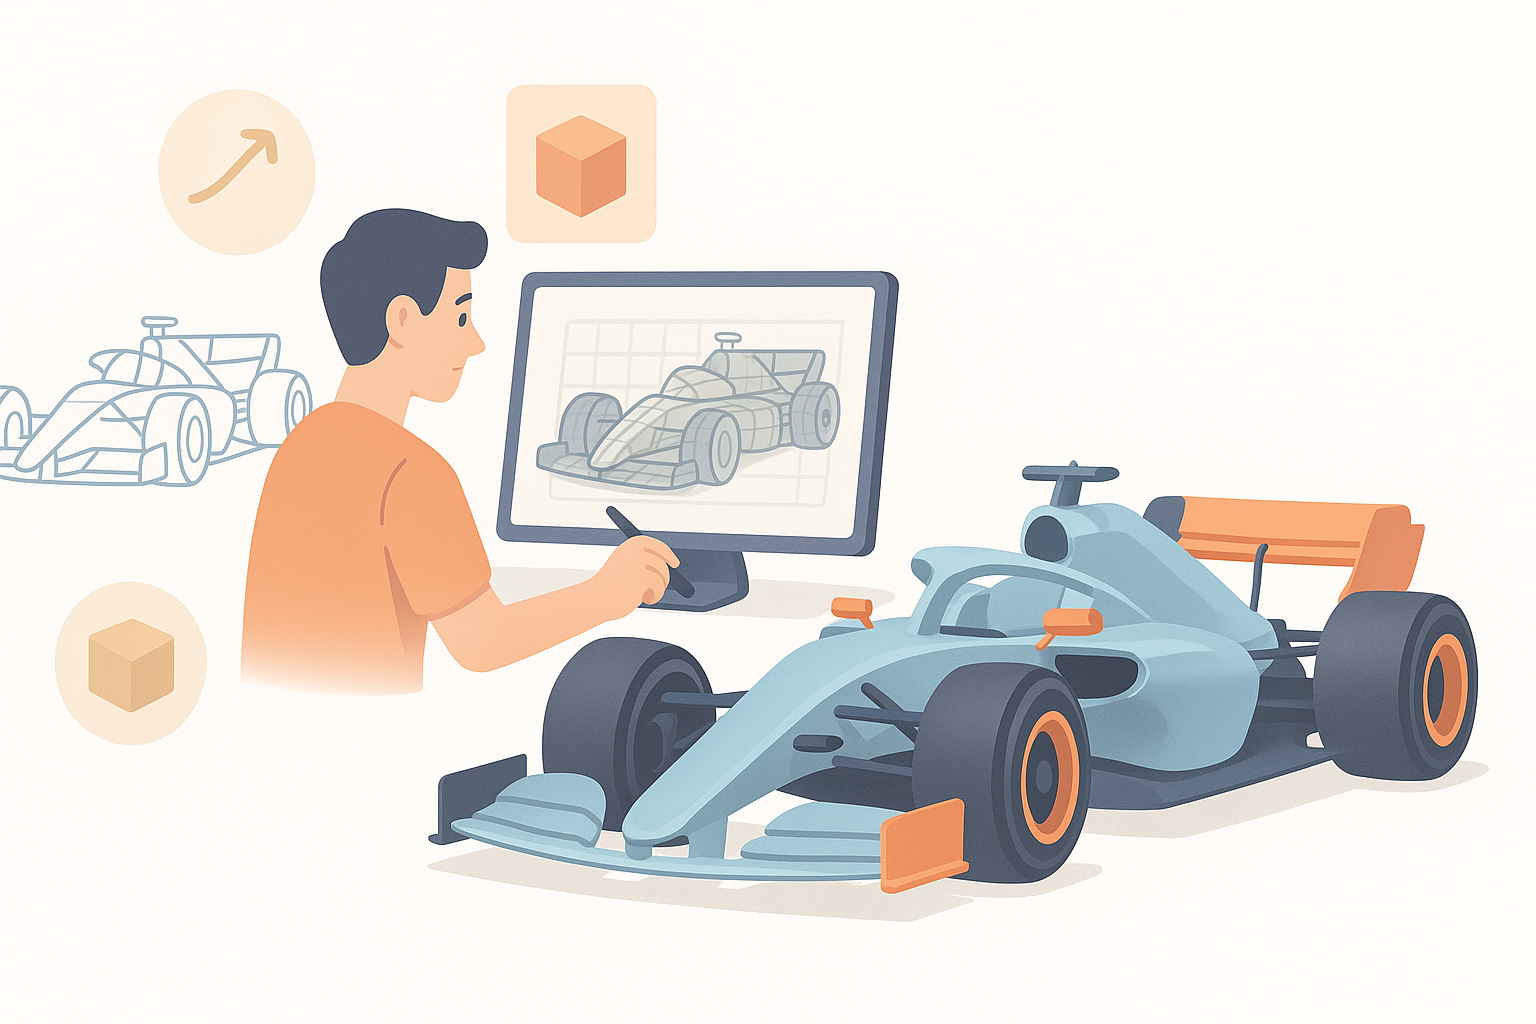
Tips for Presenting and Rendering Your Model
To showcase your F1 car, I set up studio lighting, reflective floors, and camera angles that highlight the silhouette and details. I prefer real-time renders for portfolio, but high-res offline renders for marketing.
Tips:
- Use three-point lighting for best results.
- Render close-ups of details (wings, cockpit, decals).
- Include wireframe and shaded views for breakdowns.
Common Challenges and How I Overcome Them
Troubleshooting Geometry and Topology Issues
Complex geometry often leads to shading artifacts or mesh errors. I use mesh analysis tools to spot non-manifold edges and fix them manually. AI retopology helps, but always needs a final pass.
Pitfalls:
- Overlapping faces after segmentation.
- UV stretching on tight curves.
Balancing Detail and Performance
It’s easy to over-detail F1 models, which can hurt performance in games or XR. I prioritize visible details and use normal maps for small features.
Tips:
- Limit polycount on hidden parts.
- Bake high-res details into textures.
Comparing 3D Modeling Approaches for F1 Cars
Manual vs. AI-Assisted Workflows
Manual modeling offers full control but is time-consuming. AI-assisted workflows, like those enabled by Tripo, are ideal for rapid prototyping and tackling repetitive tasks. I combine both: AI for base, manual for refinement.
When to use each:
- Manual: Custom shapes, unique details, learning purposes.
- AI: Fast blockouts, retopology, large asset batches.
When to Use Alternative Methods
For stylized or low-poly F1 cars, traditional modeling is faster and more flexible. For photorealism or production-ready assets, AI tools speed up the process without sacrificing quality—especially when deadlines are tight.
Conclusion:
Modeling a realistic F1 car is a test of both technical skill and workflow efficiency. By combining careful reference gathering, modular modeling, smart texturing, mesh optimization, and AI-powered automation, I consistently achieve production-ready results—whether for games, film, or XR.