Euro Truck Simulator 2: Creating and Using 3D Models
Creating custom 3D models for Euro Truck Simulator 2 (ETS2) is one of the best ways to personalize gameplay and contribute to the modding community. Over the years, I’ve refined a workflow that balances quality, efficiency, and compatibility—leveraging both traditional modeling techniques and newer AI-powered tools like Tripo. This article is for modders, artists, and anyone interested in bringing their own vehicles, trailers, or environments into ETS2. I’ll walk through my end-to-end process, share practical tips, and highlight common pitfalls, so you can avoid wasted effort and get your creations into the game seamlessly.
Key takeaways
- Use the right combination of modeling, texturing, and export tools for ETS2 compatibility.
- Optimize models for in-game performance—focus on clean topology and efficient UVs.
- AI tools like Tripo can dramatically speed up early modeling and texturing stages.
- Always test models in-game and expect some troubleshooting—minor tweaks are normal.
- Active ETS2 modding communities are invaluable for support and learning.
Overview of 3D Models in Euro Truck Simulator 2

What 3D models are used for in ETS2
In ETS2, 3D models are the backbone of everything you see: trucks, trailers, buildings, and roadside objects. As a modder, I use models to add custom vehicles, branded cargo, or even new scenery. These assets aren’t just visual; they define hitboxes, lighting, and how objects interact with the game world.
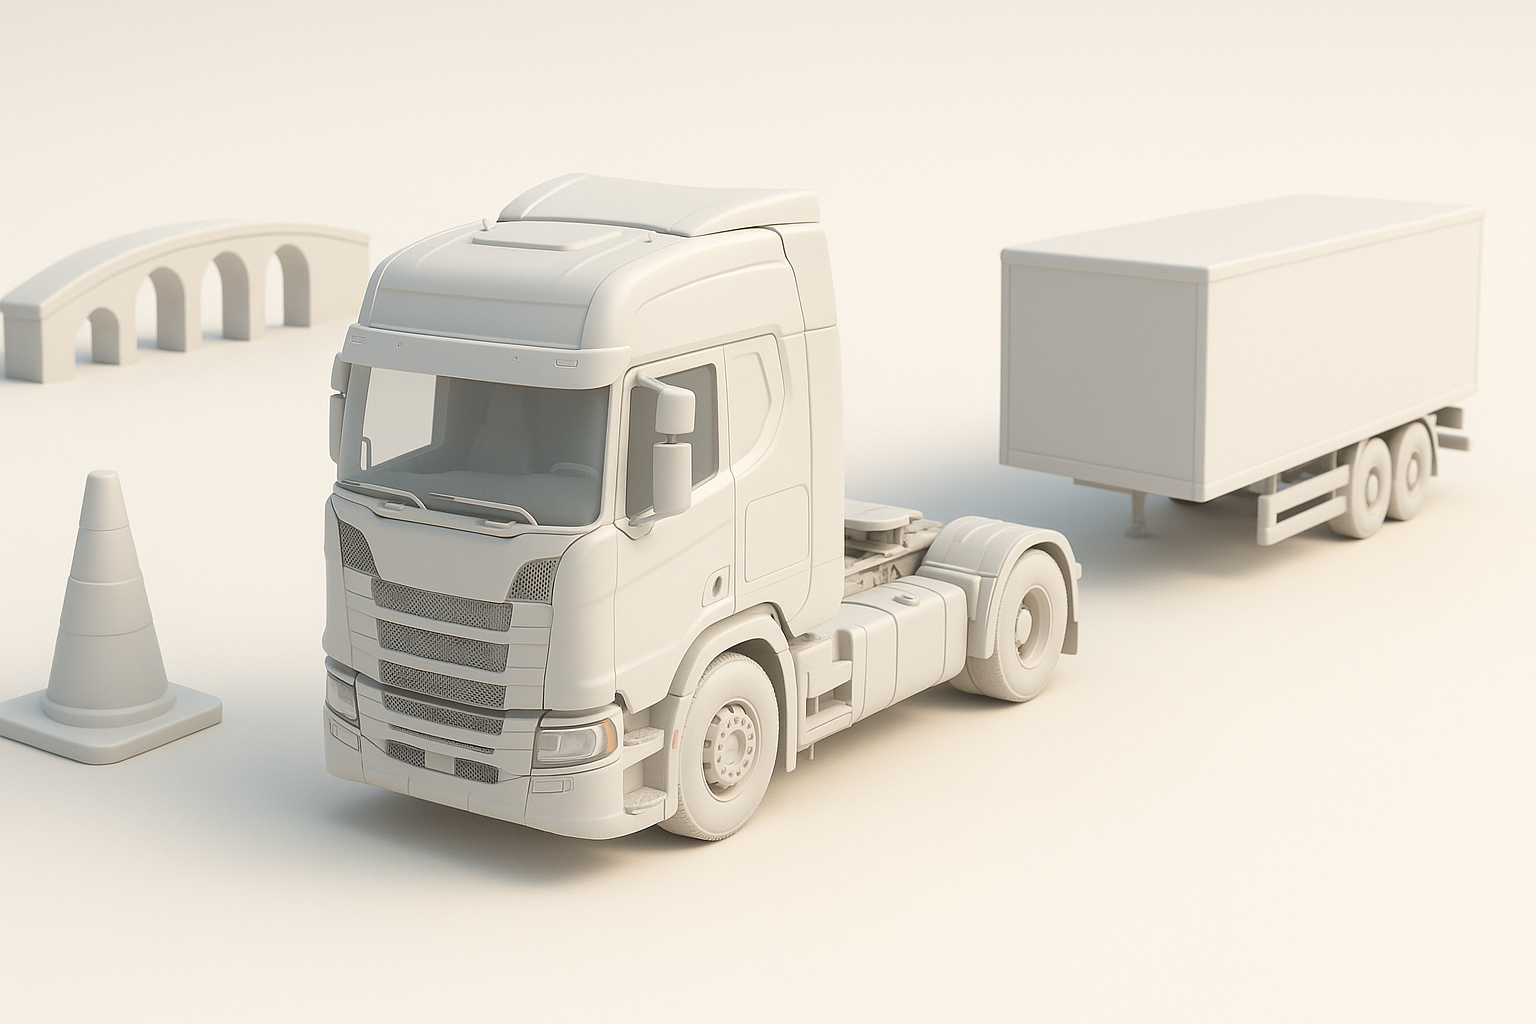
Types of models: trucks, trailers, environments
I typically break down ETS2 models into three categories:
- Trucks: The most complex, with separate meshes for cabs, chassis, wheels, and accessories.
- Trailers: Slightly simpler, but still require careful attention to articulation points and collision.
- Environments: Includes static models (buildings, signs) and props (trees, barriers).
Each type has unique requirements for scale, detail, and animation. For example, truck models need detailed interiors and functioning lights, while environmental models are more about efficient geometry and optimized textures.
My Workflow for Creating ETS2 3D Models
Choosing the right tools and software
My core toolkit includes:
- 3D modeling software: I use Blender for modeling, UV unwrapping, and basic rigging.
- Texturing: Photoshop or Substance Painter for detailed maps; Tripo for quick AI-based texturing and material suggestions.
- Conversion tools: ETS2’s SCS Converter Tools to export to game-ready formats.
- Reference gathering: Real-world photos, technical drawings, and in-game measurements.
Step-by-step process: from concept to export
Here’s my typical workflow:
- Concept & References: Gather images, blueprints, or sketches of the target model.
- Base Modeling: Block out the main shapes in Blender; keep topology clean from the start.
- Detailing: Add geometry for details—avoid excessive subdivisions.
- UV Unwrapping: Lay out UVs efficiently to maximize texture resolution.
- Texturing: Use AI tools like Tripo for base textures; refine in Substance or Photoshop.
- Rigging (if needed): Add bones for wheels, steering, or moving parts.
- Export: Convert to .pmd/.pmg using SCS tools, ensuring proper scaling and orientation.
- Testing: Import into ETS2, check for errors, and iterate as needed.
Checklist:
- Keep scale consistent with ETS2 units.
- Separate meshes for animated parts.
- Use game-friendly materials and texture formats (.dds).
Best Practices for High-Quality ETS2 Models
Optimizing geometry and topology
Performance matters. I always:
- Limit polygon count; focus detail where it’s most visible.
- Use quads for deformation, but triangles are fine for static parts.
- Merge overlapping vertices and remove hidden faces.
- Avoid ngons and excessive edge loops.
Pitfall: Overly dense meshes can cause FPS drops and long load times.
Texturing and material considerations
Good textures can elevate a simple model. My approach:
- Stick to power-of-two texture sizes (e.g., 1024x1024, 2048x2048).
- Use efficient UV packing; avoid wasted space.
- Create normal and specular maps for realism.
- For AI-generated textures (e.g., with Tripo), always check seams and color consistency.
Tip: Preview textures in-game lighting to catch issues early.
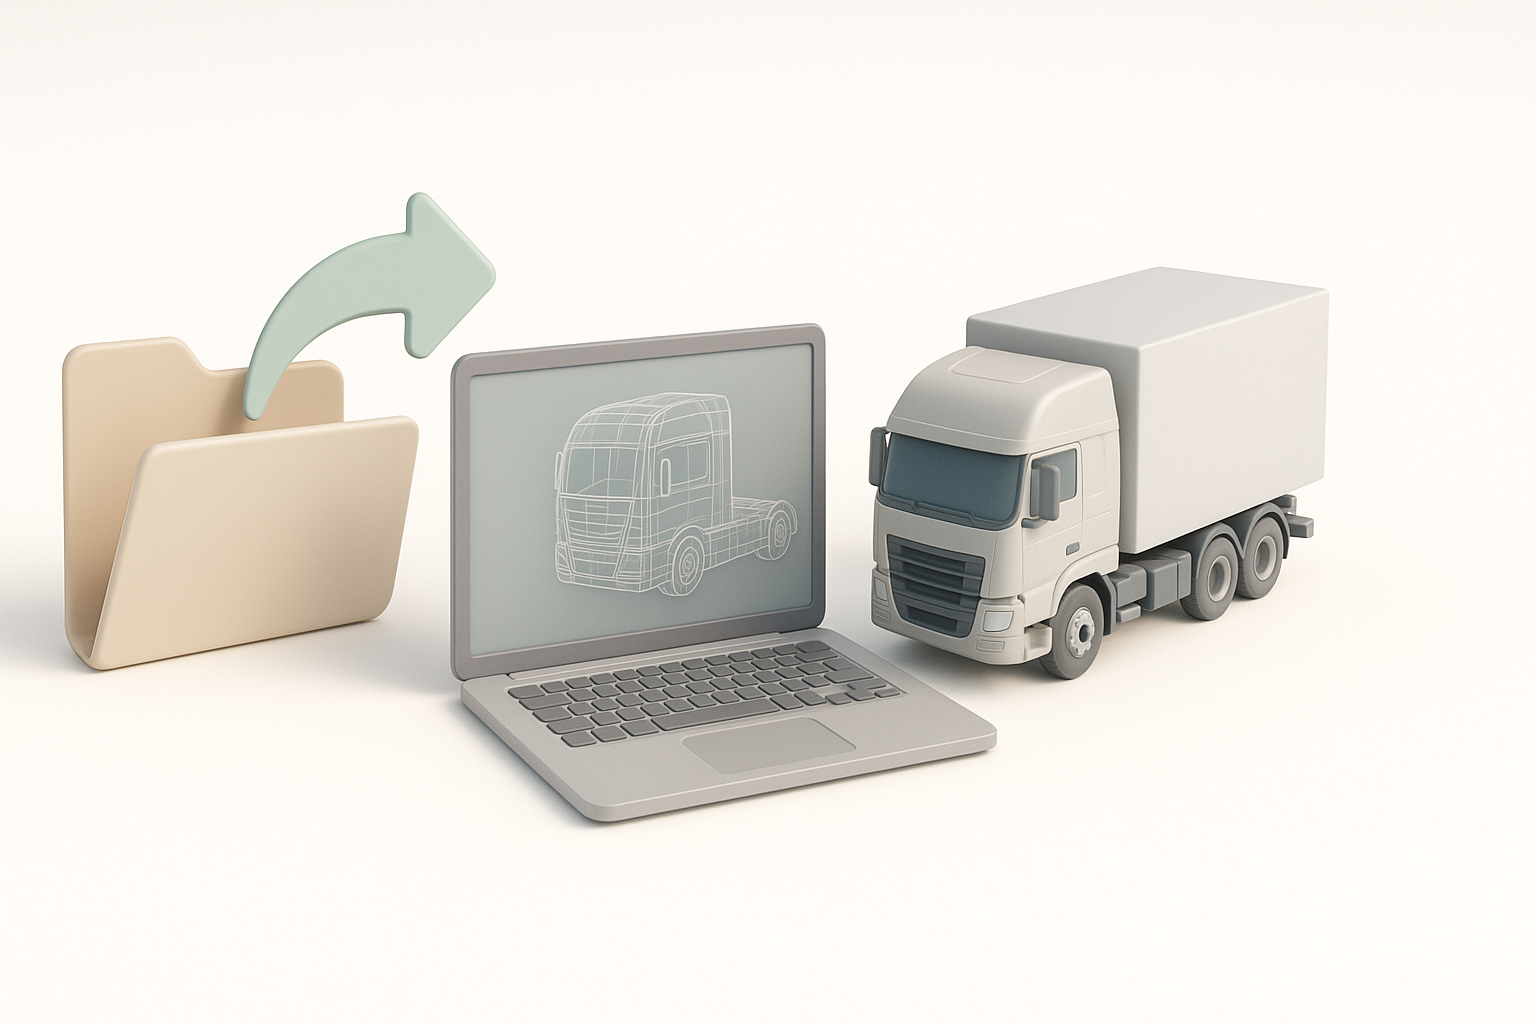
Importing and Testing Models in ETS2
File formats and compatibility tips
ETS2 uses its own formats (.pmd, .pmg, .mat, .tobj). I make sure to:
- Export from Blender using the correct SCS add-ons.
- Double-check scale (1 Blender unit = 1 meter in ETS2).
- Keep file names and folder structures clean and consistent.
Troubleshooting common issues
Common problems I encounter:
- Missing textures: Check .tobj paths and DDS format.
- Model not appearing: Review conversion logs for errors; check scale and origin.
- Shading issues: Recalculate normals and verify material assignments.
Troubleshooting checklist:
- Use the SCS log to diagnose errors.
- Test with a minimal mod setup to isolate conflicts.
- Iterate—small changes can fix big issues.
Comparing AI-Powered and Traditional 3D Workflows

When to use AI-driven tools like Tripo
I reach for AI tools when I need to:
- Rapidly prototype a new vehicle or prop.
- Generate base meshes or textures from sketches or photos.
- Iterate on concepts before manual refinement.
AI excels at speed and ideation, but I still rely on manual tools for polish and game-specific adjustments.
Advantages and limitations of each approach
AI-powered tools:
- Pros: Fast, accessible, great for blocking out ideas.
- Cons: Sometimes less precise; manual cleanup often required for game-ready assets.
Traditional workflow:
- Pros: Full control, predictable results, easier to meet strict game requirements.
- Cons: More time-consuming, steeper learning curve.
My advice: Use AI for early stages; finish and optimize manually for best results.
What I’ve Learned: Tips for Success in ETS2 Modding
Lessons from real-world projects
- Always start simple—overly ambitious first projects rarely succeed.
- Document your process; it saves time when updating or troubleshooting later.
- Don’t skip optimization—players notice performance drops quickly.
Resources and communities for ongoing learning
I recommend:
- Official SCS Software modding wiki and forums.
- YouTube tutorials tailored for ETS2 modding.
- Discord servers and Reddit communities focused on truck sim modding.
Final tip: Share your work, ask questions, and contribute—ETS2’s modding scene thrives on collaboration and shared knowledge.