How to Create Realistic 3D Bowling Gutters: Workflow & Tips
скачать 3d модели для chicken gun
Creating realistic 3D bowling gutters demands a blend of technical skill, attention to detail, and efficient tools. In my work for games and XR, I’ve found that a streamlined workflow—especially when leveraging AI-powered platforms—saves hours and boosts quality. This article covers my complete process: from reference gathering and modeling to texturing, optimization, and practical integration tips. Whether you’re a solo artist, game dev, or designer, you’ll find actionable strategies to produce production-ready bowling gutters quickly and reliably.
Key takeaways:
- Start with strong references and a clear plan for gutter features.
- Block out base shapes before diving into details or texturing.
- Use smart UV unwrapping and physically accurate materials for realism.
- Optimize geometry for your target platform before export.
- AI-powered tools like Tripo can accelerate modeling and reduce manual labor.
- Choose manual or AI-assisted workflows based on project needs and deadlines.
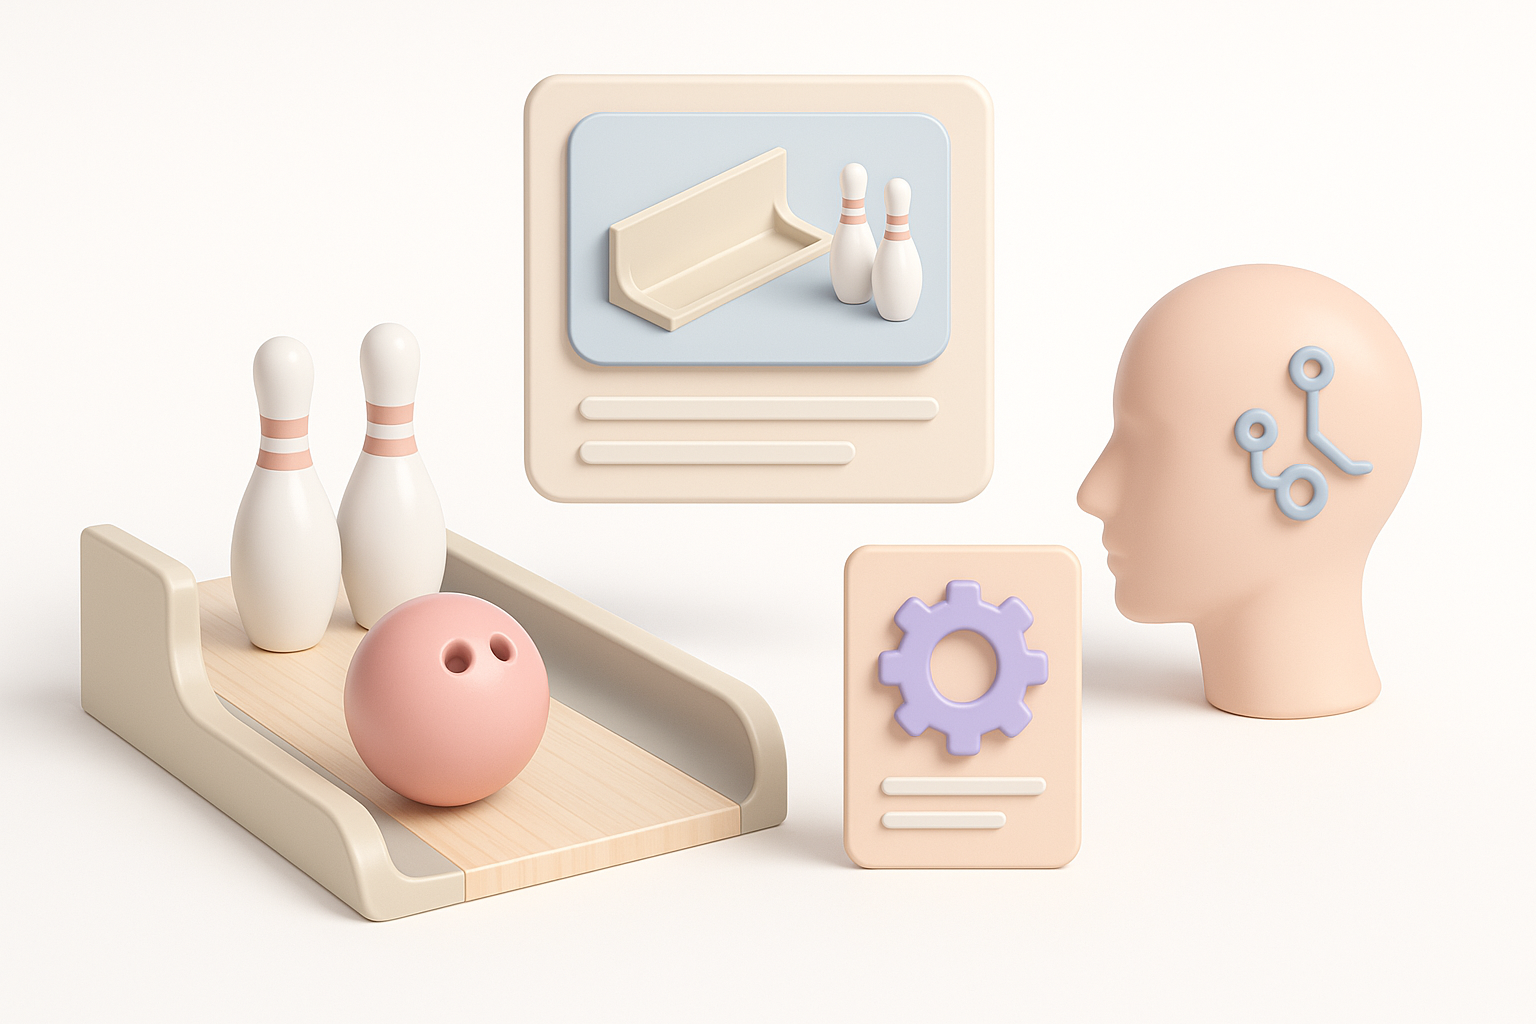
Understanding Bowling Gutter Design in 3D Modeling
Key features of bowling gutters
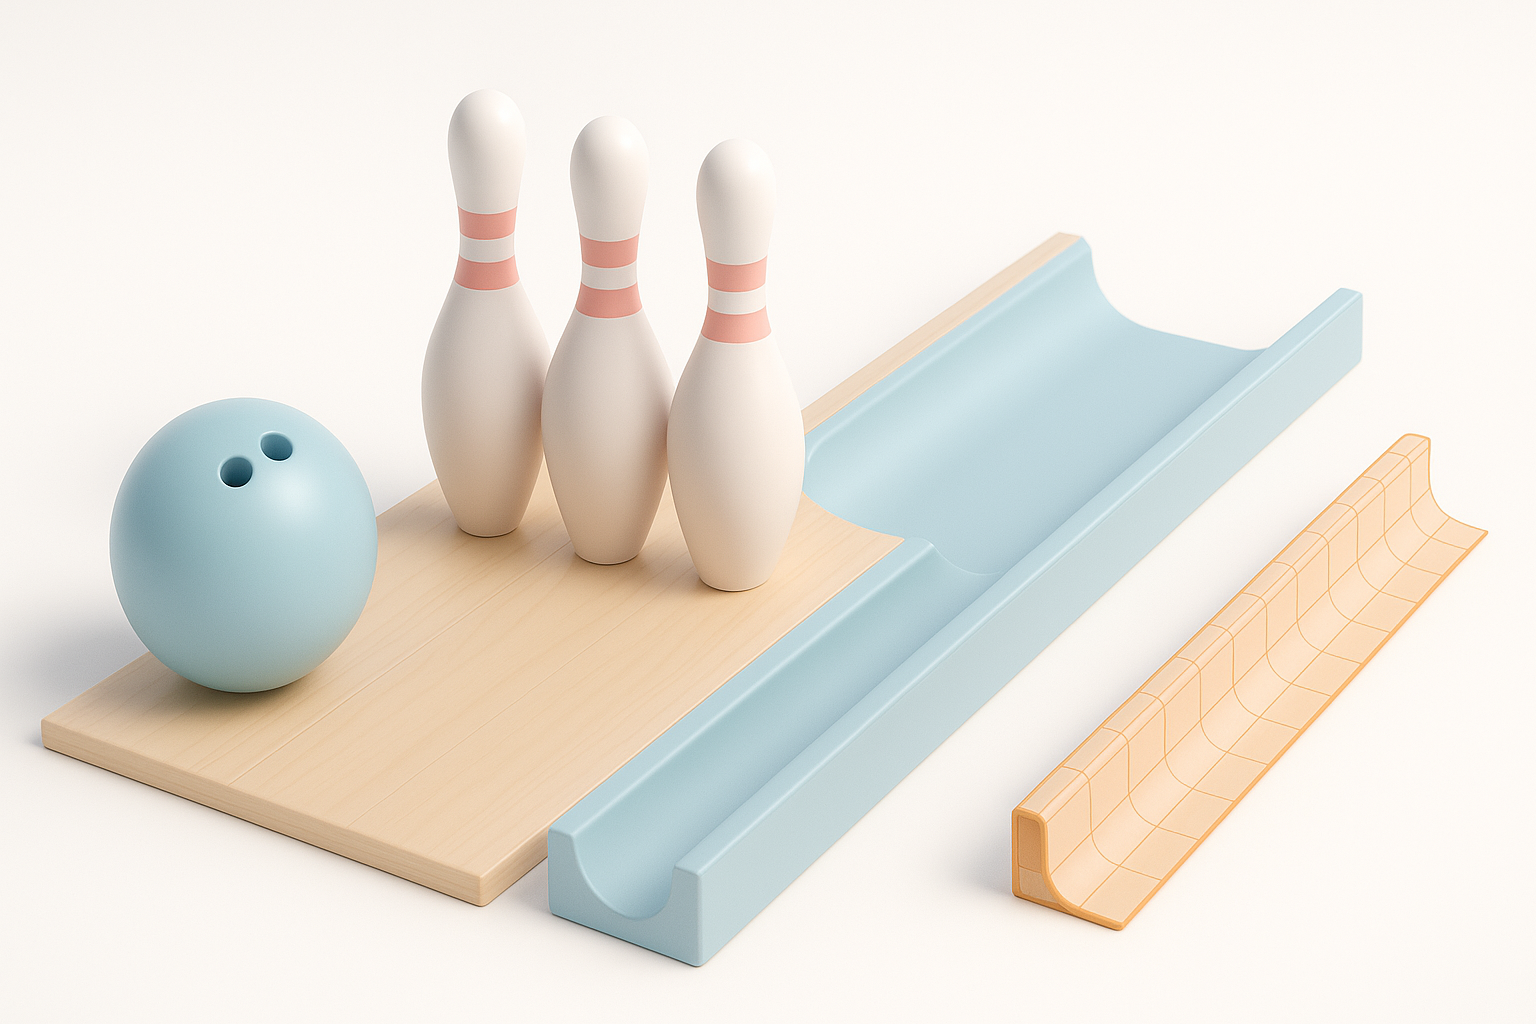
In my experience, nailing the realism starts with understanding what makes bowling gutters unique. Gutters aren’t just curved troughs—they have specific profiles, smooth transitions into the lane, and subtle details like wear edges and mounting seams. I always focus on:
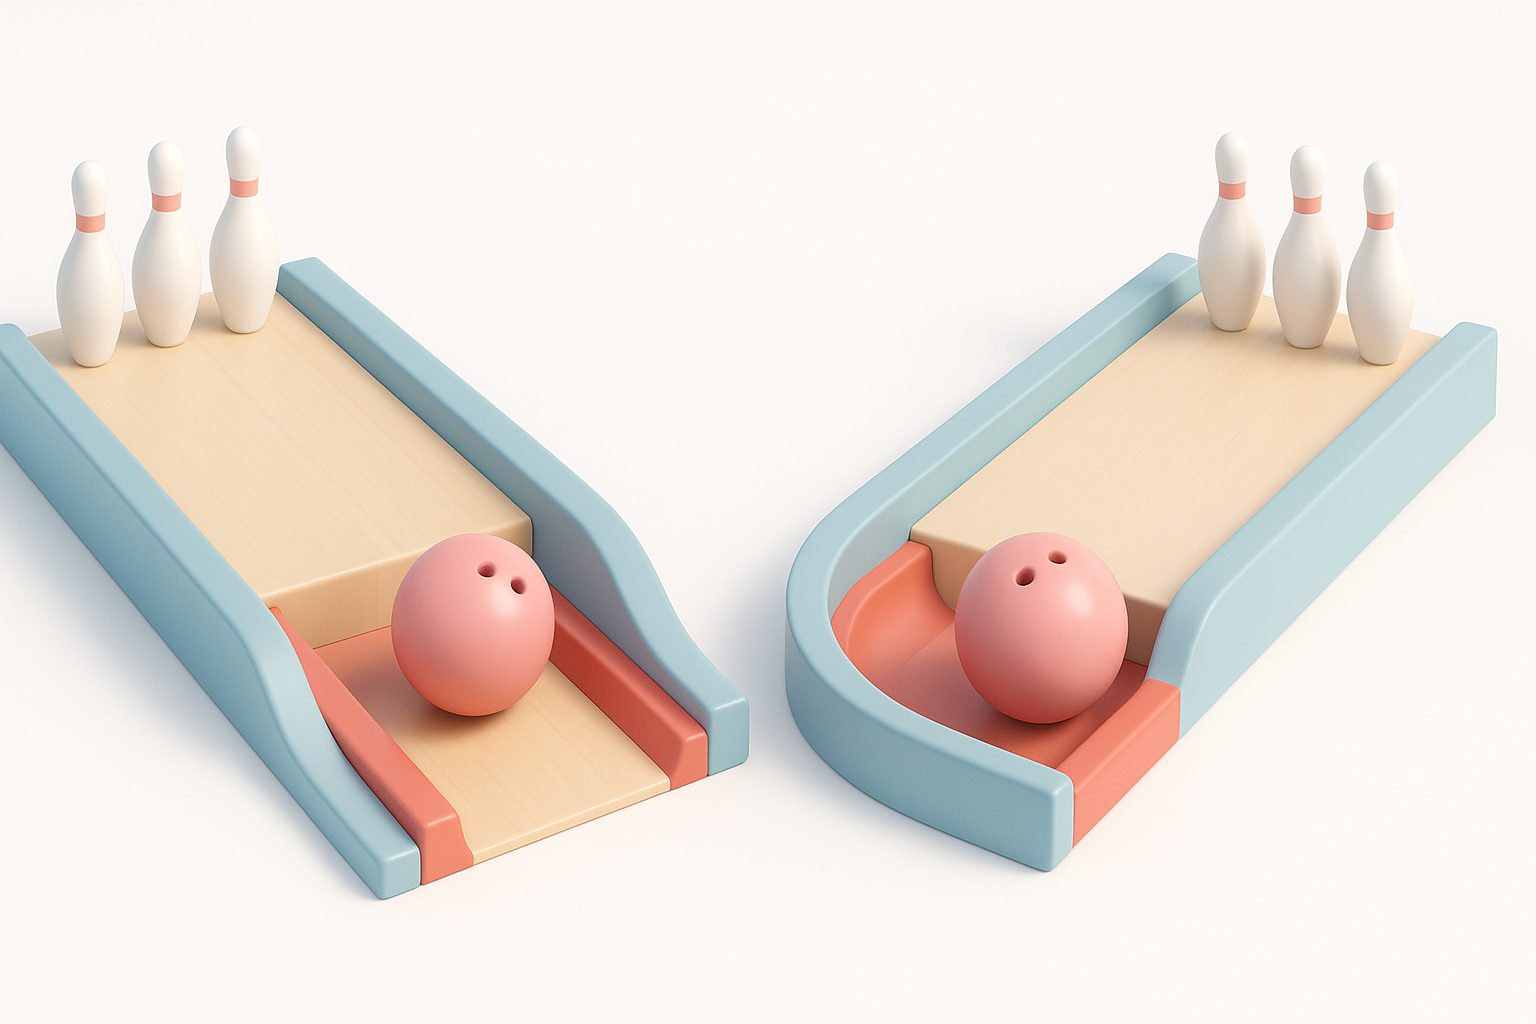
- Consistent width and depth along the gutter
- Curved cross-section for ball guidance
- End caps and mounting details
- Slight surface imperfections (scratches, scuffs)
Missing these can make a gutter look “off” even with good textures.
Reference gathering and planning
Before opening any modeling tool, I spend time collecting references—photos from multiple angles, technical diagrams, and even videos of real bowling alleys. My checklist:
- Top, side, and cross-sectional images
- Close-ups of joints, seams, and surface wear
- Measurements if available (for scale accuracy)
I organize these in a moodboard or as image planes in my 3D software. This planning step prevents costly rework later.
Step-by-Step Workflow: Modeling Bowling Gutters
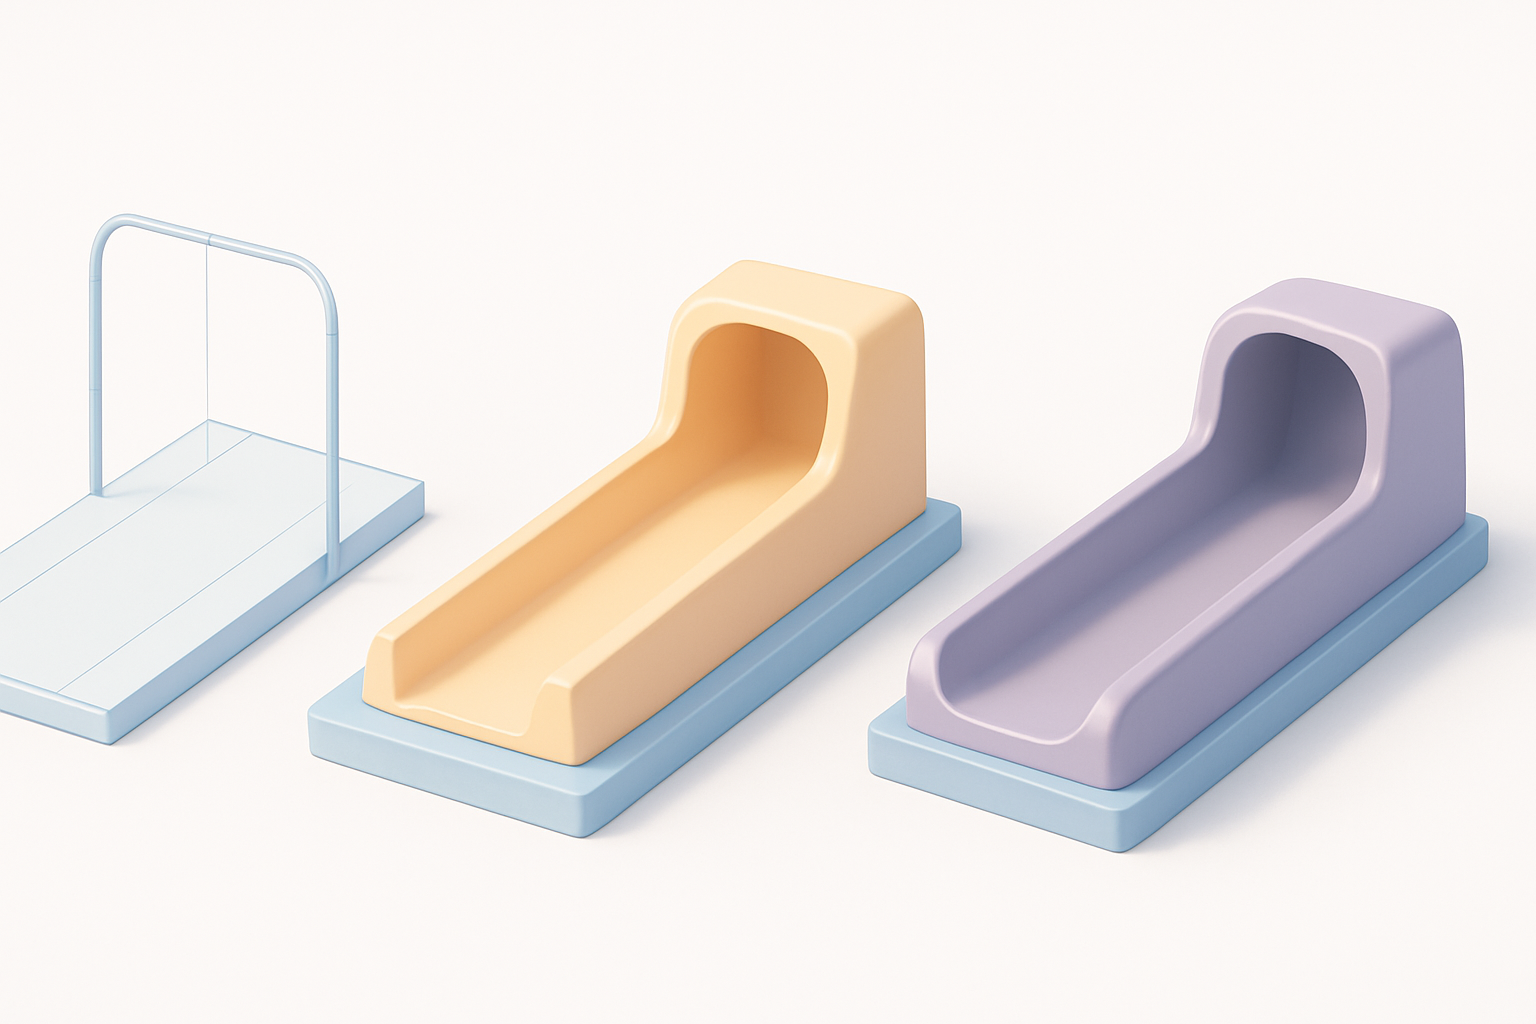
Blocking out the basic shape
I start by blocking out the main gutter shape with simple geometry—usually a cylinder or extruded curve. My approach:
- Set up reference images in my viewport.
- Rough out the profile using a spline or basic mesh (e.g., a deformed cube or cylinder).
- Extrude or sweep the profile along the gutter’s length.
At this stage, I keep polycount low and focus on silhouette and proportions. If I’m using Tripo, I’ll feed in a sketch or reference image and let the AI generate the base mesh, which I can tweak as needed.
Adding details and refining geometry
Once the base is set, I add secondary features:
- Edge loops for sharper transitions near the lane or gutter lip
- End caps and mounting holes
- Bevels for realism and better shading
I always check for clean topology—avoiding unnecessary triangles or n-gons. If AI-generated geometry needs cleanup, I use retopology tools built into my platform.
Texturing and Material Best Practices
UV unwrapping strategies
Good UVs are essential for seamless textures. Here’s my workflow:
- Plan seams along the least-visible areas (usually the underside or inside edge).
- Use cylindrical projection for the main gutter, then unfold end caps separately.
- Pack UVs efficiently to maximize texture resolution.
I’ve found that AI-assisted UV tools can speed this up, but I always double-check for stretching or overlaps before moving to texturing.
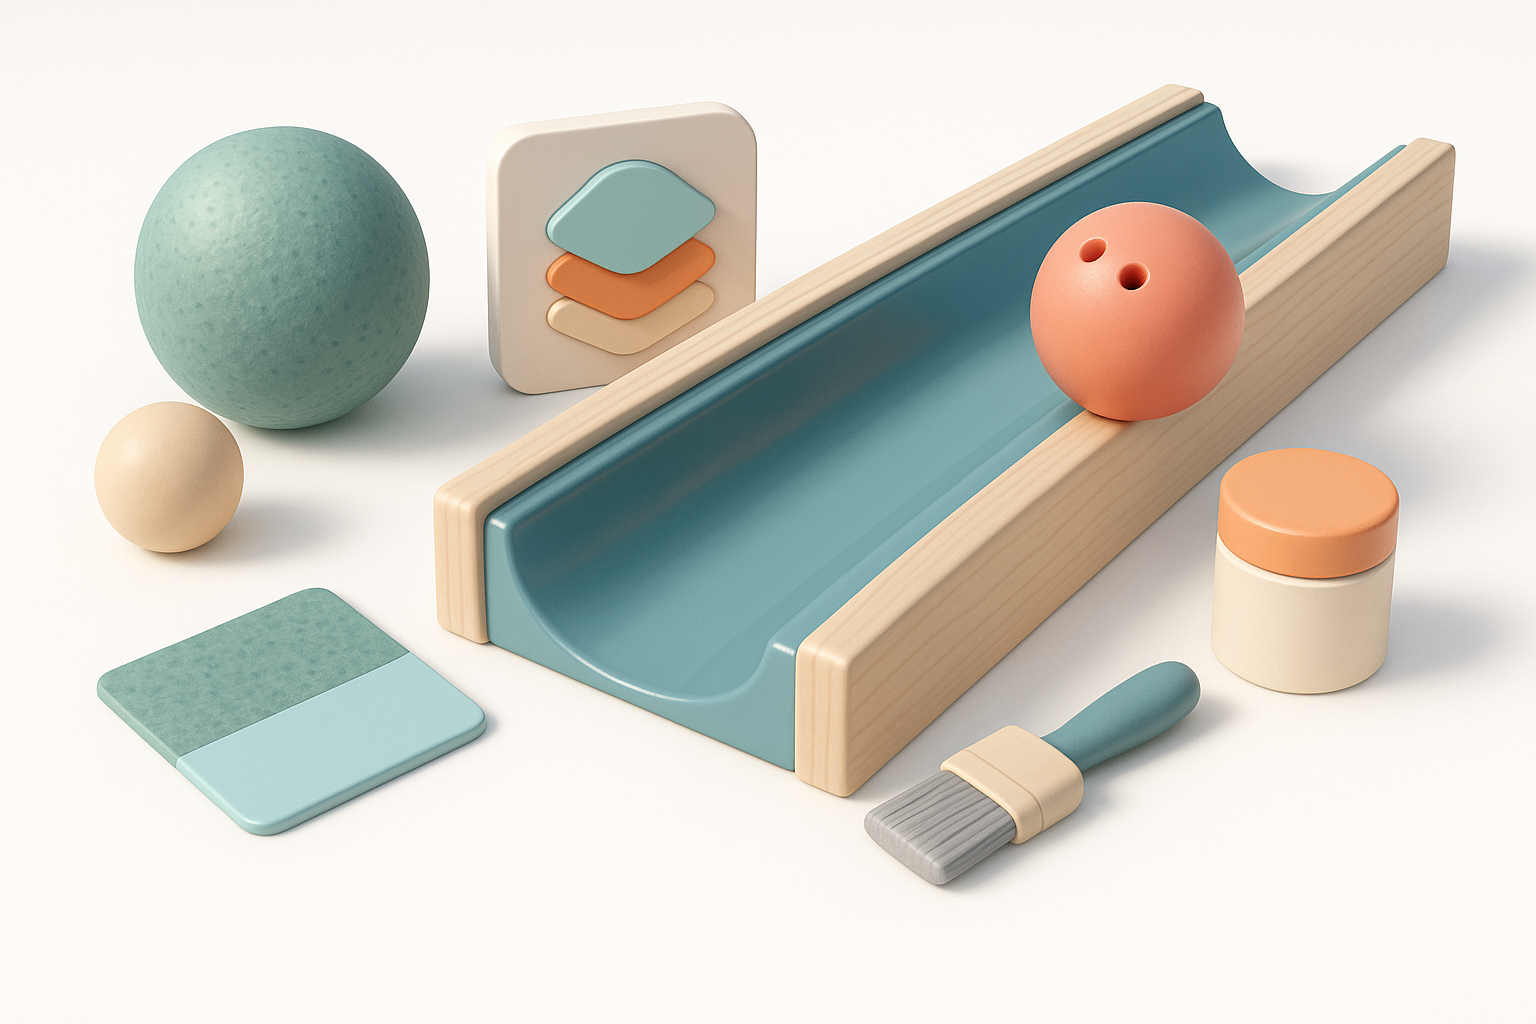
Choosing and applying realistic materials
For realism, I use physically-based materials—metallic paint, worn plastic, or even brushed aluminum depending on the reference. My steps:
- Sample real-world colors from reference images.
- Add subtle roughness variation for scuffs and wear.
- Overlay decals or dirt in areas of frequent contact.
I often use Tripo’s built-in texturing tools to quickly generate base materials, then fine-tune in Substance Painter or similar apps for final touches.
Optimizing for Games, XR, and Animation
Retopology and polycount management
Optimization is crucial for real-time platforms. My process:
- Retopologize the mesh for clean, low-poly geometry.
- Target polycount based on platform (e.g., under 2k tris for mobile, up to 10k for high-end).
- Bake normal maps from high-poly versions to preserve detail.
AI-powered retopology tools can drastically speed this up, but I always inspect the output for artifacts or shading issues.
Exporting and integration tips
Before export, I:
- Freeze transforms and apply scale
- Export in the required format (FBX/GLTF for games, OBJ for general use)
- Test import in the target engine (Unity, Unreal, etc.)
For animation, I ensure pivot points and hierarchy are correct. If rigging is needed (e.g., for dynamic gutters), I use built-in tools to set up basic controls.
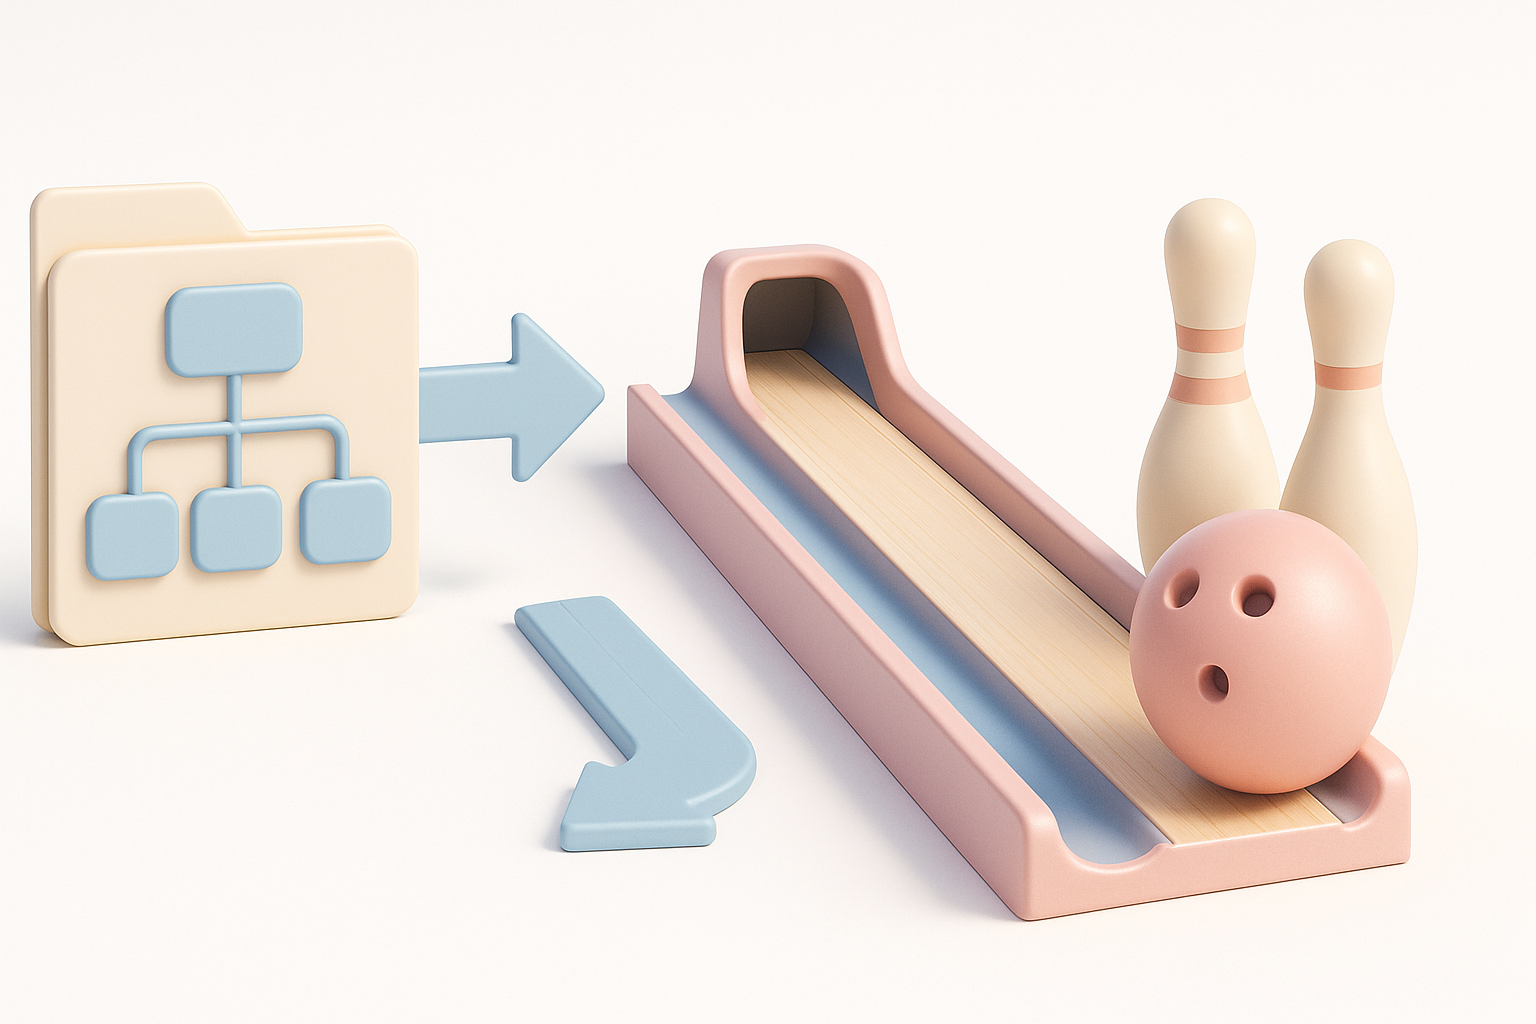
AI-Powered Tools and My Workflow Insights
How I use AI tools for faster gutter modeling
AI platforms like Tripo have changed how I approach repetitive modeling tasks. My typical workflow:
- Input a sketch, image, or text prompt describing the gutter
- Let the AI generate a base mesh with appropriate topology
- Use built-in segmentation and texturing tools for rapid iteration
- Export and polish in my DCC app if needed
This cuts initial modeling time from hours to minutes, especially for props with standard shapes.
Lessons learned and troubleshooting common issues
While AI tools are fast, they’re not perfect. Common issues I’ve encountered:
- Overly dense or uneven geometry (requiring manual cleanup)
- Inaccurate details if the input prompt isn’t specific
- UV seams in visible areas
My advice: always review the AI output, refine as needed, and don’t skip manual quality checks—especially for hero assets.
Comparing Manual and AI-Assisted Approaches
Pros and cons of each method
Manual modeling:
- Full control over topology and detail
- Slower, but more predictable results
- Essential for custom or highly detailed assets
AI-assisted modeling:
- Much faster for standard shapes
- Reduces repetitive work
- May require cleanup or refinement for production
When to choose one over the other
I choose AI-assisted workflows for quick props, background assets, or when iterating on concepts. For hero assets or when precise control is needed, I model manually or heavily edit the AI output. The best results often come from blending both approaches—using AI for speed, then applying hands-on expertise for polish.
In summary: Realistic 3D bowling gutters require solid references, smart modeling, careful texturing, and platform-aware optimization. AI tools like Tripo can accelerate the process, but hands-on review and refinement remain essential for top-quality results.