Convert JPG to STL File Easily | Quick Guide
For 3D printing fans, turning JPG images into STL files is thrilling. It opens up a world of creative possibilities. With the right steps, you can make an STL file from JPG images quickly. This guide will show you how to do it, making your 2D designs into 3D models in seconds.
You can use this skill to make special gifts, prototypes, or unique souvenirs. Whether it's a favorite photo or a simple design, you can bring your ideas to life. Let's explore how easy it is to convert JPG to STL!

Key Takeaways
- The conversion from JPG to STL typically takes around 5 seconds.
- You can adjust parameters such as height and depth during the conversion.
- This online tool supports various output formats like OBJ, 3DS, and more.
- Data privacy is ensured, as files are not stored and links expire after use.
- The .STL file format is key for 3D printing, making this conversion essential.
- Utilizing platforms like TinkerCAD allows for easy editing and resizing of STL files.
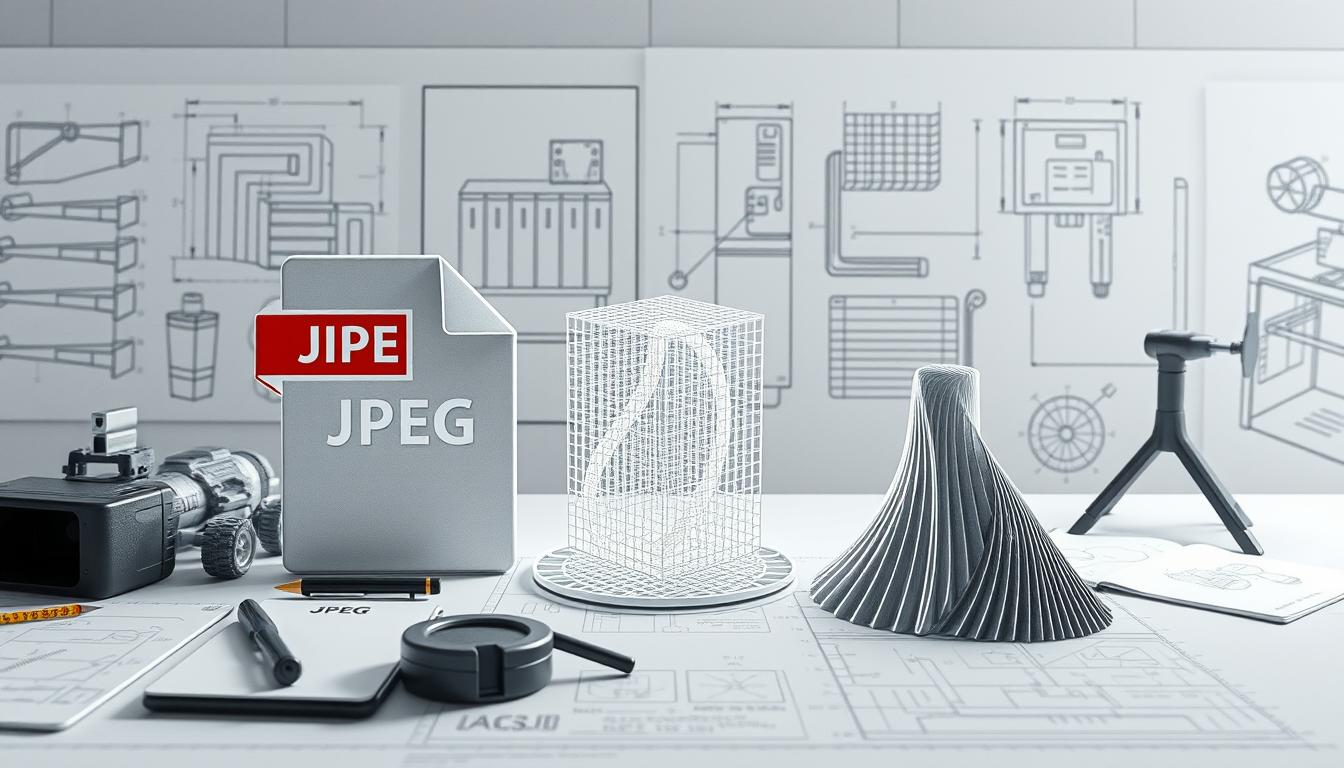
Understanding JPG and STL File Formats
The JPG file format is well-known for photos and graphics. It uses lossy compression to make files smaller without losing too much quality. JPG is great for images needing sharp details and colors.
Many designers and photographers choose JPG. It's good for sharing images because it balances quality and size.
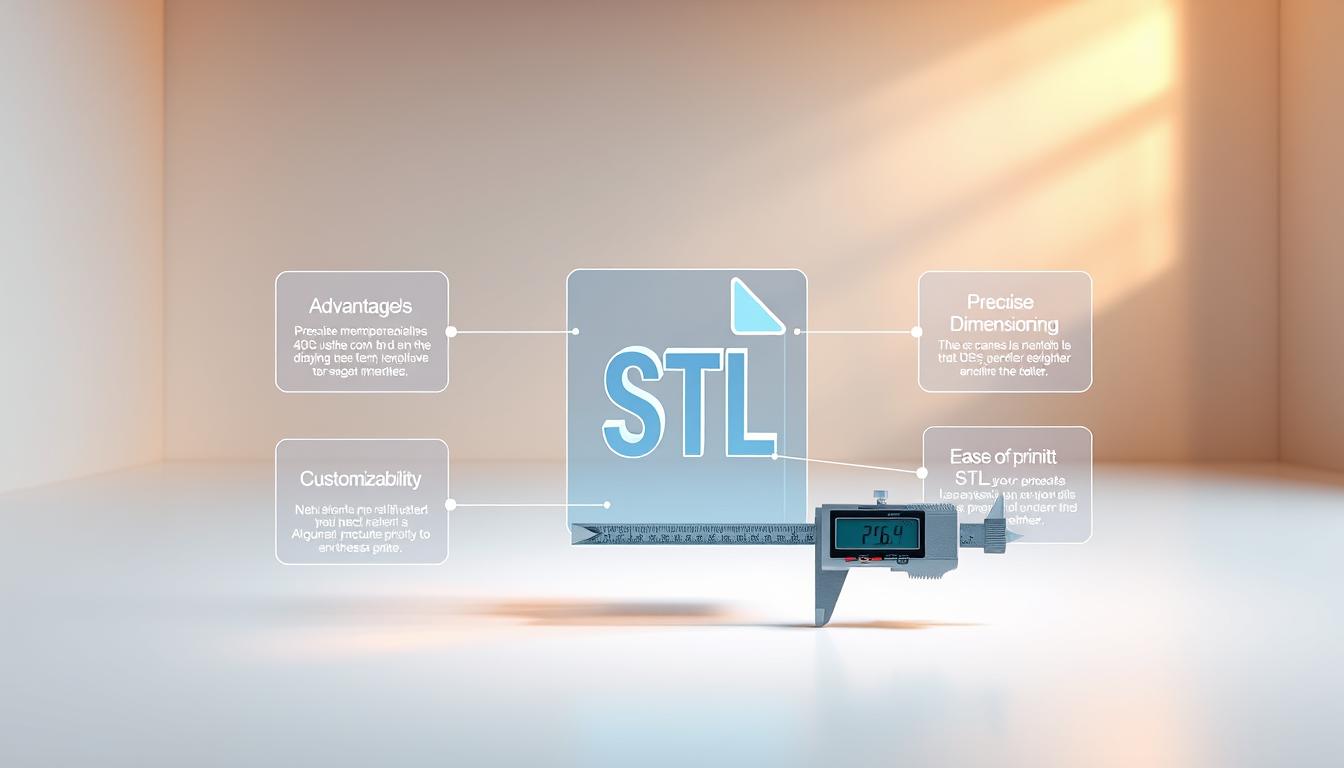
The STL file format is key for 3D printing. It was made by 3D Systems in 1987. STL breaks down 3D models into triangles.
STL files only show the shape of objects, not colors or textures. This makes them small and efficient for printing. But, they can be tricky to handle because of their detail.
Knowing about image formats for 3D printing is important. Each format has its own special features. Understanding these helps make better choices when creating and printing.
The Benefits of Creating STL Files from Images
Turning images into STL files opens up new creative doors. People can make 3D models from photos, designs, or logos. This lets them create special objects like trophies and collectibles.
It's not just for fun. It also helps in making educational tools and prototypes. Hobbyists and pros can make unique items or parts for different industries.
Best results come from high-quality images with clear lines. Sites like ImageToSTL.com make it simple to turn images into STL files. This makes it easy for anyone to start and learn about 3D modeling.
Traditional Methods of Converting Images to STL
Old methods for changing JPG images into STL files needed many steps. First, users would turn JPGs into SVGs using tools like Tinkercad. This was key for images with strong contrasts, getting them ready for 3D models.
This method was slow and needed a lot of skill in vector editing. Newbies found it hard, needing lots of patience and skill with different graphics formats.
New tools like Meshy have made things easier. They let users skip the SVG step, making the whole process faster.
It's important to start with a good image. Images with clear contrasts and solid backgrounds work best. Meshy shows a 3D model preview in just a minute, helping make final changes.
Quality images are key in traditional methods. They should be clean and free of shadows or distortions. Now, with simpler tools, converting images to STL is easier.

How to Create STL File from JPG
To make an STL file from a JPG, start by picking the right image. The quality of your 3D model depends on the image. Choose high-resolution JPGs with clear contrasts for the best results.
Make sure your image has a solid background. Then, use the right tools to convert your image into an STL file.
Choosing the Right Image for Conversion
Always pick high-resolution images. Clear images help make better STL models. Stay away from images with transparency or too many details.
It's good to simplify your image. Remove any background details you don't need. This makes your 3D model cleaner and more accurate.
Tools Required for the Conversion Process
Many tools can help you convert images to STL files. You might need basic image editing software first. Online platforms like Meshy make the process easy.
These tools let you convert many images at once. You can upload files up to 100MB. JPG images should be no bigger than 600x600 pixels. With the right tools, you can create a great 3D model quickly.
Converting 2D Images to STL Using Meshy: A Step-by-Step Guide
Turning 2D images into STL files is easy with Meshy. This tool makes it simple in just a few steps. You can make amazing 3D models without needing to be a tech expert. Follow this guide to make stunning 3D files from your favorite images.
Step 1: Select the Right Image for Conversion
Start by picking a high-resolution image. It should have clear contrasts and distinct features. Choose images with solid-colored backgrounds for better print quality and easier conversion.
Step 2: Upload the Image to Meshy
After picking your image, upload it to Meshy. This step takes about one minute, depending on the image's complexity. You can make up to four adjustments to refine your model. This is helpful if the first results aren't perfect.
Step 3: Adjust Settings for Optimal Results
Adjusting settings in Meshy is key for the best results. You can set the STL file thickness to 6mm as a standard. You can also change the polycount and topology to improve your model. Using high-resolution images adds more detail to your final model.

| Parameter | Recommended Setting |
|---|---|
| Image Quality | High Resolution |
| Background | Solid Color |
| Thickness | 6mm |
| Conversion Attempts | Up to 4 Free Adjustments |
| Time Taken | Approximately 1 Minute |
Previewing Your 3D Model for Quality Assurance
After turning your image into a 3D model, it's key to preview your 3D model for quality checks. This step makes sure all important details are there and the model looks right. Tools like Meshy offer different views to deeply check your model.
Using a 3D preview can greatly cut down on printing mistakes. Studies show that previewing before printing can cut error rates by almost 50%. This check is vital as it saves time and money, often up to 30% of printing costs.
Users can play with their models by rotating, zooming, and changing colors. These options make users happier and more involved.
Quality assurance in STL files is not just about looks; it's also about how accurate the model is. Using tools with real-time previews boosts your confidence in the final product. When previewing, also check the bounding box dimensions and volume for a full model understanding.
Downloading and Exporting Your STL File
Once the 3D model is ready, users can download the STL file from software like Meshy. This step turns digital designs into real objects. When exporting, it's important to consider settings like model height and mesh count for better print quality.
Different CAD programs have their own ways to export STL files. Some let you pick a file location, while others have drop-down lists. You can also adjust triangle numbers for more detail using settings like Refinement.
In Rhinoceros, there are two ways to export STL files, showing the software's flexibility. Sketchup, on the other hand, needs a special plug-in for STL export. You can tweak settings like Deviation and Angle sliders before saving the STL file.
Exporting STL files correctly is key for 3D printing. A smooth STL download improves the user experience and the quality of the printed item.
Tips for Successful 3D Printing Post-Conversion
After you convert your JPG to STL, you're ready to print. Some important tips can make the process smoother. The quality of your print depends on good slicer settings and keeping your printer in top shape. Paying close attention to these details can greatly improve your prints.
Optimizing Printing Settings
When setting up your slicer, consider layer height, nozzle temperature, and print speed. For example, a 0.1 mm layer height can bring out great detail, like in lithophanes. But, for bigger or thicker prints, you might need to adjust these settings.
It's crucial to test different settings to get the best results. For instance, a 2 mm Z depth lithophane can show about 20 shades of grey with a 0.1 mm layer height.
Maintenance and Equipment Care
Keeping your printer well-maintained is key to consistent quality. Make sure the bed is level and the nozzle is clean before printing. The type of filament you use also matters, so choose high-quality ones for better prints.
Regularly check your printer and clean it of dust or debris. This can prevent problems during printing.
Troubleshooting Common Issues During Conversion
When you convert JPG files to STL, you might face some common problems. Knowing how to fix these issues can make your 3D printing better. You might see blurry or distorted details and non-manifold edges. It's important to solve these problems to get great prints.
Addressing Blurry or Distorted Details
Blurry or distorted details usually come from low-quality images. To avoid this, use high-resolution images with solid backgrounds. The more dots per inch (DPI) your image has, the clearer your prints will be. This helps fix STL conversion problems and keeps all details sharp in your model.
Resolving Print Issues with Non-Manifold Edges
Non-manifold edges can really mess up your prints. This happens when more than two faces meet at the same edge. It's hard to know what the designer meant. Make sure edges are right and use tools like Blender to fix mesh problems.
Learning about common issues, like those found at this link, helps you spot and fix these problems early.
Conclusion
This guide has shown how to turn JPG images into STL files. It highlights the benefits of making 2D images into 3D models. Tools like Aiseesoft and MiConv help keep the image quality high and make printing easier.
STL files are great for 3D printing because they are small and precise. This makes them perfect for creating unique designs. Whether you're a pro or just starting, you can make amazing things.
Follow the steps in this article and use the right tools to start 3D printing. Let your imagination run wild and share your creations!
FAQ
What is the difference between JPG and STL file formats?
JPG is used for images and is good for photos and designs. STL is for 3D printing and shows 3D models to printers.
How can converting JPG images to STL files benefit me?
Converting JPG to STL lets you make 3D models from photos, logos, or art. You can use these models for gifts, trophies, or prototypes. It makes your projects more personal.
What tools do I need to convert JPG images to STL files?
You can use Meshy for direct conversion, or image editing software. Online platforms also work for simple projects.
How do I choose the right image for conversion to STL?
Pick high-resolution images with clear contrasts and solid backgrounds. This helps in better 3D modeling and printing.
What are some common challenges users face when converting images to STL?
Issues like blurry details come from low-quality images. Non-manifold edges can also cause problems. Use high-resolution images and tools like Blender for fixes.
After creating my STL file, how do I prepare it for 3D printing?
Optimize slicer settings for your STL file. Focus on layer height, nozzle temperature, and bed leveling. Keep your printer in good shape and use quality filament for better prints.
Can I edit the 3D model after converting from JPG to STL?
Yes, you can edit the 3D model with software like Blender. This lets you refine and customize it before printing.
Is there a recommended resolution for my JPG images before conversion?
Use high-resolution images for clear details. Solid-colored backgrounds make conversion easier.

Generate anything in 3D
Click below to Join Millions of 3D Creators. Try ultra-high fidelity model generation and best-in-class pbr texture.