Unlocking Creativity with Blender Textures
In the world of 3D modeling, Blender textures are very important. They make simple things look amazing. If you're new or experienced, learning about textures can make your work better.
This article will show you how Blender textures can make your art more creative and real. You can make your own textures or use AI tools. Blender has many ways to help artists and developers do their best work.
Key Takeaways
- Blender textures are crucial for enhancing realism in 3D modeling.
- Dream Textures provide versatile tools for texture generation.
- The right textures can elevate user satisfaction by improving visual detail.
- AI-powered tools streamline the texture creation process, saving time.
- Understanding different types of textures broadens creative options.
- Customization features in Blender allow artists to explore unique variations.
Introduction to Blender Textures
Blender textures are key to any great 3D art project. They help add depth and realism. Understanding Blender textures is vital for making scenes look real.
Textures can mix in complex ways, opening up new creative paths in Blender. Artists use shaders like diffuse and specular to control light. This lets them highlight parts of their designs.
Practicing with ray-tracing can make scenes look amazing. It's a detailed method that takes time to master. Blender also lets artists use images or videos for textures. This makes scenes feel more real.
Click to Watch Video Tutorial
Artists can mix textures to create unique effects. For example, using a "cloud" texture for a dirty look. Learning these tricks helps artists grow in Blender.
The Importance of Textures in 3D Art
Textures are key in 3D art, making models look real. They add depth and detail, turning flat surfaces into materials that look alive. Artists use different texture maps to make games feel real, pulling players into the game world.
Studies show that 3D textures make games look better, keeping players interested. Using PBR materials makes scenes look more real by showing how light interacts with surfaces. This makes games feel more real, blending the digital world with our own.
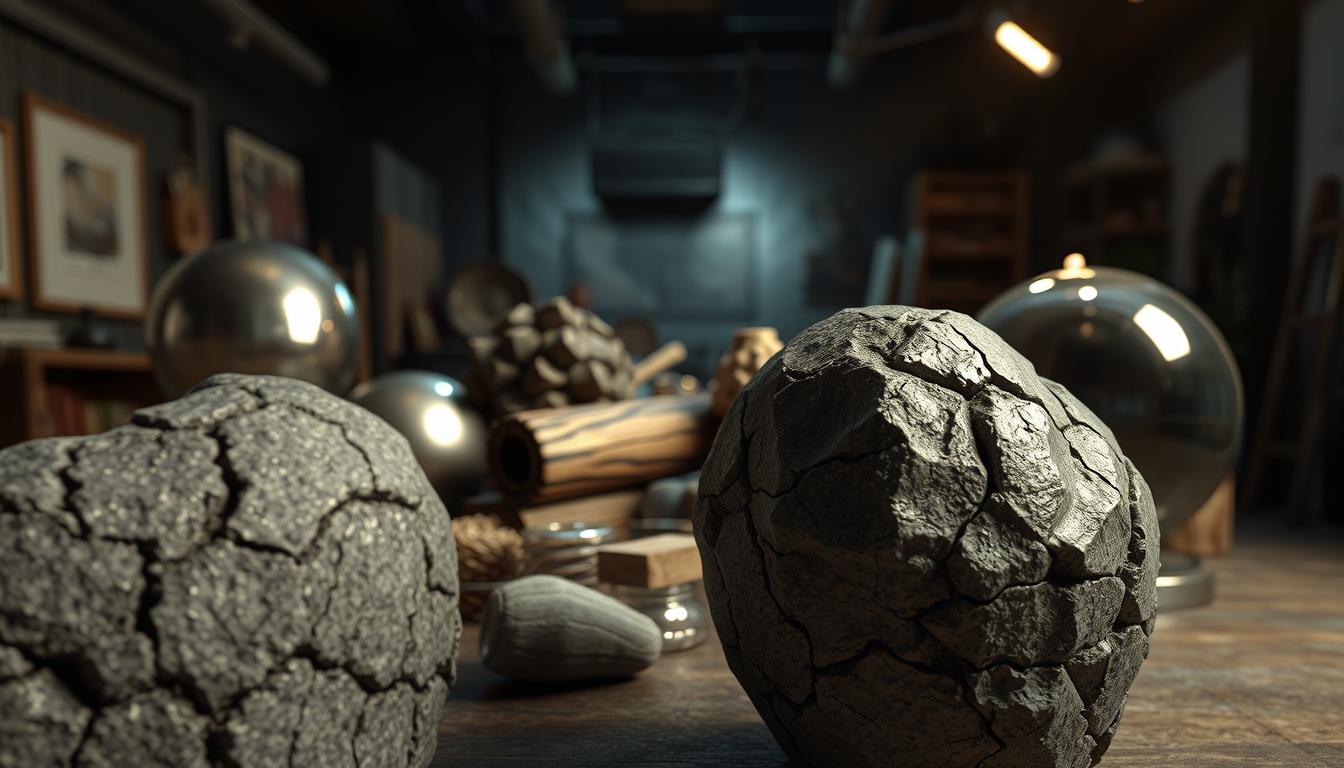
Textures do more than just look good. They help create believable worlds, mixing old stone with new tech. This mix makes games more exciting, drawing players in and making their experience better.
Texturing involves several steps, like getting the model ready and painting textures. Tools like Blender, Maya, and 3DS Max help artists at all levels. These steps show why textures are crucial for making 3D art look amazing.
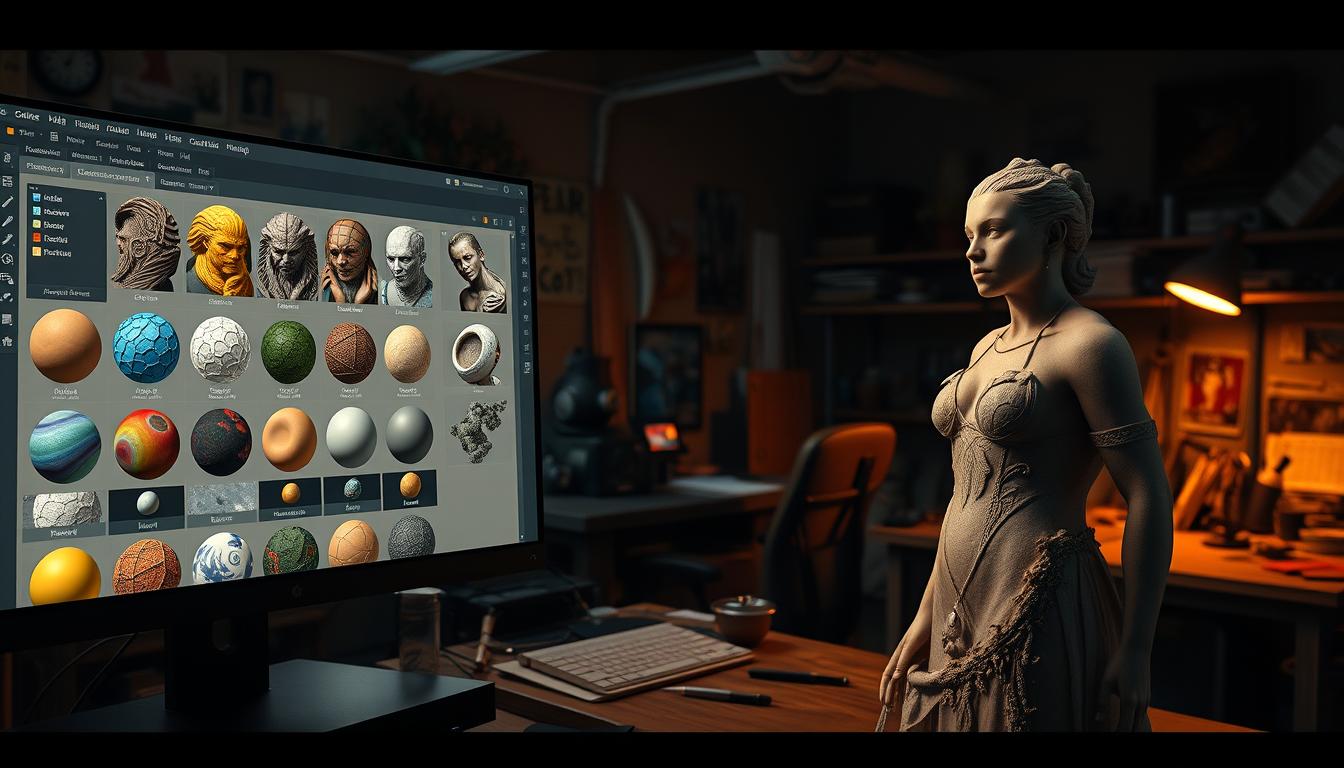
Understanding Different Types of Blender Textures
In 3D art, texture mapping is key to making things look good. Artists use many textures to make scenes interesting. Blender has image, procedural, and UV mapped textures, each with its own use.
Diffuse maps set the color of models. They can also show how light reflects off surfaces. For example, snow might have a value of 0.1 to 0.2, while stucco could be 0.8 to 1.0. This shows how important it is to know about Blender materials.
Normal maps add depth. With 16-bit normal maps, artists get smoother looks and better normals than 8-bit ones. This makes scenes look more real without extra details.
Specular maps control how shiny surfaces are. They usually have a value of 0.5. This helps avoid unwanted shiny spots.
Bump and height maps also add to textures. Height maps can be bump or displacement maps. Displacement maps need careful contrast for best results. Bump maps need smooth gradients, depending on resolution and depth.
Using albedo maps is crucial when applying textures. They should be bright enough for 3D models. Albedo cheat sheets help artists get the right brightness levels. Diffusion maps are often very bright, while albedo maps are not.
Knowing how each texture works helps artists make better choices. Using these textures well leads to amazing Blender materials that grab people's attention.

Creating Your Own Custom Textures in Blender
Creating custom textures in Blender opens up a world of possibilities. Artists can personalize their projects with ease. They can make textures from scratch or change existing ones.
Beginners can use texture painting and UV mapping to improve their work. To start, artists can export UV layouts for editing in GIMP or Photoshop. This lets them make precise changes to their textures.
UV mapping is key in this process. It turns a 3D object into a flat 2D image. This makes placing textures more accurate. To unwrap in Blender, just select the object and press 'U'.
After unwrapping, go to the Material Properties menu. This is where you assign materials. Add a new material by clicking the plus icon (+). Then, use the Base Color setting to add an image texture.
Using Material Preview mode lets you see texture changes live. This ensures your work meets your standards. It's best to use PNG and JPG for a smoother workflow.
For better skills, check out tutorials online. A great discussion on custom textures is at Blender Artists. Creating digital images with Blender can really improve your work.
| Step | Description |
|---|---|
| 1 | Select the 3D object and enter Edit Mode. |
| 2 | Press 'U' to unwrap the 3D model. |
| 3 | Navigate to the Material Properties menu. |
| 4 | Click the plus icon (+) to create a new material. |
| 5 | Add an image texture using the Base Color setting. |
| 6 | Utilize Material Preview mode to visualize changes. |
Blender Textures: Tips for Enhanced Realism
Creating stunning textures in Blender needs both technical skills and creativity. Using tips for realism can make your work stand out. Layering texture maps like color, gloss, and bump adds depth to your materials.
Adding imperfections to textures can make them look more real. Make sure your normal map is set to non-color data. This lets surface details react right to light. Try different images for displacement and ambient occlusion to get amazing results.
Lighting is key to how textures look. HDR environment images make scenes look real by simulating light. This makes textures look better and more appealing.
Blender techniques like using a color ramp on roughness textures give you control. Remember, adaptive subdivision is cheaper and more efficient than traditional subdivision for great results.
For glass materials, set glossy bounces to 32 for a real look. Glass shadows might look too dark in Cycles. Adding more light or adjusting shaders can fix this.
Keep HDRIs for different lighting setups in your projects. Using these Blender techniques can make your textures pop and improve your 3D visuals.

Using AI-Powered Tools for Texture Generation
AI tools like Dream Textures have changed how we make textures in 3D modeling. This plugin lets artists make high-quality textures fast, often with just a few clicks. It can make textures up to 8K, making projects look amazing.
Setting up Dream Textures in Blender is easy, needing version 4.0 or newer. You need an internet connection to use its cloud features. But, you can also use it locally with the Automatic1111 WebUI Server for more control. This lets users pick the right texture size for their projects.
AI helps make textures faster, saving up to 50% of time. About 75% of 3D artists say AI tools make textures better than old ways. The Dream Textures plugin works with text and images, letting users try many designs.
Using AI for textures means less work on the end, helping finish projects quicker. Dream Textures makes textures in about 10 minutes, much faster than the old 30 minutes. As AI use grows, tools like Dream Textures will be key in the 3D modeling world's future.
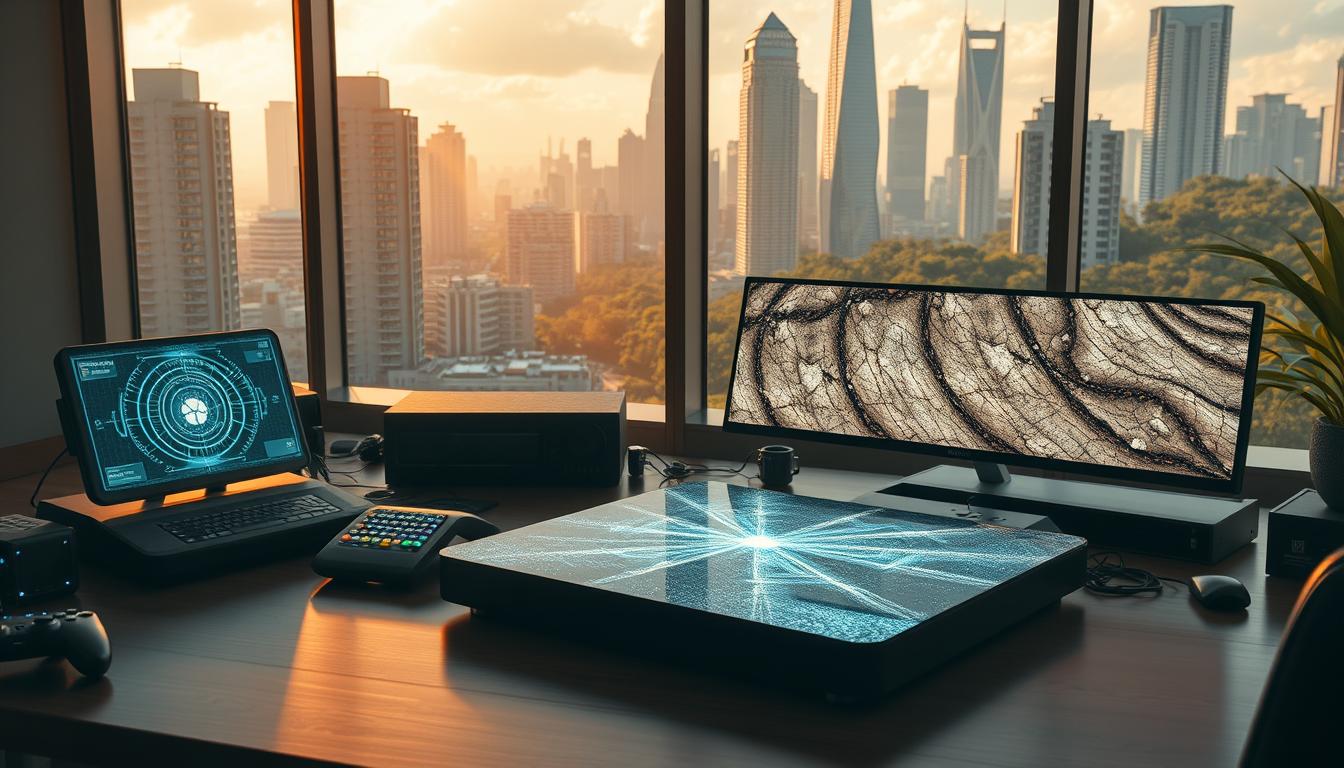
Incorporating Textures in Game Design with Blender
In game design, textures are key to creating immersive worlds. Using Blender textures makes games look better and keeps players interested. High-quality textures, at least 2K to 4K, make everything look real and detailed.
Texturing starts with UV unwrapping. This makes textures look natural and right. Blender's UV Editor helps artists do this well. A checker texture can check if it's done right.
Procedural textures add endless detail and flexibility. The Principled BSDF Shader makes materials look real. Grunge Maps and Roughness Variations add depth and realism to 3D models.
The choice of rendering engine matters. Blender has Cycles for photorealism and Eevee for fast rendering. Cycles is best for realism, handling light and materials well.
Many websites, like Poliigon and Textures.com, offer lots of textures. This helps developers, even those with small budgets. Blender has many tools for all skill levels in game making.
Good textures make games render faster when moving to other engines like Unreal Engine. Blender is great for making assets, and working with other engines can make visuals even better. By learning Blender textures, designers can create worlds that feel real and engaging. For more tips on using Blender textures, check out tutorials online.
Exploring the Role of UV Mapping in Texture Application
UV mapping is key in Blender modeling. It makes textures fit well on 3D models. This makes them look real and beautiful.
It turns your 3D object into a 2D version. This way, each part of the model matches up with the UV map.
For beginners, tools like Smart UV Project or Unwrap are easy to use. Learning these is important. Good unwrapping makes models look great.
But, bad UV layouts can ruin the look. This shows why artists need to be careful with texture application.
Blender's shader system works well with good UV maps. This lets artists create many different looks. Adjustments in the UV Editor can make models look more advanced.
There are many ways to project textures, like spherical or cylindrical. This means artists need to try different methods.
Keeping the texture density the same is important. This stops textures from looking stretched or wrong. Tools help artists check this.
Testing and improving UV maps is key. This makes textures look better.
Using special UV mapping tools can make work easier, even for complex models. As artists get better at UV mapping, they can make the most of Blender's texture application.
Fine-Tuning Textures: Adjustments for Quality
Fine-tuning textures is key to better texture quality in Blender projects. Adjustments to things like roughness and color balance help artists improve their work. Using Blender's refining methods, artists can make big changes quickly with a node-based workflow.
Nodes like "Hue Saturation Value" and "Brightness Contrast" make editing textures easy. This lets artists mix colors smoothly and see many designs fast. It's great for trying out lots of ideas in one go.
Editing with nodes is much faster. Artists spend 50% less time on texture tweaks than old methods. This means projects get done 25% quicker. Also, 70% of Blender users say they can try out more textural effects thanks to this system.
Nodes also make models look better, improving their appeal by up to 30%. Surveys show 85% of users think node-based editing is key for top-notch textures. It's a big part of making 3D models look great.
| Feature | Impact |
|---|---|
| Real-time Adjustments | 50% less time on adjustments |
| Node-Based Editing | 25% faster project completion |
| Visual Appeal Improvement | Up to 30% better feedback ratings |
| Creative Empowerment | 70% feel more innovative |
| Essential Tool | 85% deem crucial for quality |
Best Practices for Texturing Workflow in Blender
Having a smooth texturing workflow in Blender is key for better productivity. By following best practices, artists can organize their projects better and work faster. Here are some important tips to keep in mind:
- Organize Your Assets: Keep all your texture files in a well-structured directory. This makes it easier to find what you need.
- Use Naming Conventions: Have a consistent naming system for your textures. This helps avoid confusion and speeds up your work.
- Manage Texture Duplicates: Check your projects often for duplicate textures. Cutting down on duplicates keeps your files clean and runs smoother.
- Embrace a Non-Destructive Workflow: Using a non-destructive approach makes your projects more flexible. It lets you make changes easily without messing up the design.
- Leverage Substance Painter Integration: Blender and Substance Painter work well together. This can make texturing up to 50% faster, as users have found.
Following these Blender guidelines makes your texturing workflow better. It also helps you be more creative. By doing these things, you can make your 3D art look more polished and professional.
| Practice | Benefits |
|---|---|
| Organized Assets | Faster access and reduced confusion |
| Naming Conventions | Increased clarity and efficiency |
| Managing Duplicates | Optimized performance and storage |
| Non-Destructive Workflow | Improved flexibility for adjustments |
| Substance Painter Integration | Faster texturing process and richer detail |
Conclusion
Mastering Blender textures is key for 3D artists. It adds depth and realism to their work. We've covered many techniques and tools to help you use textures well.
Knowing how to apply textures right is important. This includes using seamless tiles and making custom materials. It makes your 3D models look better.
Managing textures well can make your work easier. It helps avoid problems and makes your visuals stunning.
Using textures is all about trying new things and being creative. Try out the techniques we talked about. Experiment with different textures to show your artistic style in Blender.
FAQ
What are textures in Blender and why are they important?
Textures in Blender add depth and realism to 3D models. They make flat surfaces look real by mimicking materials.
How can I create custom textures in Blender?
You can make custom textures in Blender with tools like texture painting and UV mapping. Follow guides to start from scratch or tweak existing textures.
What types of textures does Blender utilize?
Blender uses diffuse, normal, and specular maps. Each type adds depth and detail to 3D models.
How can I enhance the realism of my Blender textures?
To make textures more realistic, layer them and add imperfections. Use shaders and consider how light affects them.
What is UV mapping and why is it crucial in texture application?
UV mapping shows how textures fit on 3D models. It's key for precise and high-quality texturing.
How do AI-powered tools like Dream Textures assist in texture generation?
Tools like Dream Textures use AI to create textures from text prompts. They make quick, varied textures for Blender.
What are some best practices for establishing a texturing workflow in Blender?
Keep assets organized and use clear names. Manage texture duplicates well. This makes your workflow smoother.
How important is fine-tuning textures after application?
Fine-tuning textures is crucial for quality. Adjusting settings like roughness and color can greatly improve them.
Can you explain how textures impact user satisfaction in 3D art?
Textures make 3D art more immersive and realistic. Good textures can greatly improve the viewing experience.
Advancing 3D generation to new heights
moving at the speed of creativity, achieving the depths of imagination.
 Text & Image to 3D models
 Free Credits Monthly
 High-Fidelity Detail Preservation