How to Easily Convert FBX to USD: 5 Web-Based Workflows for Seamless 3D Integration
In today's evolving 3D ecosystem, converting files between formats has become essential for creators. The transition from fbx to usd formats has gained particular importance as Universal Scene Description (USD) establishes itself as the emerging standard for 3D data interchange. This comprehensive guide explores web-accessible methods to convert your FBX files to USD, ensuring you maintain quality while navigating this critical workflow.
Why Convert FBX to USD?
FBX (Filmbox) has long been the industry standard for exchanging 3D assets between applications. However, USD (Universal Scene Description) offers significant advantages:
- Compositional architecture allowing non-destructive layering of scenes
- Enhanced collaboration capabilities for teams working on complex 3D projects
- Growing adoption by major platforms including Apple's AR ecosystem, game engines, and visualization tools
- Optimized performance for large-scale scenes and real-time applications
Converting fbx to usd often becomes necessary when preparing assets for AR applications, modern game engines, or collaborative 3D pipelines.
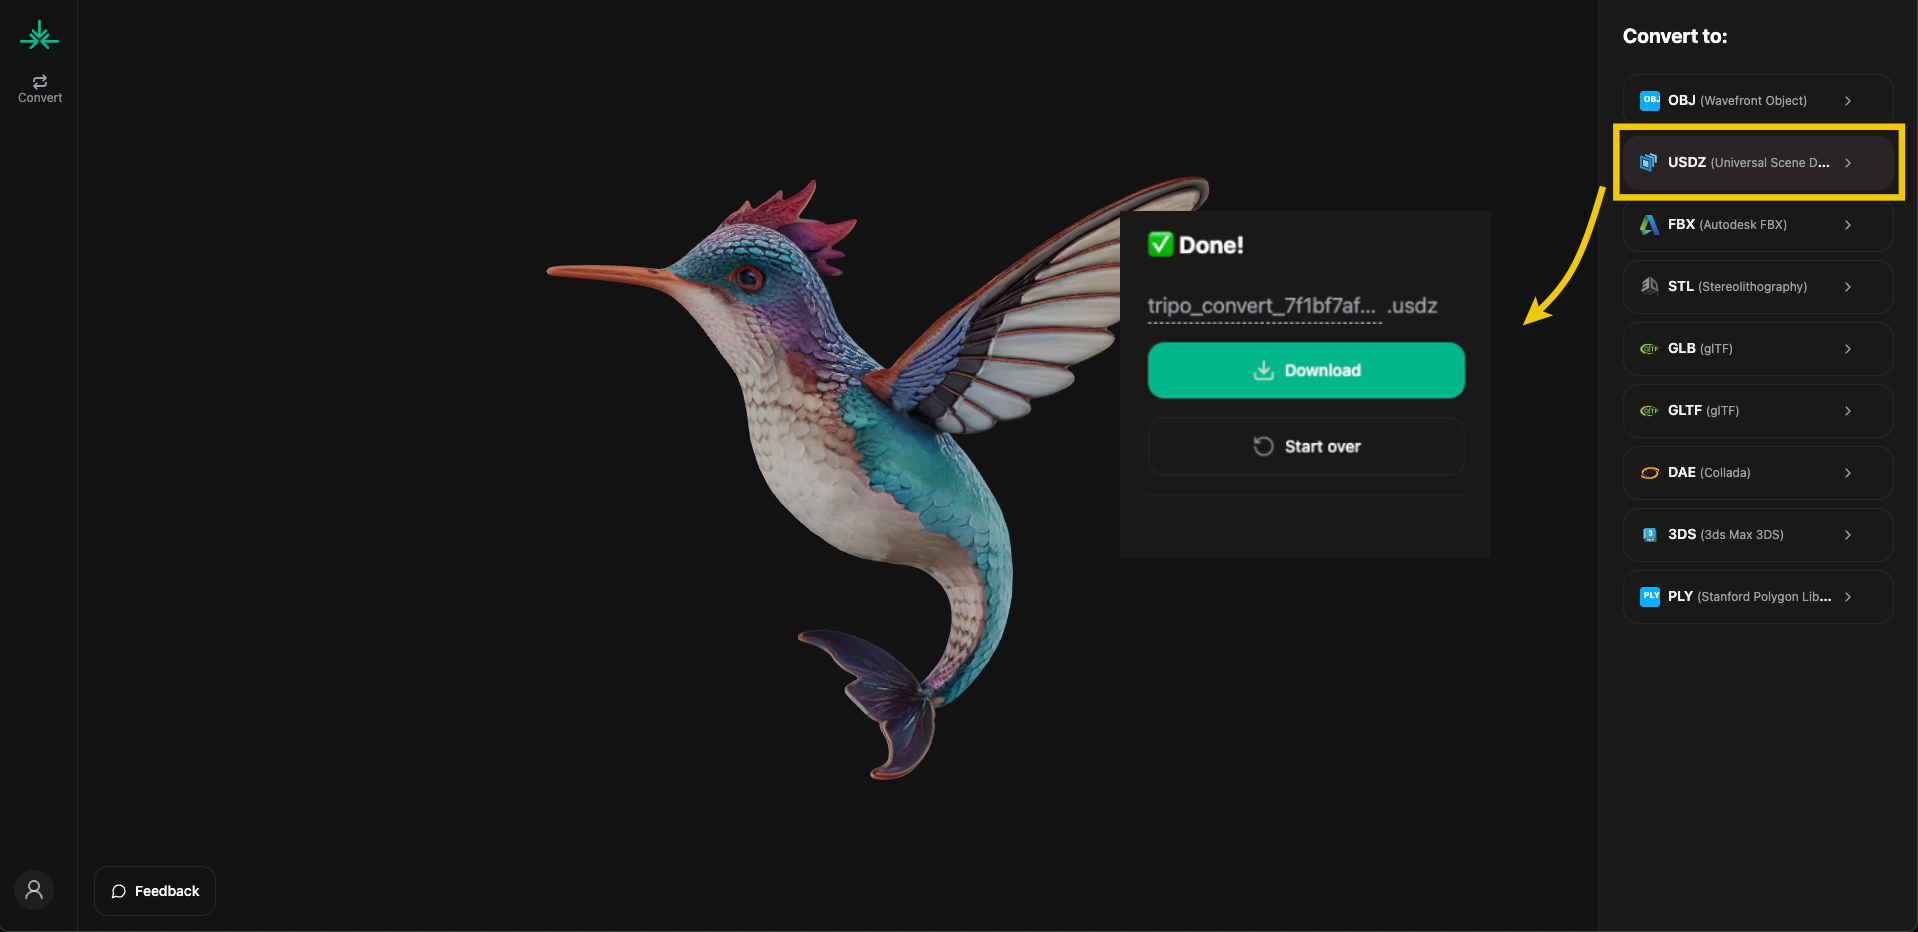
Understanding USD Variants: Choosing the Right Format
Before diving into conversion methods, it's important to understand the USD format variants:
- USD/USDA (.usda) - ASCII text format, human-readable and ideal for debugging
- USDC (.usdc) - Binary format optimized for performance
- USD (.usd) - Generic extension representing either ASCII or binary
- USDZ (.usdz) - Packaged format primarily for AR applications, especially on Apple platforms
Your choice depends on your target application—USDZ for AR experiences, USDC for production pipelines, or USDA for easier editing and inspection.
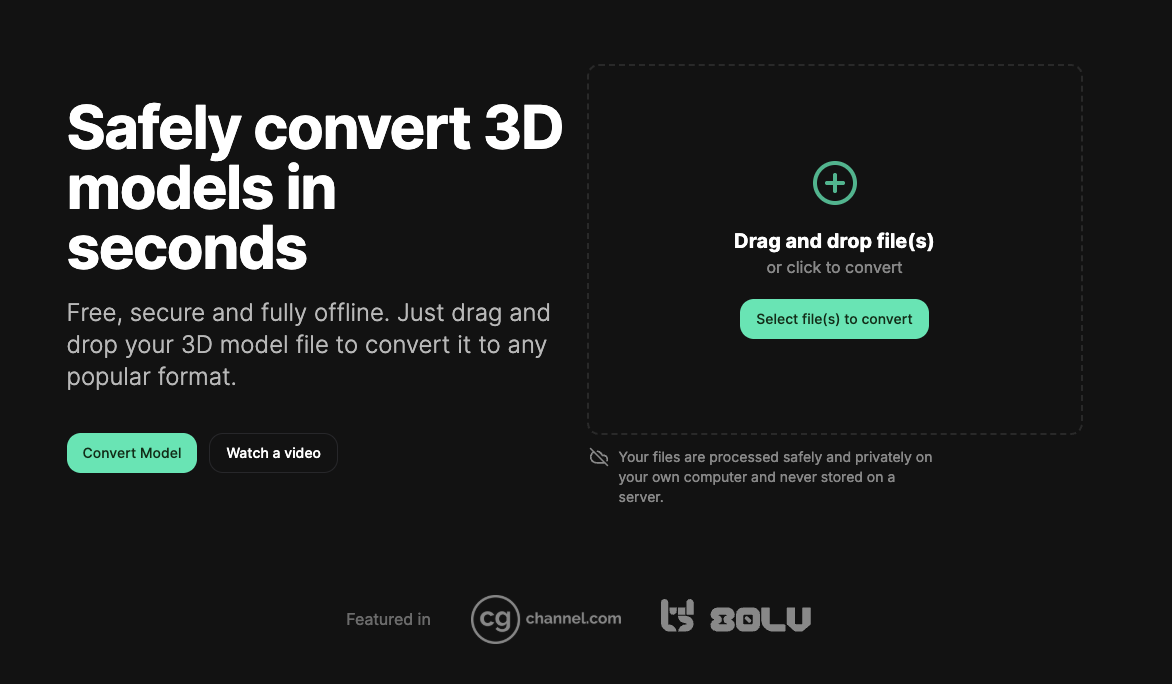
Start With Tripo AI for Direct USD Creation
Before exploring conversion methods, consider that Tripo AI Studio offers a more efficient approach for new 3D models.
Why Choose Tripo AI for USD Generation
Tripo AI creates high-quality 3D models from text or images with direct export to multiple formats including USD, FBX, GLB, OBJ, STL, and 3MF. This approach provides:
- One-click USD export without conversion steps
- Optimized topology specifically for USD requirements
- Ready-to-use PBR materials with proper USD compatibility
- Correctly mapped UVs following USD standards
For new projects needing USD assets, generating them directly through Tripo AI produces better results than conversion workflows while saving valuable time. Only use conversion methods for existing FBX files that cannot be recreated.
Five Web-Accessible FBX to USD Conversion Methods
Online File Converters
Several web platforms offer direct fbx to usd conversion without requiring software installation.
How to use Convert3D.org:
- Visit Convert3D.org
- Upload your FBX file through the browser interface
- Select USD or USDZ as your output format
- Process the conversion
- Download your converted file
Pros:
- No software installation required
- Quick results for simple models
- Accessible from any modern browser
Cons:
- Limited control over conversion parameters
- May not preserve complex animations or materials
- File size limitations
- Variable quality depending on model complexity
Best for: Quick conversions of relatively simple models with basic materials when convenience is the priority.
Cloud APIs and Developer Solutions
For more robust conversions, especially in production environments, cloud APIs offer programmatic access to conversion capabilities.
Using Aspose.3D Cloud API:
- Register for an Aspose Cloud account
- Obtain API credentials
- Upload your FBX file to cloud storage
- Make an API call to the conversion endpoint
- Set conversion parameters including output format (USD, USDA, USDC, or USDZ)
- Download the resulting file
Code example (Python):
import requests

#Authentication

auth_url = "https://api.aspose.cloud/connect/token"
auth_data = {"grant_type": "client_credentials","client_id": "YOUR_CLIENT_ID","client_secret": "YOUR_CLIENT_SECRET"
}
auth_response = requests.post(auth_url, data=auth_data)
token = auth_response.json()["access_token"]

#Conversion request

headers = {"Authorization": f"Bearer {token}","Content-Type": "application/json"
}
convert_url = "https://api.aspose.cloud/v3.0/3d/storage/file/model.fbx/convert"
convert_params = {"outputFormat": "usdz","saveOptions": {"ExportTextures": True,"MaterialConverter": "UsdPreviewSurface"
    }
}
response = requests.post(convert_url, headers=headers, json=convert_params)

#Download converted file...
Pros:
- High fidelity conversion with detailed control
- Supports batch processing
- Preserves complex materials and animations
- Can be integrated into web applications and automated workflows
Cons:
- Requires development expertise
- Typically involves usage-based costs
- Implementation time needed
Best for: Production pipelines, web applications requiring high-quality conversions, and batch processing scenarios.
Web-Based 3D Design Platforms
Several web-based 3D design platforms offer fbx to usd conversion as part of their feature set.
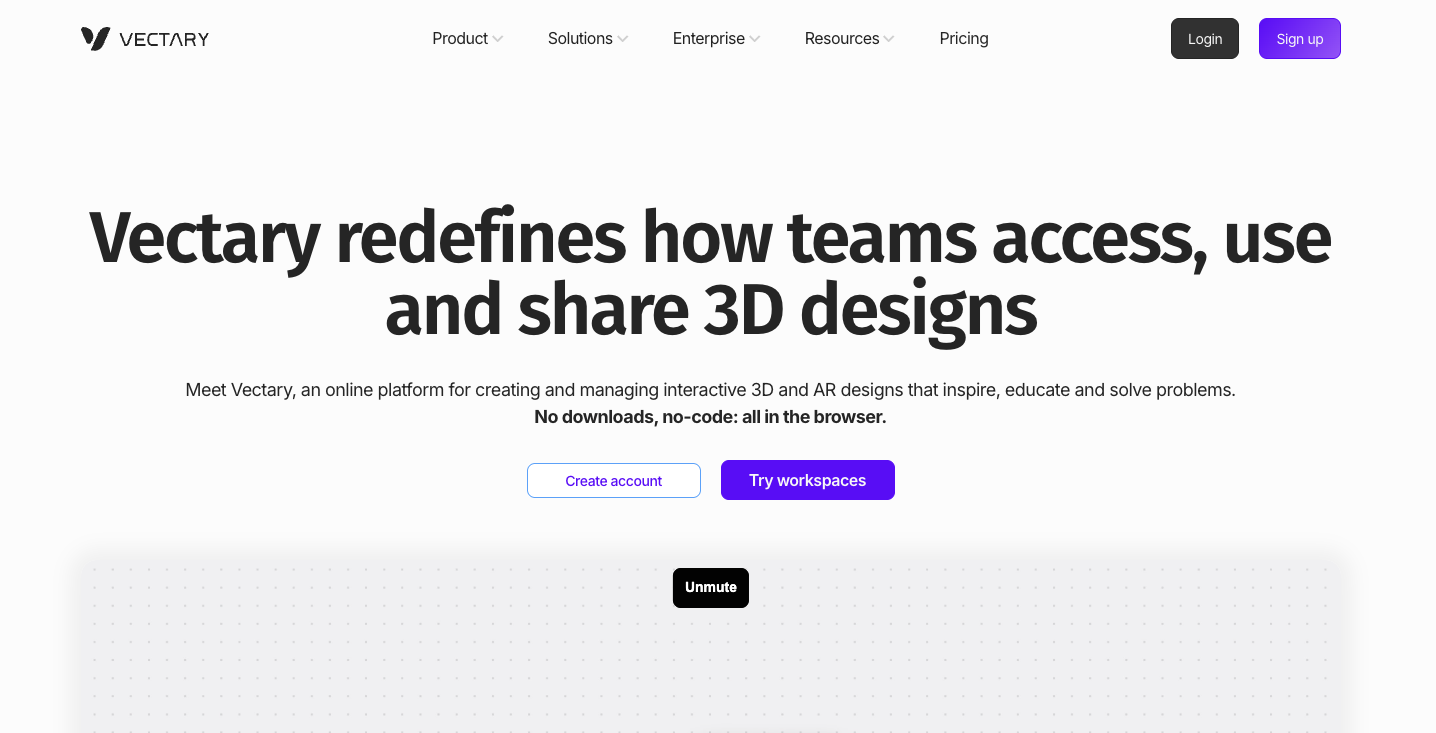
Using Vectary:
- Create an account on Vectary.com
- Import your FBX file into a new project
- Make any desired adjustments to the model
- Export as USDZ format (available in PRO plan)
- Download the converted file
Pros:
- Integrated editing capabilities before export
- Optimization tools for AR experiences
- Preview functionality within browser
- Supports materials and some animations
Cons:
- USDZ export typically requires paid subscription
- Potential limitations on polygon count and texture resolution
- May not preserve all complex animation types
Best for: Designers already working within these platforms or those who need to make adjustments before conversion.
Client-Side WASM Converters: Process FBX Files Locally
Convert fbx to usd directly in your browser using WebAssembly technology—no file uploads or server processing required.
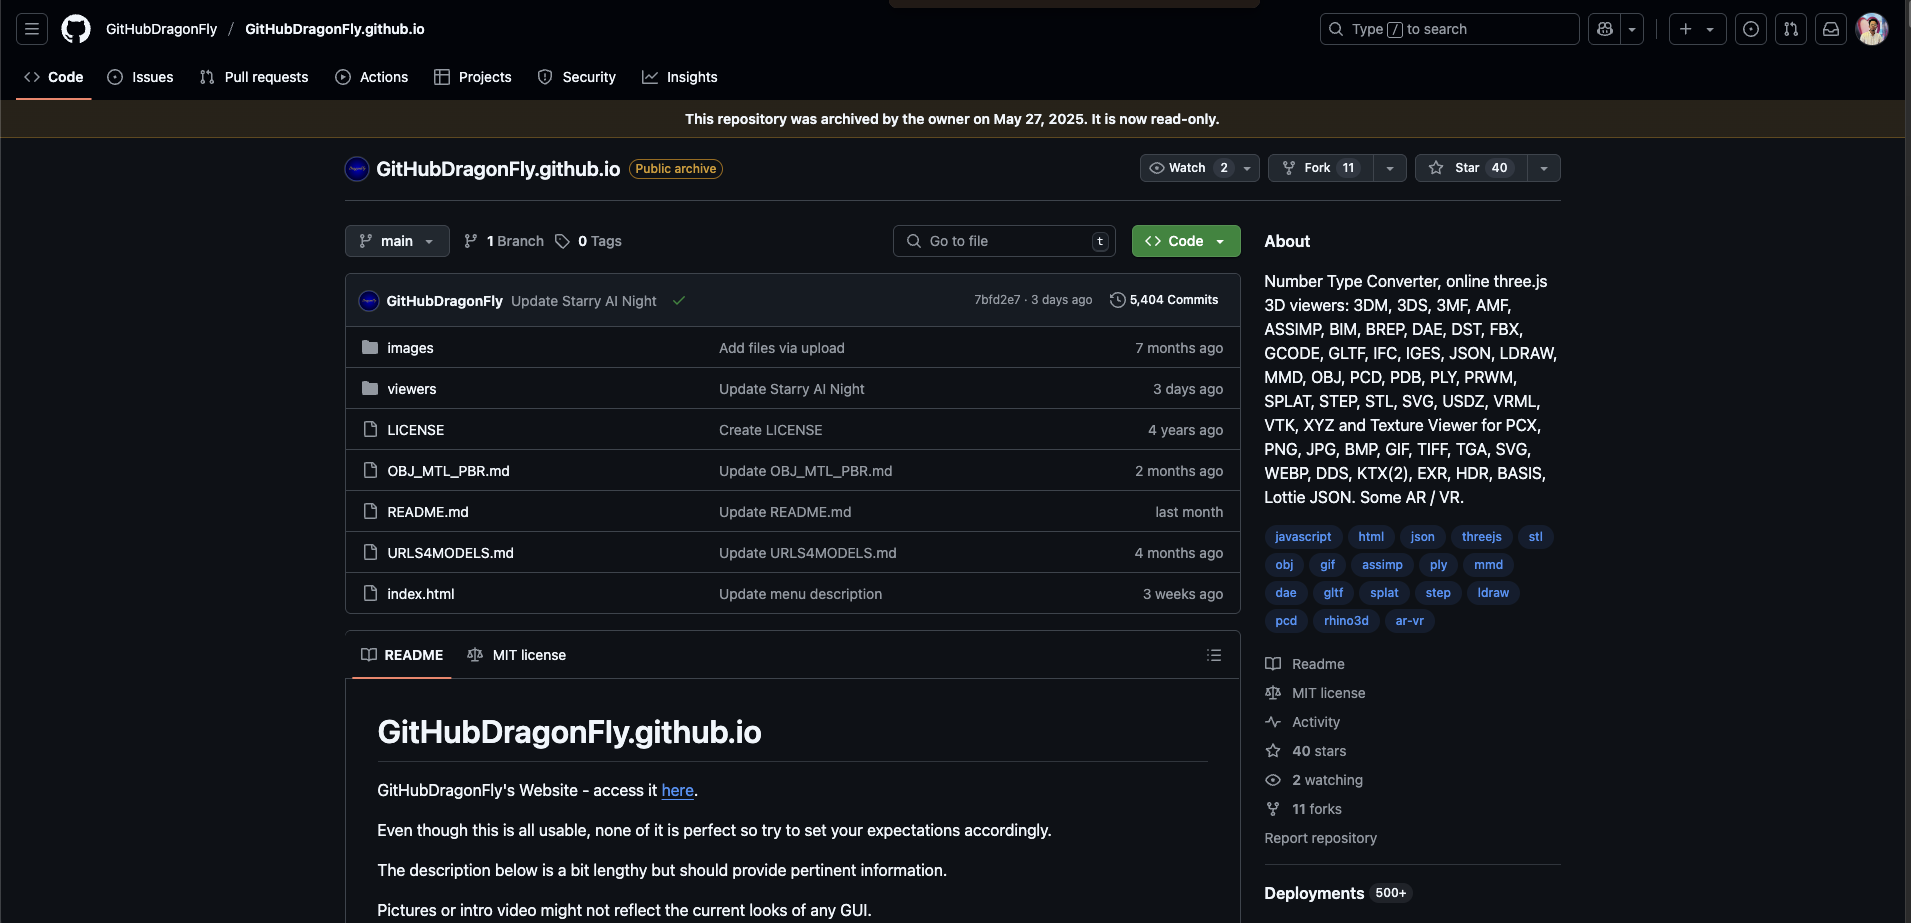
Step-by-Step Guide Using GitHubDragonFly's ASSIMP Viewer:
1. Prerequisites
-
Git:
- macOS:
brew install git - Ubuntu:
sudo apt install git - Windows: git-scm.com
- macOS:
-
Ruby & Bundler (for Jekyll-based sites):
- macOS:
brew install ruby && gem install bundler - Ubuntu:
sudo apt install ruby-full && gem install bundler - Windows: Use RubyInstaller and install MSYS2
- macOS:
2. Clone the Repository
git clone https://github.com/GitHubDragonFly/GitHubDragonFly.github.io.git
cd GitHubDragonFly.github.io
Or use GitHub Desktop: File > Clone repository > Paste URL
3. Run the Site
If using Jekyll:
bundle install ``bundle add webrick # (only if Ruby 3.0+)
bundle exec jekyll serve
Visit: http://127.0.0.1:4000
If it's just static HTML (no Jekyll):
Use a simple web server:
- Python:
python3 -m http.server- Node.js (with live reload):
npm install -g live-server ``live-server
Tips
- Don’t open
index.htmldirectly in your browser — use a local server to avoid loading issues. - If
Gemfileor_config.ymlare missing, use a static server (Jekyll not required).
- NVIDIA Omniverse: Ultimate Solution for High-Fidelity FBX to USD Conversion
For professional-grade fbx to usd conversion that preserves complex materials, animations, and scene hierarchies, NVIDIA Omniverse provides the most comprehensive workflow available.
Step-by-Step Guide:
-
Install NVIDIA Omniverse:
- Download the Omniverse Launcher from NVIDIA's website
- Create or log in to your NVIDIA account (free options available)
- Install Omniverse Launcher and use it to install USD Composer (formerly Create)
-
Launch USD Composer:
- Open Omniverse Launcher
- Navigate to the "Launch" tab
- Select and launch USD Composer from your installed applications
-
Import Your FBX File:
- In USD Composer, locate the "Create" menu in the top navigation
- Select "Import" from the dropdown menu
- Browse to your FBX file location and select it
- The Asset Importer extension will automatically launch
-
Configure Conversion Settings:
- In the Asset Importer dialog, customize your conversion:
- Materials: Choose whether to import materials and textures
- Animation: Enable for FBX files containing animation data
- Coordinate System: Adjust Y-up or Z-up orientation if needed
- Instancing: Enable for optimized memory usage with repeating elements
- Mesh Optimization: Options for normal generation and mesh merging
- In the Asset Importer dialog, customize your conversion:
-
Process and Verify Conversion:
- Click "Import" to begin the conversion process
- Once complete, your converted model appears in the stage
- Review materials, textures, and animations for accuracy
- Use USD Composer's viewport controls to inspect your model from all angles
- Make any necessary adjustments using USD Composer's powerful editing tools
-
Export the USD File:
- Go to "File" > "Export As" in the top menu
- Choose your preferred USD variant:
- .usda for human-readable ASCII format (good for editing)
- .usdc for binary format (smaller file size, better performance)
- .usdz for AR/Apple ecosystem compatibility (packaged format)
- Select export location and configure any additional options
- Click "Export" to save your converted USD file
Key Advantages:
- Superior Material Conversion: Translates FBX materials to MDL (Material Definition Language) with high fidelity
- Animation Support: Preserves complex skeletal animations, blend shapes, and transform animations
- Production-Ready: Creates USD files optimized for professional pipelines
- Real-Time Preview: See exactly how your converted asset will appear in USD-compatible applications
- Collaboration Features: Connect with Omniverse Nucleus for team-based workflows
Pro Tips:
- For batch processing multiple files, explore Omniverse's Python API and scripting capabilities
- Use the Content Browser panel to organize and manage your converted assets
- Enable the "USD Composition" panel to inspect and modify your USD layer structure
- For web distribution, export as USDZ for AR compatibility on Apple devices
- Consider creating USD variants to store multiple representations of your asset
Best for: Production studios, professional 3D artists, and teams working with complex assets who need the highest quality conversion with precise control over the process.
Tripo AI's Native Format Support
It's worth noting that Tripo AI Studio, a popular AI-powered 3D creation platform, supports multiple export formats including both FBX and USD variants. If you're generating models with Tripo, you can often export directly to your desired format without needing a separate conversion step.
Tripo AI's direct USD export capabilities include:
- Clean topology optimized for USD representation
- Properly configured PBR materials
- UV maps already aligned for USD standards
- Options for various USD variants including USDZ
This native support often produces better results than converting between formats after the fact, especially for models generated within the platform.
Best Practices for FBX to USD Conversion
To ensure optimal results when converting fbx to usd, follow these best practices:
- Test thoroughly with your specific assets before committing to a workflow
- Verify material fidelity by comparing textures and shading properties
- Check animation integrity across the full timeline
- Examine mesh topology for any conversion artifacts
- Consider target platform requirements (e.g., polygon count limits for AR)
- Optimize source FBX files by cleaning unnecessarily complex structures
- Use direct export from original tools when possible rather than conversion
- Document your workflow for consistent results across projects
Conclusion
Converting from fbx to usd is increasingly essential as the 3D industry embraces USD as the foundation for interoperable assets and scenes. The five methods outlined above—online converters, cloud APIs, web-based design platforms, client-side WASM solutions, and Omniverse Connect—each offer distinct advantages for different workflows and requirements.
For casual users with simple models, online converters provide convenience and accessibility. Developers and production teams may prefer the robustness of cloud APIs or Omniverse's integrated ecosystem. Those already working within web design platforms like Vectary can leverage built-in conversion capabilities.
As the USD ecosystem continues to evolve and mature, conversion tools will improve in fidelity and ease of use. By understanding the strengths and limitations of each approach, you can select the workflow that best suits your specific needs for fbx to usd conversion, ensuring your 3D assets transition smoothly into this powerful format.
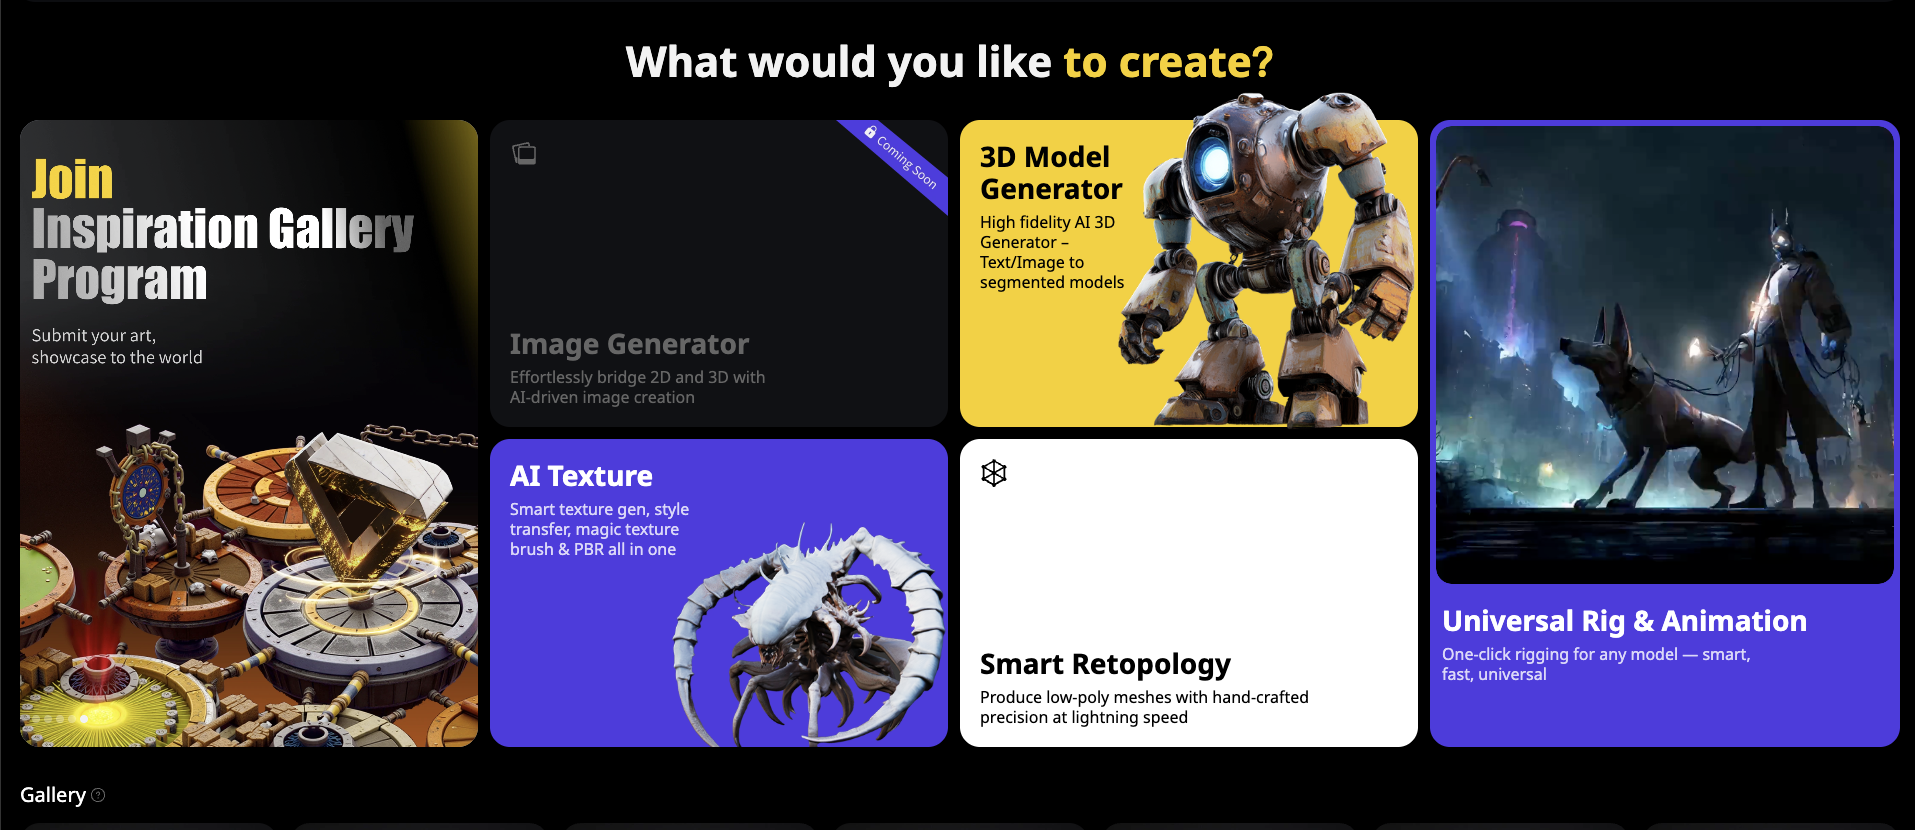
Advancing 3D generation to new heights
moving at the speed of creativity, achieving the depths of imagination.
 Text & Image to 3D models
 Free Credits Monthly
 High-Fidelity Detail Preservation