7 Powerful Texture Painting Add-ons for Blender: Upgrade Your 3D Texturing Workflow
Are you tired of bouncing between different software just to create stunning 3D textures for your Blender projects? The right texture painting add-on can transform your workflow, giving you professional-quality results without ever leaving Blender. Whether you're creating game assets, architectural visualizations, or animated characters, these powerful add-ons will help you achieve your creative vision faster and with better results.
Why Use Texture Painting Add-ons in Blender?
Blender's native texture painting tools are functional but often fall short for complex texturing needs. While you can paint directly onto 3D models, creating layered, non-destructive workflows typically requires complex node setups in the Shader Editor. This is where specialized texture painting add-ons shine, bringing capabilities similar to dedicated texturing applications right into your Blender workflow.
- With the right 3D texture add-on, you'll enjoy:
- Layer-based workflows with masks and blend modes
- Non-destructive editing capabilities
- Streamlined PBR texturing
- Time-saving brush and material presets
- Better artistic control and creative freedom
Introducing Tripo AI: Next-Generation 3D Creation
- Before diving into our list of texture painting add-ons, we should highlight Tripo AI – a groundbreaking platform that's changing how 3D content is created. While traditional texture painting requires manual effort, Tripo AI can generate complete 3D models with textures from simple text prompts or images.
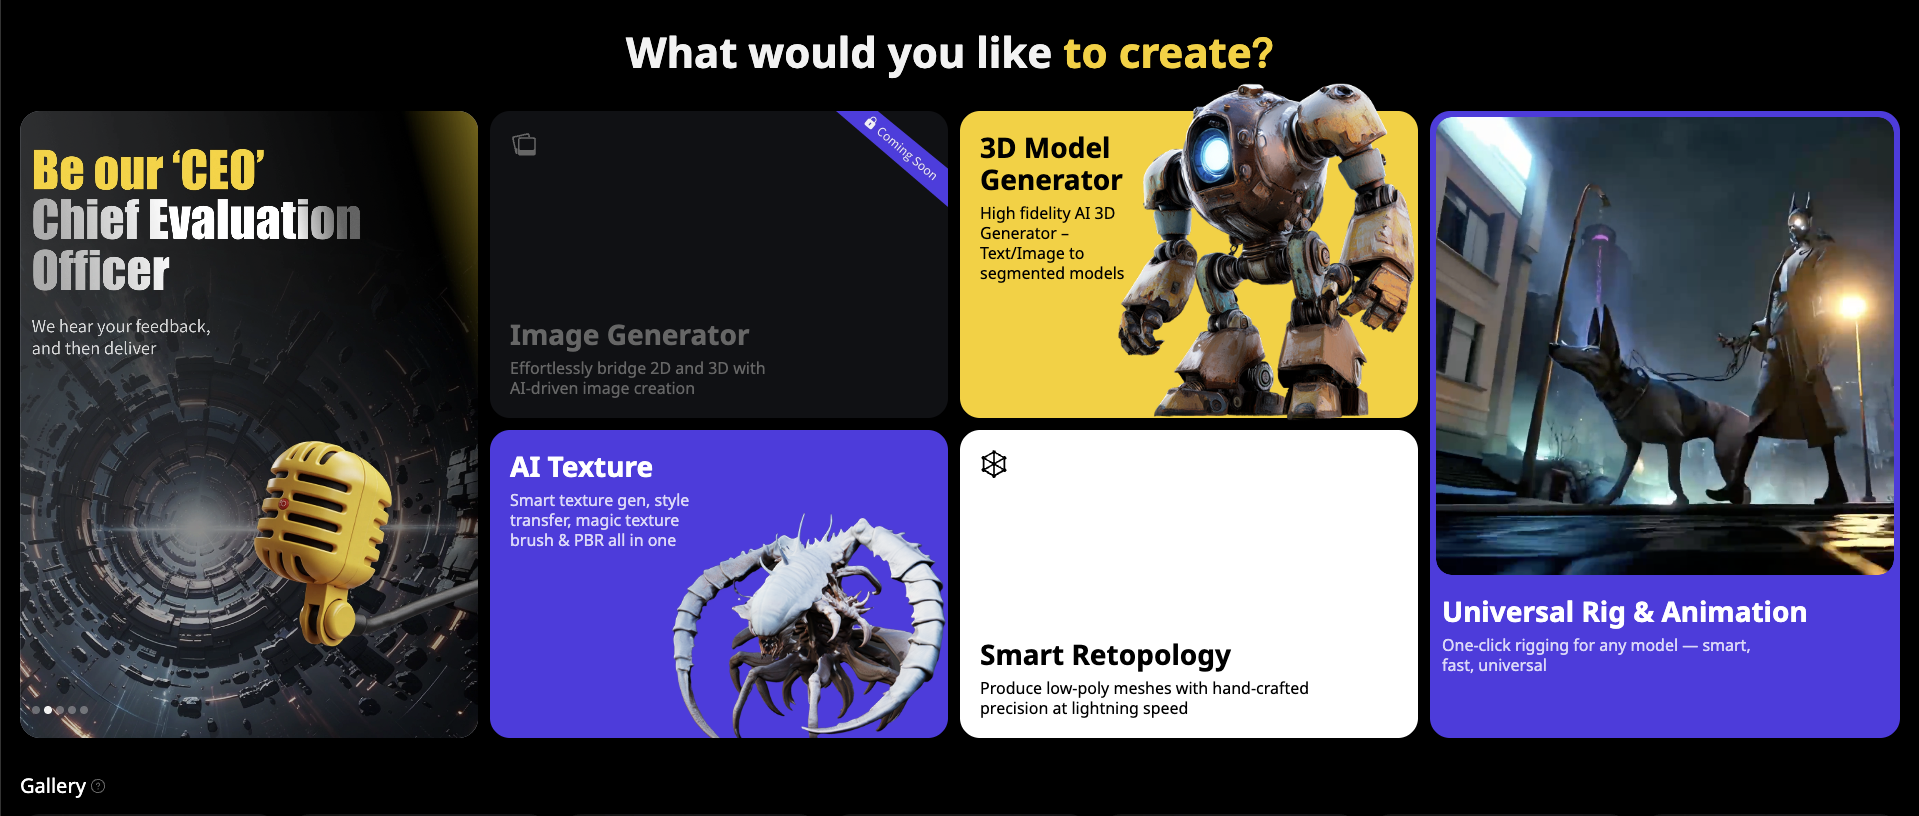
- Visit Tripo Studio to experience how this powerful AI 3D model generator can jumpstart your creative process. Whether you need quick concept models or a base to refine further, Tripo AI's image to 3D conversion technology delivers impressive results in seconds rather than hours.
- The Tripo Blender plugin (covered in detail below) brings this AI power directly into your Blender workflow, allowing you to generate textures and models without switching applications. This represents the cutting edge of 3D creation technology, complementing traditional texture painting methods with AI-assisted workflows.
Tired of slow 3D modeling and texturing from images or concepts? See how Tripo AI's image to 3D and text-to-3D tools can revolutionize your workflow in seconds!
Now, let's explore the top texture painting add-ons that can enhance your Blender experience:
Top Texture Painting Add-ons for Blender
Ucupaint (Free)
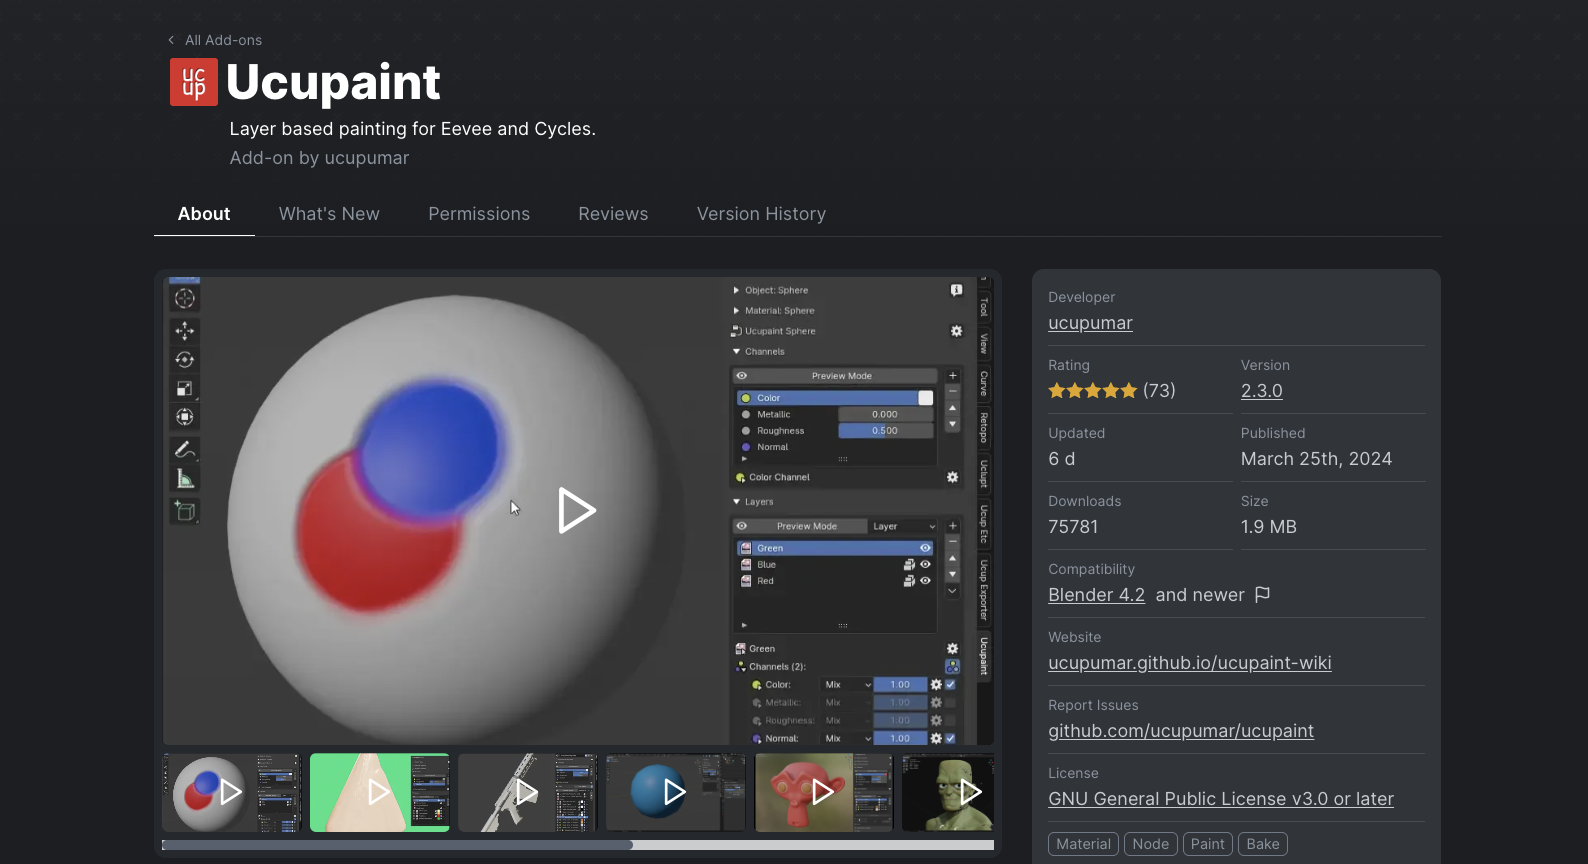
Ucupaint stands as one of the most popular free texture painting add-ons for Blender, bringing a layer-based painting system that dramatically enhances your texturing capabilities without costing a penny.
Key Features:
- Stack images, textures, and vertex colors as layers
- Comprehensive mask support for precise control
- Various layer blending modes
- One-click baking for different texture channels
- PBR workflow support
Ucupaint is particularly effective for creating stylized game assets, where its intuitive layer system allows artists to build up complex textures through strategic layering. The ability to paint masks directly for materials and blend between them makes creating detailed surface variations remarkably straightforward.
Getting Started with Ucupaint:
- Install: Edit > Preferences > Add-ons > Install > select ZIP file > enable checkbox
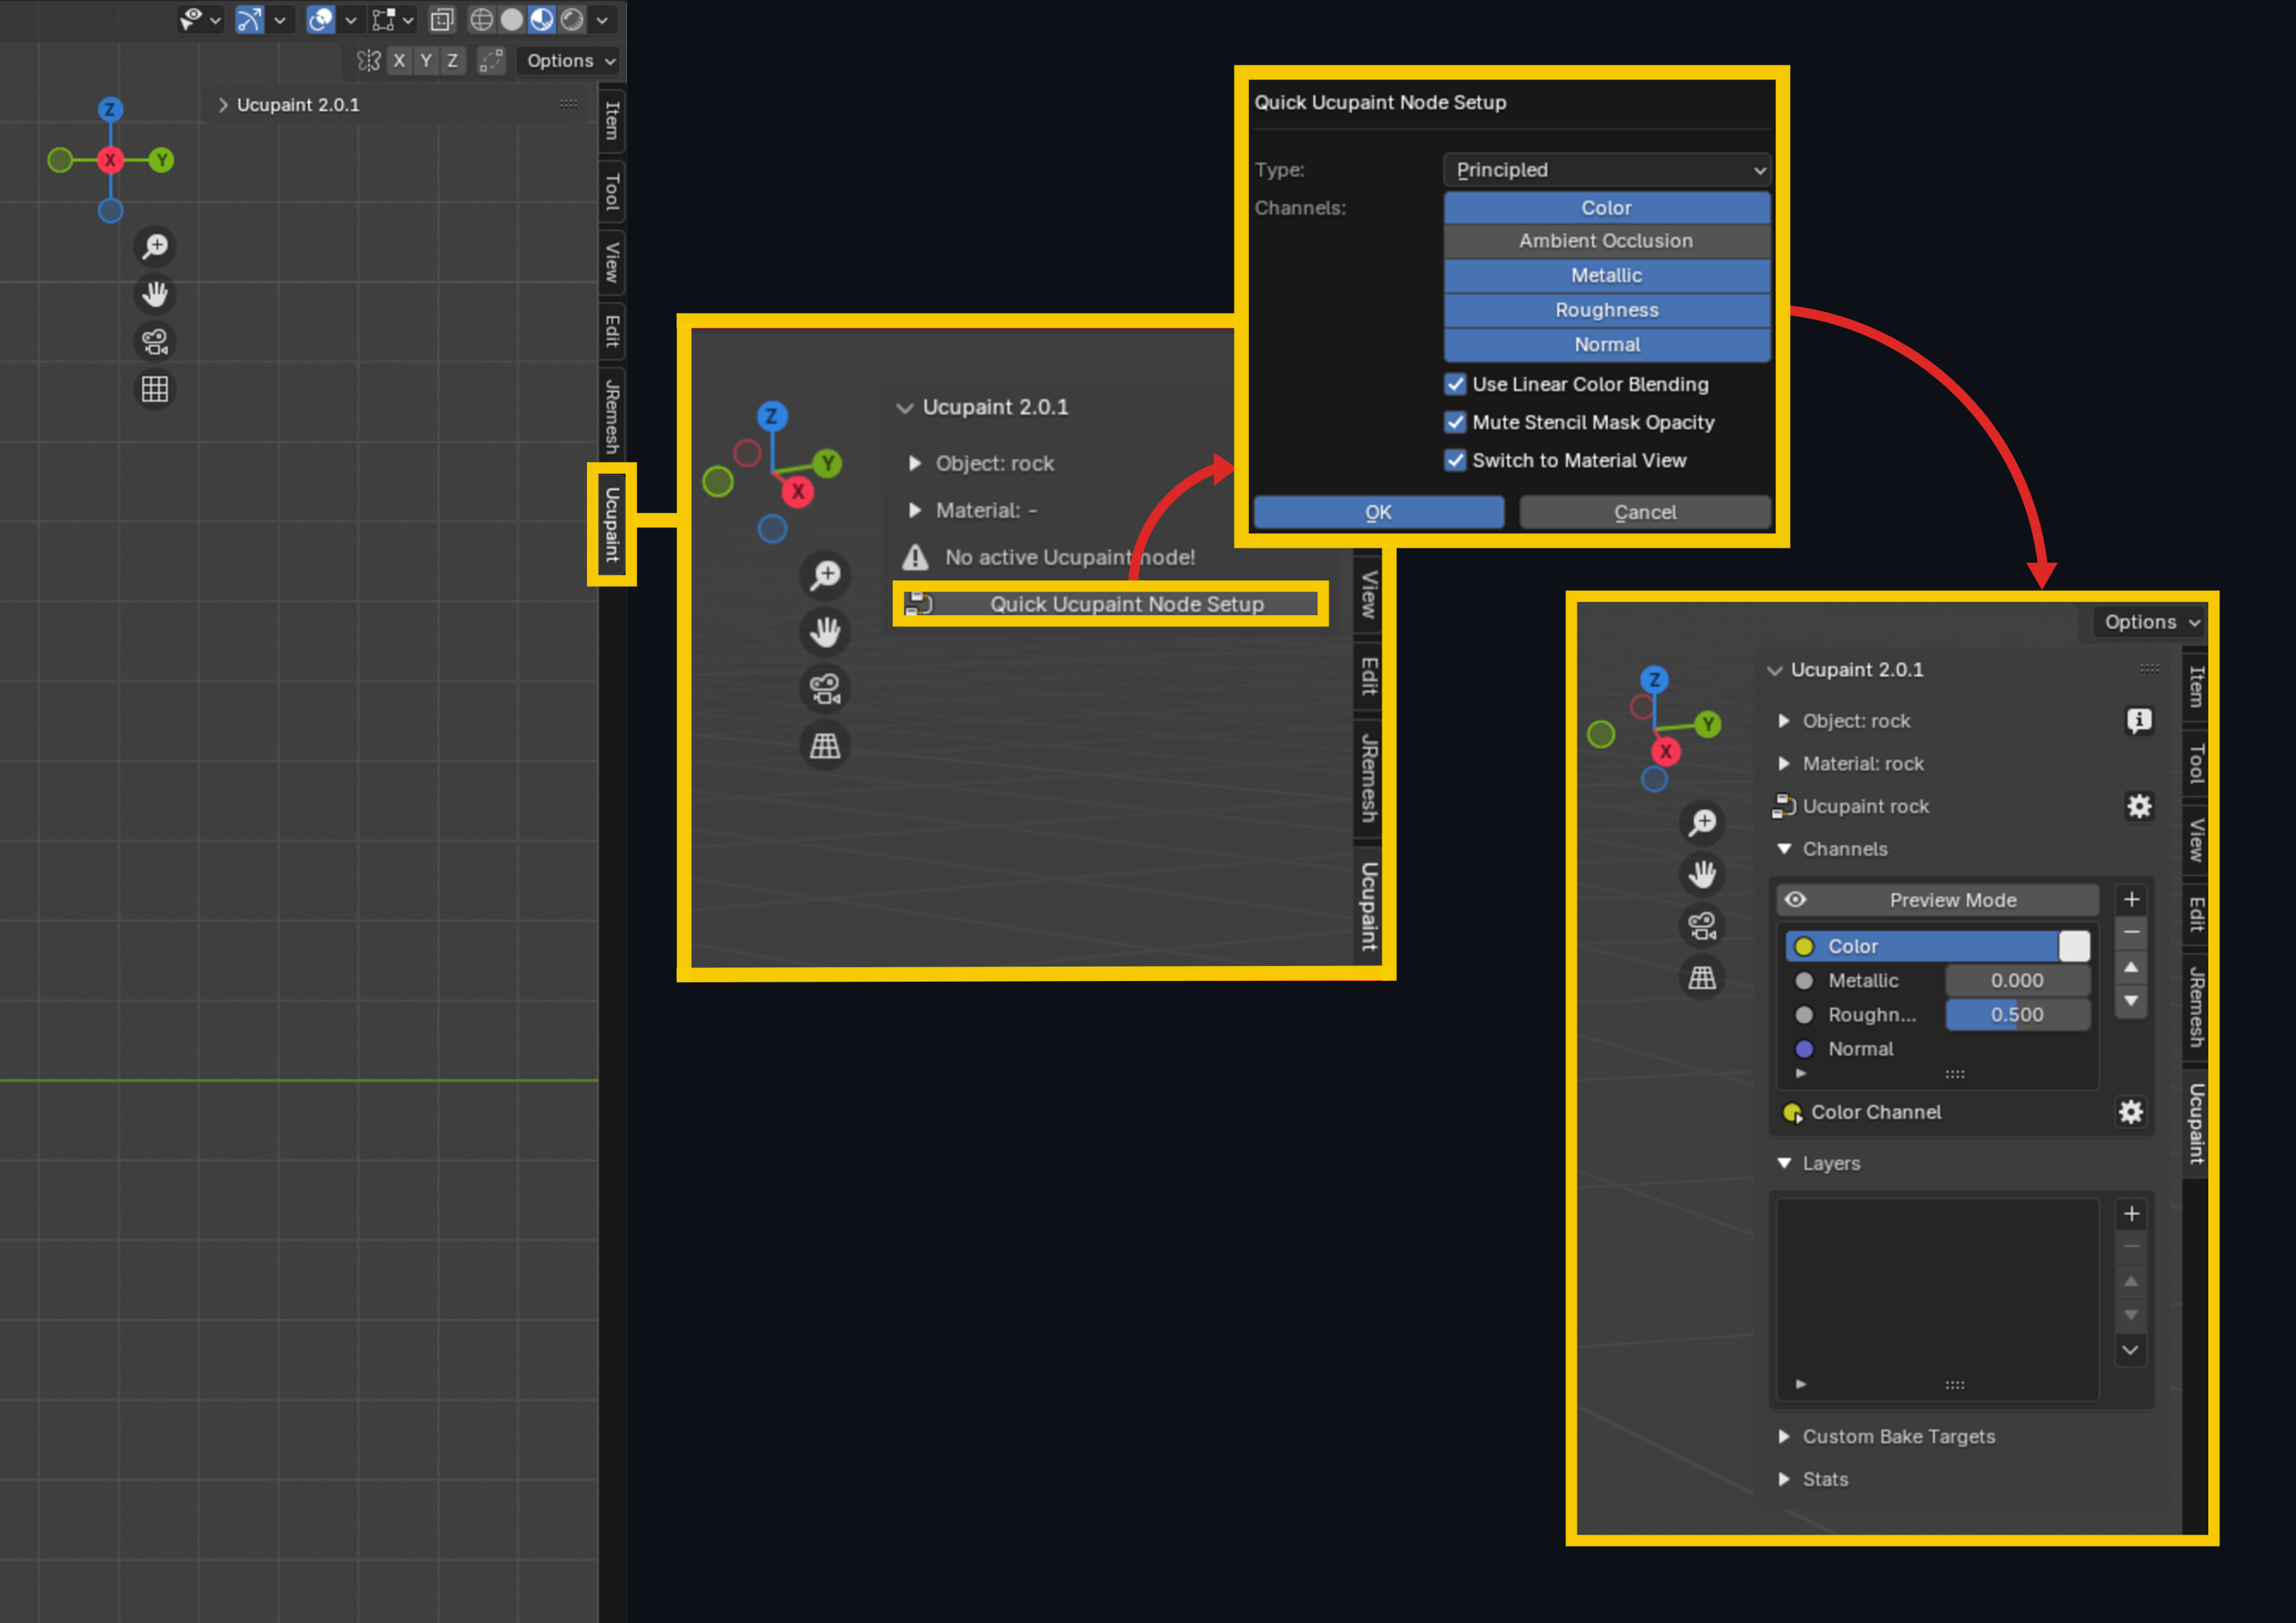
- Setup: Press N > Ucupaint tab > ensure model has UVs > click "Setup"
- Basic Controls: Create layers (+), toggle visibility (eye icon), adjust properties (dropdown), isolate areas (mask icon)
- Quick Start: Begin with a simple object, create material-specific layers, experiment with properties, save with Ctrl+S
Step-by-Step Sword Texturing Example:
We tested Ucupaint by texturing a game-ready sword, and the process was impressively efficient:
- Setup and UV Preparation
- First, we unwrapped our sword model using "Smart UV Project" with a low margin
- After installing Ucupaint, we accessed it through the "N" panel in Texture Paint mode
- Clicked the "Setup" button for quick initialization
- Base Color Layer
- Created a solid color layer for the base of the sword
- Used the color picker to select a suitable base color
- This layer served as the foundation for all subsequent detailing
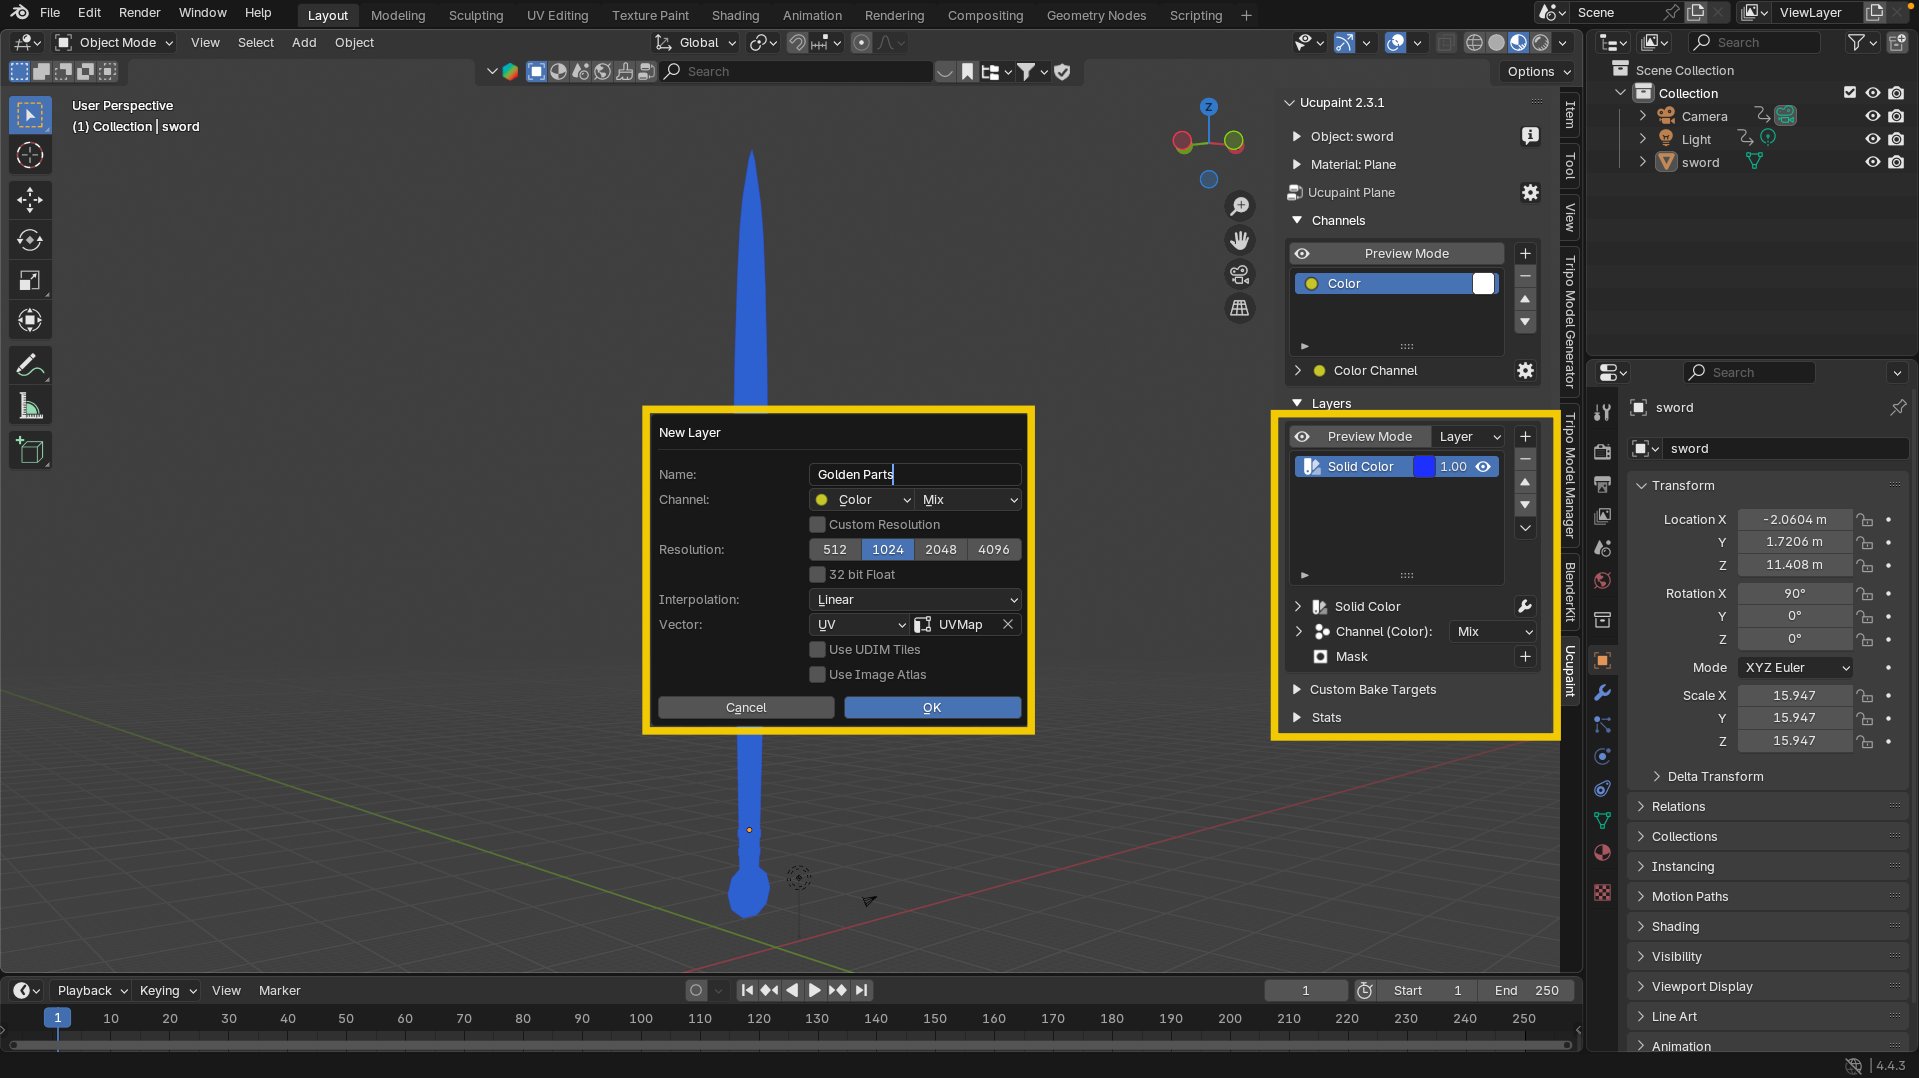
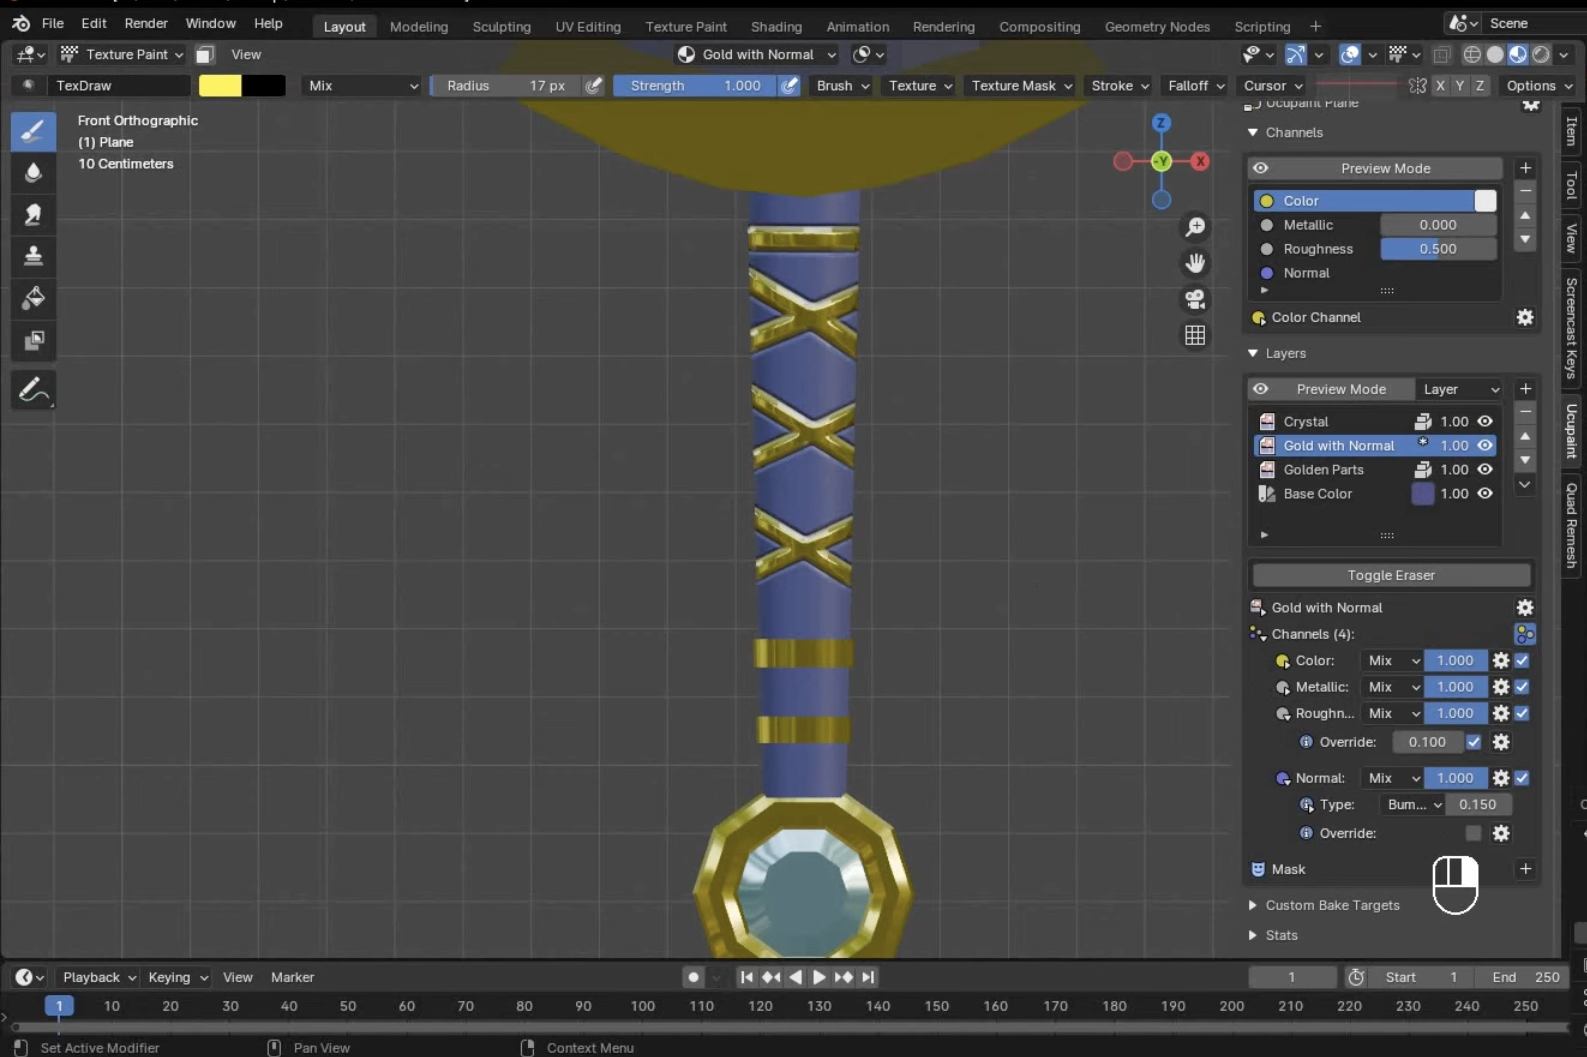
- Gold Elements Layer
- Added a new image layer specifically for gold parts
- In Edit mode, selected the cross-guard and other gold elements
- Enabled the mask icon to isolate these selections
- Applied a yellow/gold color using the bucket tool
- Configured the layer properties by enabling "Metallic" and "Roughness"
- Reduced the roughness value to about 0.1 for a convincing shiny metal appearance
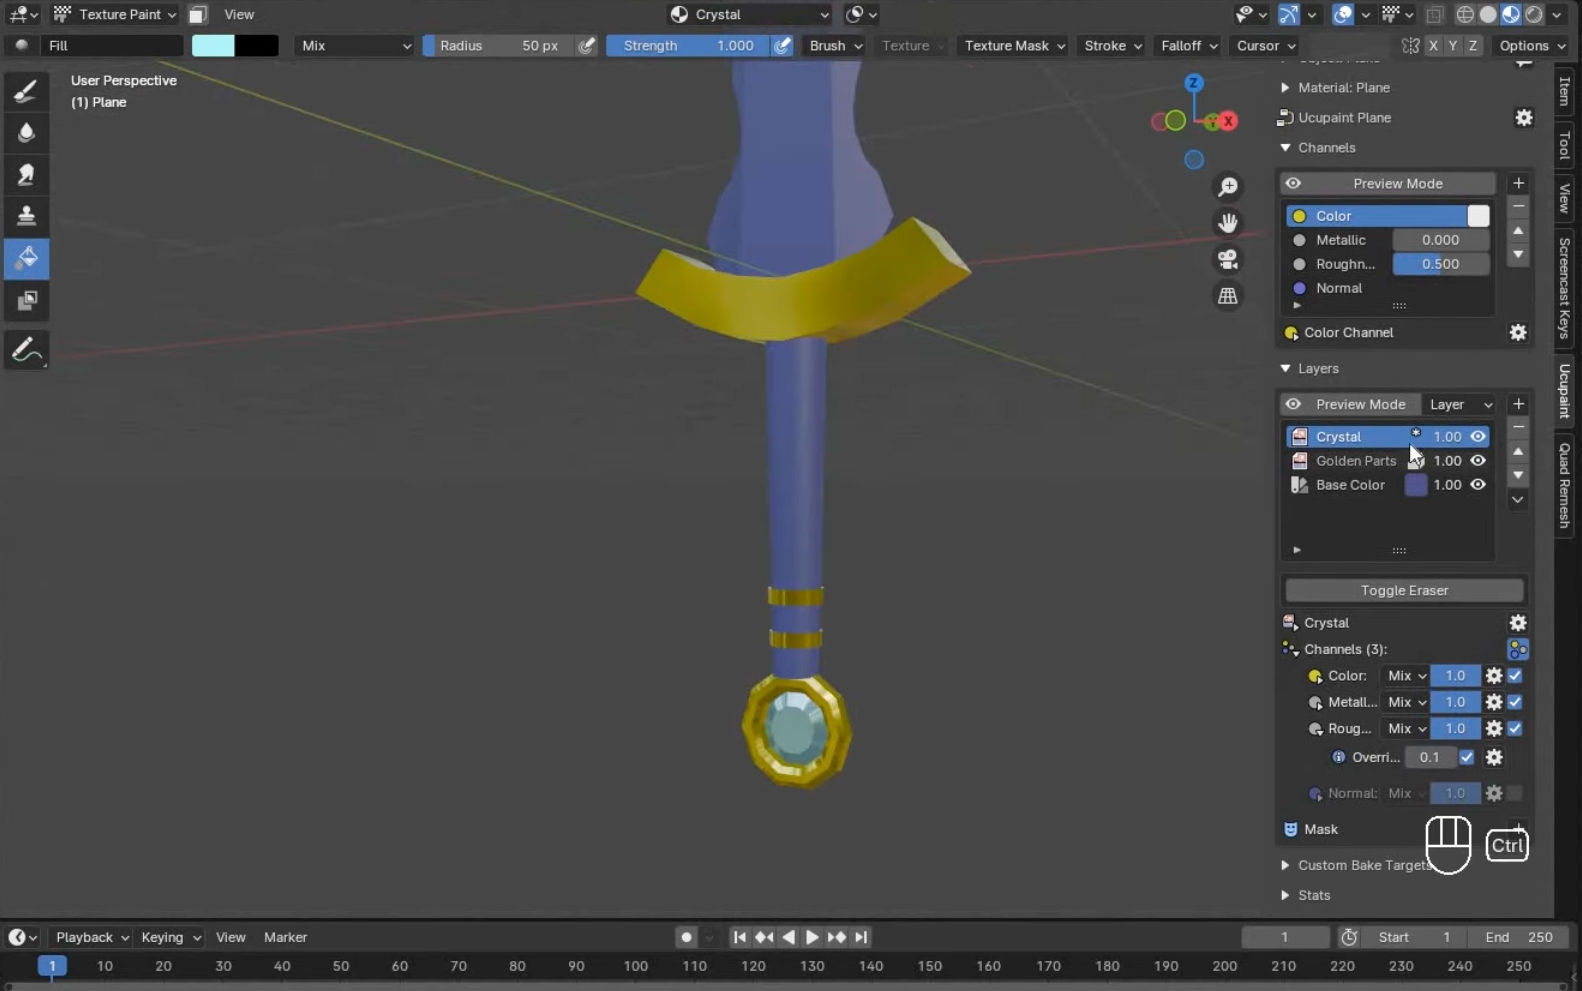
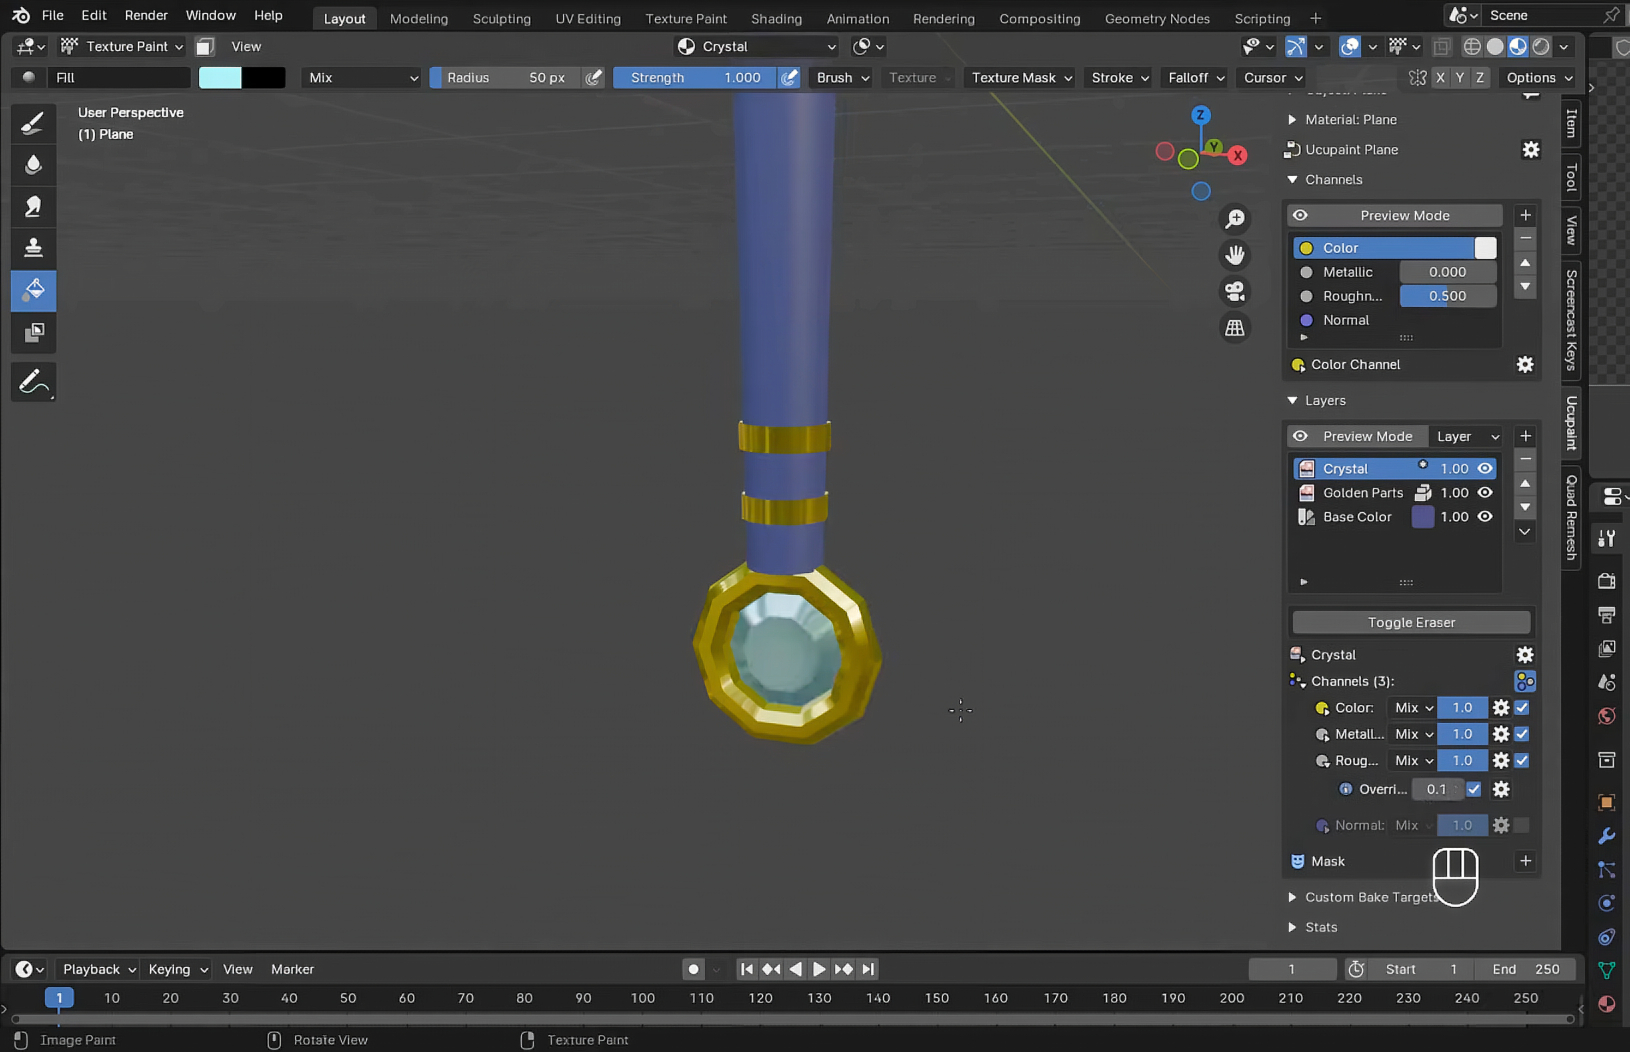
- Crystal Details Layer
- Created another layer for crystal elements
- Selected relevant faces in Edit mode and masked them
- Applied a distinctive color and saved it to a palette for later use
- Adjusted metallic and roughness properties for a gem-like appearance
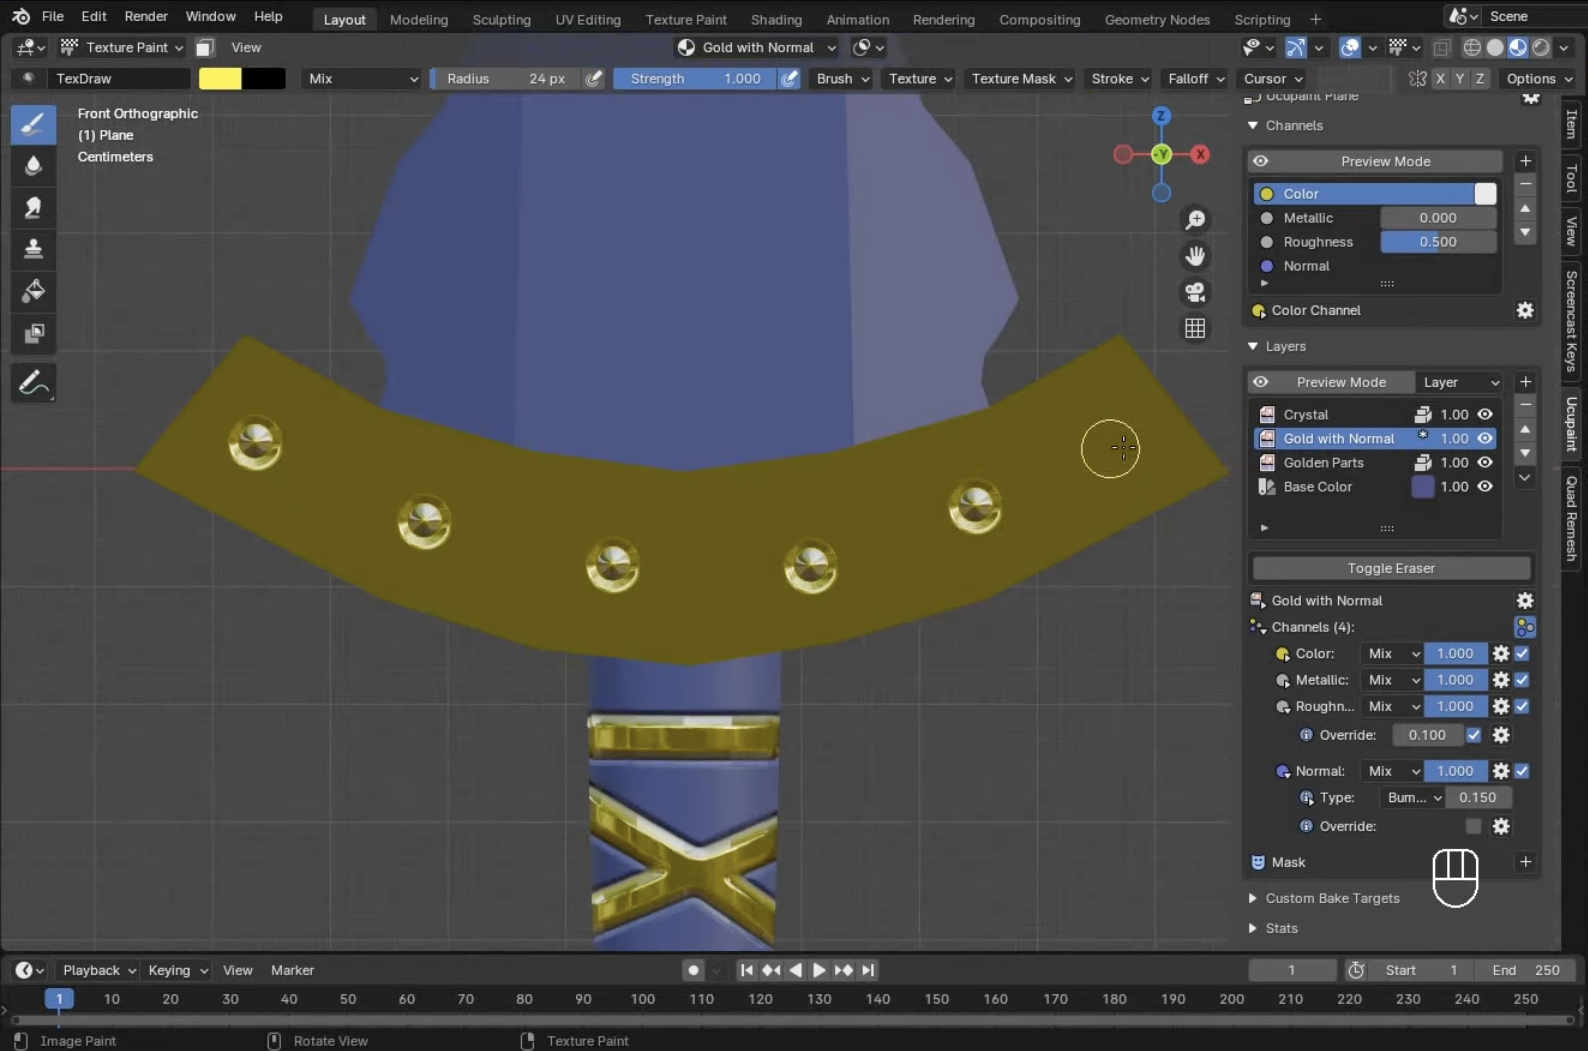
- Adding Depth with Normal Maps
- For decorative golden strips, we created a new layer with "32-bit float" enabled
- Activated the "Normal" property to add depth
- Painted strips with careful brush settings and adjusted the bump value
- Disabled "Occlude" and "Backface Culling" to ensure paint wrapped around the model
- Blade Detailing
- Created a separate layer for the blade's silver color
- Selected face loops and edges to isolate the blade area
- Applied white color and adjusted metallic/roughness for a polished metal look
- Added subtle golden details to the blade for visual interest
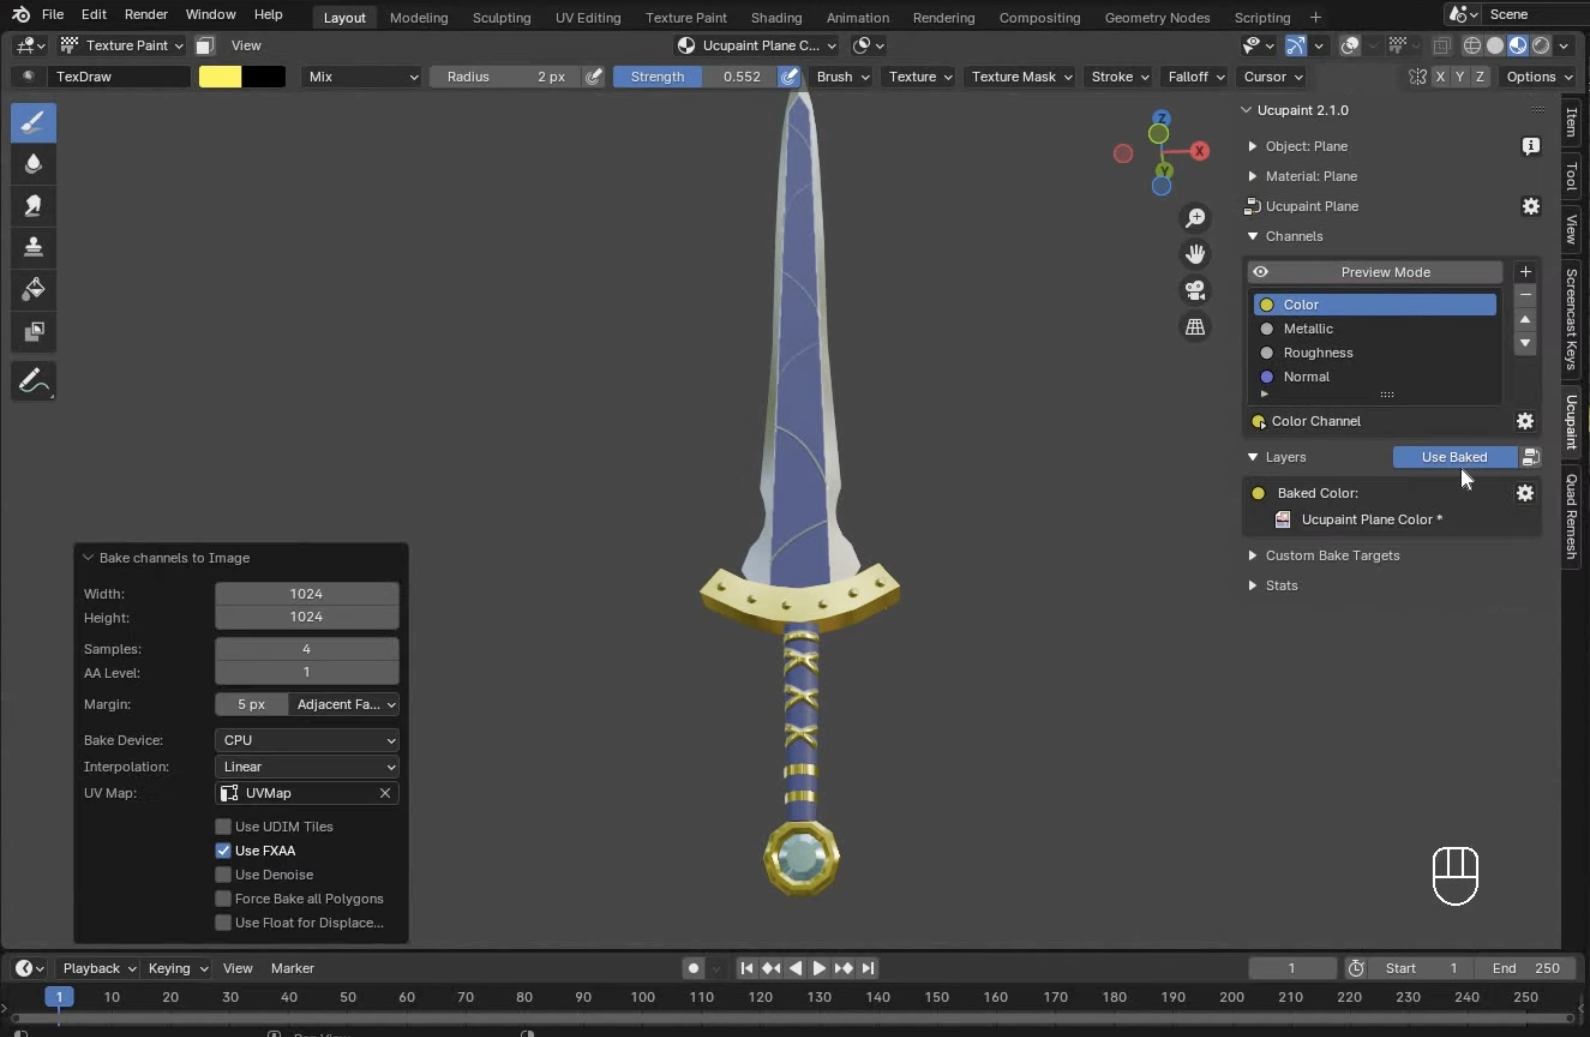
- Baking and Finalization
- Used the one-click baking feature to generate all texture channels
- Increased samples to 4 for better quality
- The add-on automatically connected all textures in the Shader Editor
The entire process took approximately 25 minutes, producing impressive results for a game-ready asset. What truly sets Ucupaint apart is its ability to independently control material properties like metallic and roughness on separate layers—functionality that would otherwise require complex node setups in Blender's native tools.
Ucupaint's masking system is particularly valuable, letting you isolate specific parts of your model without creating separate materials or objects. This non-destructive workflow allows for easy adjustments at any point in the texturing process.
To learn more about this powerful add-on and see it in action, watch this detailed tutorial: Texture Painting in Blender Made Easy.
HAS Paint Layers (Free)

HAS Paint Layers is another exceptional free add-on that has earned perfect ratings across platforms for its robust layer-based painting system and excellent user experience.
Key Features:
- Create and manage multiple paint layers with ease
- Apply unlimited filters and masks per layer
- Easy baking function for generating final textures
- Export options including OpenRaster (ORA) format
- Excellent for hand-painted texturing styles
What makes HAS Paint Layers stand out is its exceptional support for hand-painted textures, making it ideal for artists who prefer a more traditional artistic approach to 3D texture creation. The unlimited filters and masks per layer provide granular control that rivals paid solutions.
Ravage (Paid)
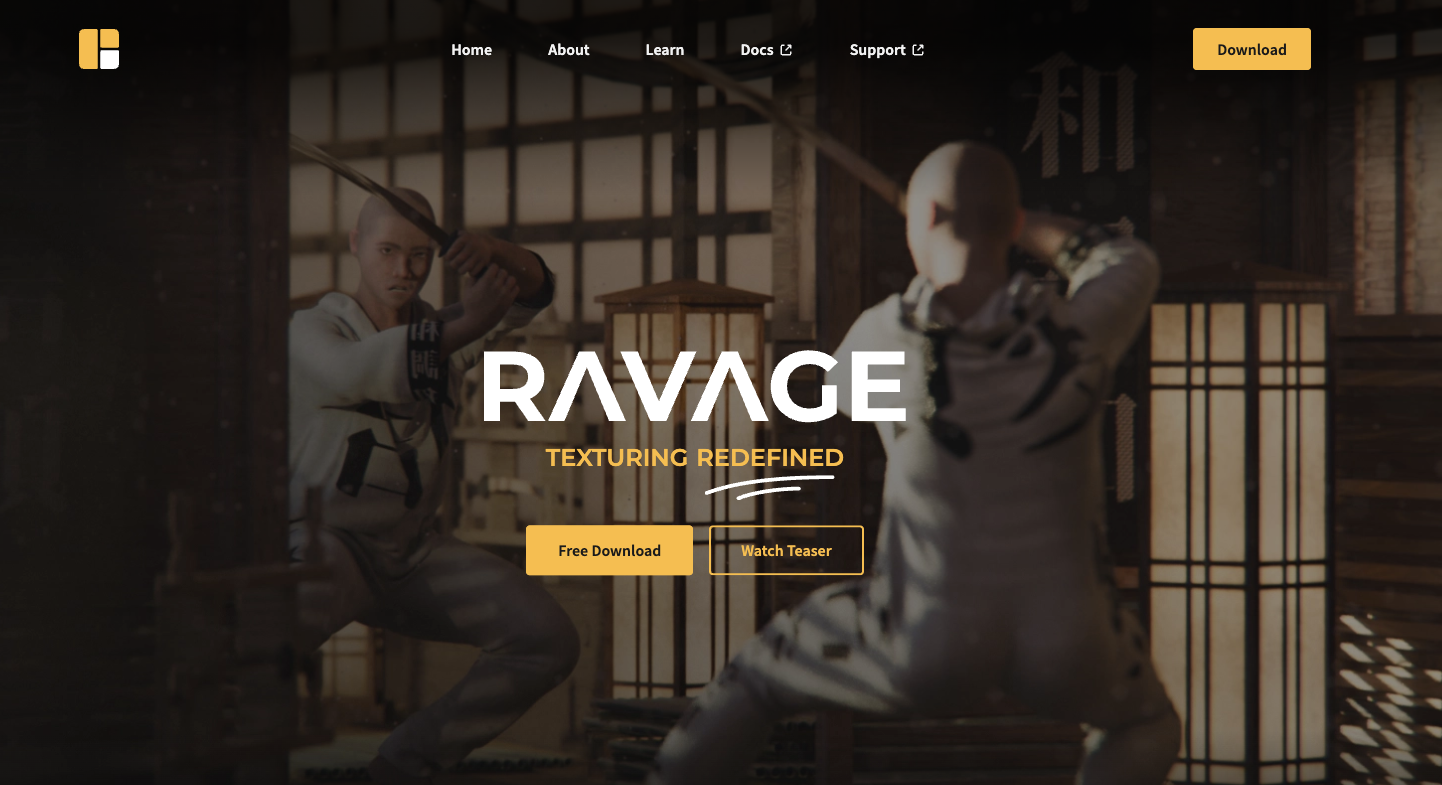
Ravage aims to bring a Substance Painter-like experience directly into Blender with its comprehensive texturing system. While we'll focus on its features rather than its current support status, it's worth noting this is a commercial option.
Key Features:
- Complete layer system with folders for organization
- Advanced masking capabilities utilizing baked support maps
- Streamlined PBR texturing workflow
- Built-in noise texture generation
- Custom node groups for extended functionality
Ravage's advanced texturing tools can accelerate common tasks that would otherwise require considerable manual setup. Its baking tools have been particularly praised for simplifying what can be a complex process in Blender.
Tripo Studio (AI-Powered)
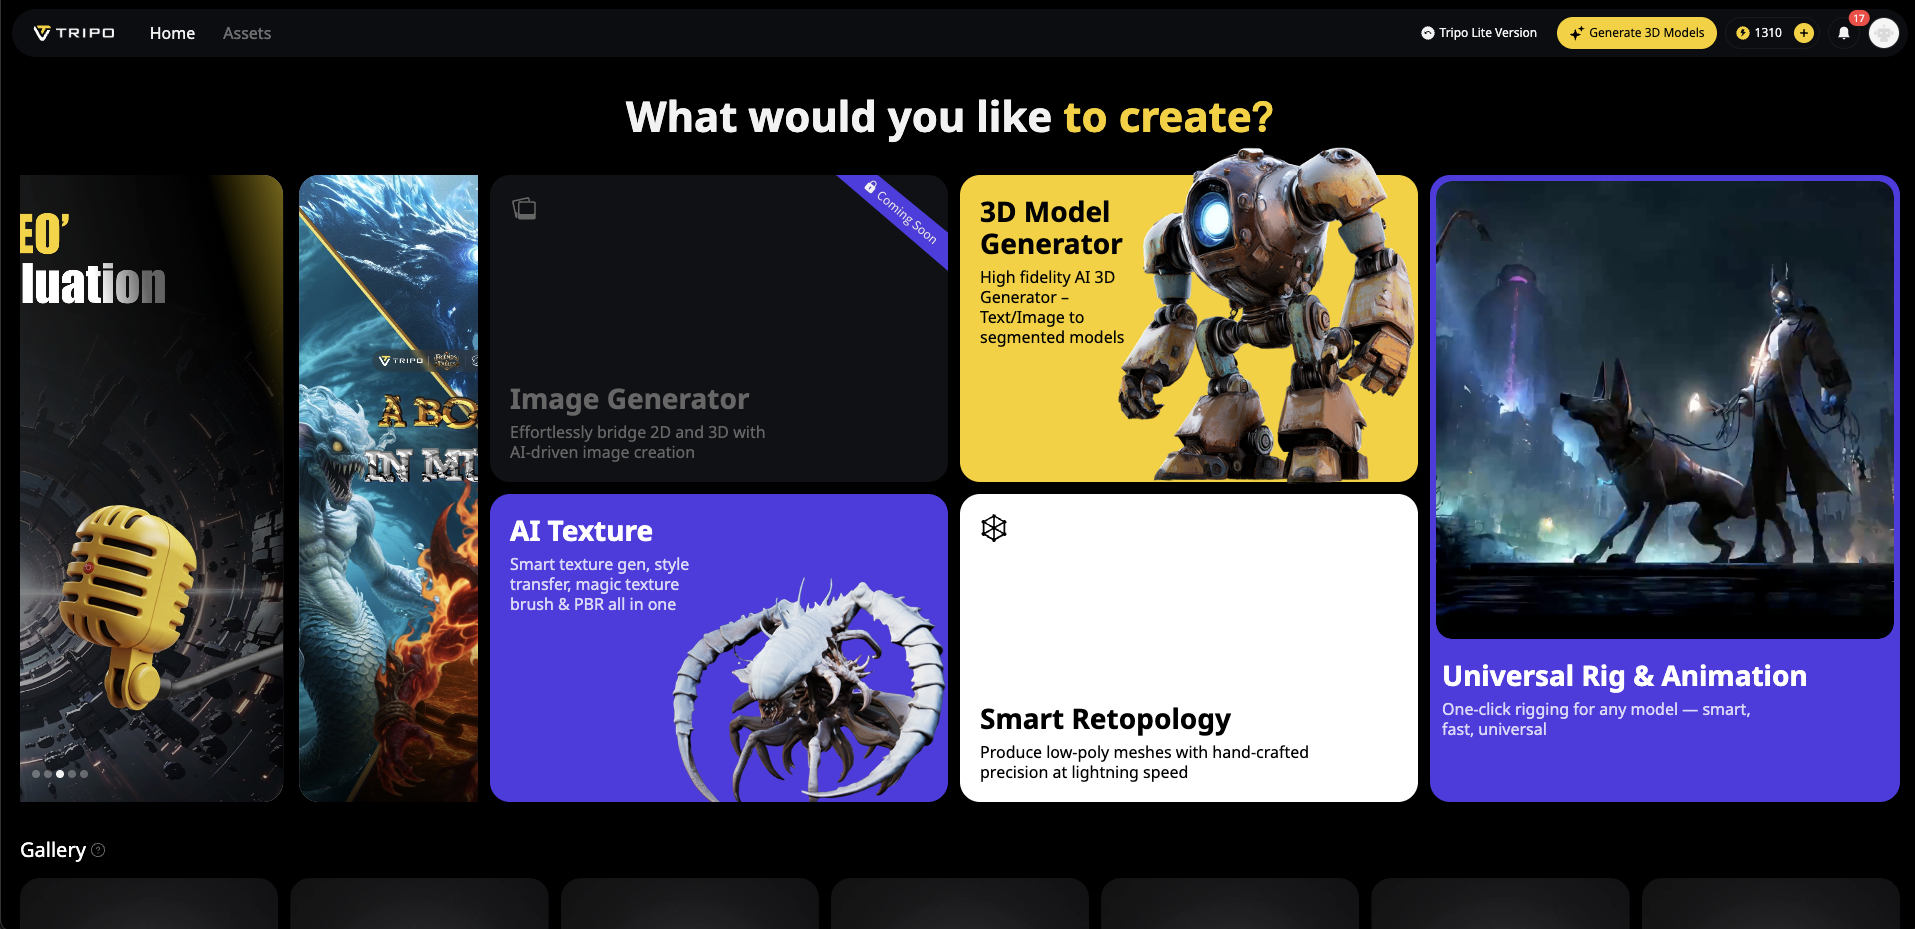
Tripo Studio represents the cutting edge of AI 3D model generation within Blender, offering not just model creation but also texture generation capabilities through its intelligent algorithms.
Key Features:
- Generate textured 3D models from text descriptions
- Convert image to 3D models with appropriate textures
- PBR material generation option
- Advanced texture and style controls
- Seamless integration with other Blender workflows
The unique value of Tripo Studio lies in its ability to rapidly generate base assets that can then be refined manually. For concepting or creating background assets, this AI 3D model generator can save hours of initial setup work. This is especially valuable when you need to quickly visualize ideas before committing to detailed manual texturing.
BPainter (Paid)
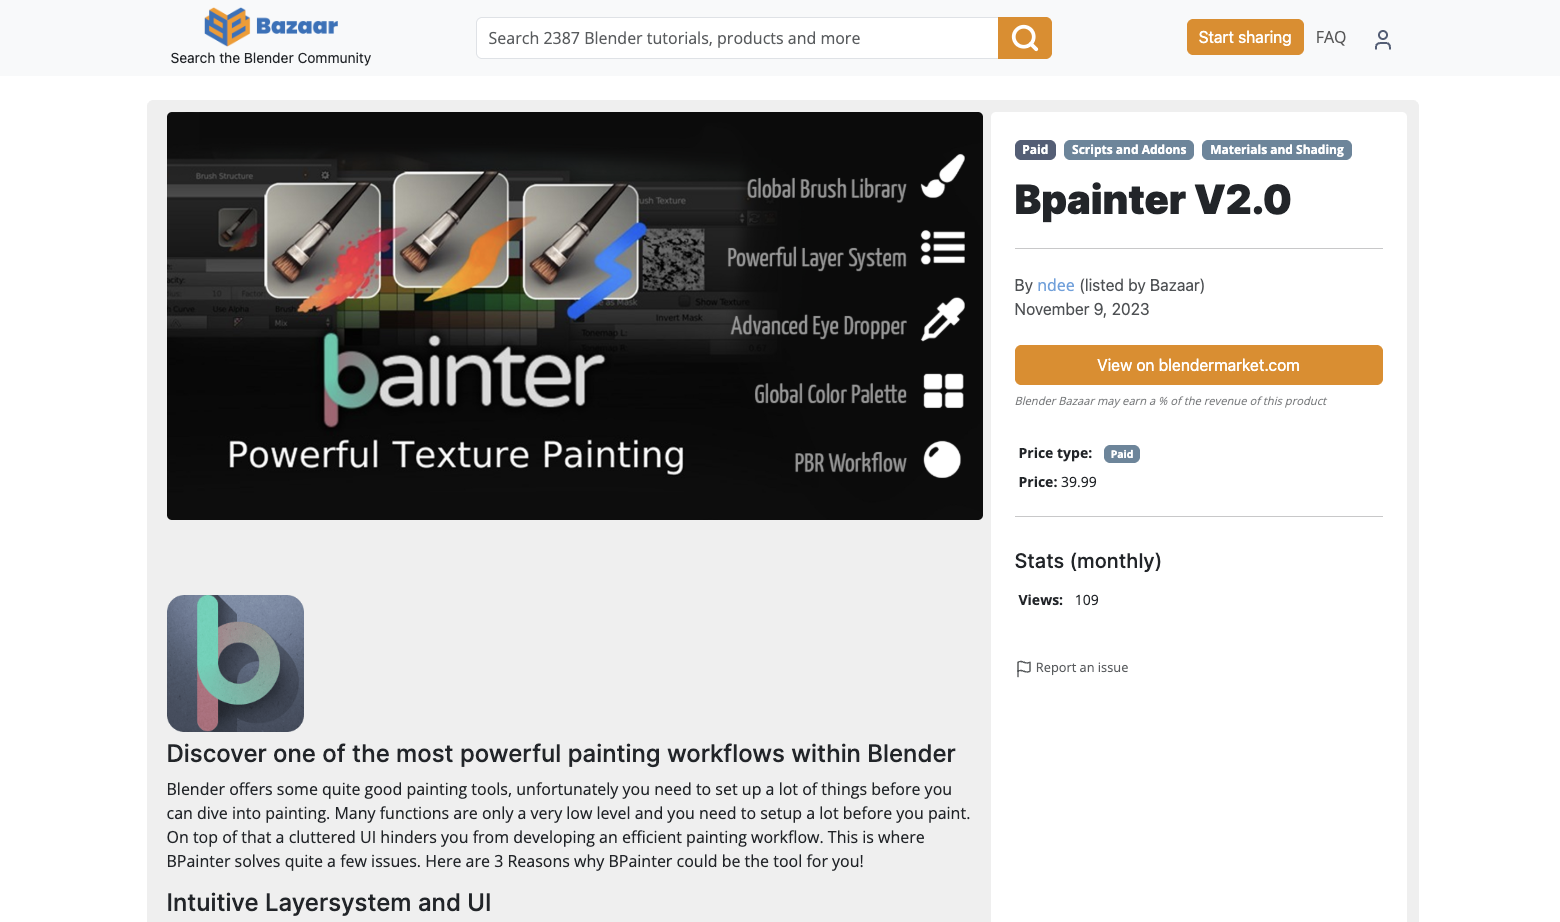
While not in our original lineup, BPainter deserves mention as a mature commercial solution for texture painting in Blender.
Key Features:
- Comprehensive layer system with multiple blend modes
- Material presets and brush libraries
- Robust PBR workflow support
- Stencil and mask painting
- Custom shader support
BPainter focuses on providing a complete texturing solution with particular attention to professional PBR workflows, making it suitable for production environments.
TexturePaint+ (Free)
This lightweight add-on enhances Blender's native texture painting with quality-of-life improvements rather than implementing a complete layer system.
Key Features:
- Enhanced brush controls and presets
- Improved canvas navigation
- Batch texture operations
- Symmetrical painting support
- Minimal performance impact
TexturePaint+ is perfect for artists who want to enhance Blender's built-in tools without learning an entirely new system.
PBR Painter (Paid)
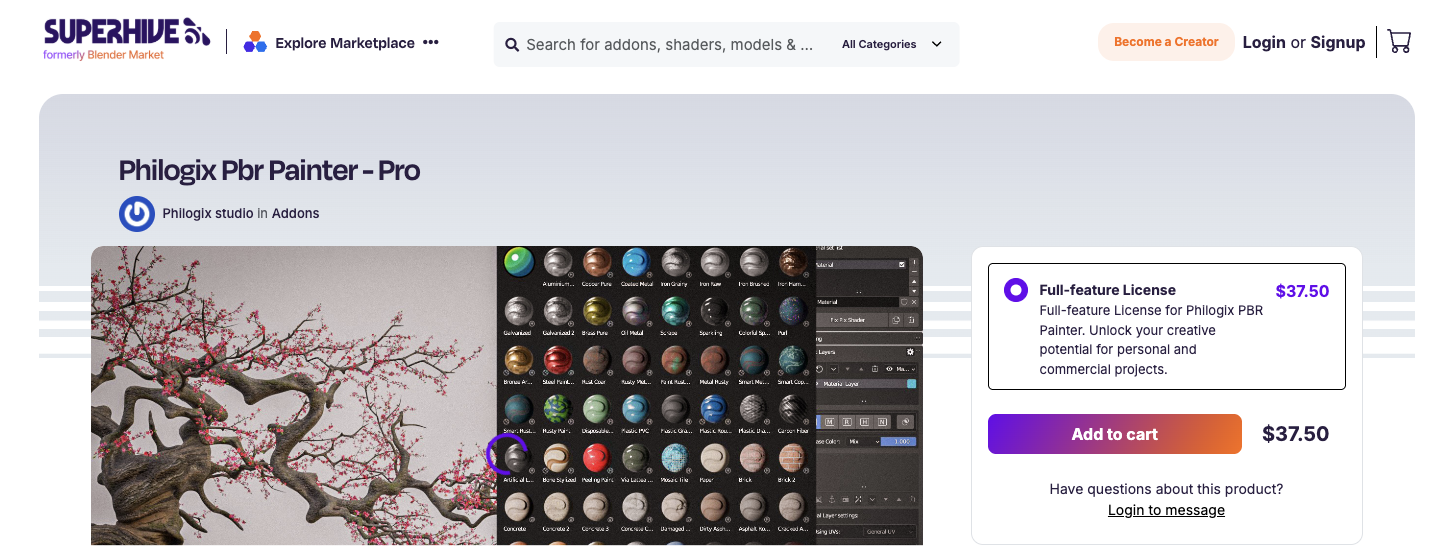
Another commercial option focused specifically on physically-based rendering workflows.
Key Features:
- Dedicated interface for PBR channel painting
- Material library with presets
- Mask painting with smart filters
- Viewport preview modes for different PBR channels
- Export presets for various game engines
PBR Painter excels in creating realistic materials for architectural visualization and game development.
How to Choose the Right Texture Painting Add-on
When selecting a texture painting add-on for your 3D texture workflow, consider:
- Project Requirements
What kind of textures are you creating? Stylized assets might benefit more from Ucupaint or HAS Paint Layers, while photorealistic materials might call for Ravage or PBR Painter. - Budget Constraints
With excellent free options like Ucupaint and HAS Paint Layers available, consider whether the additional features of paid add-ons justify their cost for your specific needs. - Learning Curve
Some add-ons introduce complex interfaces that require time to master. If you need quick results, simpler tools or AI 3D model generator options like Tripo Studio might be preferable. - PBR Workflow Support
If physically-based rendering is central to your work, ensure the add-on has robust support for all PBR channels and appropriate preview modes. - Integration with Existing Assets
Consider how well the add-on handles importing existing textures and materials from your library.
Enhancing Your Workflow: Combining Add-ons for Maximum Productivity
The most efficient workflows often combine multiple tools based on their strengths. For example:
- Use Tripo Studio to rapidly generate initial 3D texture concepts from images or text
- Refine the basic shapes and materials in Blender's native tools
- Apply detailed texture painting with HAS Paint Layers or Ucupaint
- Finish with final adjustments in the Shader Editor
This hybrid approach leverages the speed of AI 3D model generation with the precision of manual artistic control.
Beyond Add-ons: Optimizing Your Texturing Setup
To get the most from any texture painting add-on:
Hardware Considerations
- A graphics tablet is essential for pressure-sensitive brush control
- Sufficient RAM helps when working with high-resolution textures
- A color-calibrated monitor ensures texture colors appear correctly
Workflow Tips
- Create a custom workspace layout in Blender dedicated to texturing
- Use reference images for consistent material properties
- Establish naming conventions for texture maps
- Regularly bake intermediate results to avoid performance issues
UV Preparation
No matter which add-on you choose, well-prepared UV maps are crucial for effective texture painting. Ensure your UVs are:
- Properly unwrapped with minimal stretching
- Efficiently packed within the UV space
- Organized logically for ease of painting
- Adequate resolution for your intended output
Conclusion: The Future of Texture Painting in Blender
As Blender continues to evolve, texture painting add-ons are becoming increasingly sophisticated. The integration of AI 3D model generation tools like Tripo Studio represents just the beginning of how artificial intelligence will transform the texturing workflow.
Whether you choose the free excellence of Ucupaint or HAS Paint Layers, the comprehensive features of commercial options like Ravage, or the cutting-edge AI capabilities of Tripo Studio, these add-ons significantly expand what's possible within Blender's ecosystem. The ability to create professional-quality 3D textures without leaving your primary 3D application streamlines your creative process and helps you focus on what matters most—bringing your artistic vision to life.
Ready to take your Blender texturing to the next level? Try one of these powerful add-ons today and experience how the right tools can transform your workflow and elevate your 3D creations.