How to Segment a 3D Model: A Complete Guide for Beginners and Professionals
When it comes to 3D modeling, segmentation is a crucial process. It allows for easier manipulation, better detailing, and optimized workflow, whether you're creating assets for games, animations, or product designs. If you're new to 3D modeling or looking to improve your skills, understanding how to segment a 3D model is essential. In this guide, we'll walk you through the process of segmenting a 3D model using popular tools and techniques.
What Does Segmentation in 3D Modeling Mean?
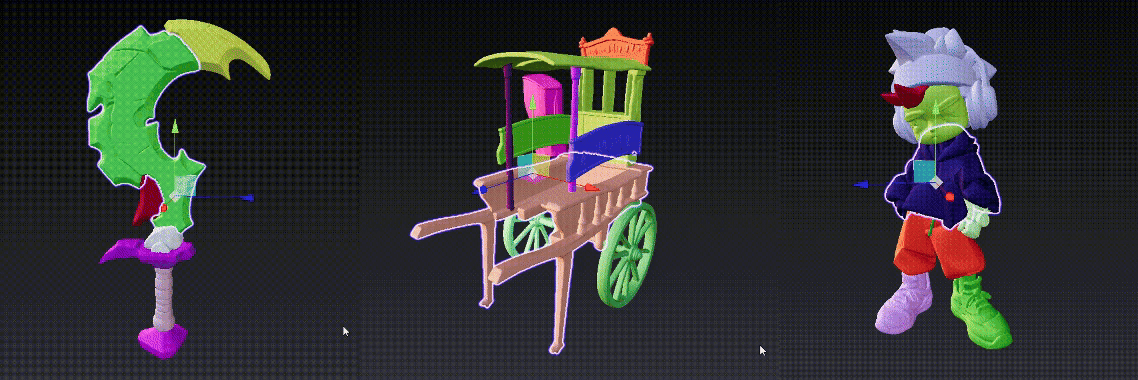
Segmentation refers to dividing a 3D model into distinct parts or regions. This process helps in isolating different components of the model for further editing or applying different materials, textures, and rigs. For instance, when modeling a human character, segmentation can help you separate parts such as the head, arms, torso, and legs. This enables you to apply detailed textures, animations, and other customizations to each segment independently.
Why Is Segmentation Important in 3D Modeling?
- Easier Editing: By segmenting a model, you can work on each part separately, making adjustments and improvements without affecting the entire object.
- Better Texturing and UV Mapping: Textures can be applied more efficiently when you break a model into logical parts. Each segment can have its own UV map for precise detailing.
- Rigging and Animation: For models intended for animation, segmentation allows you to apply rigs (bones, joints) to each individual segment, enabling more realistic movement.
- Optimized Workflow: Segmented models are easier to manage in complex scenes, allowing you to work with smaller, manageable pieces instead of a large, overwhelming model.
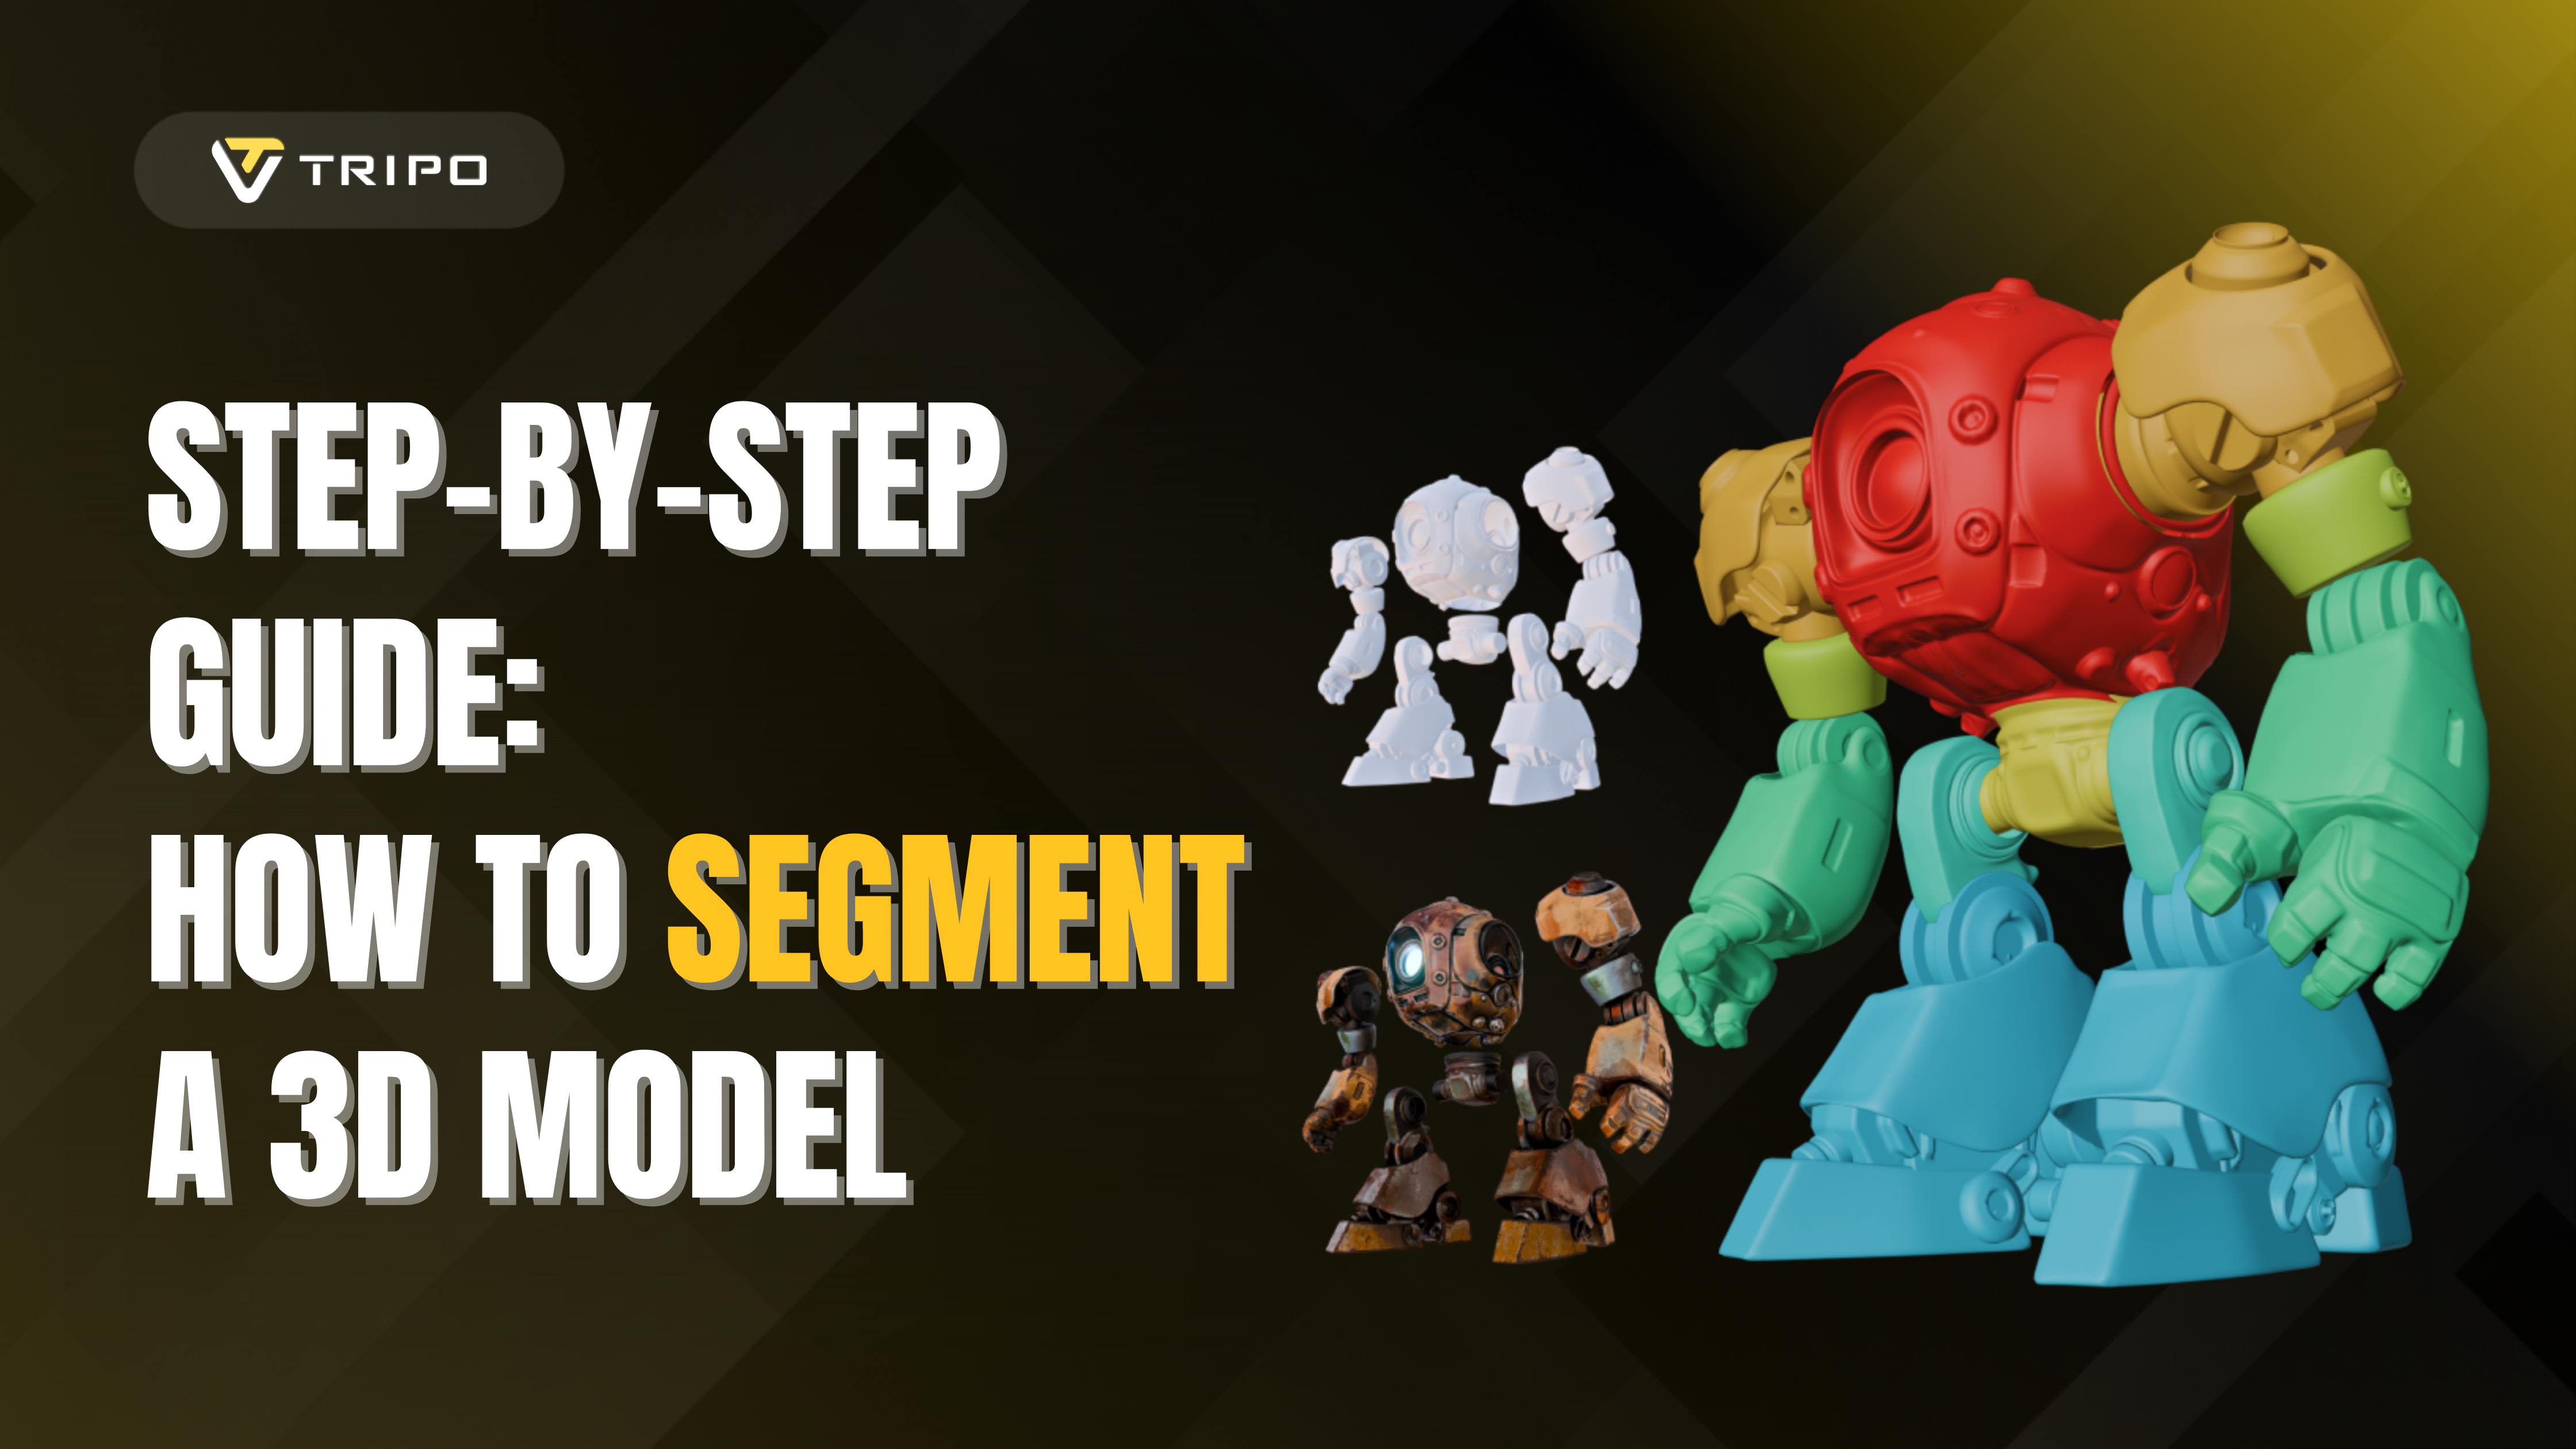
Tripo Studio: Intelligent Segmentation
While most generative models today still struggle with controllability and precise editing, Tripo Studio takes a bold leap forward—bringing intelligent segmentation to 3D workflows like never before.
Generative tools for video lack per-track editing. Image generation? No layer-based control. But with Tripo Studio's Intelligent Segmentation, AI understands and organizes your 3D model's geometry with precision.
➡️ What does that mean to you? With just one click, any complex 3D model is automatically segmented into meaningful components.
- A character split into head, torso, arms, legs, and accessories
- A detailed scene separated into modular props
This smart segmentation transforms your editing process:
- Isolate and refine individual parts without touching the rest of the model
- Apply targeted textures, animations, or modifications
- Save hours of manual labor while gaining granular control
Whether you're creating for games, simulations, or product design, Tripo Studio's AI segmentation gives you unprecedented freedom and precision in 3D editing.
👉 Try Intelligent Segmentation in Tripo Studio and experience the future of 3D control.
How to Segment a 3D Model: Step-by-Step Process
Step 1: Choose Your 3D Modeling Software
There are many 3D modeling tools available, each with its own set of segmentation features. Some popular options include:
- Blender: A free and open-source tool, perfect for beginners and professionals alike.
- Autodesk Maya: Widely used in the industry for 3D animation and modeling.
- ZBrush: Known for detailed sculpting and model segmentation.
- Cinema 4D: Great for motion graphics and visual effects.
For this guide, we will focus on Blender, a versatile tool that is widely used in the 3D modeling community.
Step 2: Import Your 3D Model
To begin segmenting your 3D model, you need to import it into the software of your choice. If you're using Blender:
- Open Blender.
- Click on File > Import, and choose the appropriate file format for your model (e.g., .obj, .fbx).
- Once imported, your model will appear in the 3D workspace.
Step 3: Enter Edit Mode
To segment a model, you need to work in Edit Mode. In Blender:
- Select the model in Object Mode.
- Press Tab to switch to Edit Mode. In this mode, you can modify the geometry of the model by selecting individual vertices, edges, or faces.
Step 4: Select the Parts to Segment
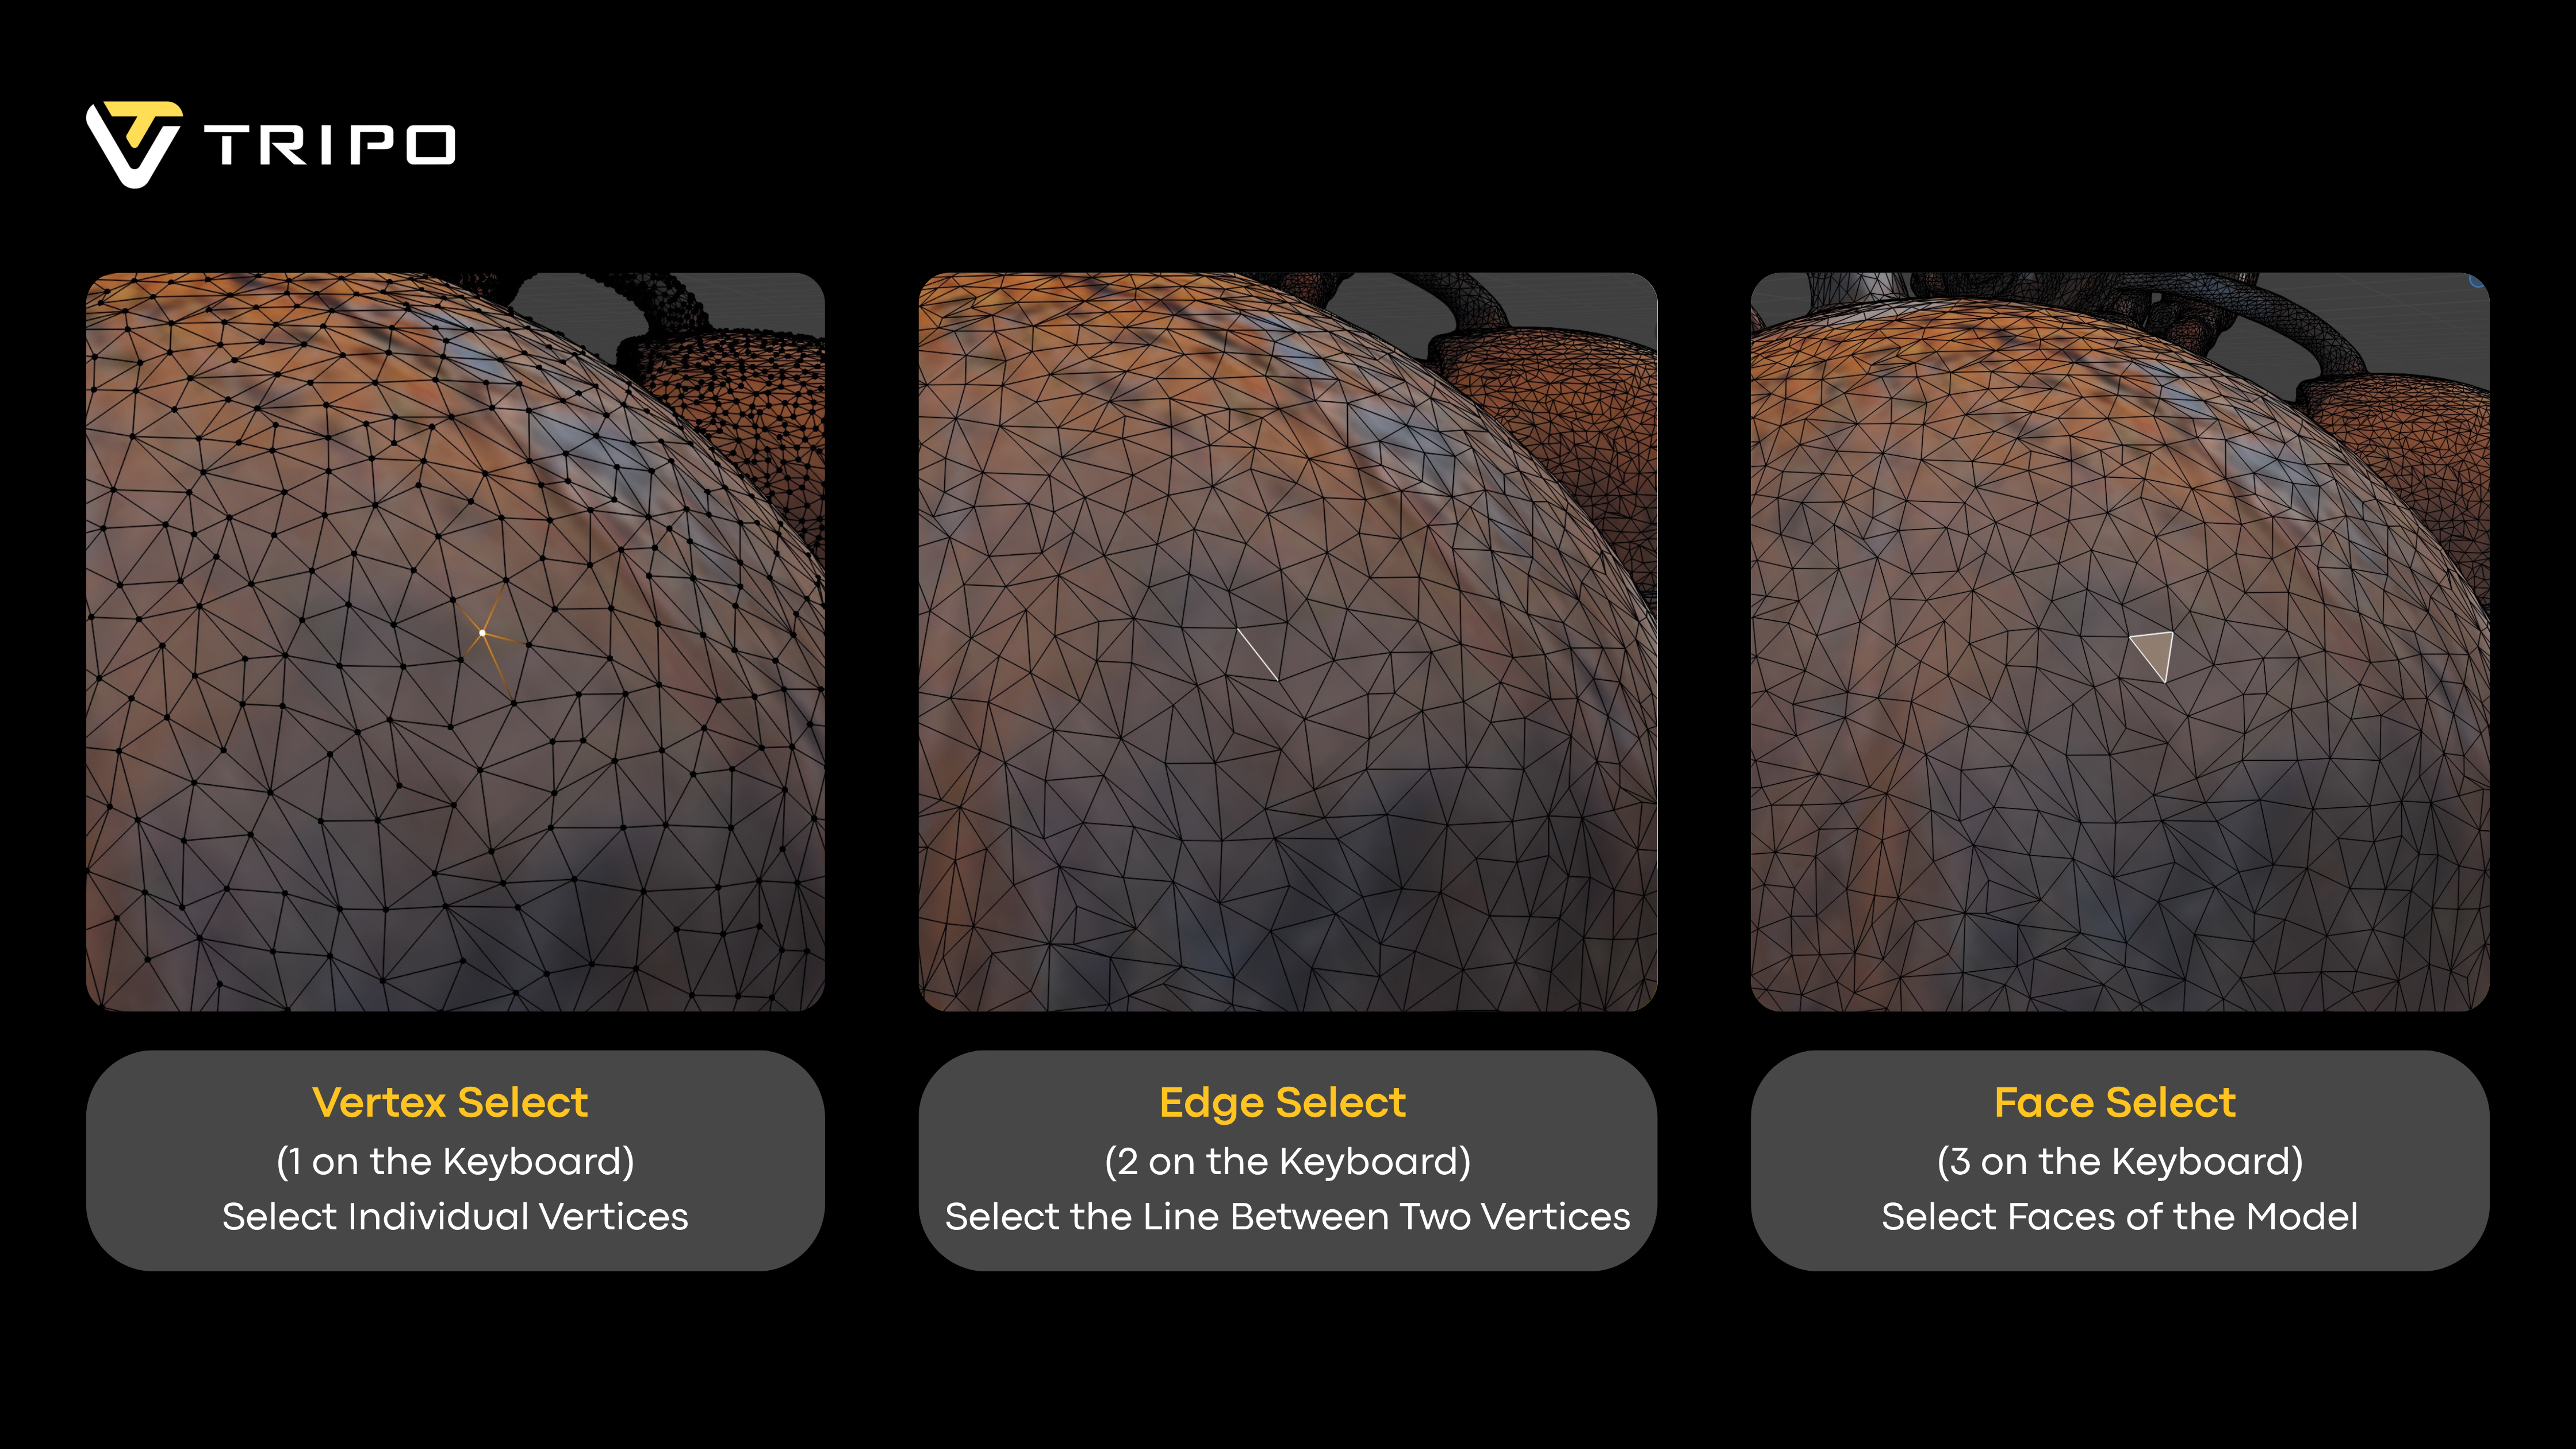
In Edit Mode, you can use different selection methods
- Vertex Select (
1on the keyboard): Allows you to select individual vertices. - Edge Select (
2on the keyboard): Selects edges (the line between two vertices). - Face Select (
3on the keyboard): Allows you to select entire faces of the model.
Use these tools to highlight the areas you want to separate. For example, to segment the legs of a humanoid character, select the faces that make up the legs.
Step 5: Separate the Selected Segments
Once you've selected the faces, you can separate them into their own object:
- Press P to bring up the "Separate" menu.
- Select Selection from the options. This will separate the selected faces into a new object while leaving the rest of the model intact.
This new object can now be edited or textured independently.
Step 6: Fine-Tune the Segmentation
If necessary, you can make adjustments to the segmented parts:
- Join parts: To combine any separated segments, select the parts you want to merge, then press Ctrl + J to join them into one object.
- Smoothing or Refining: Use tools like the Smoothing or Subdivide feature to refine the edges and improve the appearance of the segmented parts.
Step 7: Apply Materials and Textures
Once your model is segmented, you can apply different materials or textures to each segment for better detail and realism. This is particularly useful for complex models like vehicles, characters, and architectural designs.
Common Tools for Segmenting 3D Models
While the method described above applies to Blender, many other 3D modeling software have similar tools for segmentation:
- Maya: Maya provides a powerful modeling toolkit that allows users to combine, separate, and edit different parts of a 3D model using the Mesh tools.
- ZBrush: ZBrush offers a Subtool feature that allows for the segmentation of highly detailed meshes, making it ideal for sculpting.
- 3D Coat: This software allows for the segmentation of organic models and applies sophisticated painting tools that work perfectly on segmented parts.
Best Practices for Effective Segmentation
- Keep the Segmentation Logical: Try to break down your model into natural, manageable segments. For example, break a human figure into arms, legs, torso, and head.
- Minimize Overlapping Faces: Ensure that the edges of your segments don't overlap unnecessarily, as this can complicate the texturing and rigging process.
- Use Layers and Groups: Group related segments together and use layers for organization, making it easier to manage complex models.
Advanced Methods for Segmenting 3D Models
While the basic segmentation methods are great for simple tasks, advanced techniques allow for more precise and optimized segmentation, especially when working with complex models or large datasets. Below are some advanced segmentation methods that can be used in professional 3D modeling workflows.
1. Using Boolean Operations for Segmentation
Boolean operations allow you to combine, subtract, or intersect multiple 3D objects in Blender or other modeling software. These operations are highly useful for segmenting objects by creating new parts from existing geometry or cutting out sections of a model.
How to use Boolean Operations:
- Union: Combines two or more meshes into a single object.
- Difference: Cuts out the area of one mesh from another.
- Intersection: Keeps only the overlapping part of two meshes.
Steps in Blender:
- Create or import your base object and a cutting object (like a cube, sphere, or another mesh).
- Select the object you want to segment and go to the Modifiers tab.
- Add a Boolean Modifier and choose the operation (Union, Difference, or Intersection).
- Select the cutting object to define the area for segmentation.
- Apply the modifier and adjust the geometry as needed.
This method is great for precise cuts and creating complex shapes from multiple objects.
2. Automated Segmentation via Sculpting and Masking
When working with organic models or highly detailed meshes (e.g., characters or creatures), sculpting tools can be used in conjunction with masking to segment the model automatically.
How to use Sculpting and Masking:
- Masking: In sculpt mode, use the Mask brush to isolate areas you want to keep separate. You can then invert the mask and isolate specific segments.
- Sculpting: After masking, you can sculpt or refine individual segments, using techniques like DynTopo (dynamic topology) or Multi-Resolution Sculpting to ensure detailed refinement while keeping the parts separated.
- Separation: Once you have sculpted the desired sections, you can switch to Edit Mode, select the masked section, and press P to separate it into a new object.
This method is especially useful for complex, organic shapes where precision is required in each segment.
3. Automatic Segmentation with Mesh Decimation
Mesh decimation is a technique used to reduce the complexity of a model while maintaining its essential shape and structure. This can be especially helpful when segmenting larger models or preparing them for real-time environments like games or VR.
Steps in Blender:
- Use Decimate Modifier to simplify the geometry of the model. You can specify the percentage reduction to decimate.
- Apply Edge Split Modifier to preserve sharp edges while decimating the model. This ensures that segmentation occurs without losing crucial detail in high-contrast regions.
- Once simplified, manually separate the mesh into logical parts using the Knife Project Tool or Vertex Groups to create a cleaner division.
This method is typically used when the model has high polycount areas that need to be split for efficient rendering or animation.
4. Segmenting with Vertex Groups and Weight Painting
If you're looking to segment a model for rigging or animation purposes, Vertex Groups and Weight Painting can provide a non-destructive and highly flexible way of segmenting and defining which parts of the mesh will be affected by certain bones or deformations.
How to use Vertex Groups:
- Assign Vertex Groups: In Edit Mode, select the vertices you want to assign to a new segment and create a Vertex Group. You can assign a group by pressing Ctrl+G and naming it.
- Weight Painting: Switch to Weight Paint Mode and paint the areas of your model that should be influenced by specific bones or parts of the mesh. Higher weights mean more influence.
- Separation by Weight: You can also separate vertices into different objects based on their weight or vertex group assignment.
This approach is useful for animation rigs where you want to segment a model logically but still keep everything in one mesh for easier management.
5. Using Retopology for Clean Segmentation
Retopology is a technique often used when dealing with highly detailed sculpted models or scanned data. It involves creating a new mesh that conforms to the original geometry but with a cleaner, more manageable topology. This allows for precise segmentation based on the retopologized mesh.
How to Use Retopology for Segmentation:
- Start by creating a new mesh with simpler topology over your existing model. Use tools like Quad Draw in Maya or RetopoFlow in Blender to trace over the original geometry.
- Once the retopology is complete, you can easily segment the new, lower-poly model into parts by selecting areas and separating them in Edit Mode.
- Since the new mesh has optimized topology, it will be much easier to animate, texture, and modify the segmented parts without losing detail.
This technique is especially helpful for models that require heavy manipulation, such as characters or large environments, and ensures that each segment is clean and efficient.
6. Use of Custom Scripts and Add-Ons
For complex models, especially in industries like game development or VFX, custom Python scripts or add-ons can speed up the segmentation process. These scripts can automate the segmentation of a model based on predefined criteria (such as face angles, proximity, or material IDs) or even split models into parts based on their geometry.
Example Tools:
- Blender's "Auto Segment" Add-On: This add-on can automatically segment a model based on specific parameters like surface area, curvature, or mesh density.
- Custom Python Scripts: You can write or download scripts that analyze the geometry and automatically divide the model into parts. These scripts can be customized to fit your exact segmentation needs.
Conclusion
Segmenting a 3D model is a critical skill that allows artists to manage and edit their models more efficiently. Whether you're working on a game asset, a product design, or an animation, segmentation enables more precise control over the model's details. By following the steps above and using the right tools, you can break down complex models into manageable parts, improving your workflow and the overall quality of your work.
If you're just starting with 3D modeling, don't be afraid to experiment with segmentation techniques to enhance your models. The more you practice, the more natural it will become, and you'll be able to create even more detailed and optimized 3D models.
