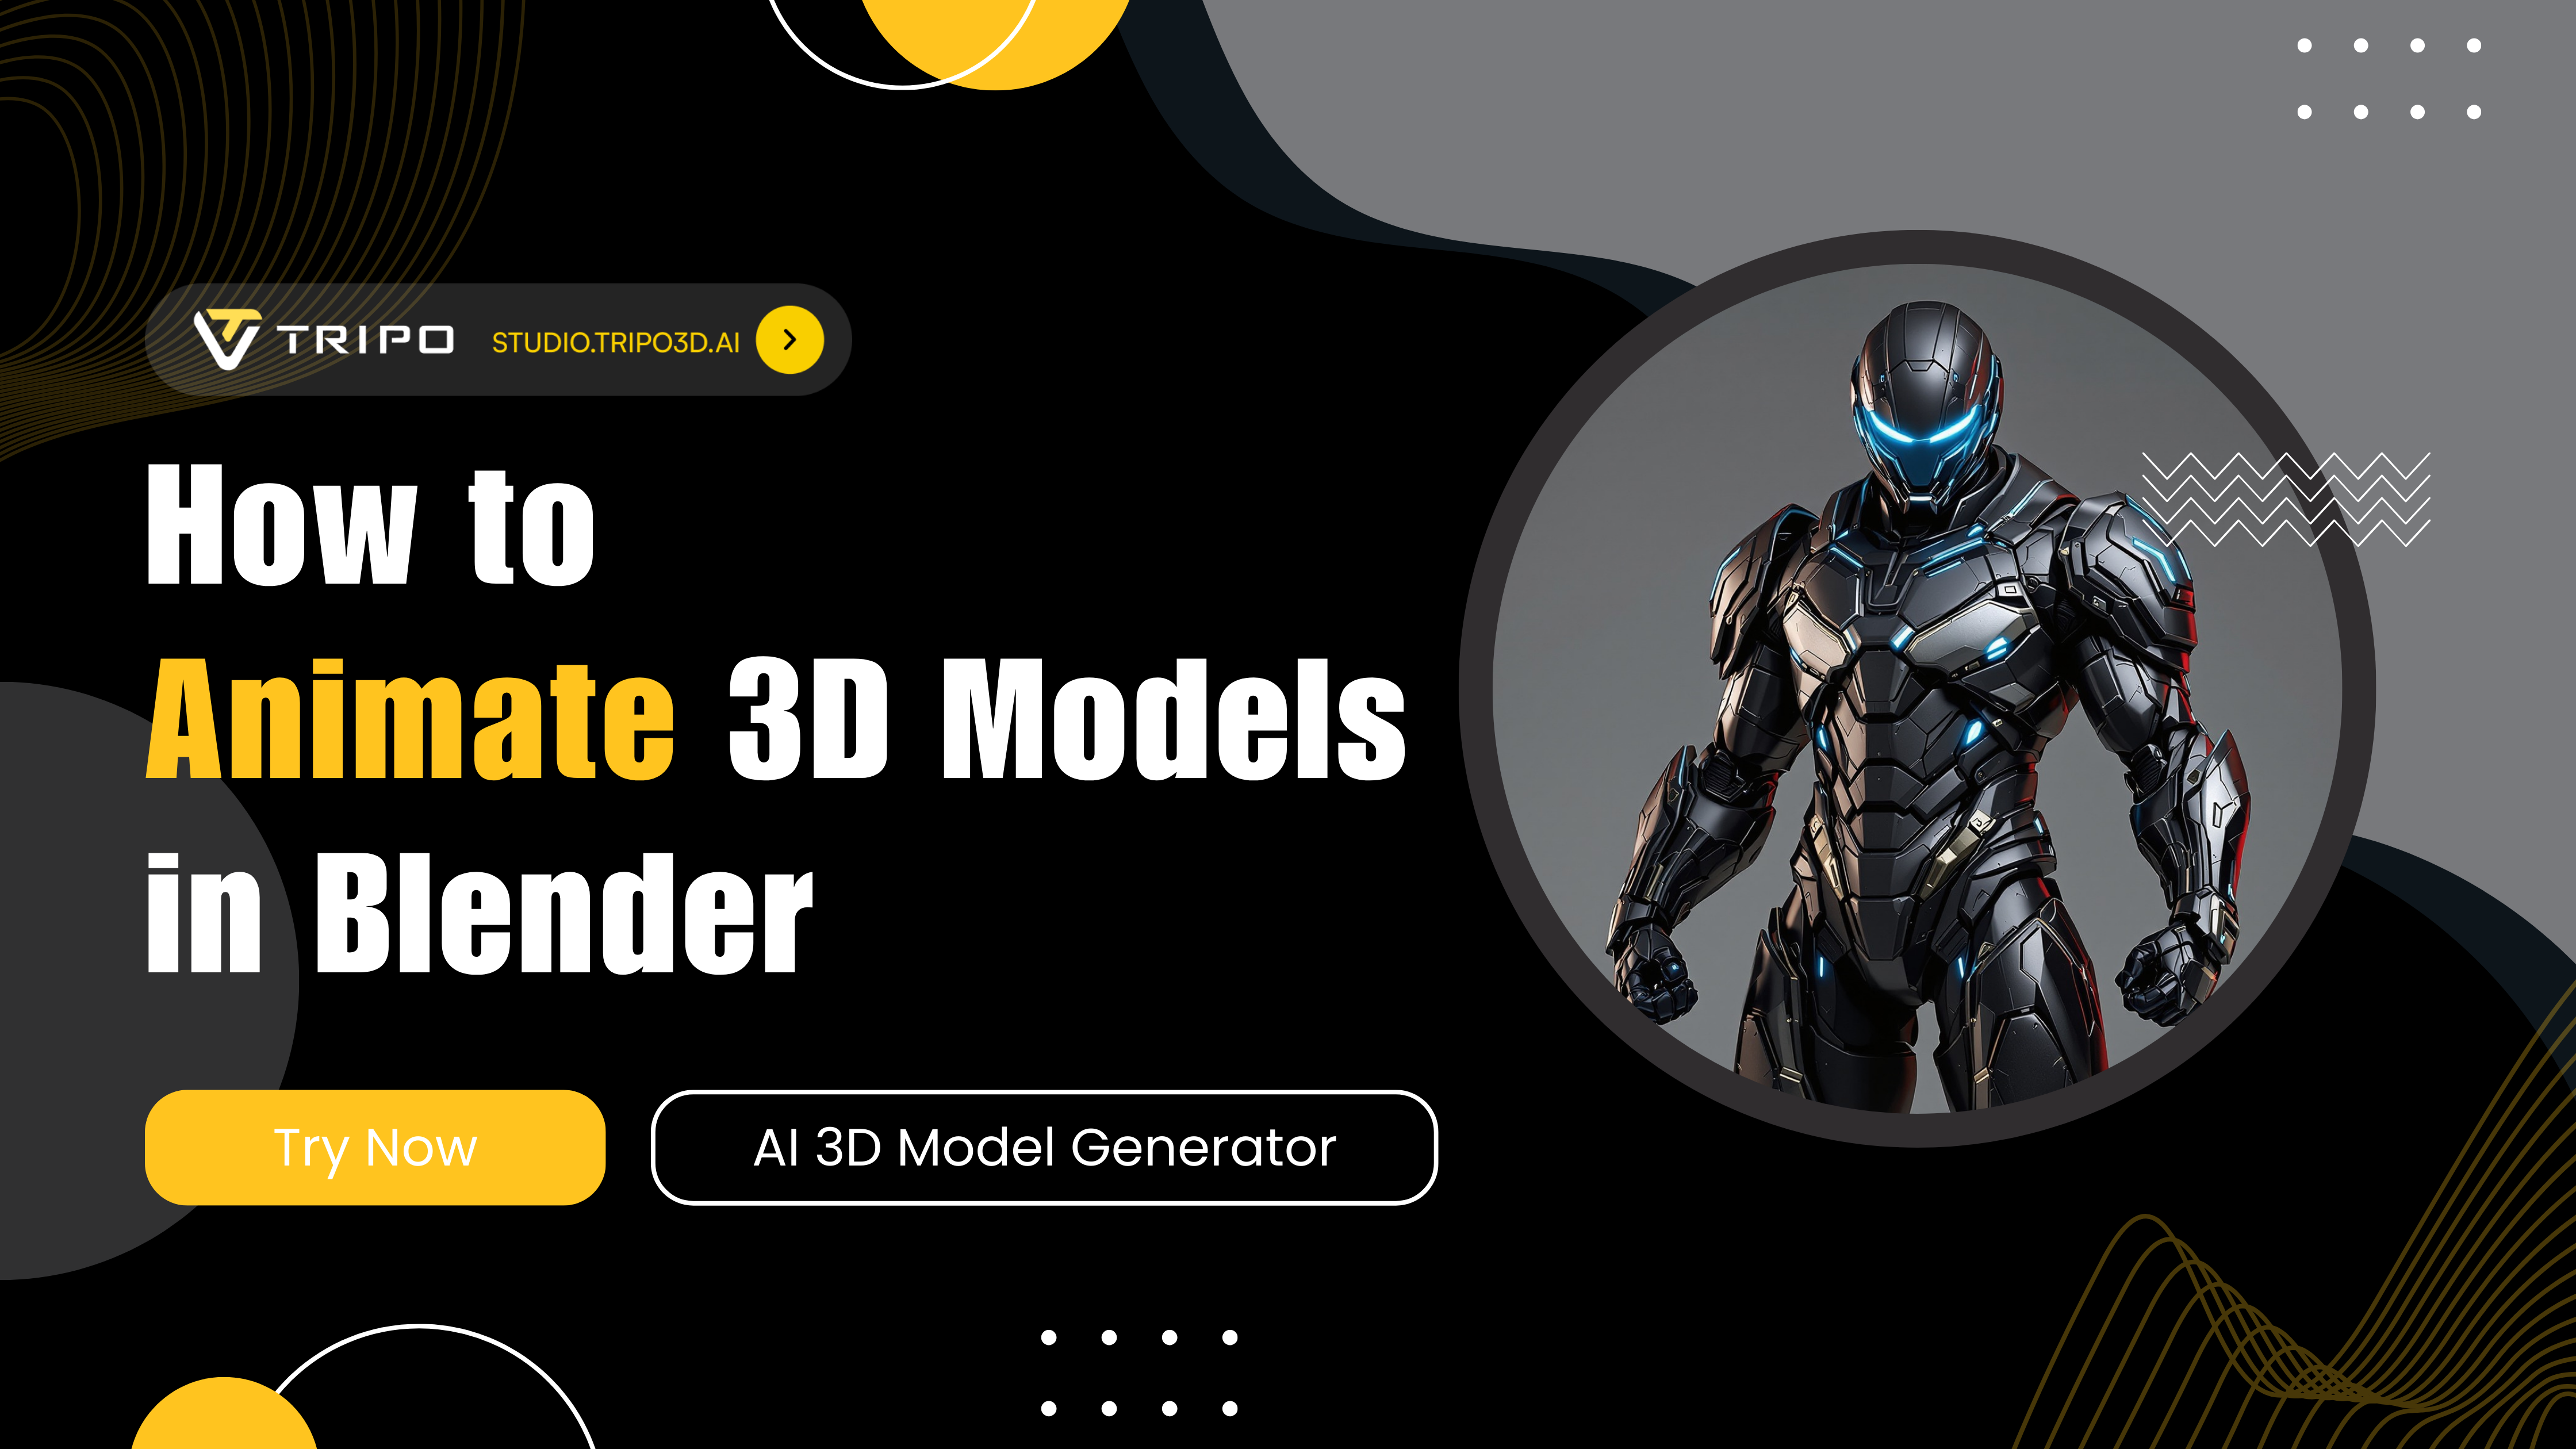
How to Animate 3D Models in Blender: Easy AI Solutions for Beginners
Have you ever wondered how to animate your 3D model quickly and efficiently? In this comprehensive guide, we'll explore how to bring your static 3D creations to life using Blender and cutting-edge AI tools. Whether you're a beginner or an experienced artist looking to streamline your workflow, this tutorial will show you how to AI animate 3D models with professional results in less time than traditional methods.
Skip the Hard Part: Get Animation-Ready Models with Tripo AI
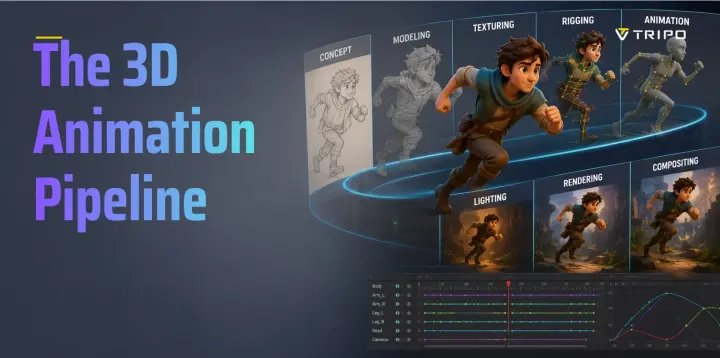
Before diving into animation techniques, let's address the game-changing innovation in the 3D creation landscape: AI-powered modeling and rigging. Traditional workflows require extensive technical knowledge and time commitment, but modern AI solutions are transforming the industry.
Tripo AI stands at the forefront of this revolution, offering a complete solution that helps you animate your 3D model with unprecedented ease. With Tripo AI's powerful toolset, you can:
With Tripo AI's complete end-to-end solution, you can:
- Generate custom 3D characters using simple text descriptions or reference images
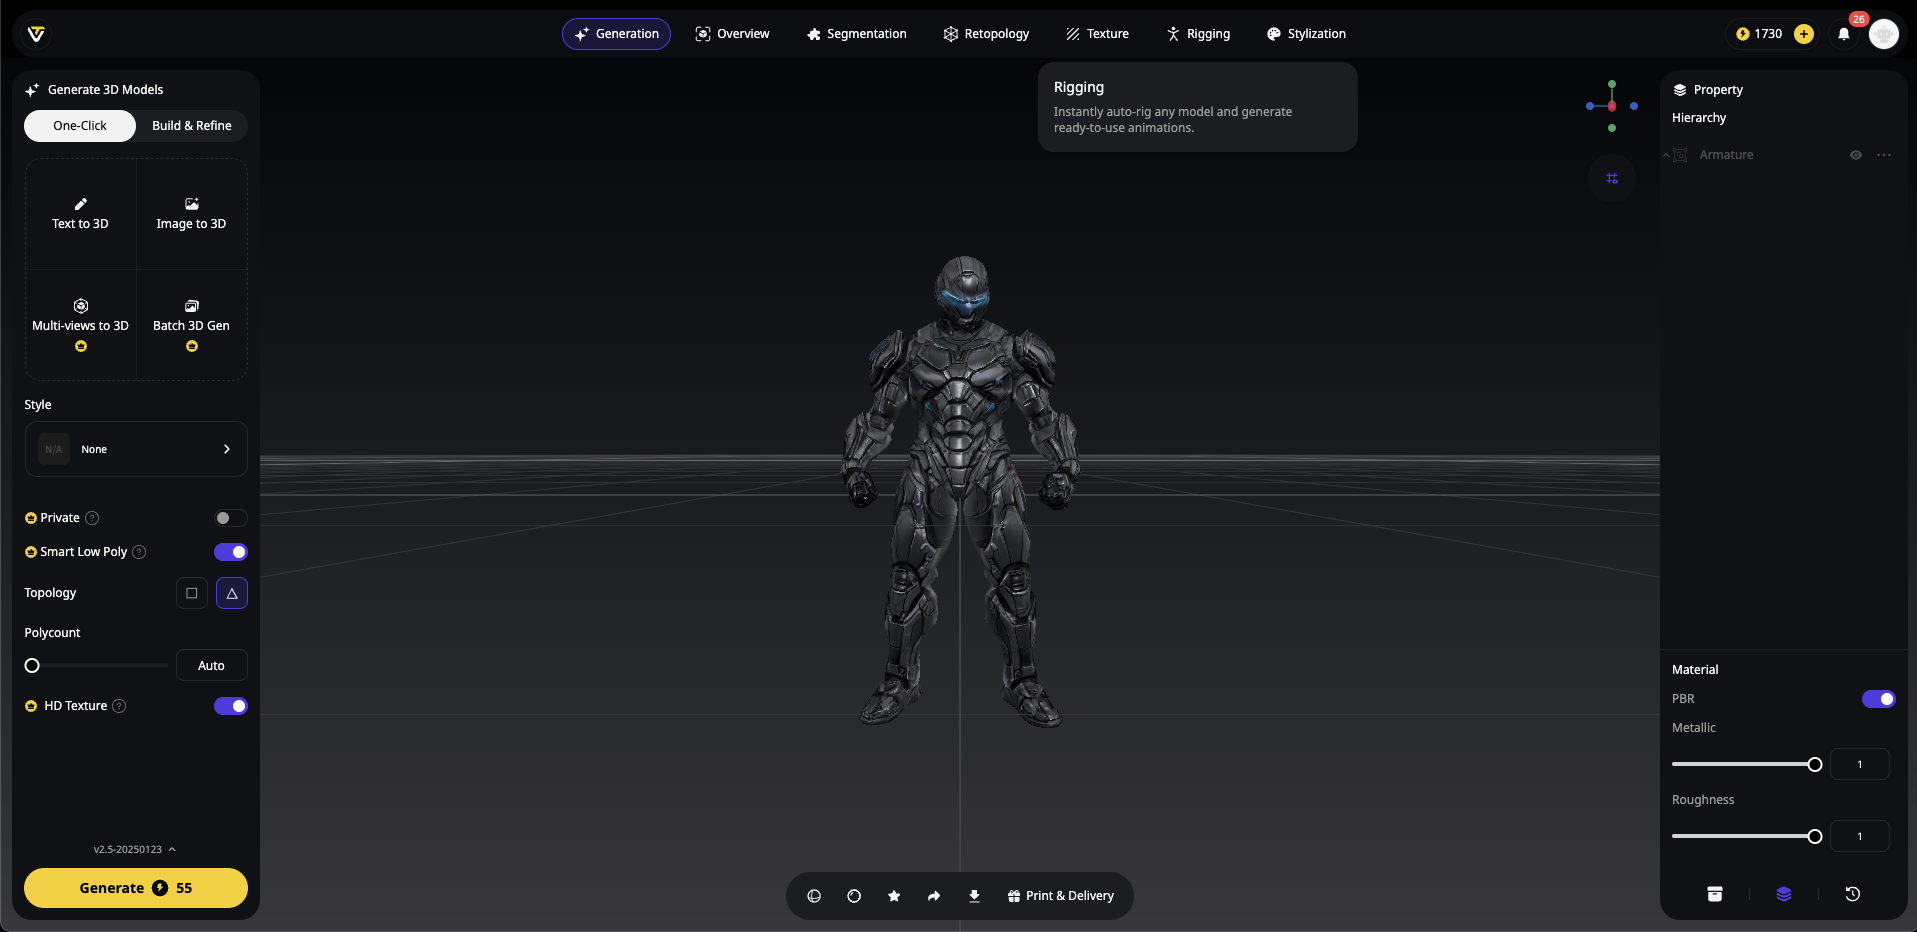
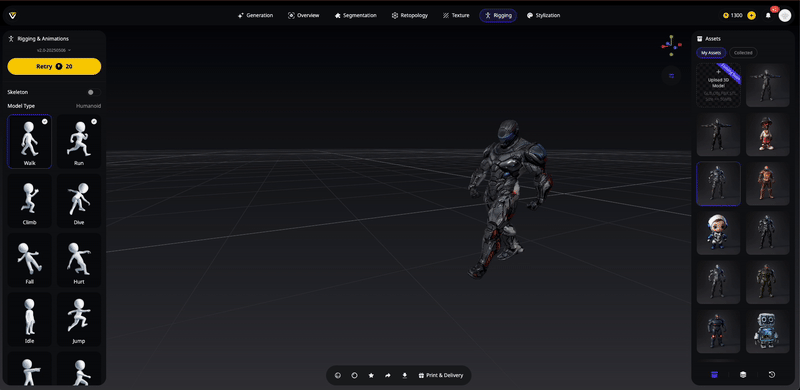
- Automatically rig your models with our built-in auto-rigging feature
- Download animation-ready characters in minutes instead of days
- Import them directly into Blender to start animating immediately
No more tedious modeling or complex rigging required! Simply visit Tripo AI Studio, create your model using an image reference or text description, navigate to the rig section, click "Create Rig," download your fully-rigged character, and import it into Blender. You'll be animating in minutes, not days.
Now let's explore how to bring your Tripo-generated characters to life with animation!
Getting Started: Setting Up Your Animation Project
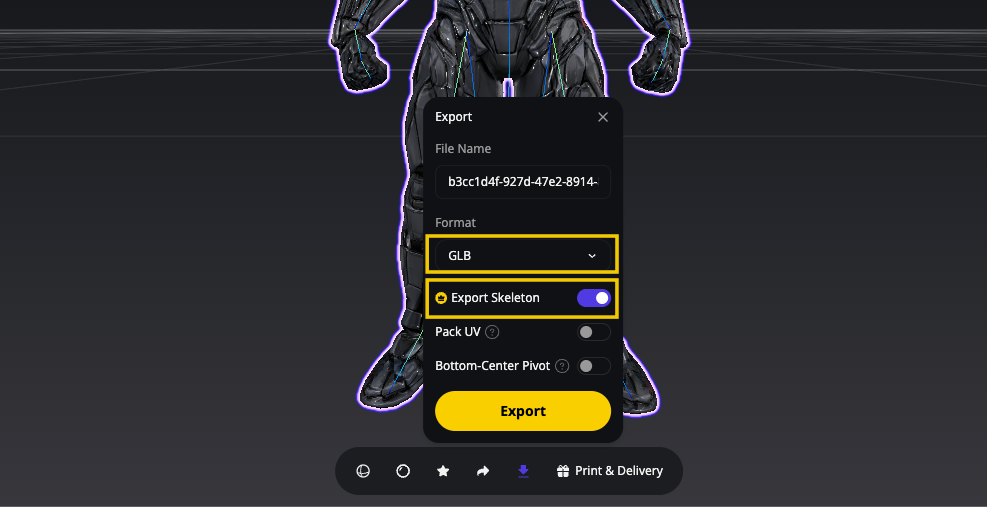
Step 1: Import Your Rigged Model
- Open Blender and go to File > Import (or drag the model directly into your interface)
- Select the appropriate format for your Tripo AI-generated model (.fbx or .glb)
- Navigate to your downloaded file and import
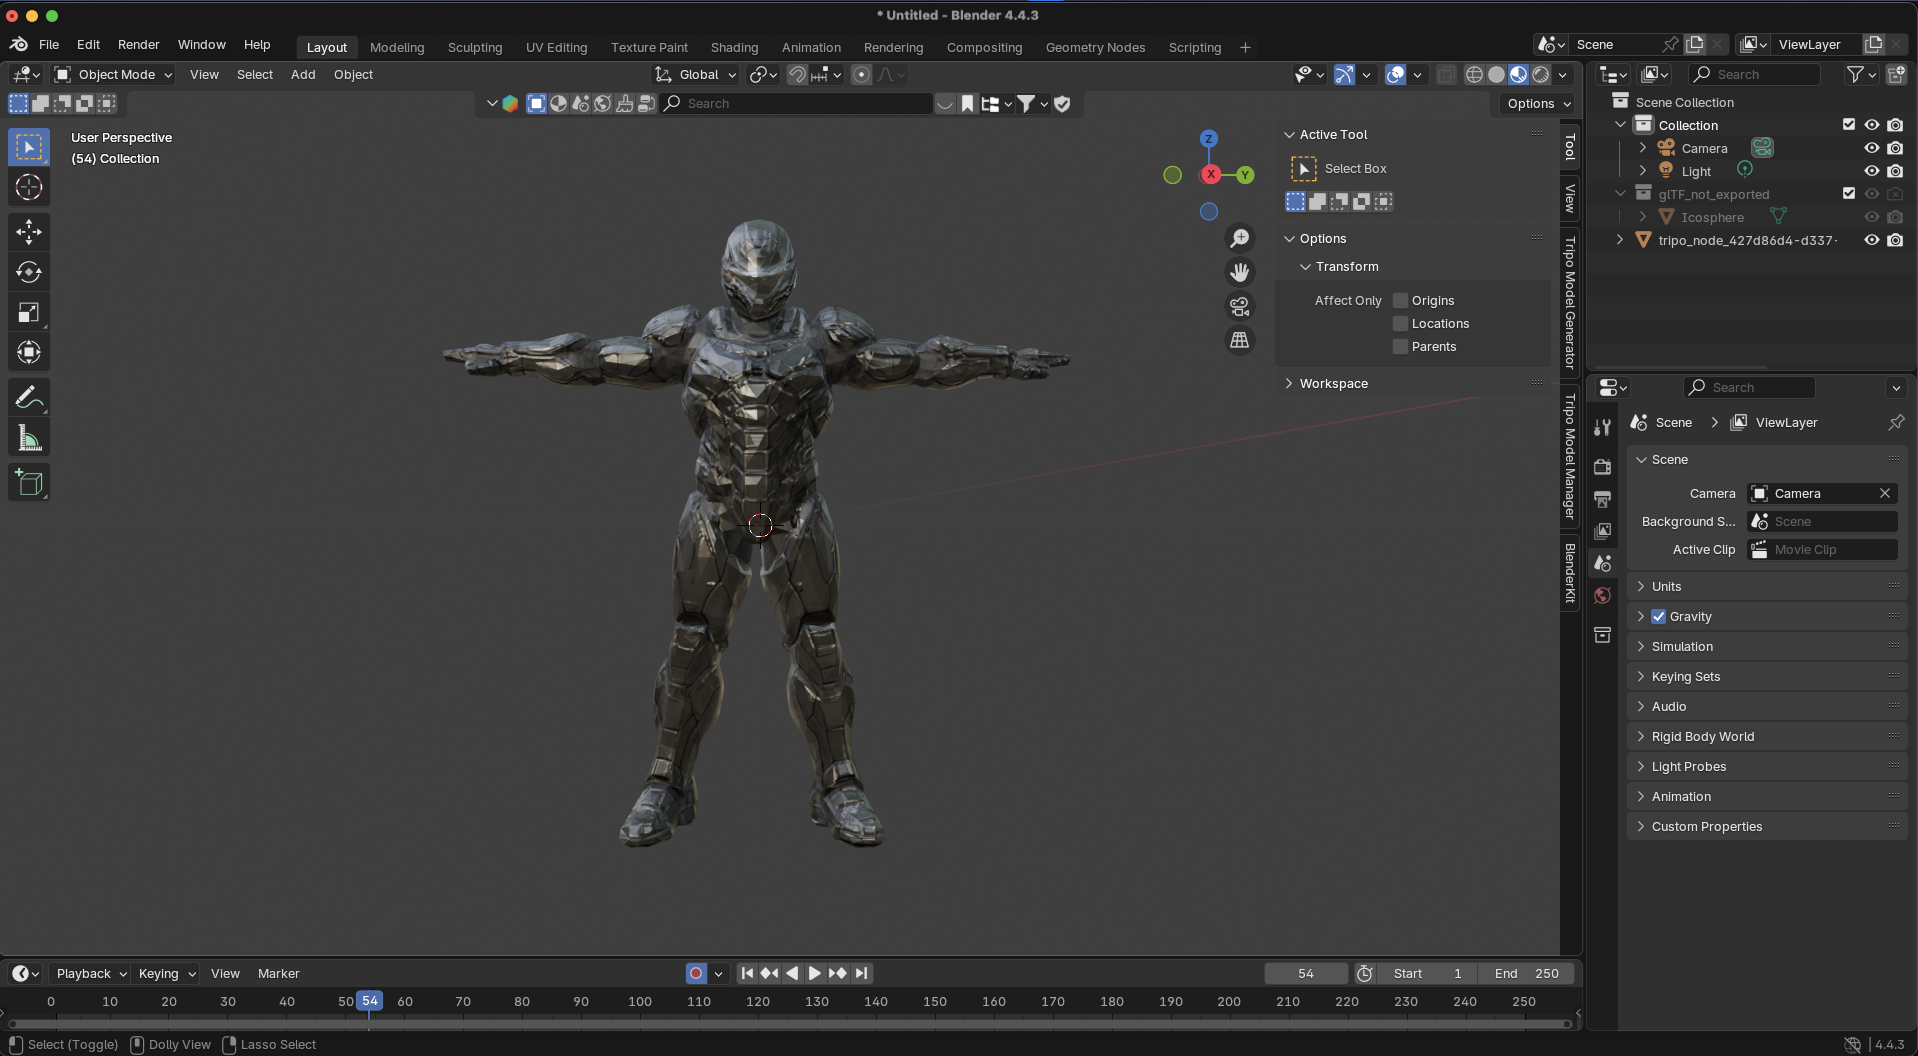
- Once imported, select your model and ensure it's properly scaled for your scene
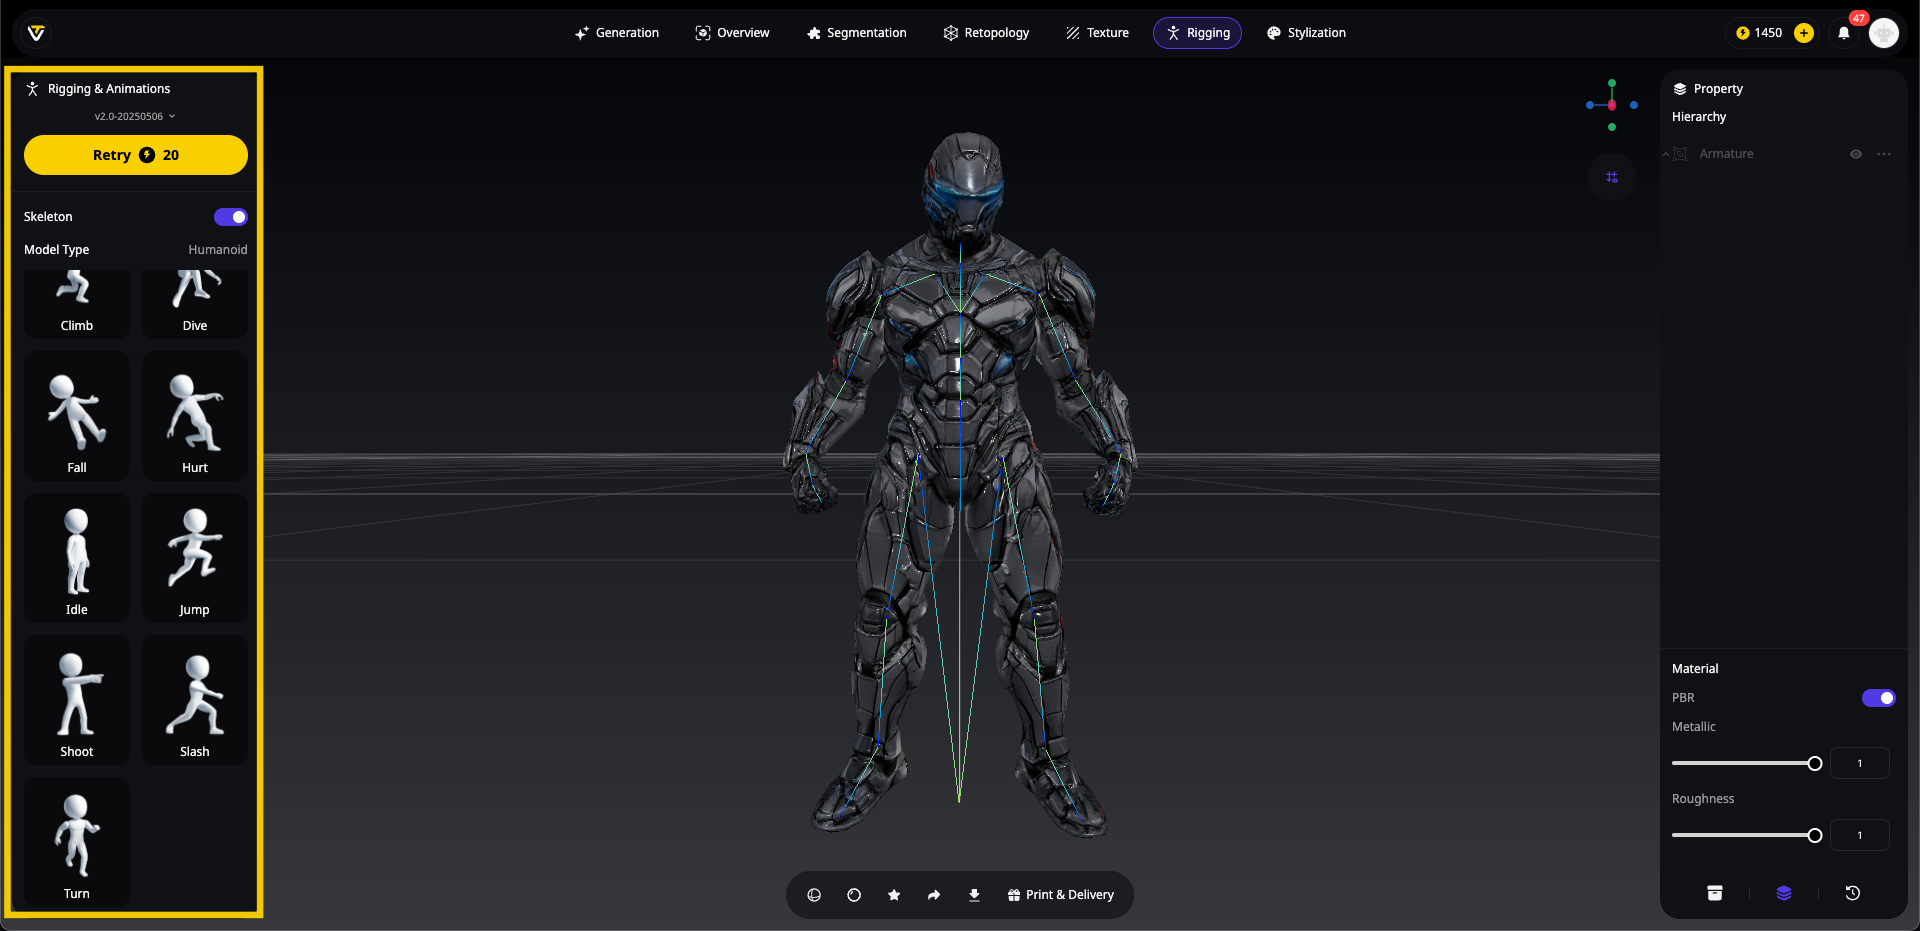
Step 2: Explore the Rig
When you AI animate 3D models, understanding the rig structure is crucial:
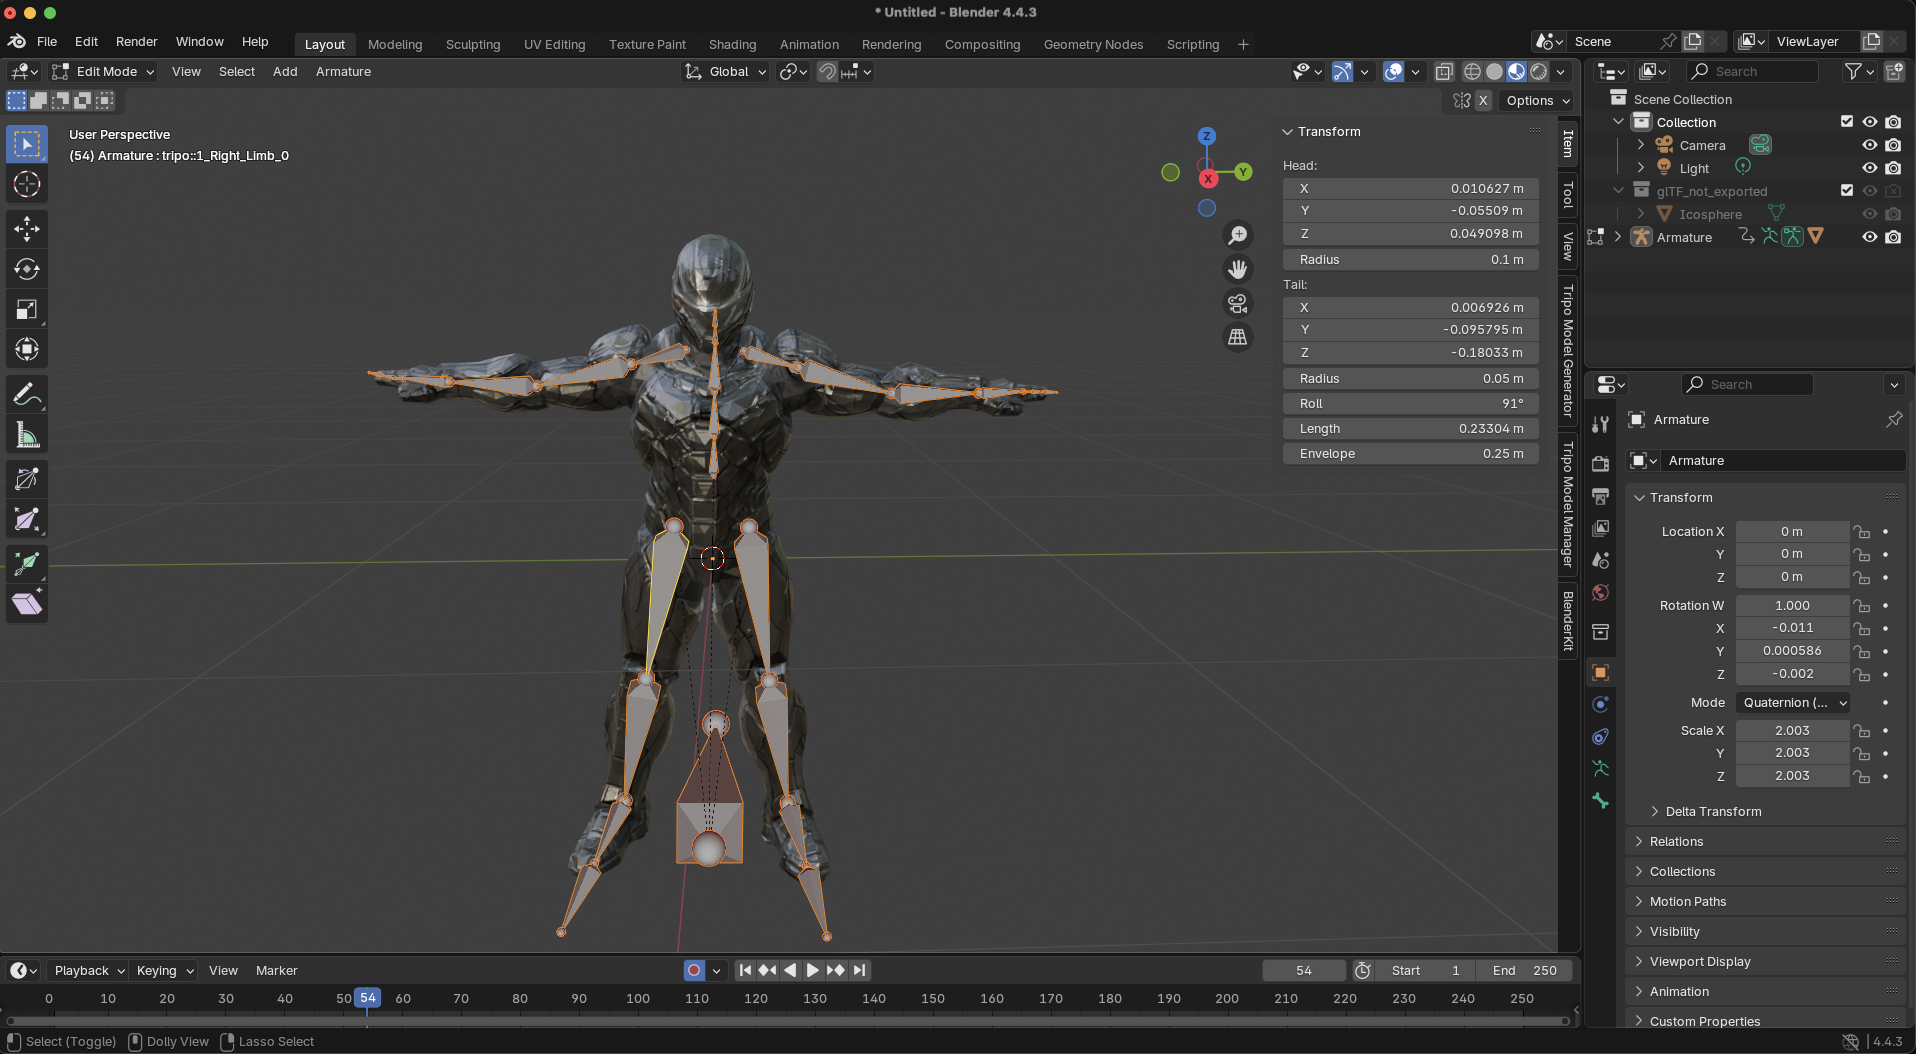
Before you start animating, take some time to understand the rig you're working with:
- Select your character model
- Switch to Pose Mode by pressing Ctrl+Tab or selecting it from the mode dropdown menu
- Click on different bones to see which parts of the model they control
- Test some simple movements to understand how the rig behaves
- Note any special controllers or IK (Inverse Kinematics) handles that make posing easier
Step 3: Set Up Your Animation Workspace
Creating an efficient workspace will dramatically improve your ability to animate your 3D model:
- Switch to the Animation workspace from the top menu, or create your own by:
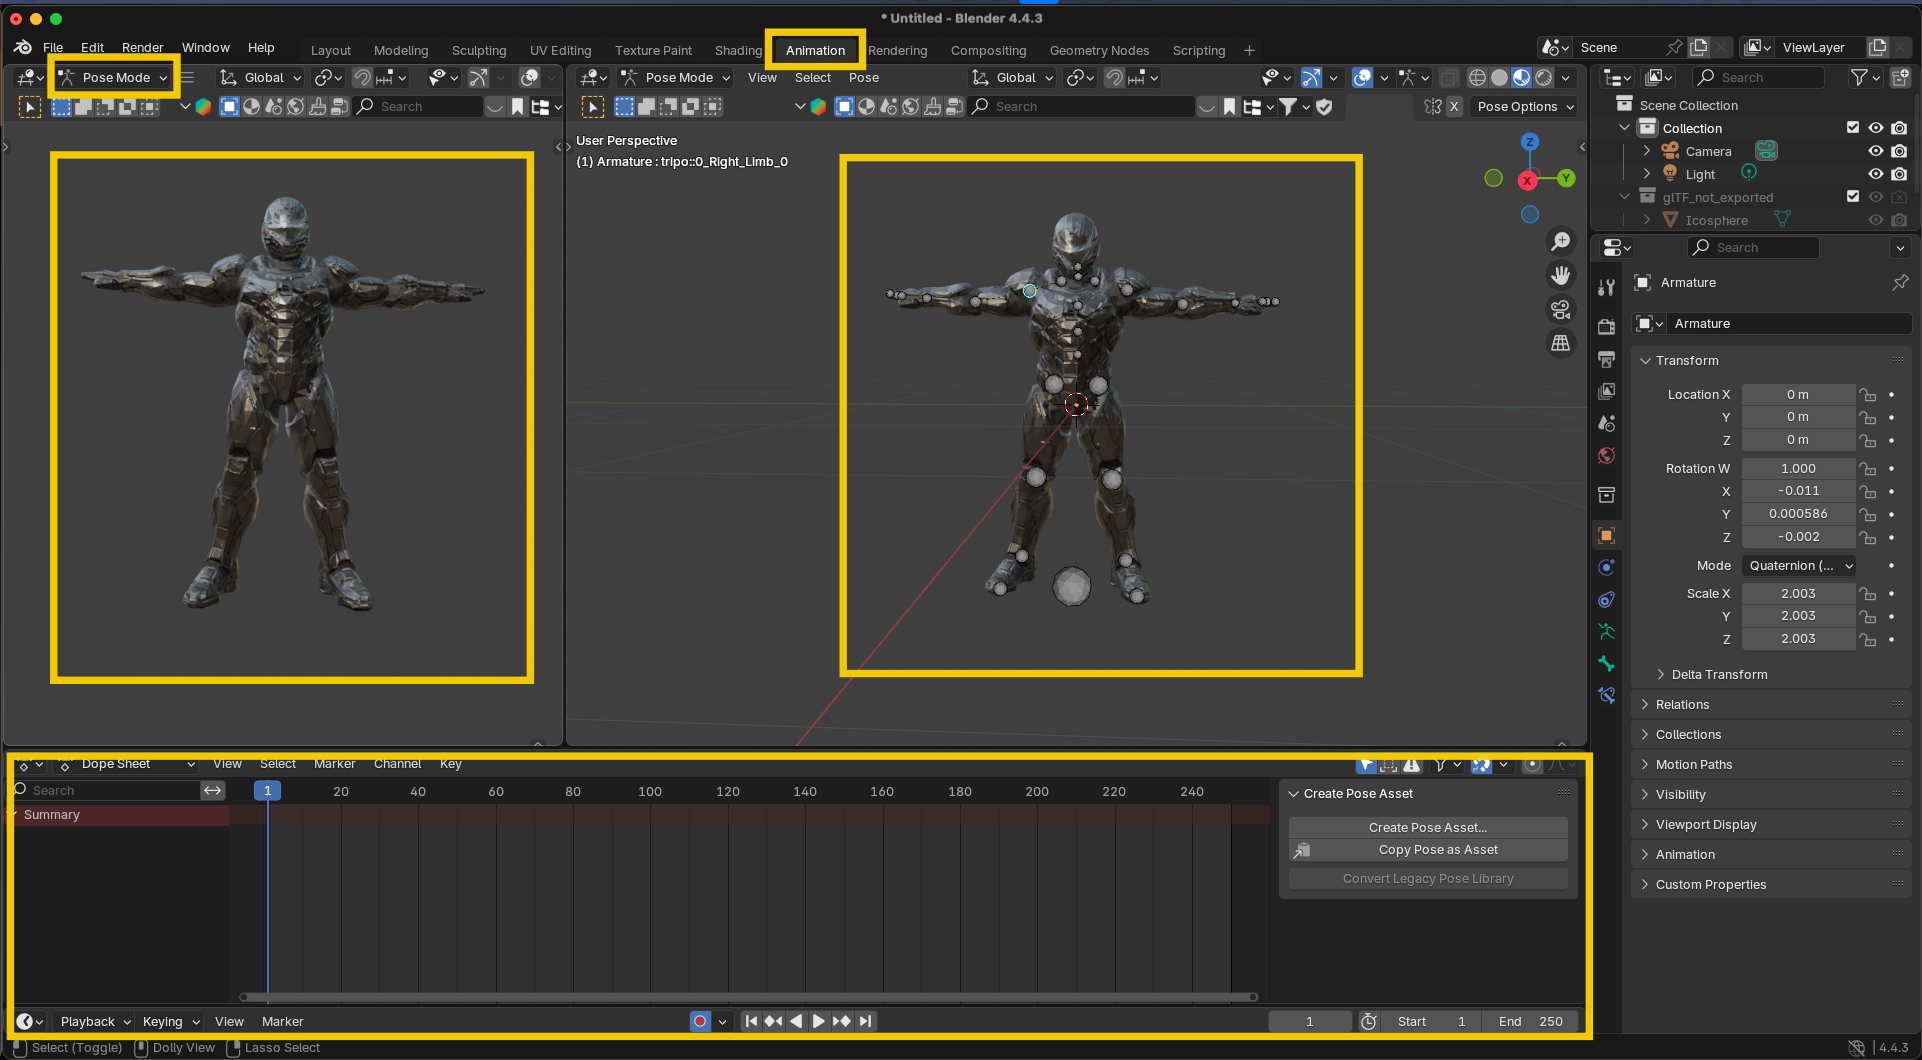
Splitting your viewport (right-click on the border and select "Split Area")
Setting one view to the 3D viewport and another to the Dope Sheet or Graph Editor
Adjusting the views to your preference
- Configure your timeline:
Set your animation's frame range (default is 1-250, but adjust as needed)
Set the frame rate (typically 24fps for film, 30fps for video)
Animation Fundamentals: The 12 Principles
Before diving into the technical process, it's helpful to understand the 12 principles of animation that make movements look natural and appealing:
- Squash and Stretch: Objects deform when moving
- Anticipation: Prepare the viewer for an action
- Staging: Present ideas clearly
- Straight Ahead vs. Pose to Pose: Different approaches to animation creation
- Follow Through: Parts continue moving after the main body stops
- Slow In and Slow Out: Gradual acceleration and deceleration
- Arcs: Natural movements follow arcs, not straight lines
- Secondary Action: Supporting movements that enhance the main action
- Timing: Speed of actions conveys weight and personality
- Exaggeration: Emphasizing actions for effect
- Solid Drawing: Understanding form in three-dimensional space
- Appeal: Creating a connection with the audience
While mastering all these principles takes time, keeping them in mind as you work will dramatically improve your animations.
Animation Workflow: Creating a Jumping Jack Animation
Let's create a dynamic jumping jack animation, perfect for showing off your character's range of motion:
Step 1: Find Reference Material
Great animation relies on solid reference:
- Search for reference videos of jumping jacks or whatever you are creating.

- Pay attention to the rhythm, timing, and how weight shifts during the exercise
- Consider filming yourself performing jumping jacks for personalized reference
Pro tip: Slow-motion videos help you understand the subtleties of the movement, particularly how the arms and legs coordinate.
Step 2: Set Up Auto Keyframing
To speed up your workflow:
- Enable automatic keyframing by clicking the red circle in the timeline header
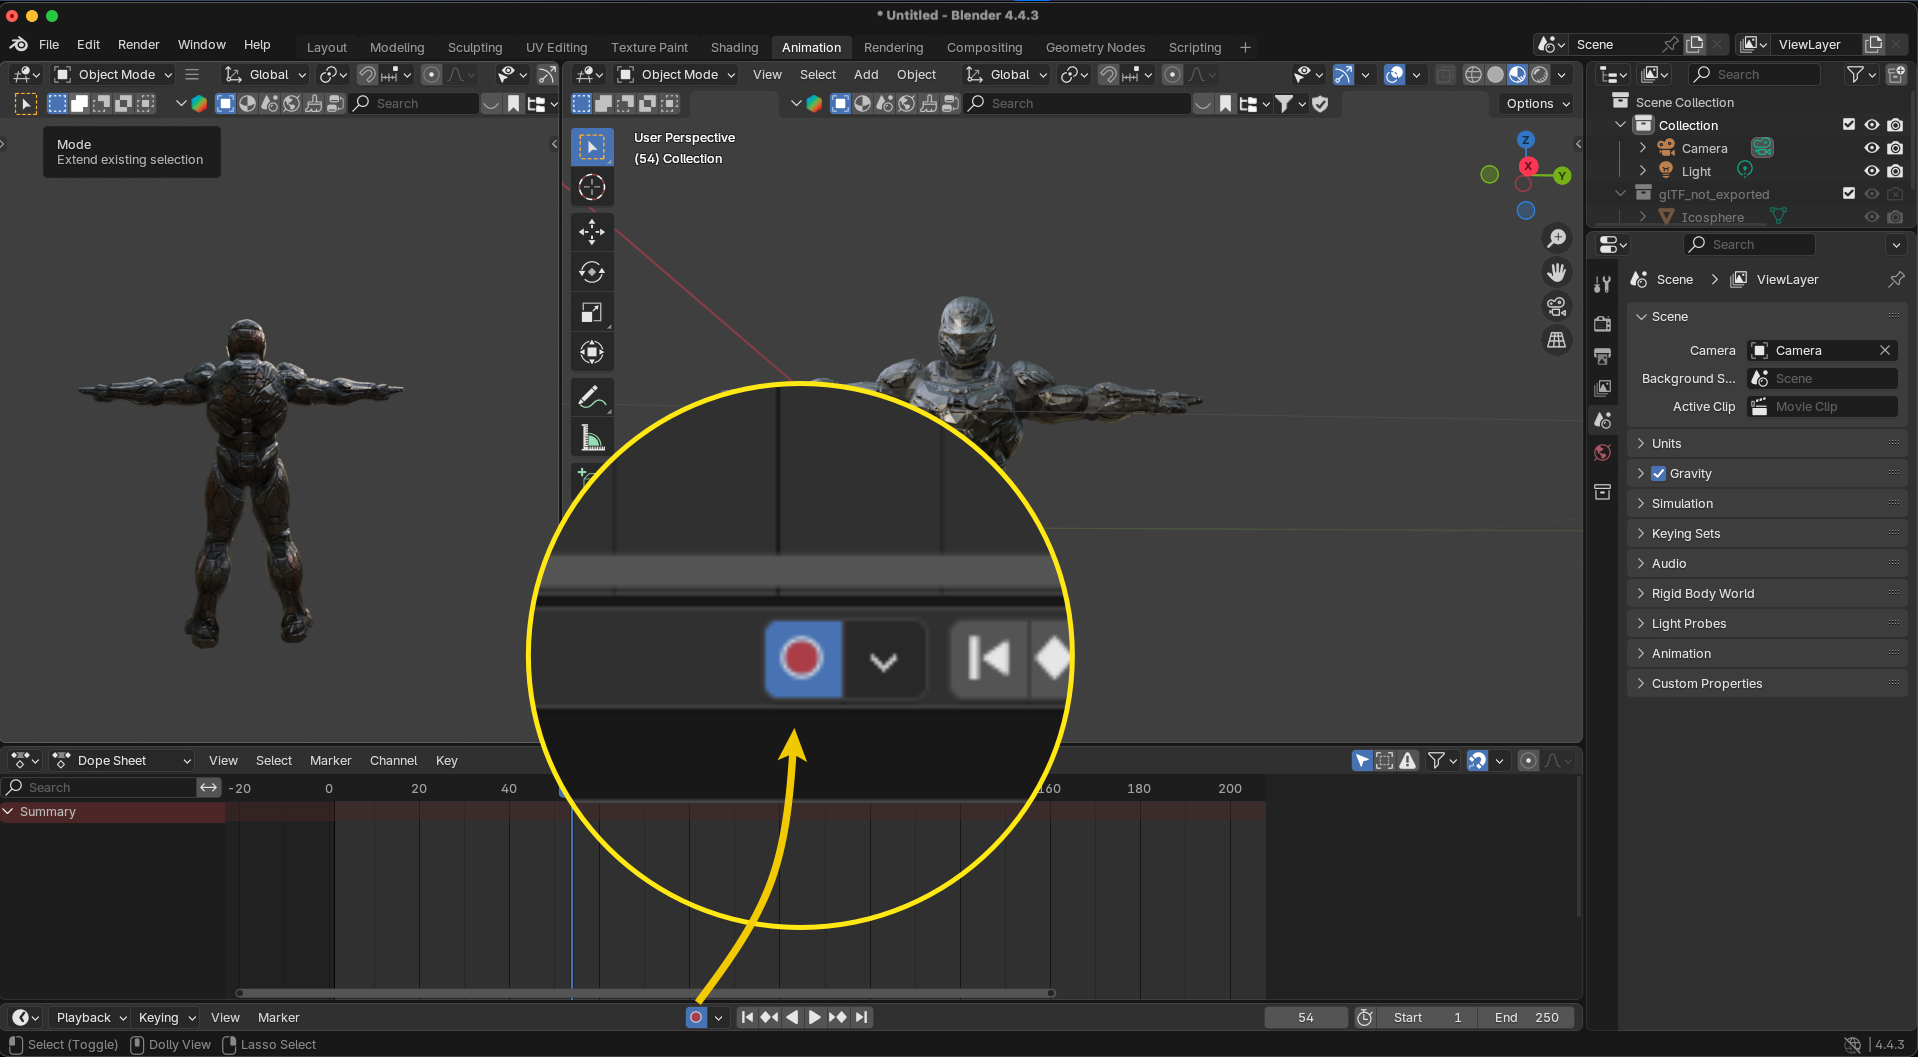
- This will automatically create keyframes whenever you move bones while the timeline is on a different frame
Step 3: Create Your Key Poses
Let's create a jumping jack animation cycle:
- Starting Pose (Frame 1): Rest position
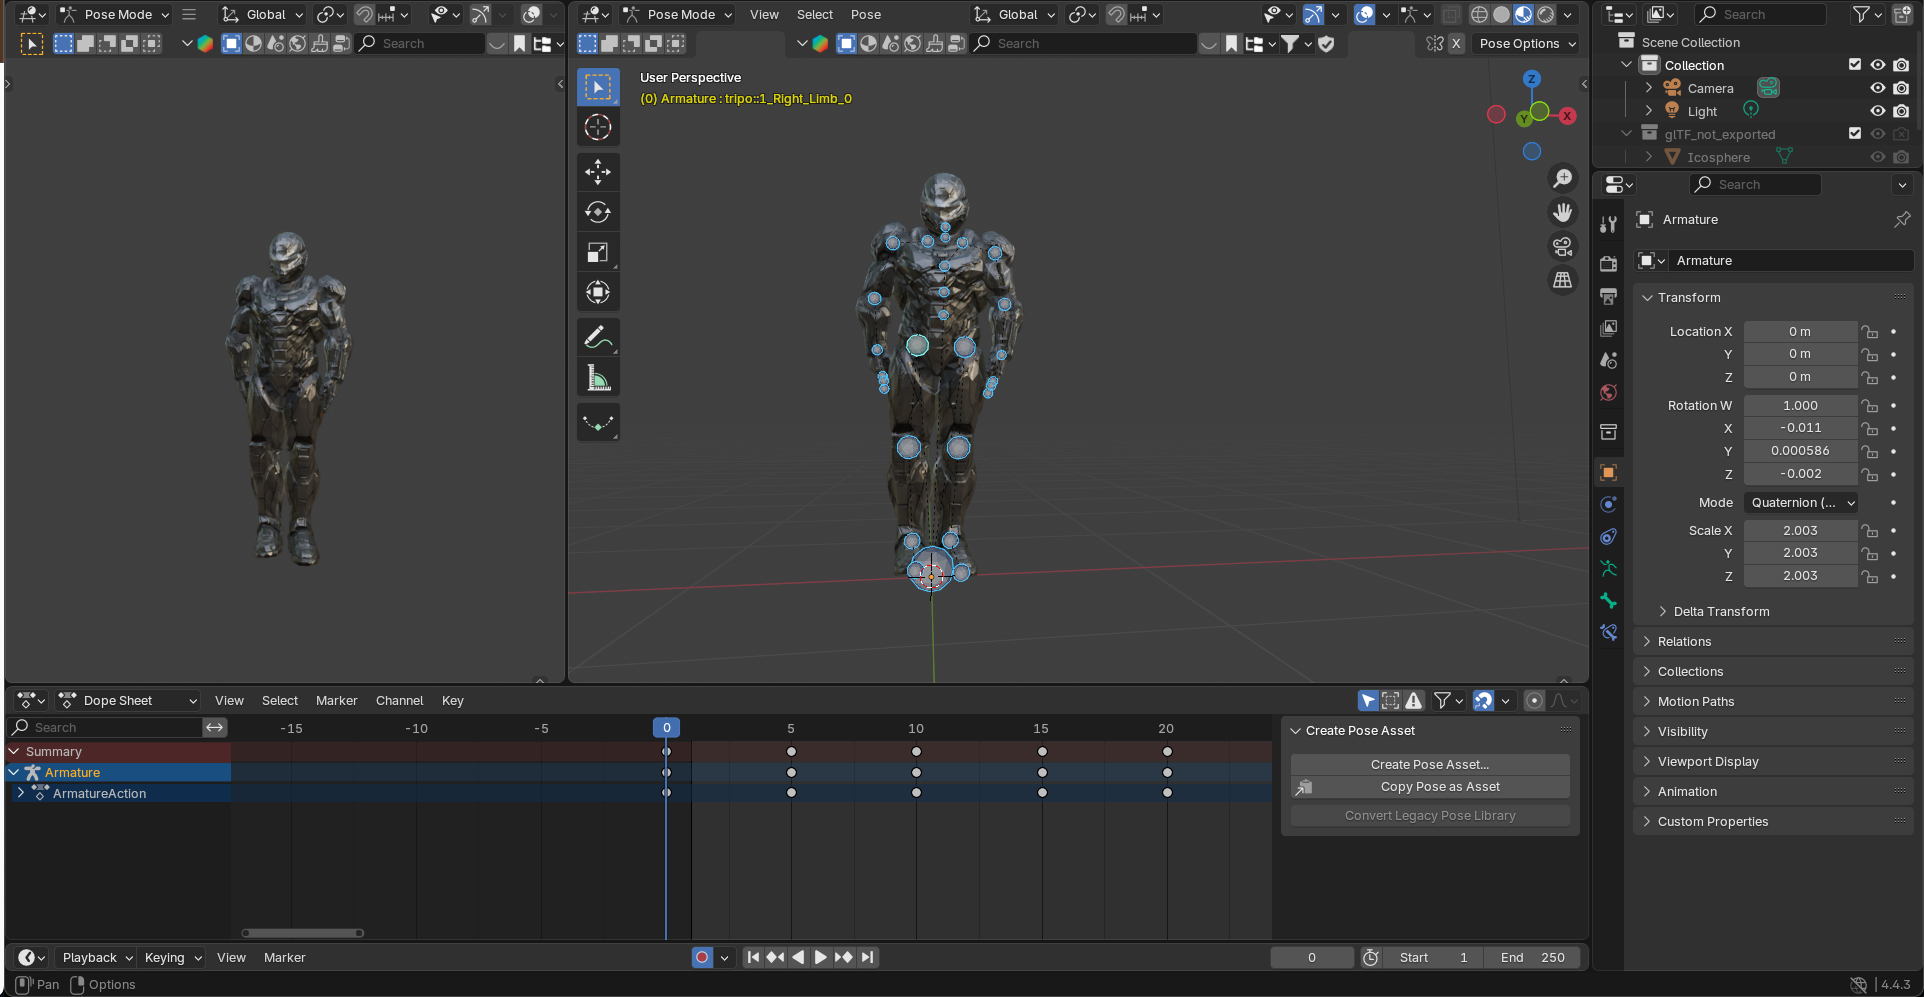
Position your character standing straight with feet together
Arms relaxed at the sides
Slight bend in the knees to prepare for the jump
Create keyframes for all selected bones
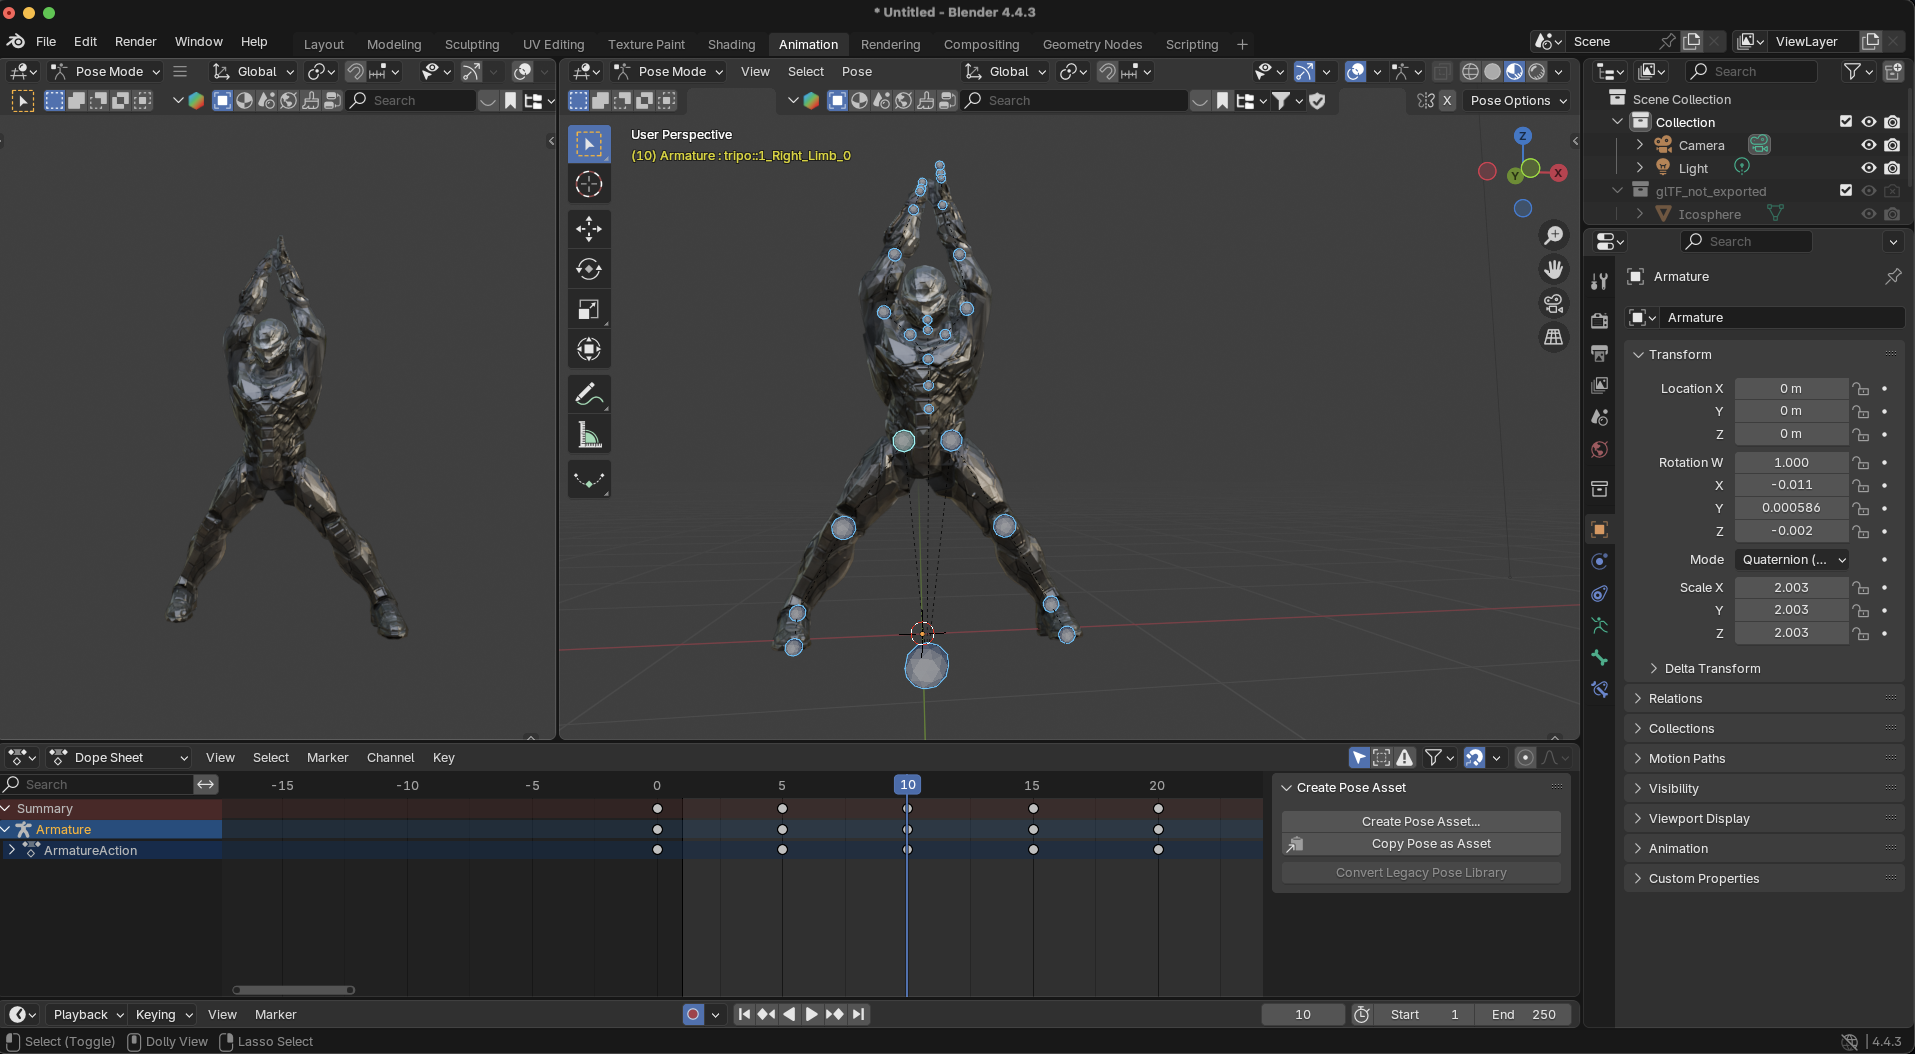
- Second Pose (Frame 10): Mid-air position
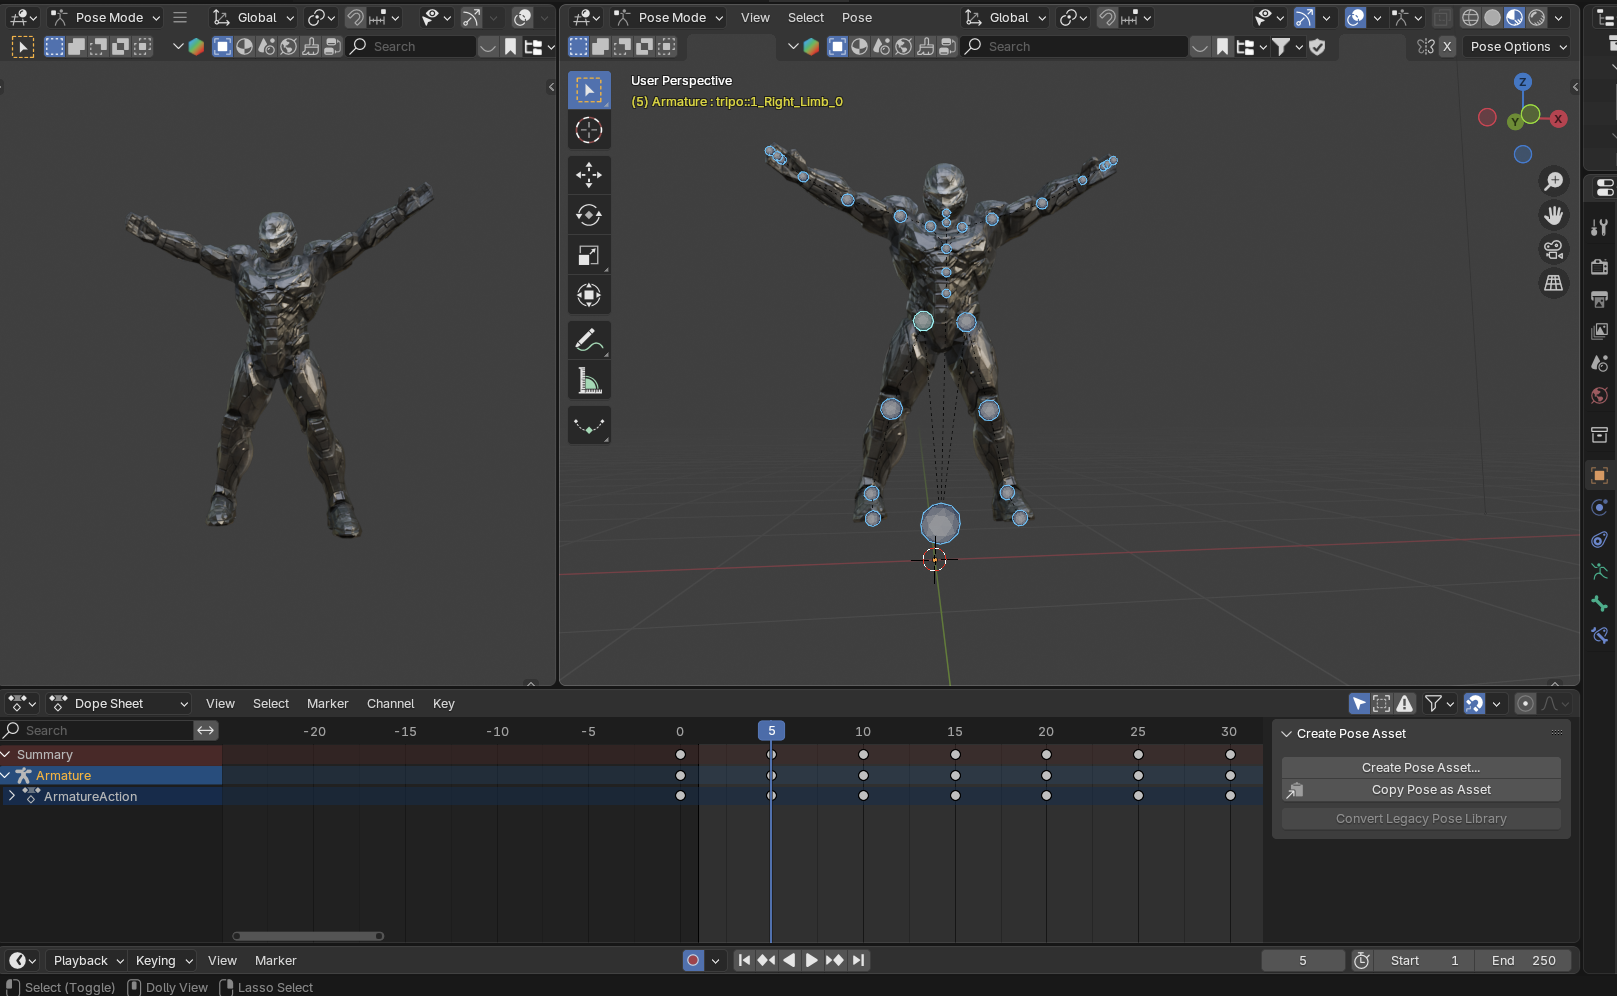
- Move to frame 10 in your timeline
- Position the character with legs spread wide apart
- Arms raised above the head, nearly touching
- Body slightly elevated off the ground
- The spine can have a slight upward extension
- Third Pose (Frame 20): Return to starting position
- Return to the initial stance with feet together
- Arms back down by the sides
- Add a slight compression in the knees and spine to absorb the landing
- Fourth Pose (Frame 30): Repeat mid-air position
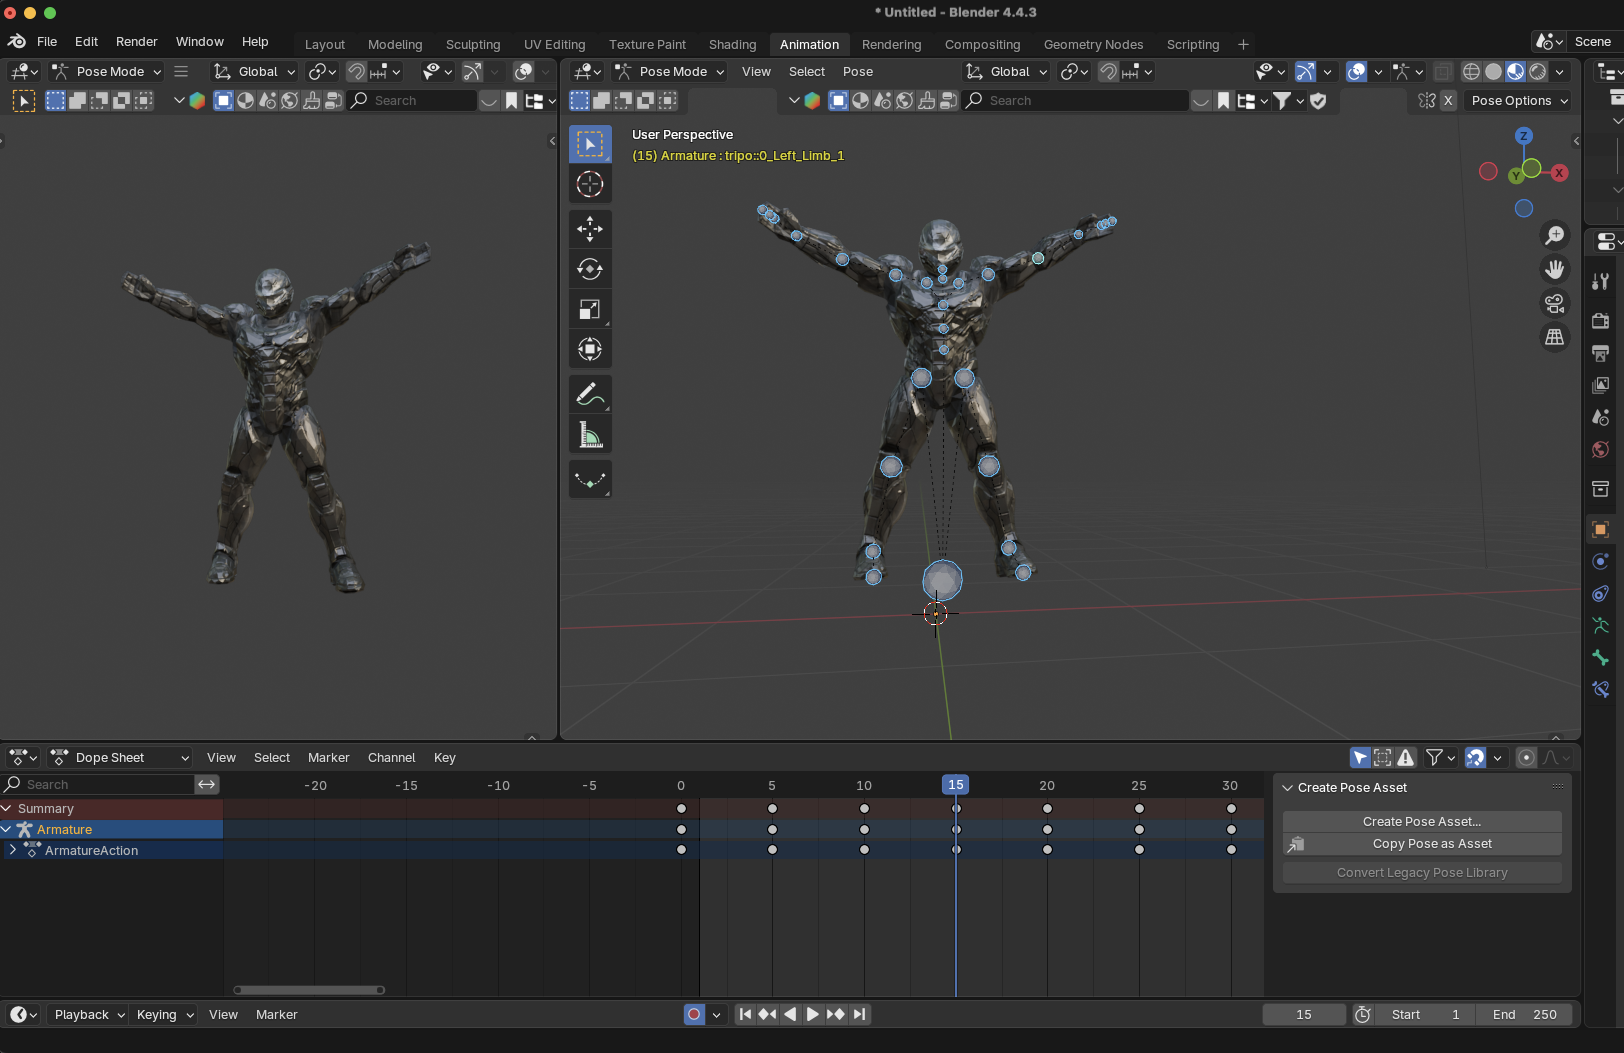
- Similar to frame 10, creating a cycle
- This completes one jumping jack
Step 4: Refine the Timing and Movement
Now that you have your key poses, it's time to refine:
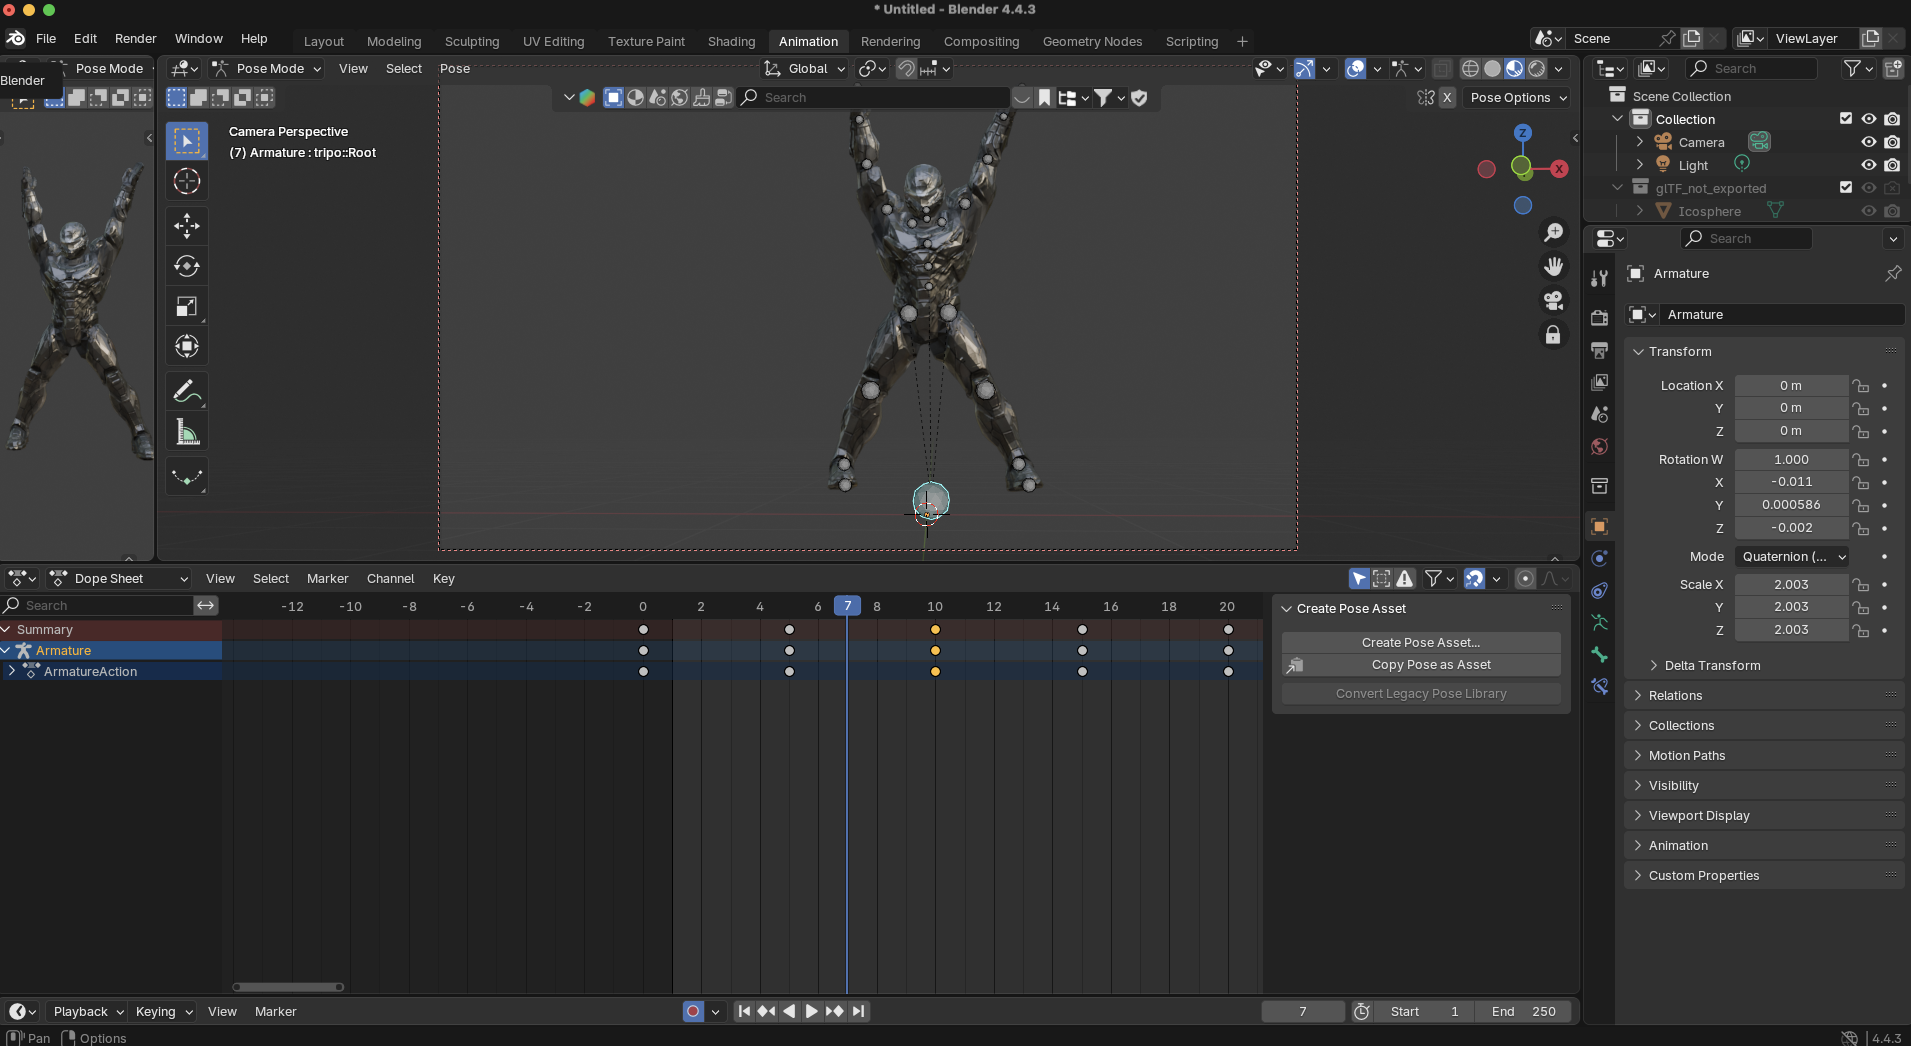
- Play your animation to see how it looks (press Alt+A or click the play button)
- Open the Graph Editor to adjust the animation curves:
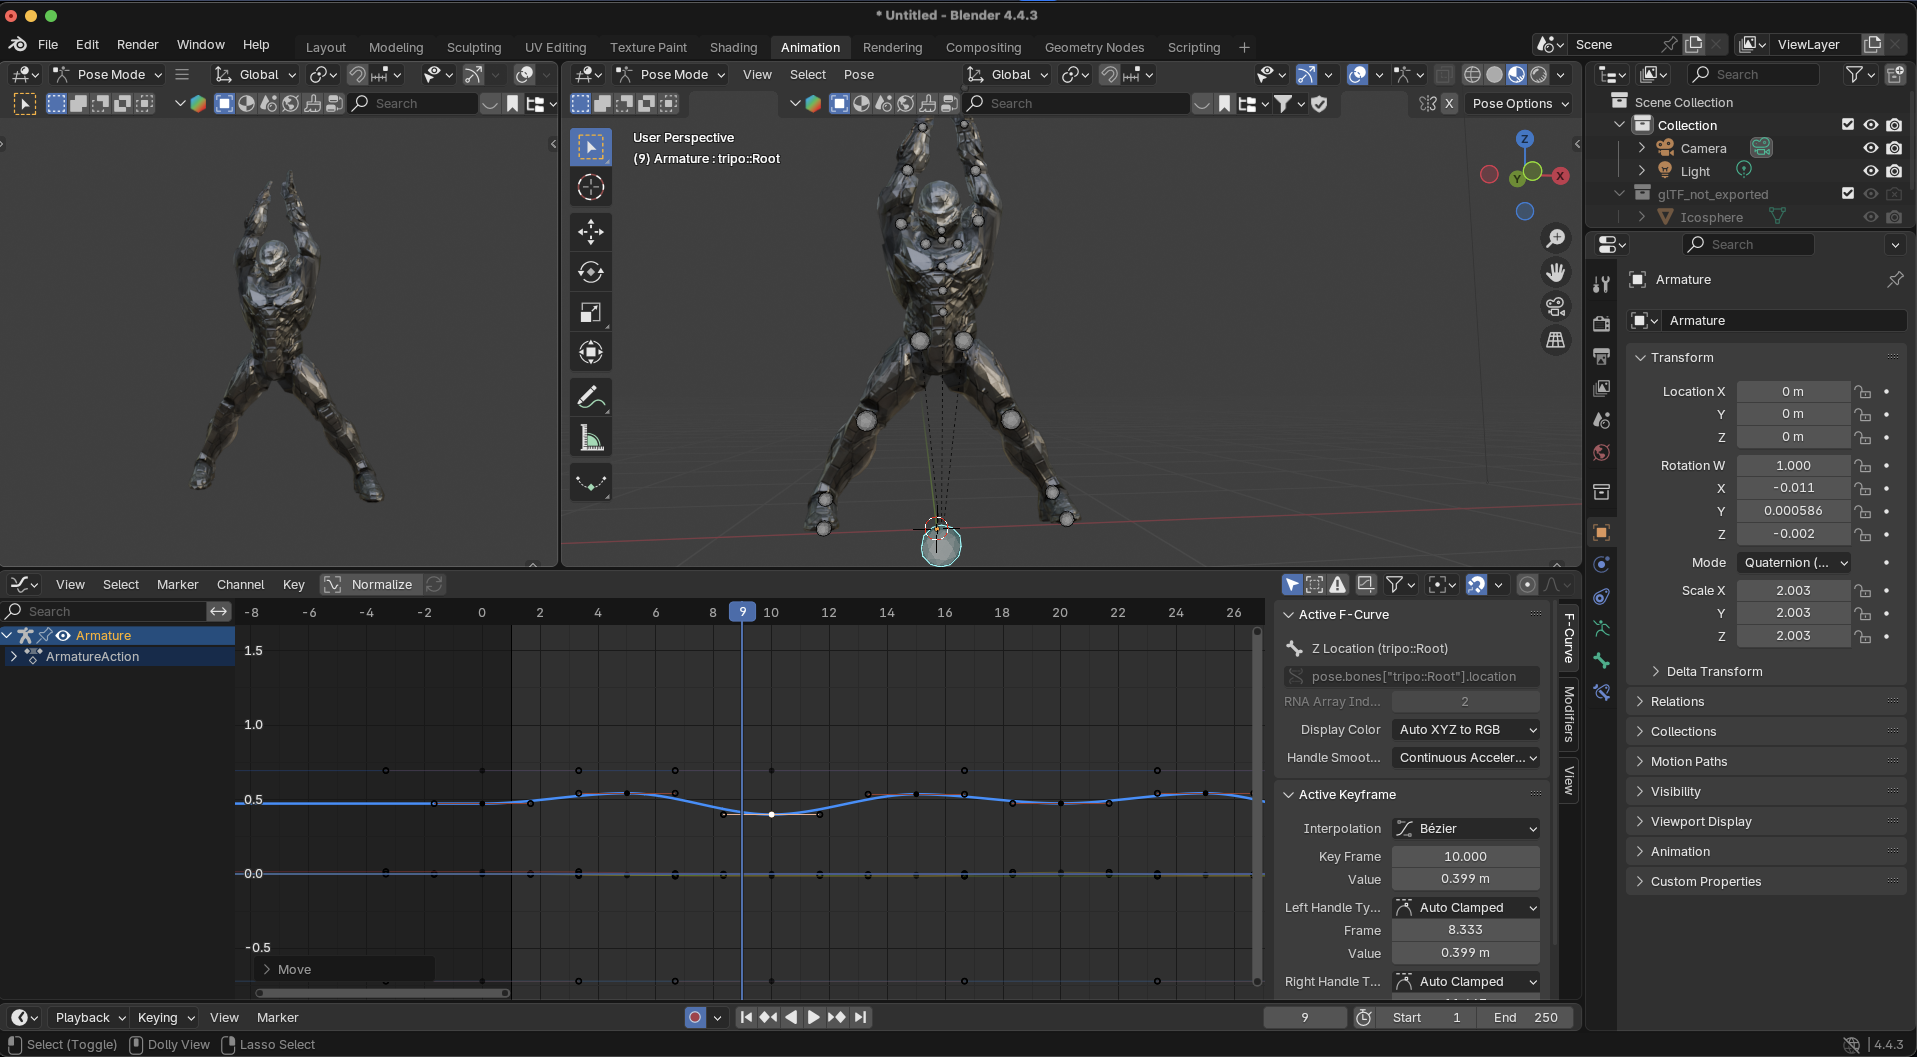
- Select the root and hip bones to check their height curves
- Create sharp peaks for the jumps by adjusting the curve handles
The character should rise quickly and fall with a slight deceleration
- Add secondary motion:
Slight head bob following the body's momentum
Natural arm movements (slight bend in elbows at the top position)
Subtle finger movement as arms swing up and down
Minor forward/backward torso tilt for balance
Step 5: Add Final Polish
These details elevate your animation:
- Impact absorption: Add a slight squash when the character lands, followed by a subtle rebound
- Follow-through: The hands and feet should slightly overshoot their final positions before settling
- Breathing: Add subtle chest expansion during the exercise to simulate breathing
- Facial expressions: If your rig supports it, add slight expressions showing exertion during the jumps
- Energy progression: For a longer sequence, gradually show the character becoming more tired with slightly less height in jumps and more pronounced breathing
Advanced Techniques for Better Animations
Once you've mastered the basics, try these techniques to improve your animations:
Non-Linear Animation (NLA) Editor
The NLA Editor lets you:
Create animation clips that can be reused
Blend between different animations (like transitioning from jumping jacks to push-ups)
Layer animations on top of each other
This is perfect for creating a library of movements for your character.
Using Motion Capture Data
For ultra-realistic human movement:
- Import motion capture data from resources like Mixamo
- Adapt the motion to your character's rig
- Customize and stylize the movements
Preset clips from libraries like Mixamo are a great starting point, but when your scene needs a specific movement the library doesn't have, you can capture your own from any video with PINOC, powered by Viggle AI:
AI motion capture tool: Turn any reference video into clean, production-ready skeleton animation. Film yourself or grab any footage of the exact action your scene needs, then upload the clip and PINOC tracks the full-body motion for you. No mocap suit, sensors, or markers required.
- Export straight to FBX or GLB: PINOC outputs standard files that open directly in Blender, ready to retarget onto the rig you set up earlier.
- Preview the motion on your own character: Upload a character image and PINOC builds a 3D model (Gaussian Splatting) from it, so you can play the captured motion back on your character and see how it reads before exporting.
- A faster path from model to motion: Generate your character in Tripo, capture the motion in PINOC, then bring both into Blender and retarget the animation onto your character's rig. You end up with a finished animated character without keyframing the movement by hand.
Creating Looping Animations
For perfect exercise loops:
- Ensure your start and end frames have matching poses
- Create seamless transitions between cycles
- Use the Graph Editor to smooth any discontinuities at the loop point
Common Animation Issues and Solutions
Rendering Your Animation
Once you're satisfied with your animation:
- Set up your camera and lighting
- Configure render settings (resolution, samples, etc.)
- Choose an output format (MP4, PNG sequence, etc.)
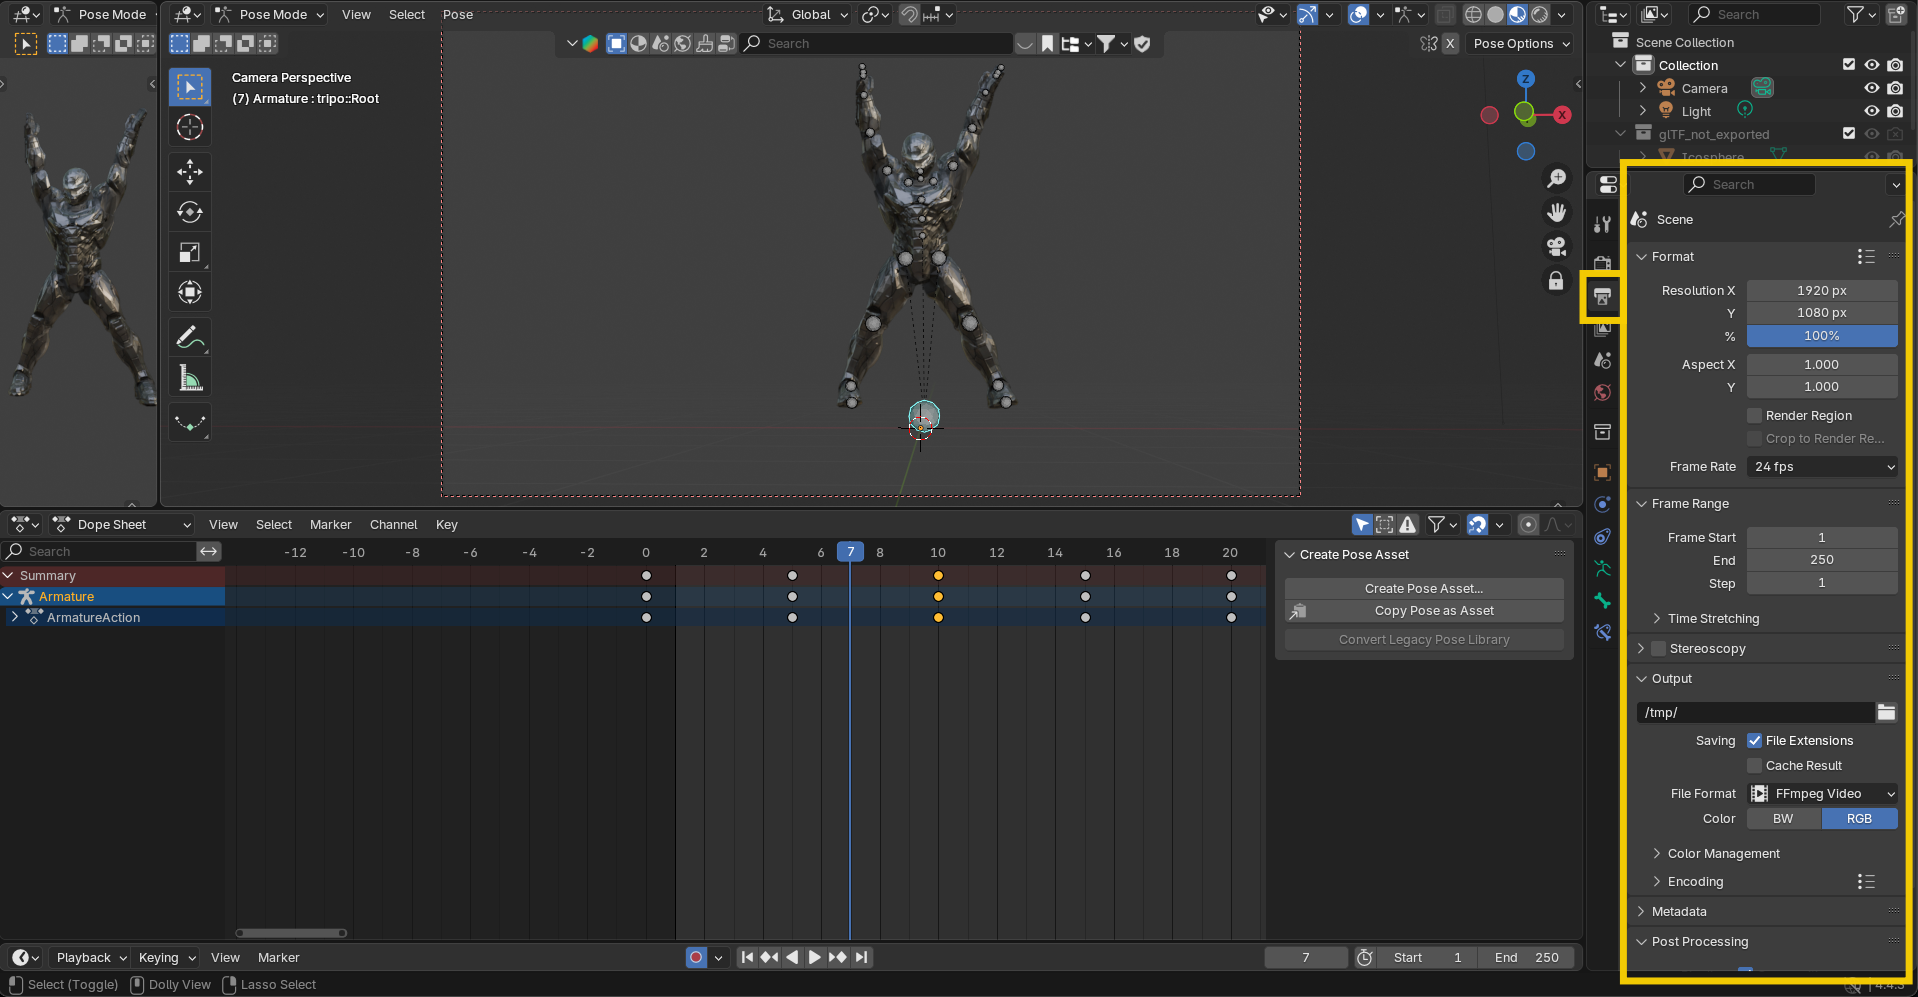
- Select your frame range
- Click "Render Animation" (or use Ctrl+F12)
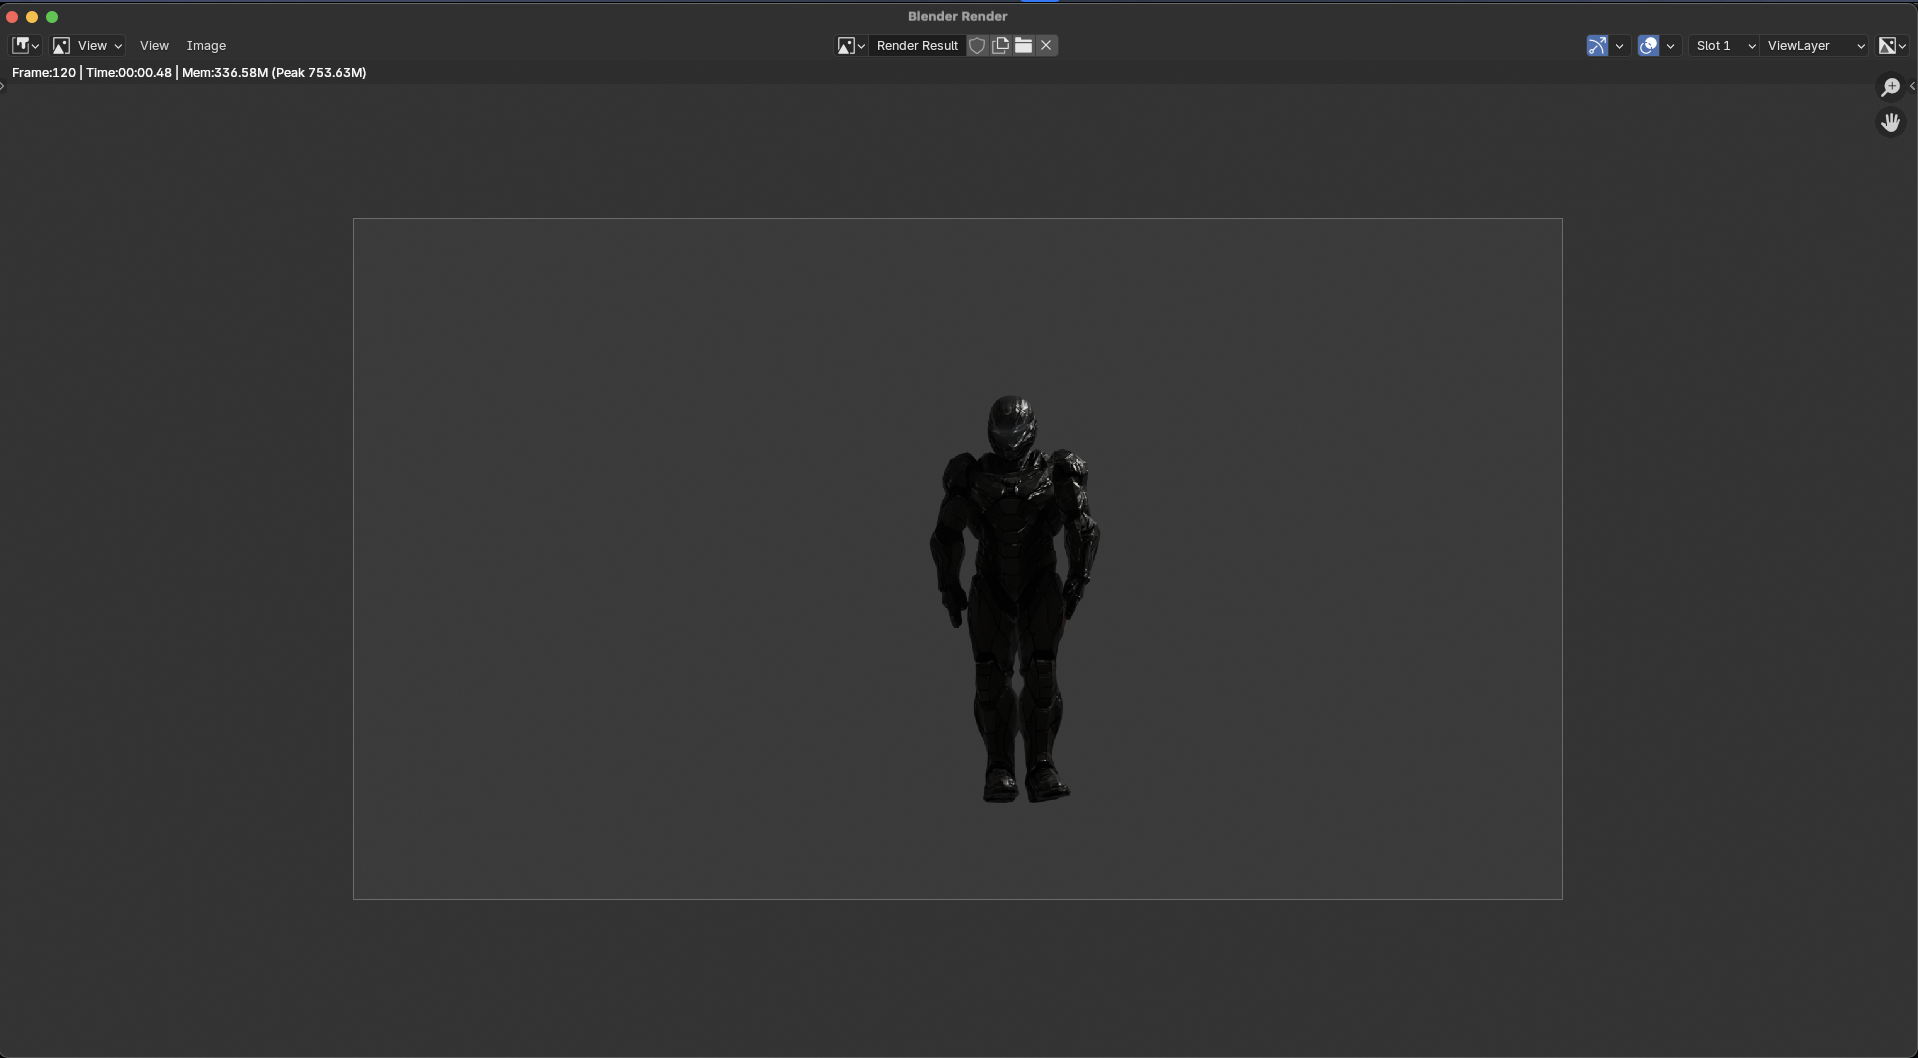
For quick previews, use Blender's Viewport Render Animation option instead of a full render.
The Power of AI and Animation: Tripo AI's Advantage
Traditional 3D animation workflows involve multiple specialized roles—modelers to create the characters, riggers to build the skeletons, and animators to bring them to life. This can be overwhelming for individual creators and small teams.
Tripo AI's image to 3D and auto-rigging technology changes everything by:
- Eliminating technical barriers: Non-technical creators can focus on storytelling rather than technical rigging
- Accelerating production: What once took weeks can now be accomplished in hours
- Enabling iteration: Easily generate multiple character variations to find the perfect fit for your project
- Providing animation-ready assets: Every model comes with a functional rig ready for animation
Whether you're creating fitness tutorials, game characters, or animated shorts, Tripo AI provides the perfect foundation for bringing your characters to life with dynamic movements like jumping jacks.
Conclusion: Your Animation Journey Begins
Animation is a powerful storytelling medium that combines technical skill with artistic expression. By leveraging Tripo AI's AI 3D model generator to handle the modeling and rigging stages, you can focus on developing your animation skills and bringing characters to life.
Remember that great animation comes from observation, practice, and patience. Start with simple movements like the jumping jack we created here, study reference footage carefully, and gradually build up to more complex animations as your confidence grows.
Ready to start your animation journey? Visit Tripo AI today to generate your first animation-ready character, then follow the steps in this guide to make it move! Share your creations with the community and enjoy the magical process of bringing digital characters to life through the art of animation.
What dynamic movement will you animate first?