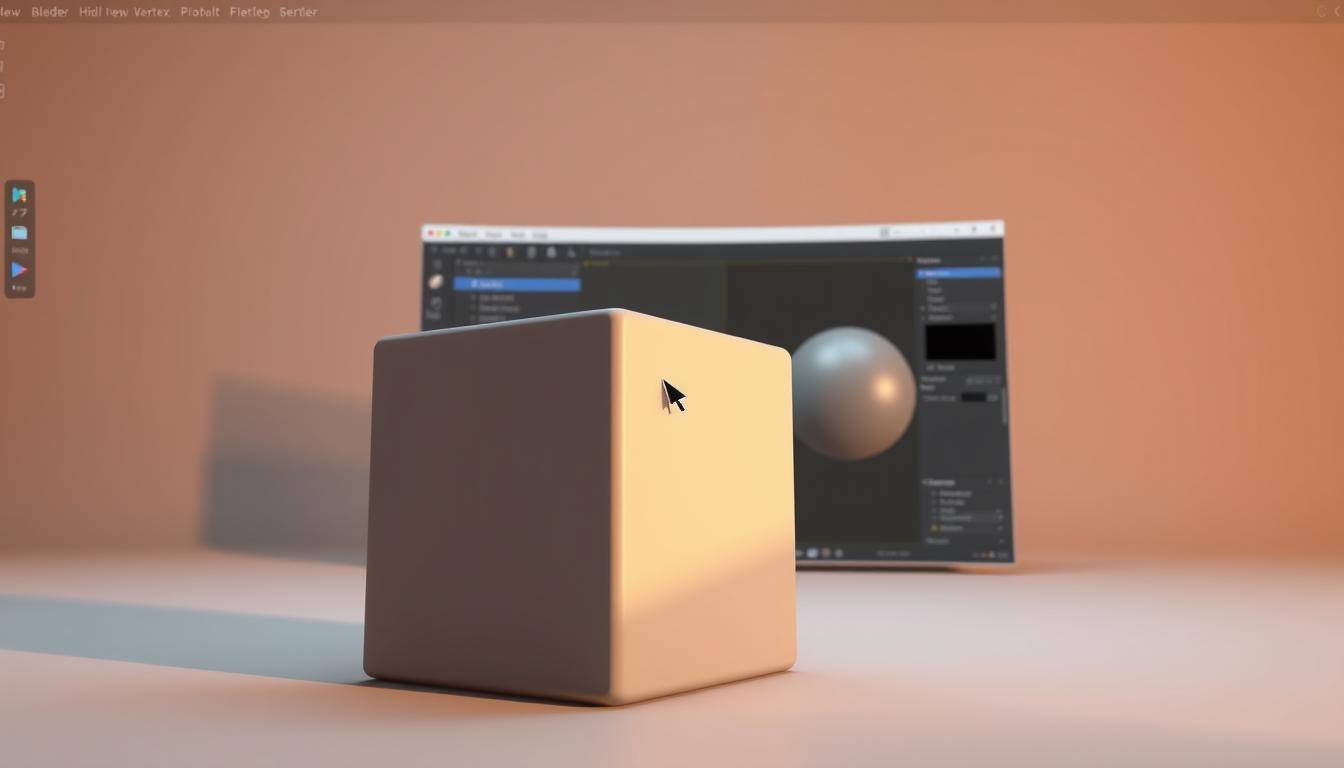
Creating New Vertice on Edge in Blender
Learning to create new vertices on edges is key for 3D modeling experts. It boosts your skills with Blender, focusing on vertex editing. This guide will show you how to add new vertices and use Blender's tools for detailed models.
By mastering vertex manipulation, you'll make your work easier and better. You'll see how it improves your projects' quality.

Key Takeaways
- Understanding the basic concept of vertices is crucial in Blender.
- Hands-on techniques, like Ctrl-LMB for placing vertices, enhance modeling efficiency.
- Continuous practice helps in mastering edge manipulation and vertex relationships.
- Real-time adjustments in the Operator Panel facilitate quick modifications.
- Utilizing the join function can solve many common modeling issues.
Understanding Vertices in Blender
In 3D modeling, a vertex is key. It's a single point in space with X, Y, and Z values. Knowing about vertices in Blender is crucial. They help make edges and faces, which are the mesh.
By changing these vertices, artists can make their models better. This adds detail and improves the model's quality.
What is a Vertex?
A vertex is more than just a point. It's vital for making complex shapes. In Blender, you can add a vertex with the Mesh Extra Objects add-on.
To start, you need to be in Object Mode. Then, press Shift + A to go into Edit Mode. Each vertex can be moved to match the 3D cursor's spot, making editing fun.
The Importance of Vertices in 3D Modeling
Managing vertices well is very important in 3D modeling. A good mesh needs vertices in the right places. This affects the model's quality.
For example, you can add more vertices by subdividing edges. This makes the model look better. But, if vertices are not placed right, it can cause problems.
Blender has tools like Vertex Slide (Shift + V) to help with vertex placement. You can also edit in different ways by using Shift while clicking on icons. This makes creating detailed models easier and more fun.
Getting Started with Blender Software
Starting your Blender journey means installing it and getting to know the interface. This 3D modeling tool is great for both newbies and pros. It's important to set it up right and learn how to use it.
Installing Blender
First, download the newest Blender from the official site. The setup is easy. Just run the installer and follow the steps. It works on Windows, macOS, and Linux, and takes only a few minutes.
After it's installed, you can start exploring Blender's features.
Overview of the Blender Interface
When you open Blender, you'll see a big interface. It has toolbars, panels, and a viewport for modeling. The default view is simple.
Important parts include:
- Toolbars: Has key tools for 3D modeling.
- Properties Panel: Shows settings for active objects, like vertex groups.
- Viewport: Where you work on 3D models.
Knowing the Blender interface helps you work better. The initial layout is easy to use. It lets new users find important functions without getting lost.

The Vertex Editing Feature in Blender
Blender's vertex editing feature is key for making and changing 3D models. The vertex select mode lets users control each part of a mesh. This is crucial for shaping objects in 3D.
In vertex select mode, you can work on one vertex at a time. This makes it easier to make small changes.
Using the Vertex Select Mode
To get into vertex select mode, just switch from your current mode in Edit Mode. This mode shows the mesh's vertices up close. It's great for precise editing.
You can pick one or more vertices to adjust. Then, use tools to move, rotate, or scale them. This works the same in both Edit and Object Modes. It makes working on detailed 3D models better.
Understanding Edge and Face Relationships
Edges and faces are important in 3D modeling. Each vertex helps make edges and faces. Knowing how they work is essential.
Changing one vertex affects the edges and faces connected to it. This changes the mesh's shape. Understanding these relationships helps create complex designs. These are important for top-notch 3D modeling.

Create New Vertice Blender on an Edge
Creating new vertices on edges is key in Blender for better 3D models. It's a simple skill that adds detail and sharpens your design. Knowing how to do this makes modeling easier and more precise.
Adding a Vertex to Existing Geometry
To add a vertex, go into Edit Mode and use Shift + A. Or, click with Ctrl + LMB to place it exactly where you need it. Snapping helps make your vertices more precise. Remember, the face's orientation is important to avoid common problems. For more help, see the guide on adding vertices.
Subdividing Edges for More Detail
Subdividing edges adds more detail to your model. Select an edge and press W to access the menu. Choose “Subdivide” to add vertices. This makes your model more detailed.
Remember to keep your geometry non-manifold. Merging edges before subdividing helps avoid issues. For finer adjustments, use Shift + V for Vertex Slide. These tips will improve your 3D modeling.
| Action | Shortcut | Description |
|---|---|---|
| Add Vertex | Shift + A | Adds a new vertex to the scene. |
| Click with Ctrl + LMB | Ctrl + LMB | Places a vertex at 3D cursor's position. |
| Subdivide Edge | W | Adds multiple vertices along an edge for detail. |
| Vertex Slide | Shift + V | Allows precise positioning of vertices. |
| Merge Vertices | M | Combines selected vertices into one. |
Using the Blender Edge Tool
The Blender Edge Tool is great for both new and experienced 3D modelers. It helps you work with edges and vertices to make different shapes. This guide will show you how to use it to make faces from new vertices.
Manipulating Edges with Vertices
In Edit Mode, the Blender Edge Tool makes working with edges easier. You can pick multiple edges and change their properties. For example, Bevel Weight controls how edges look, from sharp to smooth.
There's also the Edge Slide tool. It moves vertices along edges, keeping the shape smooth. This is useful for making small changes without messing up the design.
Creating Faces from New Vertices
Adding new vertices and making faces is easy with the Blender Edge Tool. Just pick two or more vertices and press F. This makes a face, helping you build complex shapes.
The Edge Split tool is also handy. It lets you make holes in your mesh by picking edges. Plus, the Bridge Edge Loops tool connects edges, helping you create detailed designs.

| Edge Tool Feature | Description | Usage Example |
|---|---|---|
| Edge Slide | Moves vertices along an edge loop | Adjusting the position of vertices for better mesh flow |
| Bevel Weight | Affects the sharpness of edges | Creating a smoothly beveled edge for visual appeal |
| Bridge Edge Loops | Connects multiple edge loops | Creating complex structures between separated loops |
| Rip Vertices | Creates a hole in the mesh by duplicating edges | Modifying shapes by removing sections of geometry |
| Merge by Distance | Merges vertices within a specified distance | Simplifying mesh shapes by removing overlapping vertices |
The Blender Edge Tool lets you work with edges and vertices well. It helps you make unique faces from new vertices. Learning to use these tools will improve your 3D modeling skills.
Advanced Techniques for Vertex Creation
Blender's advanced vertex creation techniques help users make detailed 3D models. This part shows how mesh modifiers and the Blender subdivide tool work.
Applying Mesh Modifiers
Mesh modifiers in Blender let you change a model's shape without losing it. You can use many modifiers to change your mesh. For example, Bevel, Mirror, and Simple Deform can make big changes.
These tools are great for making complex shapes easily. They help you work faster and get better results.
Using the Subdivide Tool
The Blender subdivide tool adds details to your models. It works by increasing the number of polygons on edges or faces. This makes your models look smoother and more detailed.
This tool is key for making complex models. It helps keep your models clean and detailed. Learning to use it well can make your models look amazing.
Blender Software Updates and Features
Keeping up with Blender software updates helps users use the latest 3D modeling tools. New versions bring exciting features that boost creativity and work speed. Vertex editing tools have seen big improvements, making work easier for artists and designers.
What’s New in Recent Versions
The newest Blender update brings cool new features to make it easier to use. One big addition is the ability to place new vertices with just a few clicks. This lets users put vertices exactly where they want in 3D space.
When making connections between vertices, users can keep clicking to link them up. This makes creating models faster and more fun.
Enhancements to Vertex Editing Tools
Vertex editing tools have gotten even better, making it easier to work with shapes. Now, you can make planar faces by clicking with Ctrl-RMB when two vertices are together. Blender also helps with edge rotation, making sure angles are right.
This makes complex tasks easier. You can even stop Blender from rotating edges with Shift-Ctrl-RMB. This lets you work your way, not just how Blender wants.
Building Your Skills in 3D Modeling
Starting your 3D modeling journey? Focus on practicing often and trying new techniques. Learning about vertex and edge manipulation is key. Using many resources will deepen your Blender knowledge.
Practice Tips for Vertex and Edge Manipulation
To get better at vertex and edge manipulation, follow these tips:
- Practice regularly. Working on models often helps you handle complex shapes better.
- Try different modeling ways, like box modeling and polymodeling. See what works for you.
- Use the edge slide tool by double-tapping “G”. It helps refine your meshes without changing their shape.
- Start with simple shapes and move to more complex ones. Break down hard designs into smaller parts.
- Watch out for common problems, like bad edge loop placement. It's a big issue for many.
Resources for Learning Blender
Good resources are key for learning. Here are some great ones to help you:
- Blender's official documentation is a detailed guide. It helps you understand Blender's features.
- Online tutorials are very helpful. Most users say using many sources is best for learning.
- User forums offer support and feedback. They let you share and learn from others' experiences.
- The Blender 2.3 guide is great for beginners. It has step-by-step lessons on basic concepts.
- Practicing retopology is also helpful. It teaches you about mesh structures and flow.
Conclusion
In this article, we looked at how to make new vertices in Blender on an edge. This is key for advanced 3D modeling. Adding vertices well makes your modeling better and your projects stronger.
Tools like the Extra Mesh Objects addon make adding vertices easy. You can use Shift+A to add a vertex quickly. This is a favorite among Blender users.
Blender also has special scripts for placing vertices. These are great for detailed modeling tasks. Many users want easier ways to work with vertices, like Lightwave.
By using the tips from this article, you'll get better at 3D modeling. Keep trying new things with vertices and edges in Blender. This will help your models look great and be well-made.
FAQ
What is the purpose of creating new vertices on edges in Blender?
New vertices on edges help with precise model details. This boosts model quality and performance.
How do I access Vertex Select Mode in Blender?
Press the "1" key or click the Vertex icon in the 3D Viewport header. This lets you edit individual vertices.
What are the benefits of understanding vertices in 3D modeling?
Vertices are key in 3D modeling. They help form edges and faces, making complex shapes possible.
How do I install Blender software?
Go to the Blender website, download the latest version, and follow the installation guide.
Can you explain how to add a vertex to an existing edge?
Hold Ctrl and click the left mouse button on the edge for a new vertex. This ensures precise placement.
What is the Subdivide Tool and its importance?
The Subdivide Tool increases vertices and edges. It makes models more detailed and accurate.
How does the Blender Edge Tool enhance vertex manipulation?
The Edge Tool lets you work with edges better. It's great for exploring different shapes and forms.
What are mesh modifiers and how do they work?
Mesh modifiers add effects to meshes without changing them. They let you enhance or change a mesh's look while keeping its original shape.
How can I stay updated with new features in Blender?
Check the Blender Foundation’s blog and forums often. They post updates and news on new vertex editing tools.
What resources can help me improve my skills in Blender?
Online tutorials, forums, and official Blender guides offer detailed tips. They help you master vertex and edge manipulation.
Advancing 3D generation to new heights
moving at the speed of creativity, achieving the depths of imagination.
 Text & Image to 3D models
 Free Credits Monthly
 High-Fidelity Detail Preservation