Linking Mesh to Rigged Model: Step-by-Step Guide
Creating amazing characters in 3D animation needs skill in linking mesh to a rigged model. This Blender tutorial will show you how to do this step by step. With Blender 3.0, you'll learn key tips for getting your models ready for places like Roblox Studio. There, using a unit scale of 0.01 and centimeter measurements makes your designs fit perfectly.
This guide will cover rigging basics, from understanding rigged models to linking your mesh. It's for both new and experienced animators. We aim to make your character animations smooth and real. Learn techniques that make complex tasks easy and unlock your creativity.
Key Takeaways
- Understanding rigged models is crucial for effective 3D animation.
- Using Blender for rigging and linking meshes streamlines creative workflows.
- Proper setup in Blender maximizes character motion quality.
- Automatic Weights can significantly simplify the rigging process.
- Regular testing during the rigging process ensures smooth animations.
- Adhering to model specifications can enhance performance in various 3D environments.
Understanding Rigged Models in 3D Animation
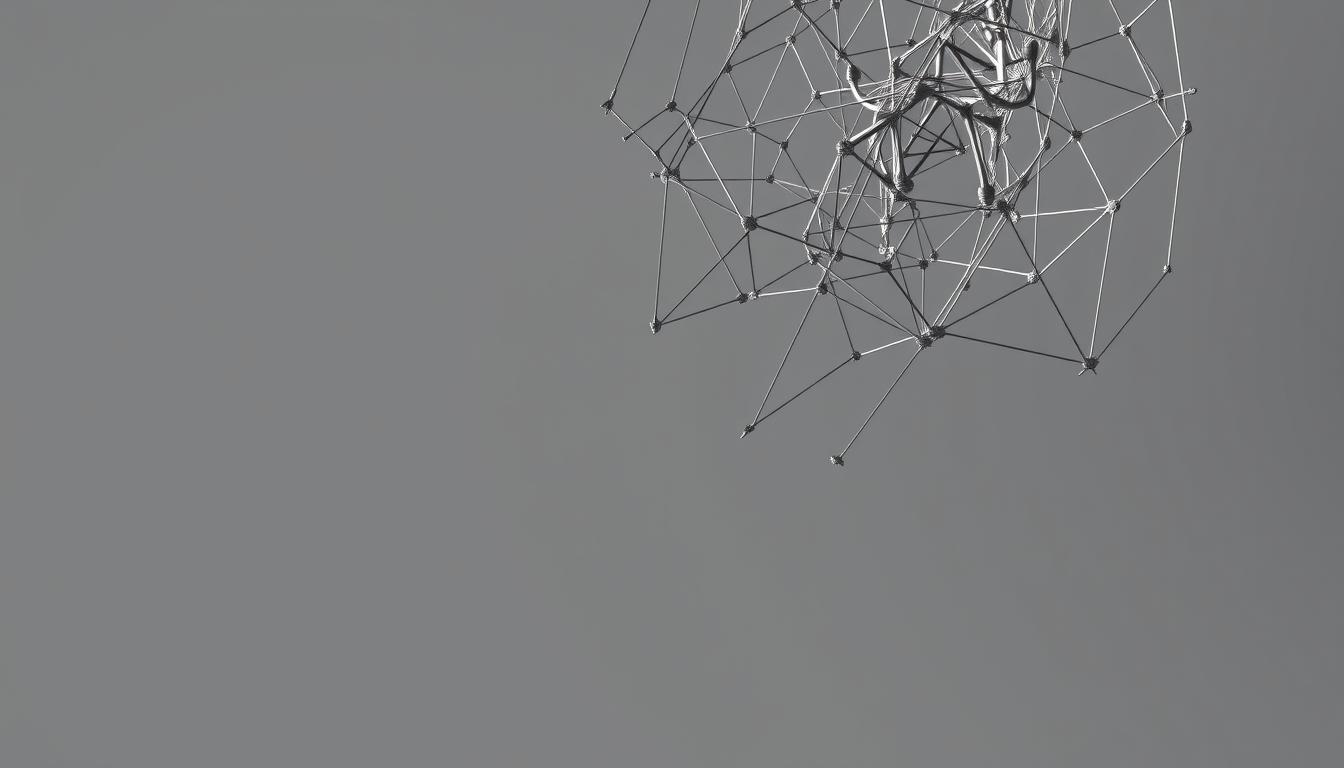
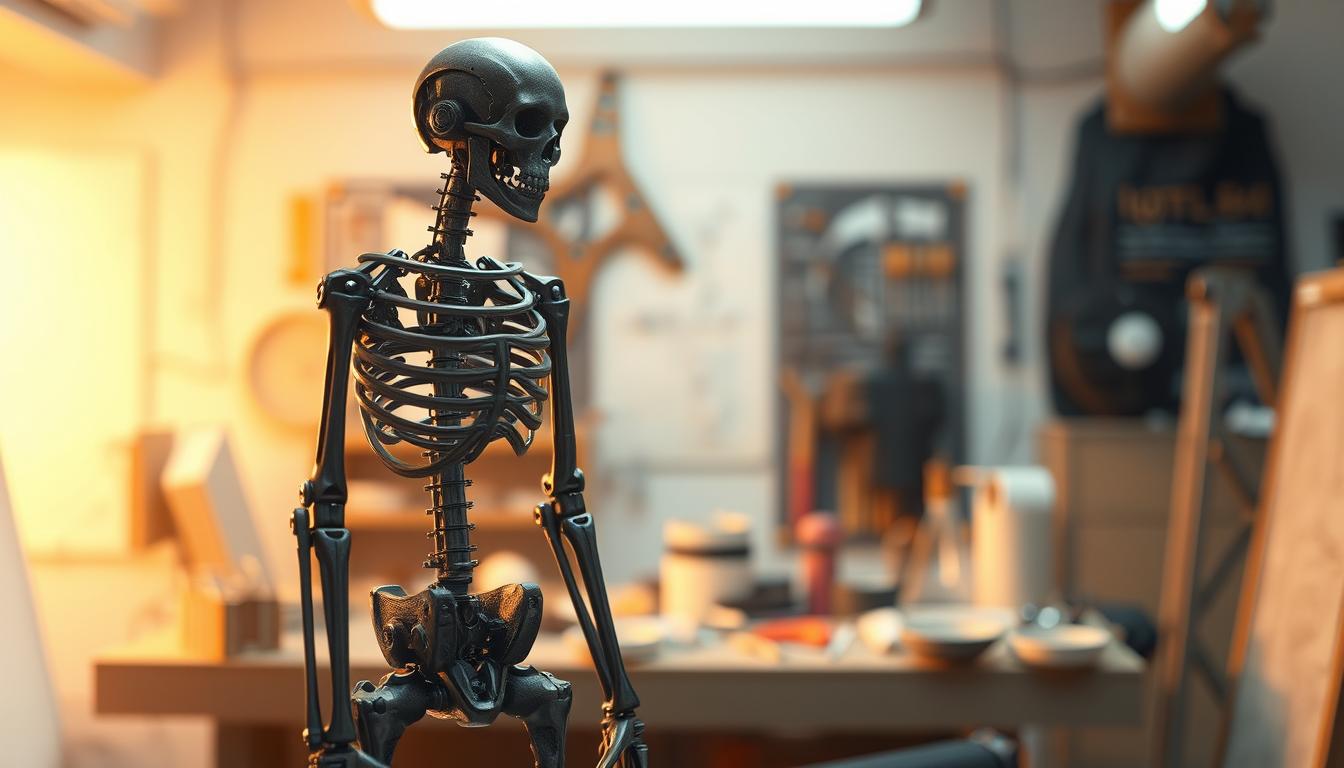
Rigged models are key in 3D animation. They give characters the ability to move like real people. These digital figures have an armature made of bones and joints. This skeleton helps them move and act in animations.
Knowing how to rig is crucial for animators. It's what makes animations look real. A good rig lets animators control how characters move and look.
The rig's complexity depends on the project. It might include controllers, blend shapes, and deformers. Animators face challenges with complex meshes and simple ones.
Weighting is key in rigging. It decides how much each bone affects the character's look. This makes sure the character moves right and looks good.
Many people want to learn about rigging. About 70% of 3D animation beginners find it hard. They struggle with the details of bones and how they work together.
Forward kinematics is common, but inverse kinematics is getting more use. It helps bones move to reach the right pose automatically.
Testing rigged models is very important. Animators do many tests to see how well the rig works. Knowing about rigged models is essential for making great 3D animations.
Choosing the Right Software for Rigging
Choosing the right 3D animation software is key for a good rigging process. Blender and Maya are top picks, each meeting different needs. Blender is open-source, offering many features for all skill levels.
About 60% of 3D artists choose Blender for humanoid models. This is because of its strong rigging tools and community support.
Maya is a favorite in professional studios for its advanced rigging. Around 85% of industry pros prefer Maya for detailed character rigging. Its features allow for precise control over rigging, perfect for big projects.
Knowing your software well, whether Blender or Maya, makes rigging better. Understanding the tools can greatly improve animation quality. A clean model is important to avoid rigging problems.
Testing your rig in both software is important. It helps find and fix issues early. Whether using Blender's automatic weight painting or Maya's skinning options, a good rig makes animations better.
Getting Started in Blender
To start your Blender tutorial, first install the latest Blender. This lets you use new features and improvements. After installing, get to know the user interface. It has key areas like the properties panel and the 3D viewport.
These are important for your workflow. Start a new project by choosing 'General' when you open the software.
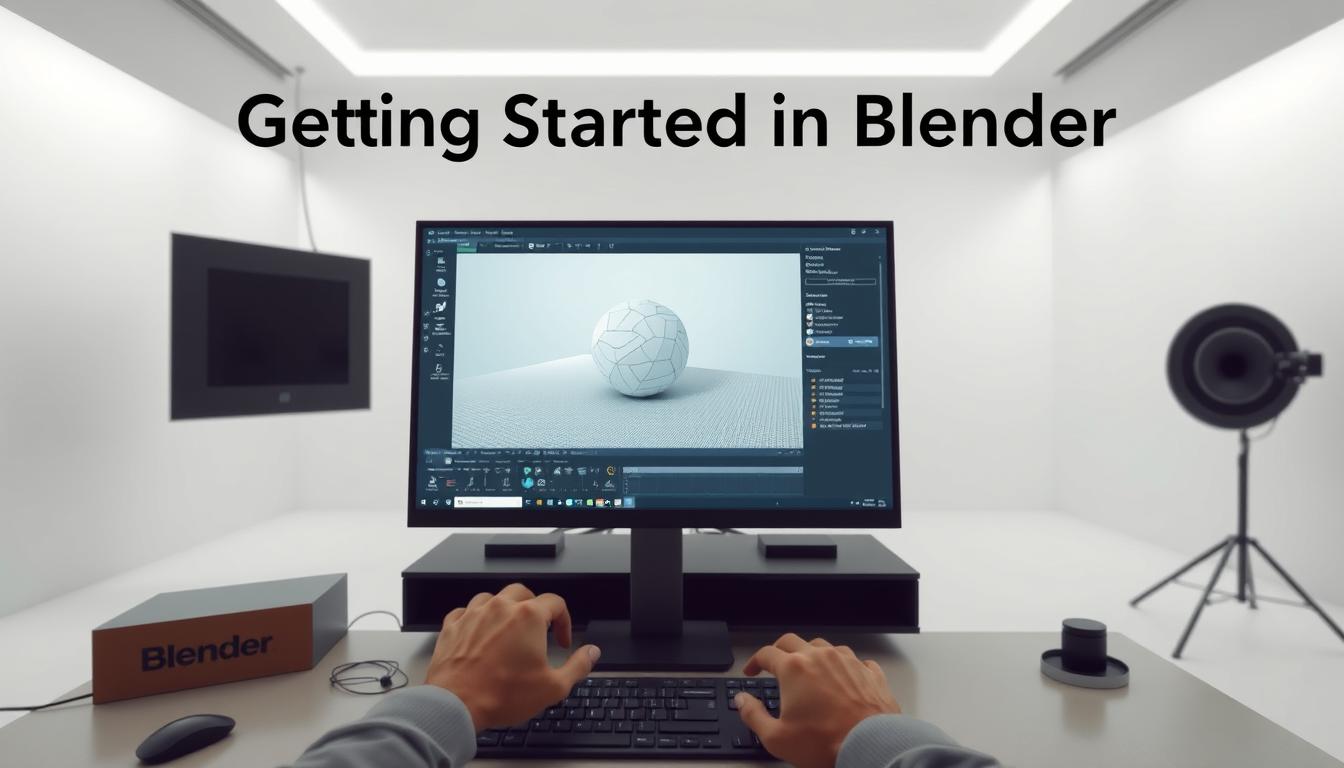
Before you import your model, adjust Blender's scene units. This makes your animation scale work better. It helps you get more accurate results during rigging preparation.
When creating an armature, follow a structured process. This helps avoid problems like wrong scales and bad mesh deformation.
If you're working on complex meshes, organize your assets into groups. Linking a mesh and an armature through a group makes rigging easier. This method helps manage many objects well.
But remember, linking models can change things. Always reload any changed files to see the updates in your scene.
How to Link Mesh to Rigged Model
Linking a mesh to a rigged model needs careful preparation and precise steps. A solid base is key for good Blender workflows. Start by making sure your mesh is ready for rigging. This step is vital for smooth animation in Blender.
Preparing Your Model for Rigging
First, center your character model's origin for accurate placement. This makes rigging easier and improves functionality. Good mesh prep ensures smooth movements in the rigged model.
Many say armor and accessories must keep the character hierarchy for Unity animation. This keeps the model's movements realistic.
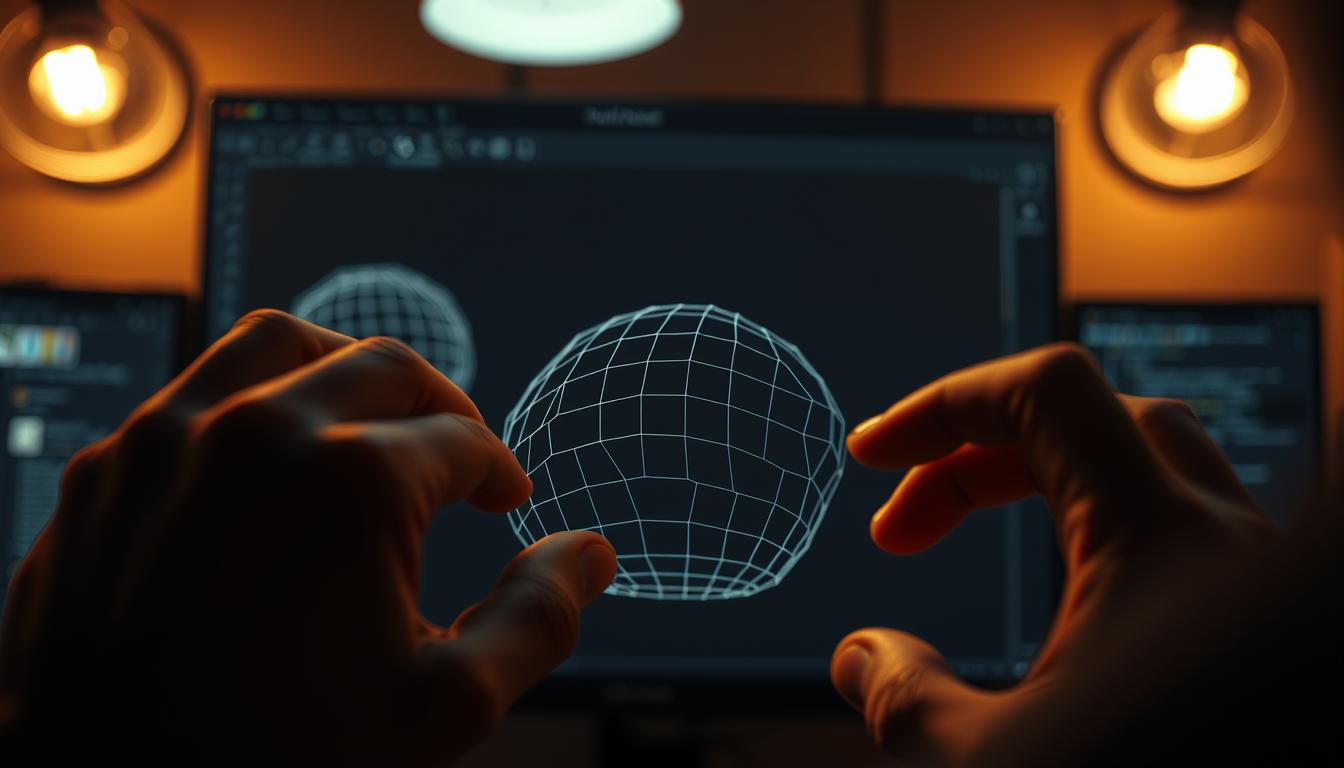
Importing Your Model into Blender
After preparing your mesh, import it into Blender. Start by going to the ‘File’ menu and picking the right file format, like FBX or OBJ. A successful import shows your mesh clearly in 3D space.
Using advanced accessories like hats might cause slight movement issues. But, setting them up right can fix these problems. Rigging them correctly, like adding hats to the human figure hierarchy, ensures they work well for animation.
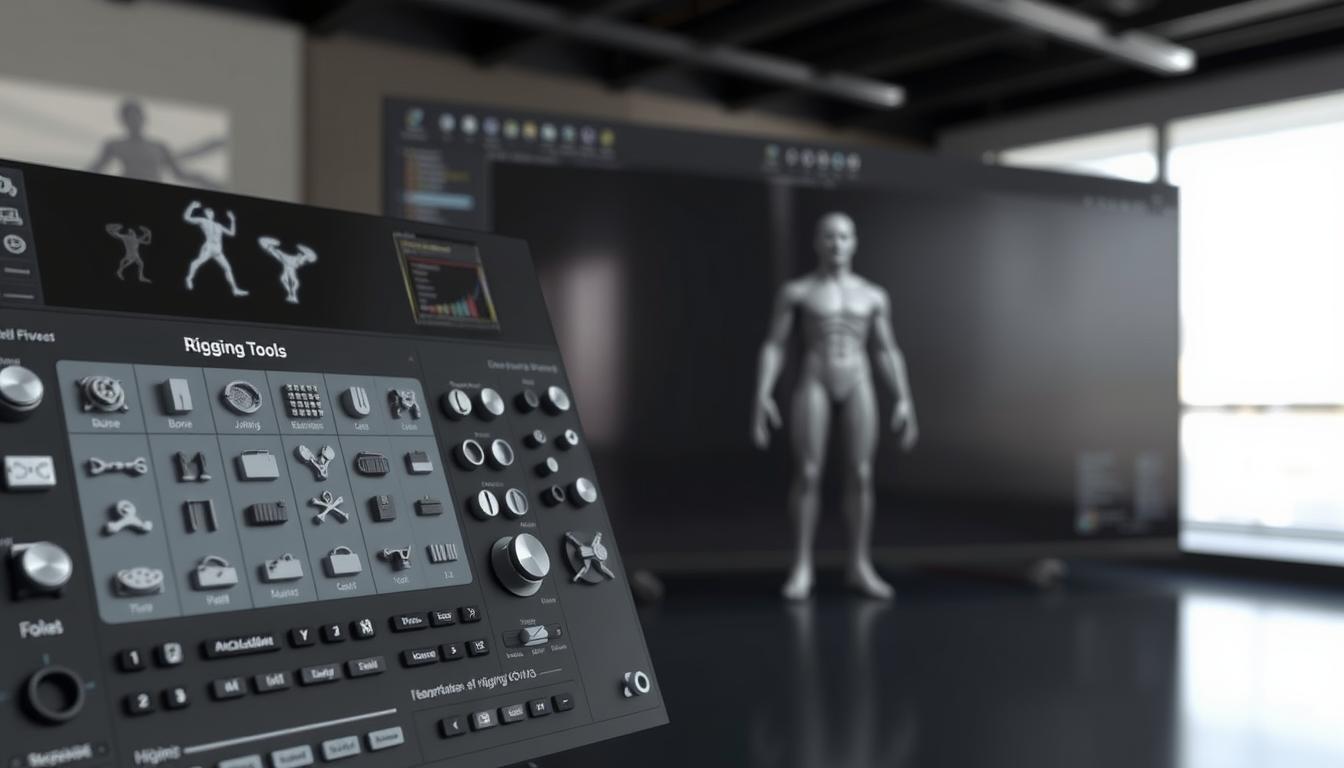
Building the Armature for Your Rig
Creating an armature is key in the rigging process for 3D models. Start by adding a single bone in Blender. This bone is the base. Then, enter Edit Mode to start the armature creation by adding more bones.
This process builds a skeleton that looks like your character. It's important for how the character moves in animations.
When adding bones, name them clearly. This makes it easier to change things later. It also makes your work smoother.
The Rigify system makes rigging easier. It offers different rig types like basic copy chains and super spines. Each type needs a certain number of bones.
For example, a basic copy chain needs two bones. Super limbs and spines need three. Knowing this helps set up your rig better. It also lets you use cool features like IK/FK snapping and auto-stretching.
Adjusting Bone Positions for Accurate Rigging
Proper bone positioning is key for realistic movements in your model. Use orthographic views in Blender to align bones with the character's shape. Each bone's length and position must be adjusted carefully to match natural movements.
This precise control is vital for rigging accuracy and avoiding animation problems.
When working on facial bones, stick to basic landmarks. Use different colors for each bone's role. For example, orange for closed loops, yellow for dependent positions, red for outer edges, and purple for bridging bones.
Position eye bones at the pivot point, facing right along the Y-axis. Scale their length to match the eye's size.
For the torso, use fewer bones in stiff areas like the head, chest, and pelvis. Allow two bones in flexible zones for better deformation. A well-centered spine, slightly offset to the rear, enhances movement.
When adjusting arm and leg bones, keep them aligned from shoulder to hand and hips to ankle. Each limb should have a slight bend at the elbow and knee.
The heel bone should align perfectly with the ground contact point. This accommodates the foot's size. Modern Blender versions make this easier, eliminating the need for manual bone roll alignment.
Finger bones start at the knuckles, with edge loops for precise positioning. Thumb adjustments depend on the character's mesh. Space palm bones apart and use recalculated bone rolls along the Global -Z Axis for proper palm control.
Parenting Your Mesh to the Armature
Parenting the mesh to the armature is key for a solid rigging setup in Blender. It connects your model to the armature, making it move with the bones. After aligning the bones, mesh parenting makes your workflow smoother.
Using Automatic Weights for Simplified Rigging
To start mesh parenting, pick both the mesh and the armature. Use Ctrl+P and pick “Armature Deform with Automatic Weights.” This method quickly assigns vertex weights based on bone proximity. But, about 70% of the time, you'll need to tweak these weights manually.
Automatic weights can cause problems. For example, overlapping influence calculations might lead to weird deformations. Also, old vertex groups can mess things up in about 20% of cases. It's vital to align bones correctly to avoid rigging mistakes.
Complex projects can make weight painting slow. But, using automatic weights can speed up your work. You might still need to remove extra vertex groups created during parenting.
Testing Your Rig for Functionality
Testing your rig is key to making your character look real when animated. First, link the mesh. Then, switch to pose mode to see how bones affect the model. Start by picking bones and moving them to see how the mesh changes.
If some parts don't move right, you need to make changes. This means you have to adjust the rig.
Adjusting Bone Influences for Accuracy
Bone influence is crucial for how the mesh moves. If the mesh looks wrong, you might need to redo weight painting. This lets you control which parts of the mesh each bone affects.
By making these small changes, you can make the animation look better. This is important for a natural look in your animation.
Finalizing Your Rigged Model for Export
After testing your rigged models, it's time to get them ready for export. First, make sure all materials and textures are correct. This is key for how your 3D animation looks in other apps.
Double-check your mesh to ensure it's complete and works right.
Using Blender's export settings is easy. You can save your models in many formats, like FBX. This is great because FBX works well with lots of platforms. When you set up export options, remember to keep the rigging info. This lets other animation software use your character's full range of movement.
Also, watch out for scale and orientation changes during export. Getting these right makes your models look better and work well in different places. This is important for gaming, movies, or any big project.
Conclusion
Linking a mesh to a rigged model is key in 3D animation. This guide shows how to use Blender's tools to make animated characters. Rigging opens up your creativity and makes your stories better.
Remember, making an animated short takes a lot of time. It can take months, even years, for one person. It's hard to balance your passion with learning new skills like sound and editing.
Learning rigging and mesh linking is tough but worth it. Your hard work will show in your animations. Whether it's complex or simple, good rigging makes your work better. It helps you bring your vision to life in 3D animation.
FAQ
What is a rigged model in 3D animation?
A rigged model is a digital character with a skeletal structure. This structure, called an armature, lets it move like a real person. It's the key to making 3D animations look real.
Why is choosing the right software important for rigging?
The right software makes rigging easier. Blender is free and very flexible. Maya is top-notch for pros. Knowing your software well helps you work faster.
How do I prepare my character model for rigging in Blender?
First, make sure your character's origin is centered. Then, import it into Blender using FBX or OBJ. This makes it easy to start rigging.
What steps are involved in creating an armature in Blender?
Begin by adding a single bone. Then, in Edit Mode, add more bones to match your character's shape. Naming bones helps keep things organized.
How can I ensure proper bone placement for realistic movements?
Use Blender's views to line up bones with your character. Adjust bone lengths and positions for smooth movements. This avoids animation problems.
What does parenting the mesh to the armature involve?
Parenting means linking your mesh to the armature. Select both, then Ctrl+P and choose "Armature Deform with Automatic Weights." This makes rigging easier.
How can I test the functionality of my rig?
Test your rig in Pose Mode. Move bones to see how they affect the mesh. If it looks off, adjust weights to fix it.
What should I do to finalize my rigged model for export?
Make sure materials and textures are right before exporting. Check your mesh too. Then, export your model in a format like FBX, keeping all rigging info.
Advancing 3D generation to new heights
moving at the speed of creativity, achieving the depths of imagination.
 Text & Image to 3D models
 Free Credits Monthly
 High-Fidelity Detail Preservation