Creating Accurate 3D Muscle Models: Workflow, Tools, and Tips
скачать 3d модели для chicken gun
Creating realistic 3D muscle models is essential for medical simulations, gaming, and educational content. Over years of hands-on experience, I’ve refined a workflow that balances anatomical accuracy, efficient production, and seamless integration with animation pipelines. Leveraging AI tools like Tripo has significantly accelerated my process, especially for segmentation and retopology. This guide shares my practical steps, lessons learned, and tips for anyone aiming to produce high-quality muscle models—whether you’re a solo artist, studio developer, or medical illustrator.
Key takeaways
- Anatomical accuracy starts with solid reference gathering and careful sculpting.
- Efficient retopology and smart texturing are critical for realism and animation.
- AI tools like Tripo streamline segmentation, retopology, and texturing.
- Manual modeling allows for the highest control, but AI-assisted workflows save significant time.
- Common pitfalls include poor references, overcomplicated topology, and mismatched textures.
- Ongoing learning and resource curation are vital for staying up to date.
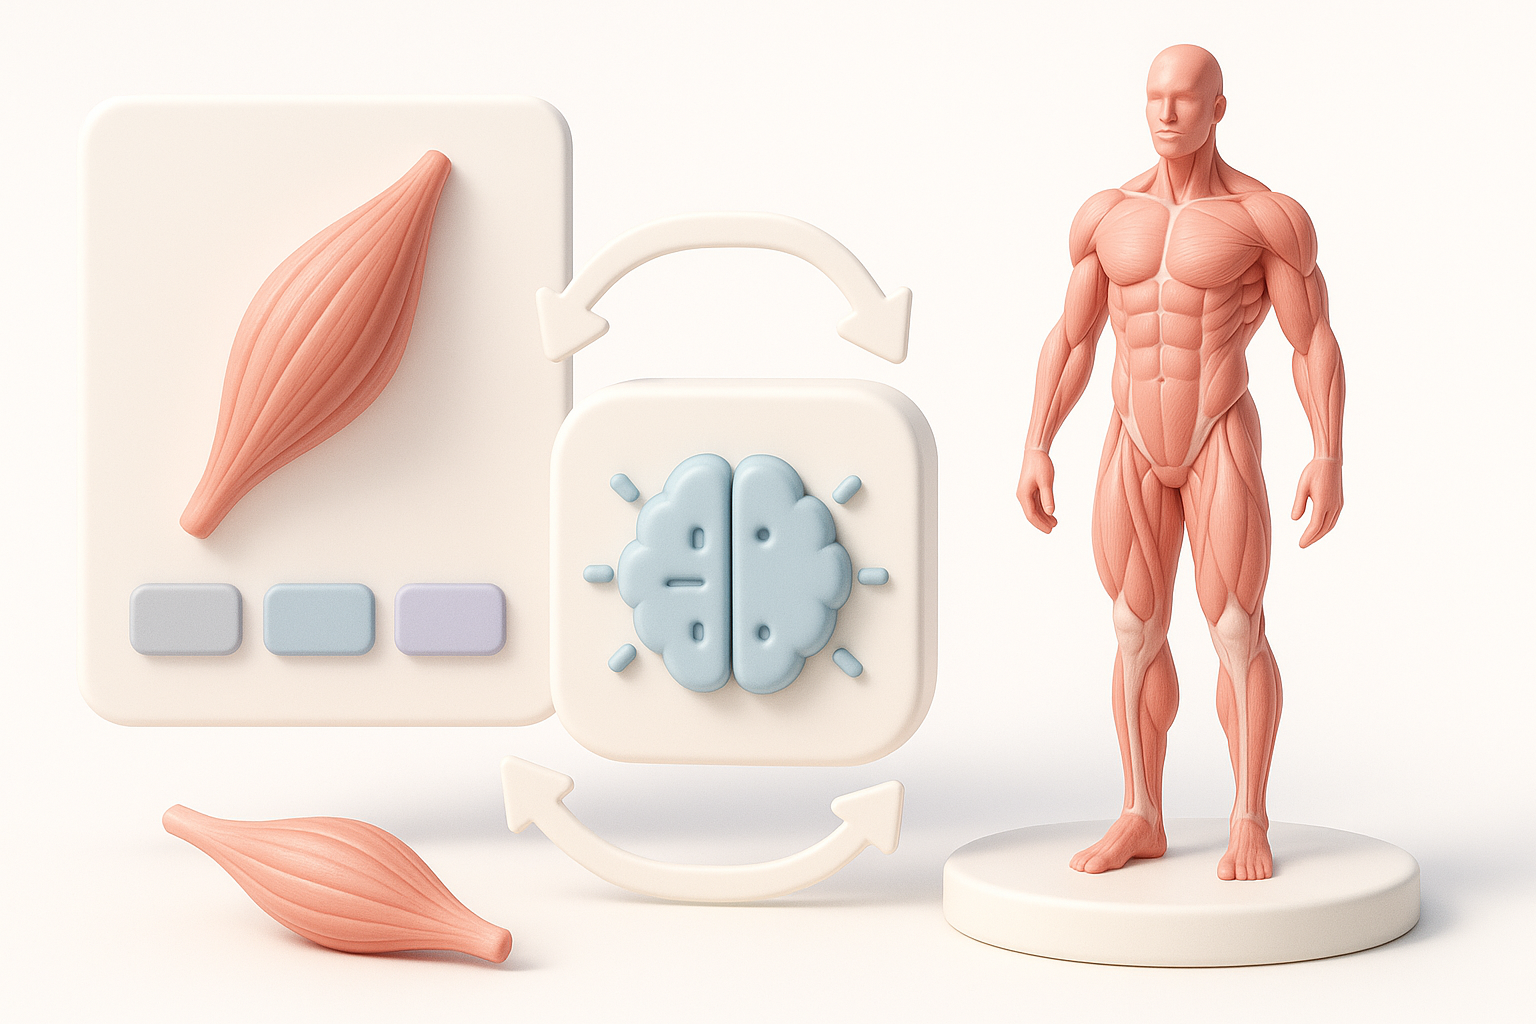
Why 3D Muscle Models Matter in Modern Workflows
Applications in medicine, gaming, and education
I regularly see muscle models used in surgical planning, sports visualization, character animation, and interactive anatomy apps. Medical professionals rely on anatomical fidelity, while game and XR developers need models optimized for performance and realism. Educational projects demand clarity and accuracy for effective learning.
Key challenges and requirements for realism
The main challenges I face include capturing correct muscle proportions, fiber direction, and subtle surface detail. Achieving realism means balancing polycount, texture resolution, and animation-readiness. For medical and educational uses, anatomical correctness is non-negotiable; for entertainment, stylization may play a role, but believable deformation is still crucial.
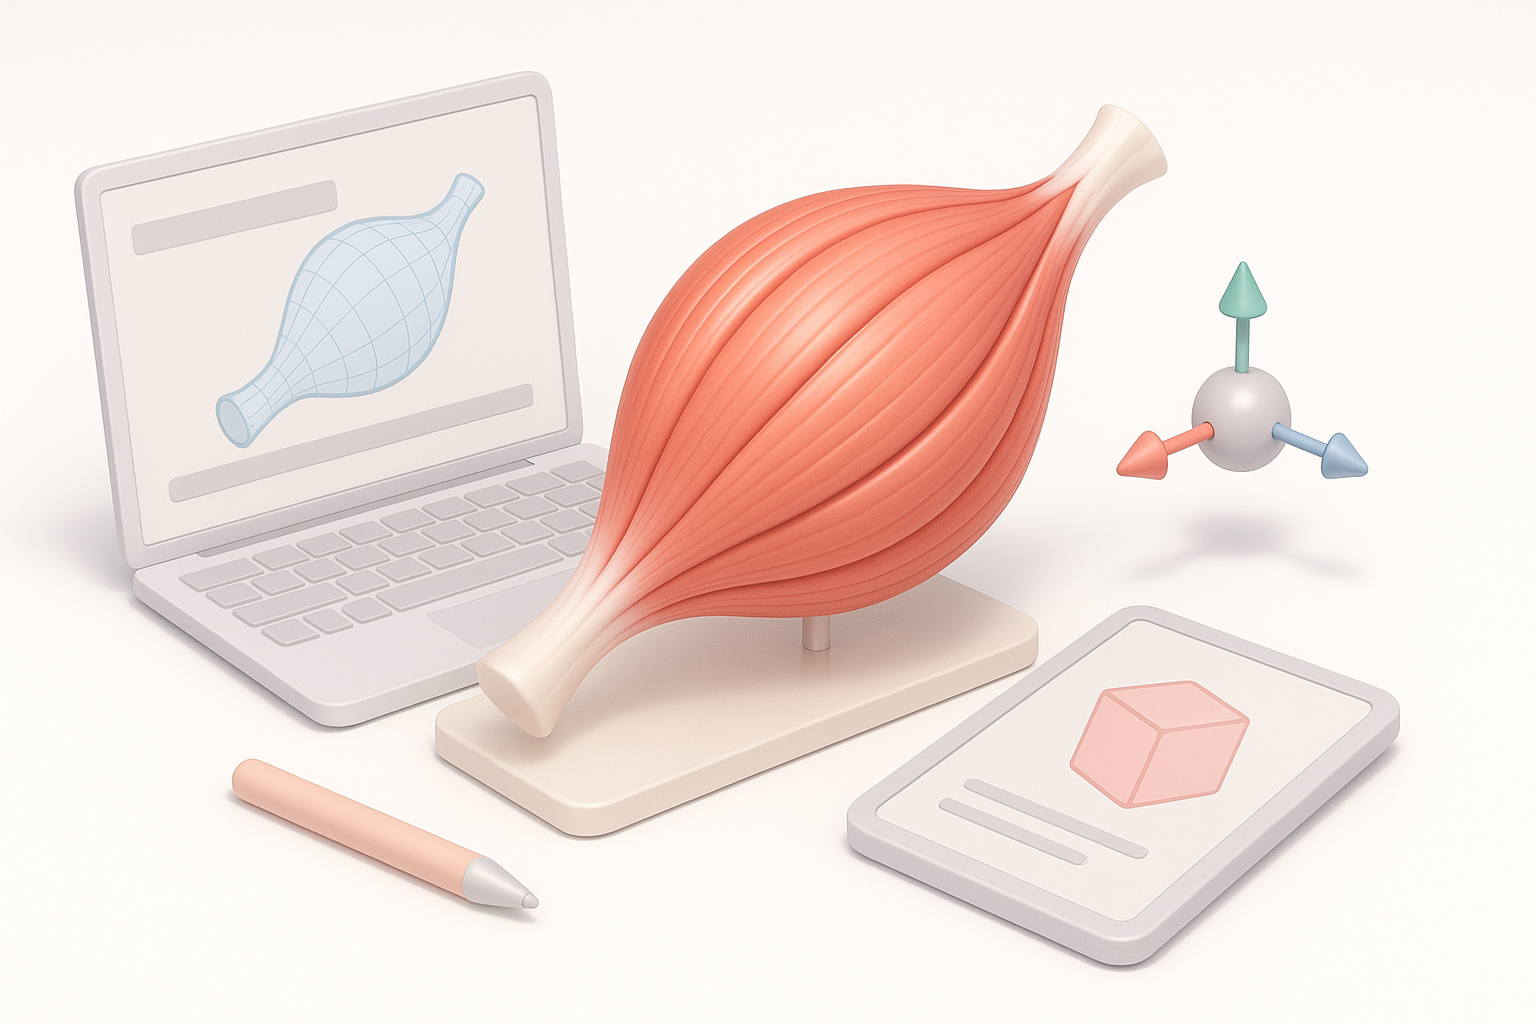
My Step-by-Step Process for Modeling Muscles in 3D
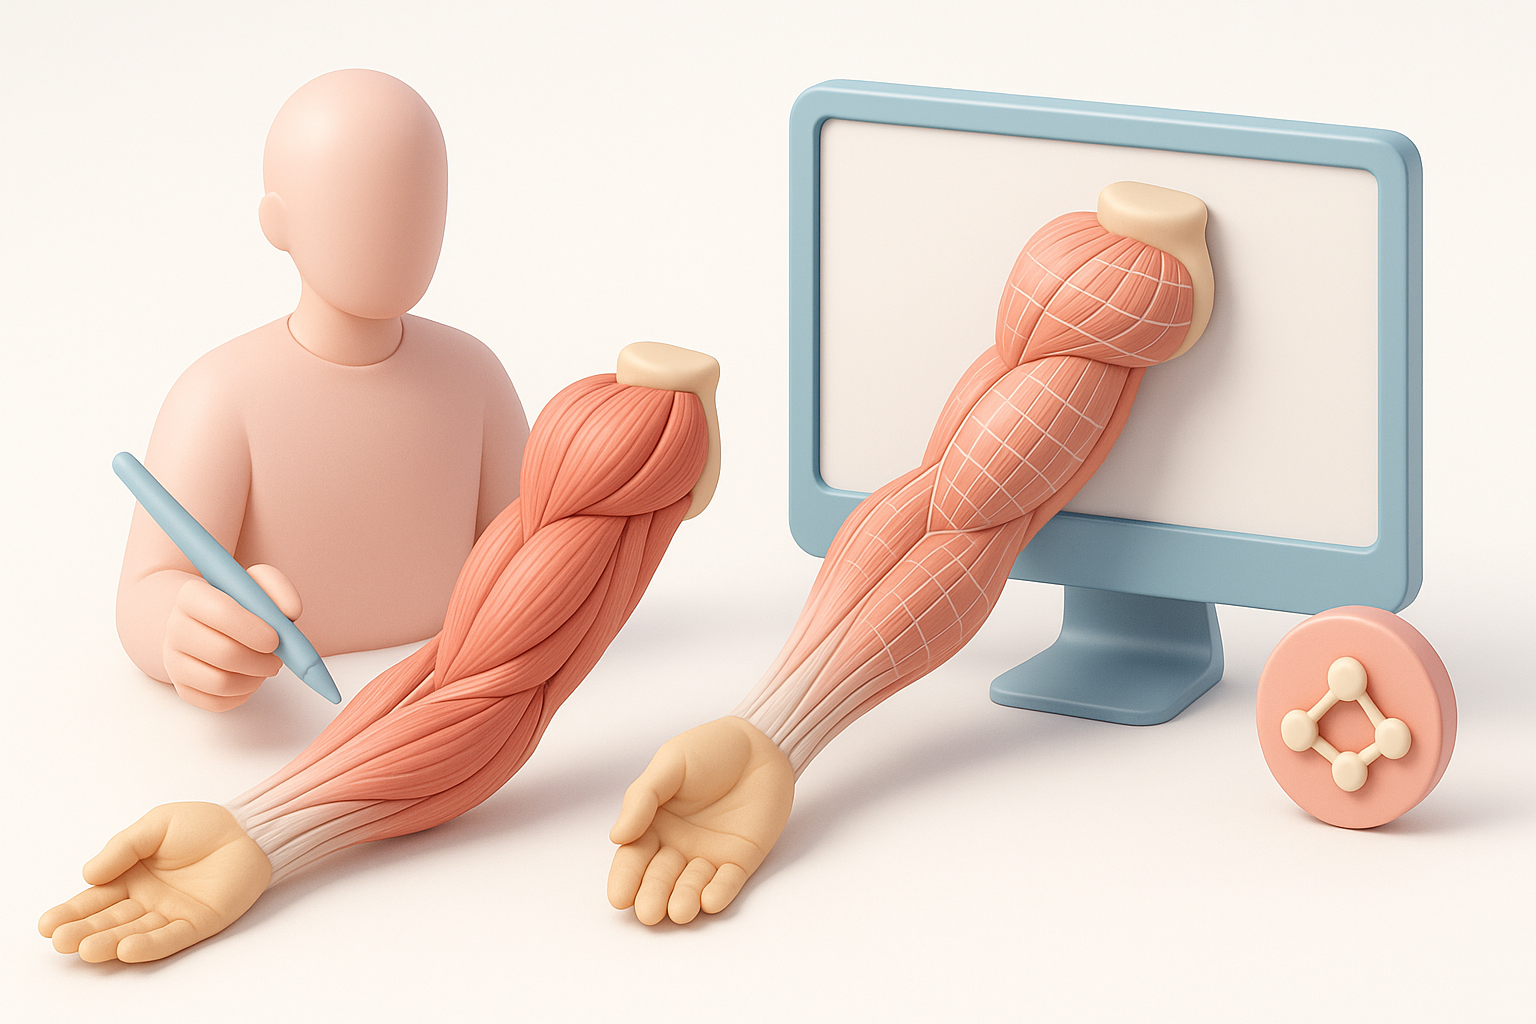
Reference gathering and anatomical accuracy
I start by collecting high-quality anatomical references—medical diagrams, cadaver photos, and 3D scans. For each muscle group, I cross-check sources to ensure correct origin/insertion points and fiber direction.
Checklist:
- Gather multiple reference types (photos, diagrams, scans)
- Annotate muscle boundaries and attachment points
- Confirm proportions with anatomical standards
Blocking out forms and sculpting muscle groups
I block out rough shapes using basic geometry, focusing on silhouette and volume first. Sculpting comes next, refining the muscle striations, separation, and surface tension. I constantly check against references, adjusting for anatomical correctness.
Steps:
- Rough blockout (simple shapes)
- Sculpt primary forms, then secondary details (striation, tendons)
- Validate with reference overlays
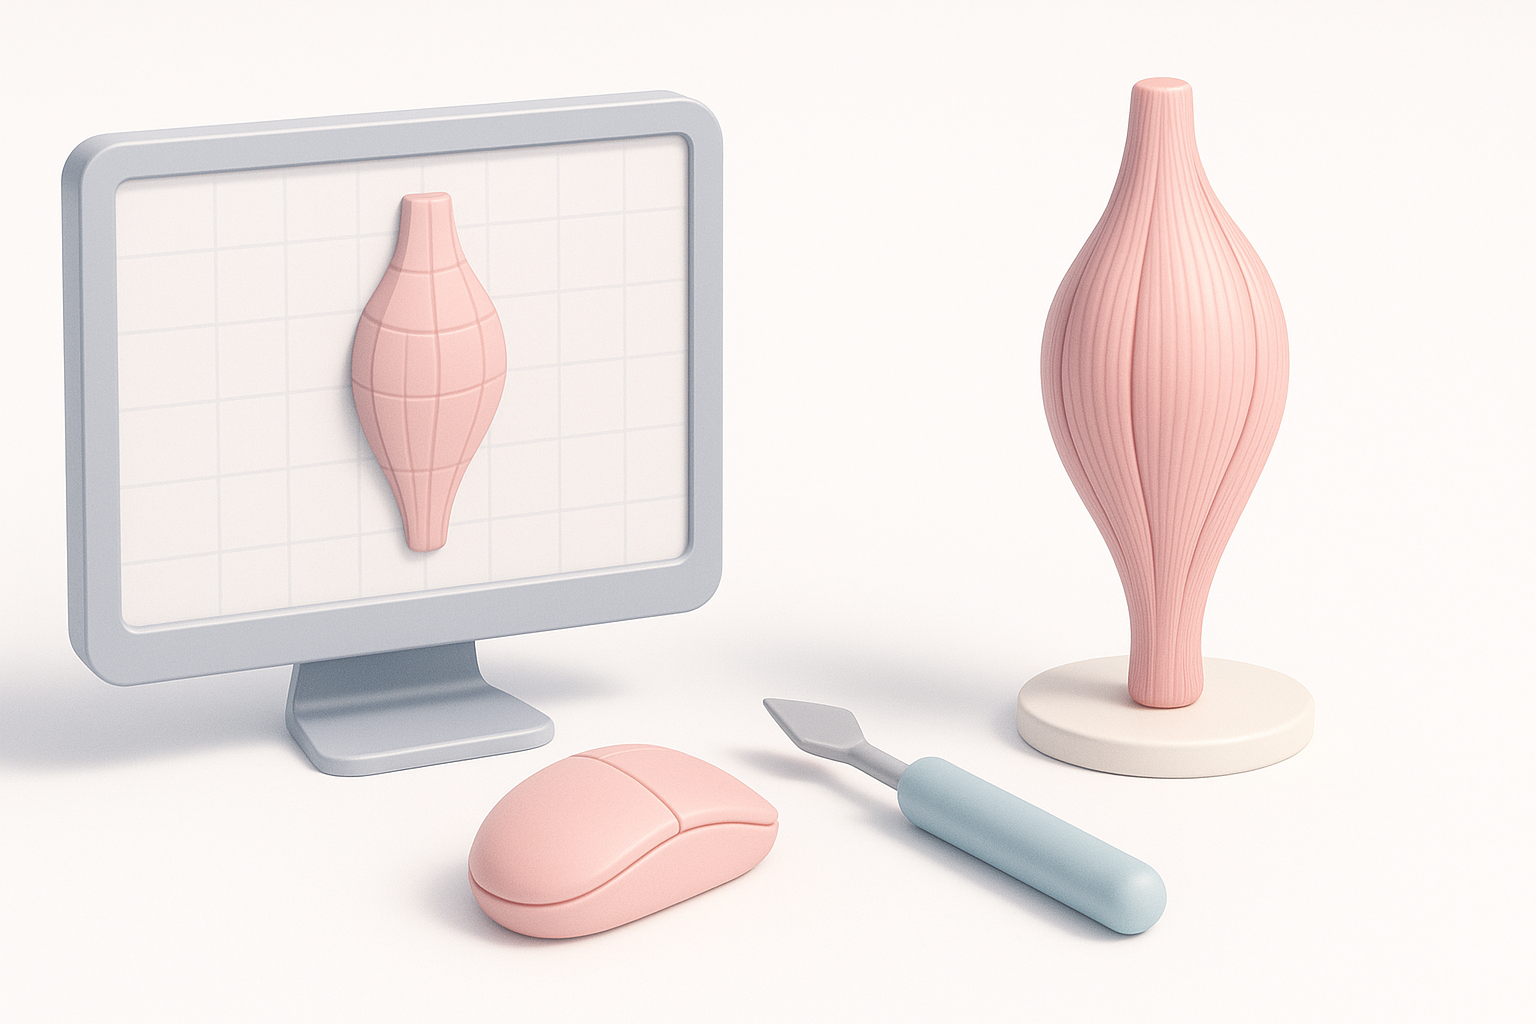
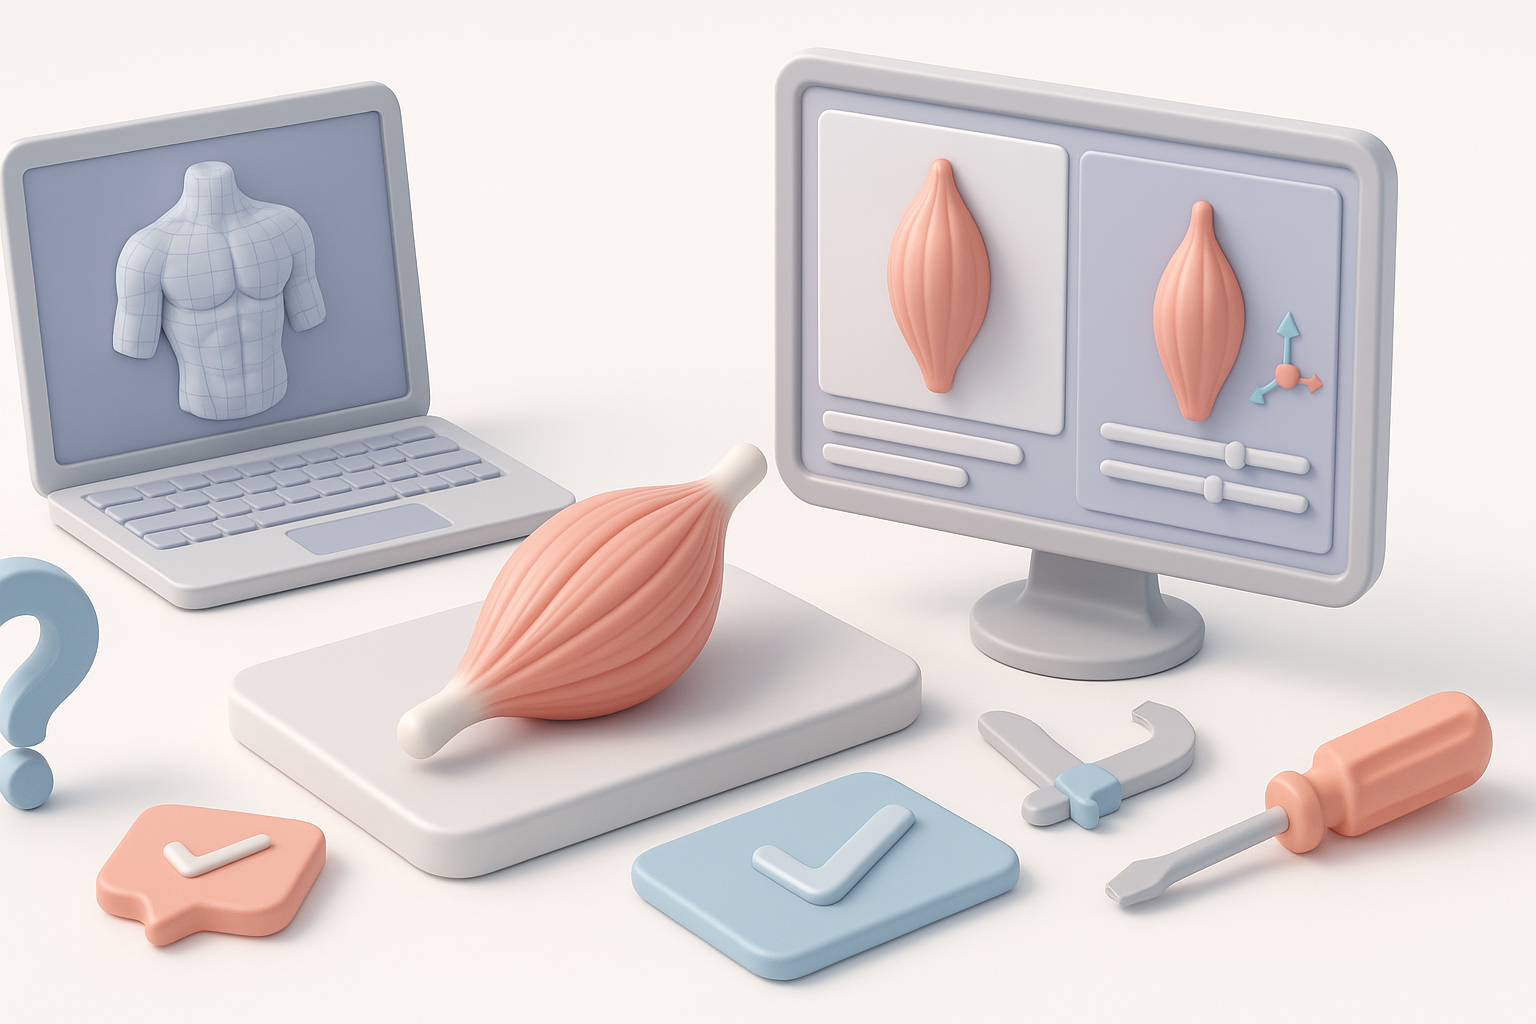
Texturing, Retopology, and Optimization Best Practices
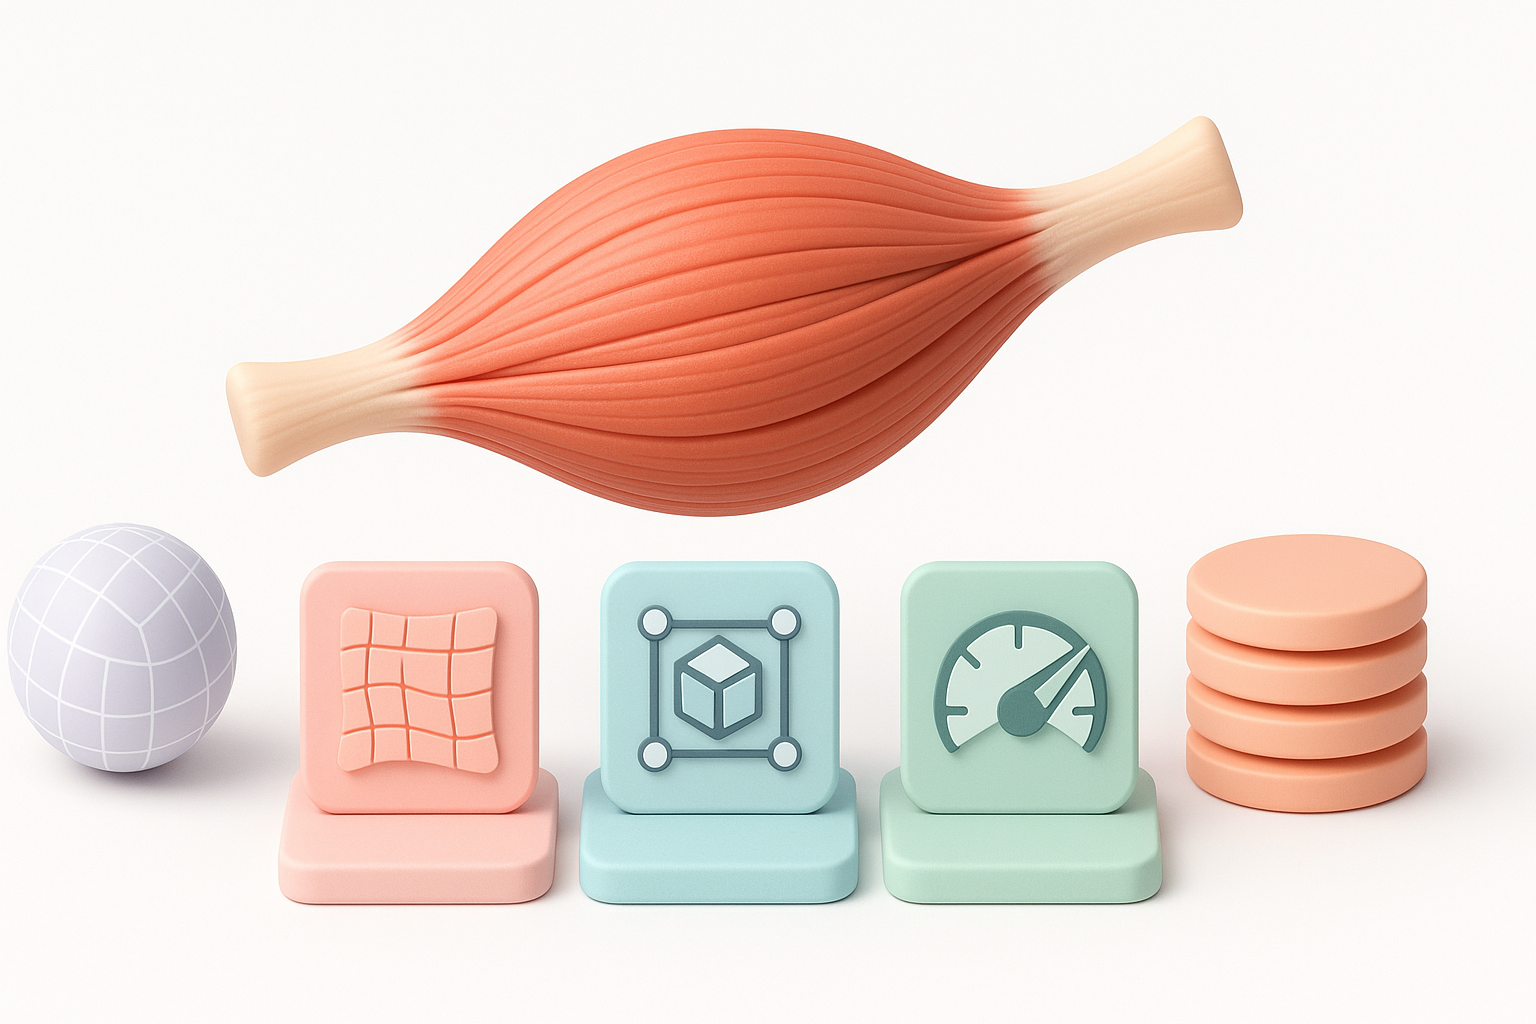
Efficient retopology for animation and rigging
Retopology is vital for clean deformation. I use quad-based topology, prioritizing edge loops along muscle fiber directions. AI tools like Tripo simplify this step, generating animation-friendly meshes in seconds.
Tips:
- Keep edge loops following muscle flow
- Minimize unnecessary polygons
- Test mesh with basic rigging before finalizing
Texturing techniques for lifelike muscle detail
For texturing, I use high-res maps and procedural overlays to mimic skin translucency, veins, and subtle color variations. Tripo’s automated texturing speeds up the process, but I often tweak maps for added realism.
Pitfalls to avoid:
- Overly uniform colors
- Misaligned texture seams
- Ignoring subsurface scattering for skin
Leveraging AI Tools for Faster, Smarter Muscle Modeling
How I use Tripo AI for segmentation and automation
Tripo’s segmentation feature lets me quickly isolate muscle groups from scans or sketches. Automated retopology and texturing reduce manual labor, freeing me to focus on refinement and creative tweaks.
Workflow:
- Input reference images/sketches
- Use segmentation to extract muscle geometry
- Apply automated retopology and texturing
- Manually refine details as needed
Integrating AI-generated models into traditional pipelines
AI-generated models slot easily into my existing workflows. I import them into sculpting or animation tools, adjust topology if needed, and apply custom textures or rigs. This hybrid approach combines speed with quality control.
Steps:
- Export AI models in standard formats
- Validate topology and UVs
- Integrate with rigging/animation tools
Comparing Manual and AI-Assisted 3D Muscle Modeling
Pros and cons from my hands-on experience
Manual modeling offers unmatched control and precision, but is time-consuming. AI-assisted workflows, like those with Tripo, drastically cut production time and handle repetitive tasks, though they sometimes require manual correction for edge cases.
Comparison:
- Manual: High control, slow, best for unique/complex muscles
- AI-assisted: Fast, efficient, ideal for production and iteration
When to choose each approach
I choose manual modeling for hero assets or when anatomical fidelity is critical. For background elements or rapid prototyping, AI-assisted methods are my go-to. Combining both yields the best results.
Tips, Troubleshooting, and Lessons Learned
Common pitfalls and how I avoid them
- Poor references: Always double-check sources for anatomical accuracy.
- Overcomplicated topology: Keep it simple; complex meshes hinder animation.
- Texture mismatch: Align seams, use consistent color palettes.
My favorite resources and ongoing learning strategies
I rely on anatomy textbooks, digital sculpting forums, and anatomy-focused YouTube channels. Regularly testing new tools and workflows keeps my skills sharp.
Resources:
- Anatomy books and medical atlases
- Online sculpting communities
- AI tool documentation and tutorials
In summary: Creating accurate 3D muscle models demands careful reference gathering, efficient modeling, and smart use of AI tools. Balancing manual expertise with automation leads to faster, more reliable results—whether you’re building for medicine, games, or education.
